Craft foam sea serpent and other relief shapes
Published by Manning on December 10th, 2017
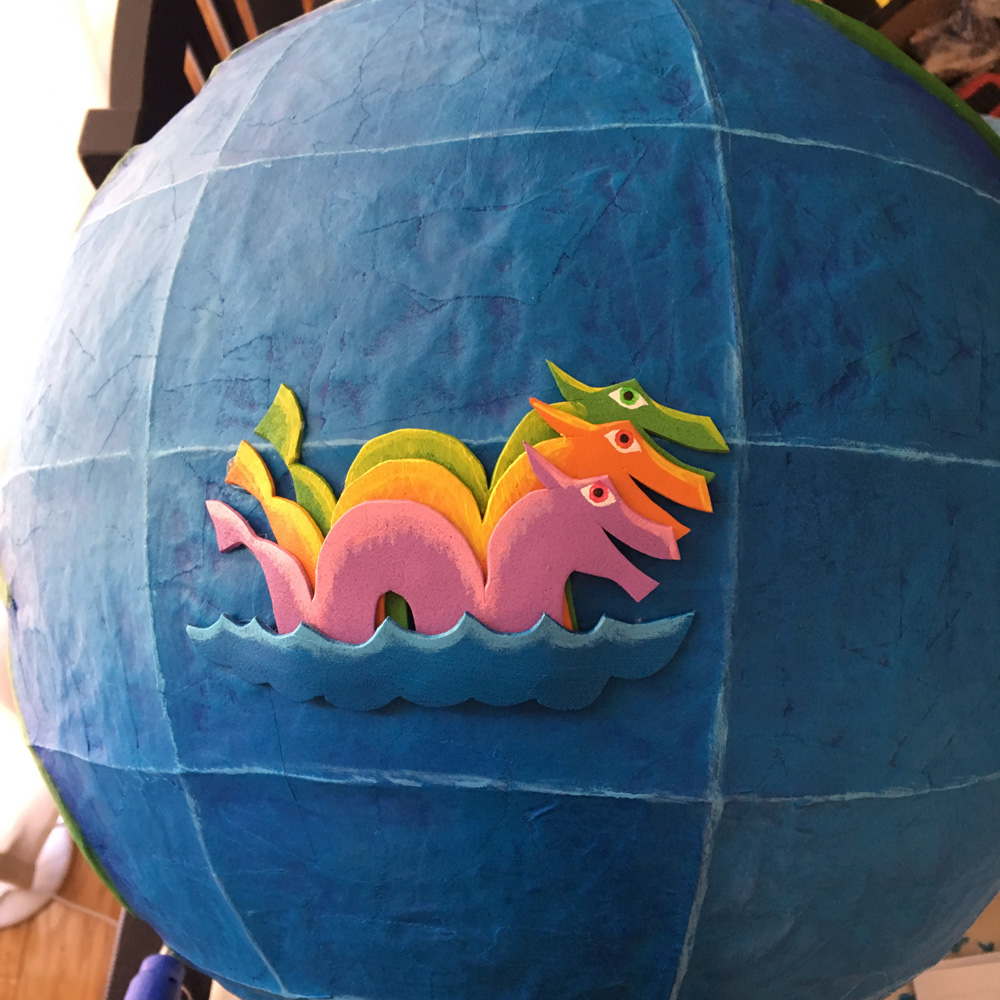
I made these layered craft foam reliefs to use as decorations on the paper maché globes I made recently.
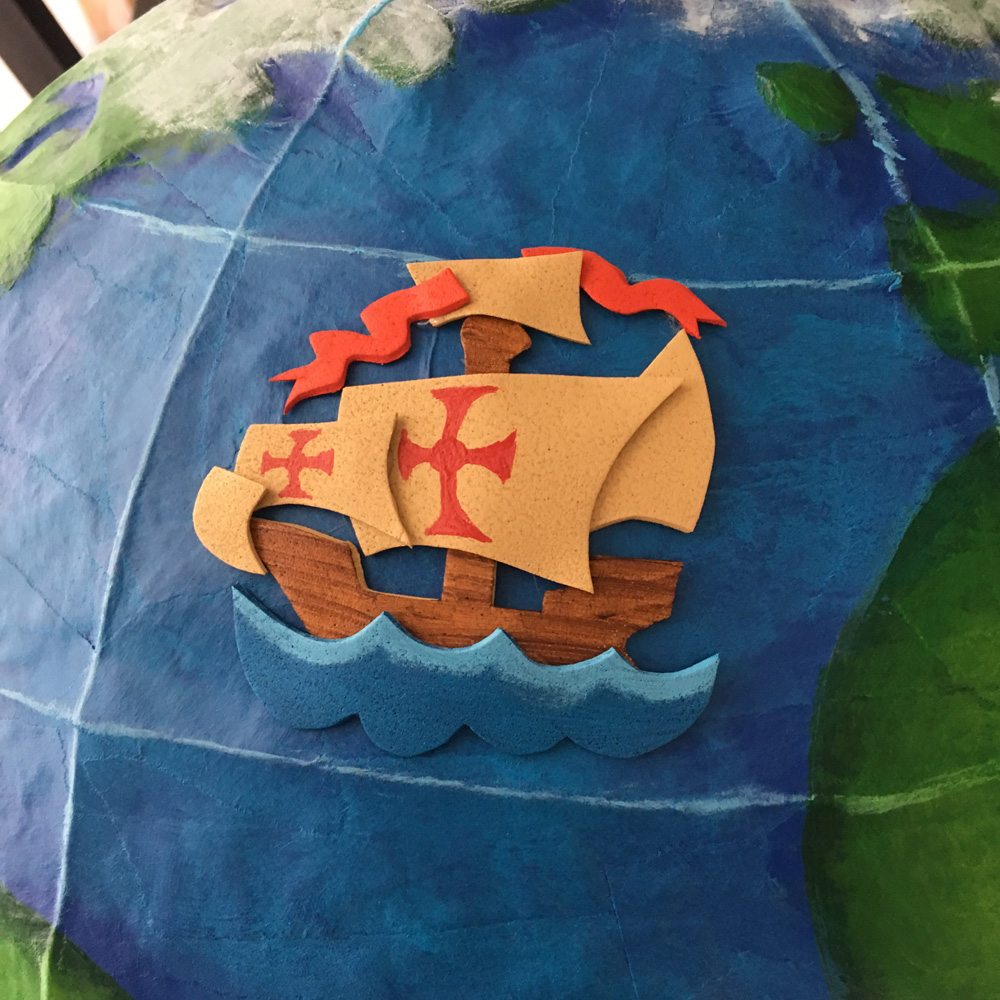
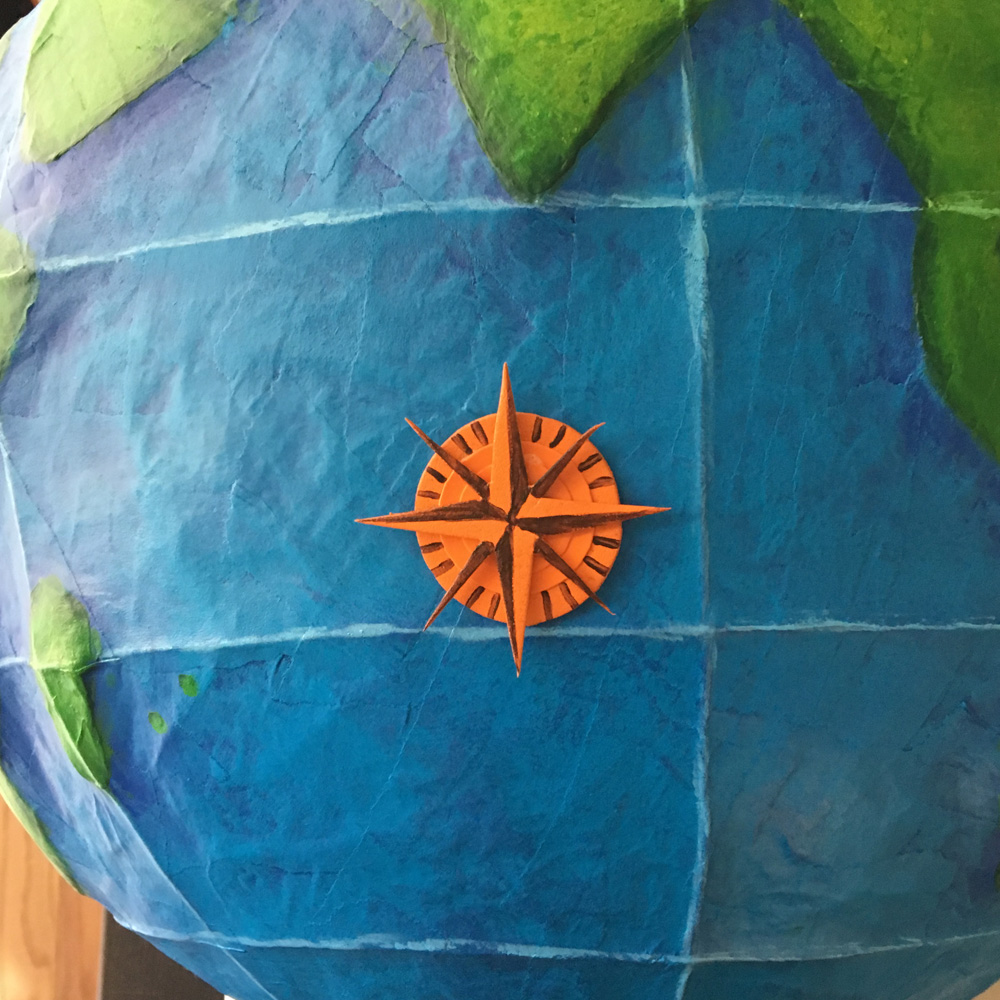
I designed three different relief elements for the globes: Isabella the three-headed sea serpent, a ship based on the Crewe of Columbus logo, and a simple compass shape. I decided to make two copies of each, so each of the two globes could have all three elements.
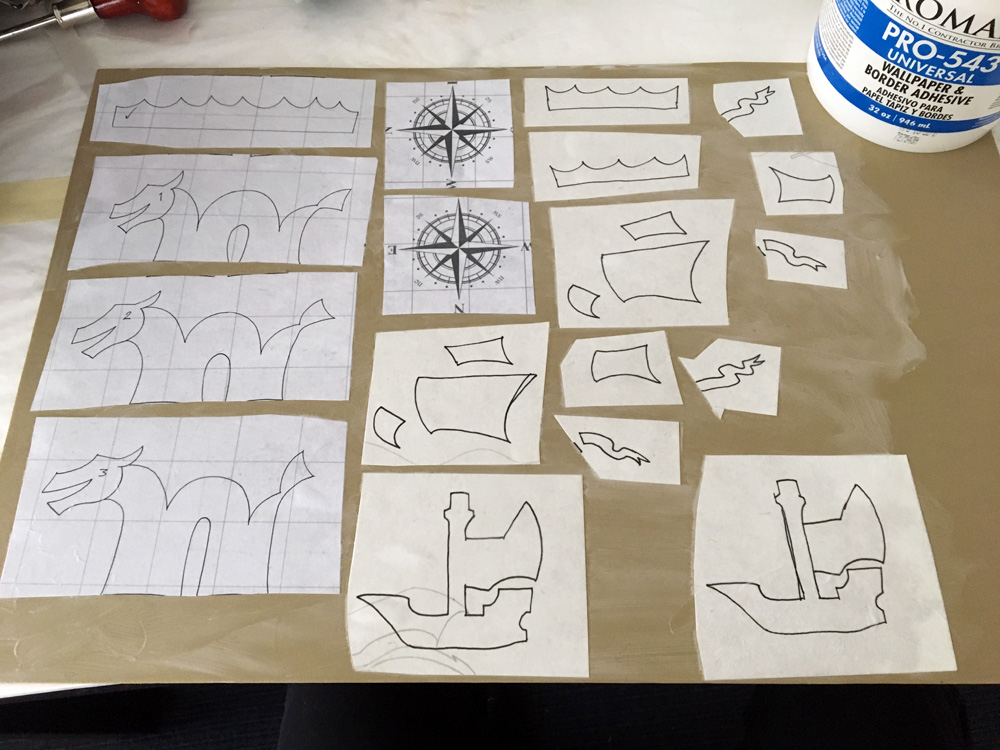
I started by designing and laying out all the various shapes for each relief; I did this partly in Photoshop and partly by hand on paper. I printed and drew two copies of everything, and then I cut out the areas around all these shapes and pasted them onto a couple sheets of craft foam, aka wonderfoam. I used the same kind of wallpaper adhesive for this as I use for my paper maché process — Roman Pro-543 Universal Wallpaper Adhesive. I simply smoothed the paste onto the sheet of foam with my hands, then laid the bits of paper in place, and smoothed more paste over them with my hands.
This might sound silly, but I actually dug through about thirty sheets of craft foam to find the thinnest sheets, and used those for this project. The thickness of these craft foam sheets can vary a lot, even in the same packet (I order them in packs of ten sheets). With just one layer of foam, the difference in thickness isn’t very noticeable, but when lots of little shapes are stacked up you can really see and feel the difference.
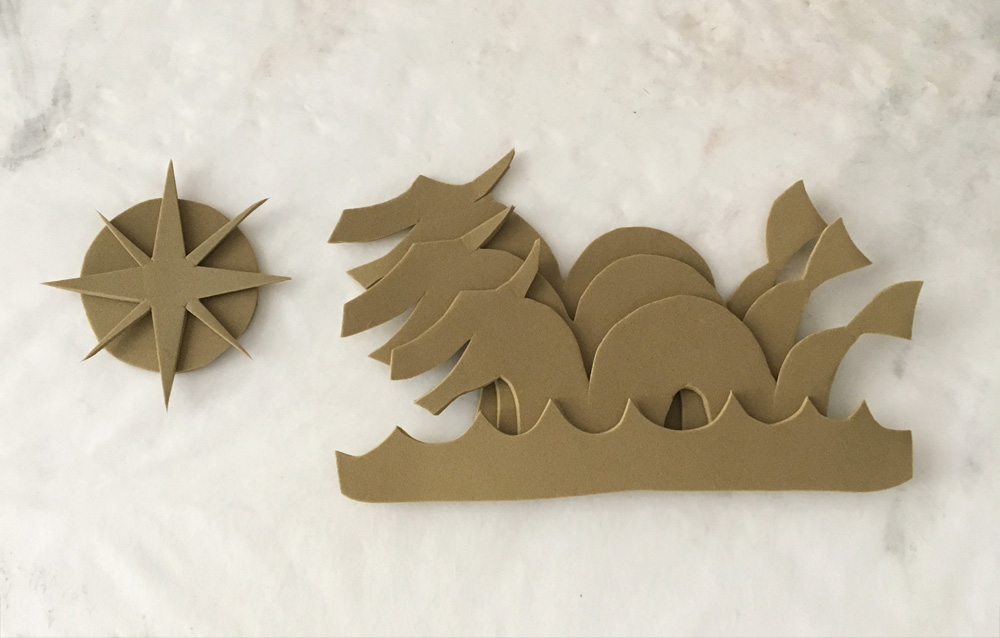
The craft foam and paper curl up quite a bit as the wallpaper paste dries; this is nothing to worry about. When everything was completely dry, I carefully cut out all the shapes with a very sharp pair of scissors.
To remove the paper and paste, I threw all the shapes into a big bowl of water and left them there, paper side down, for about 20 minutes. It’s then easy to remove all the paper; it just slides right off! I then ran all the foam pieces under the tap to clean all the paste off of them; be careful not to let go or they’ll go down the drain! I began drying the pieces of foam by pressing them between a paper towel for a second, and I then left them out to dry completely for an hour or so.
I then got ready to spray paint all these foam pieces. I took a few scraps of foam board I had lying around and wrapped wax paper around them, and then I taped all the little craft foam pieces onto them in groups by color.
I still had all my spray paint left over from the Isabella the sea serpent paper maché sculpture I made a few months ago, so I used the same colors on these pieces, along with other leftover colors I had lying around. It was easy to spray paint the pieces while they were mounted on the foam board. I was careful to get all the outer edges as well.
You may ask, at this point, Manning, why didn’t you just buy craft foam in different colors, rather than have to paint everything? To which I say….. uh…. shut up.
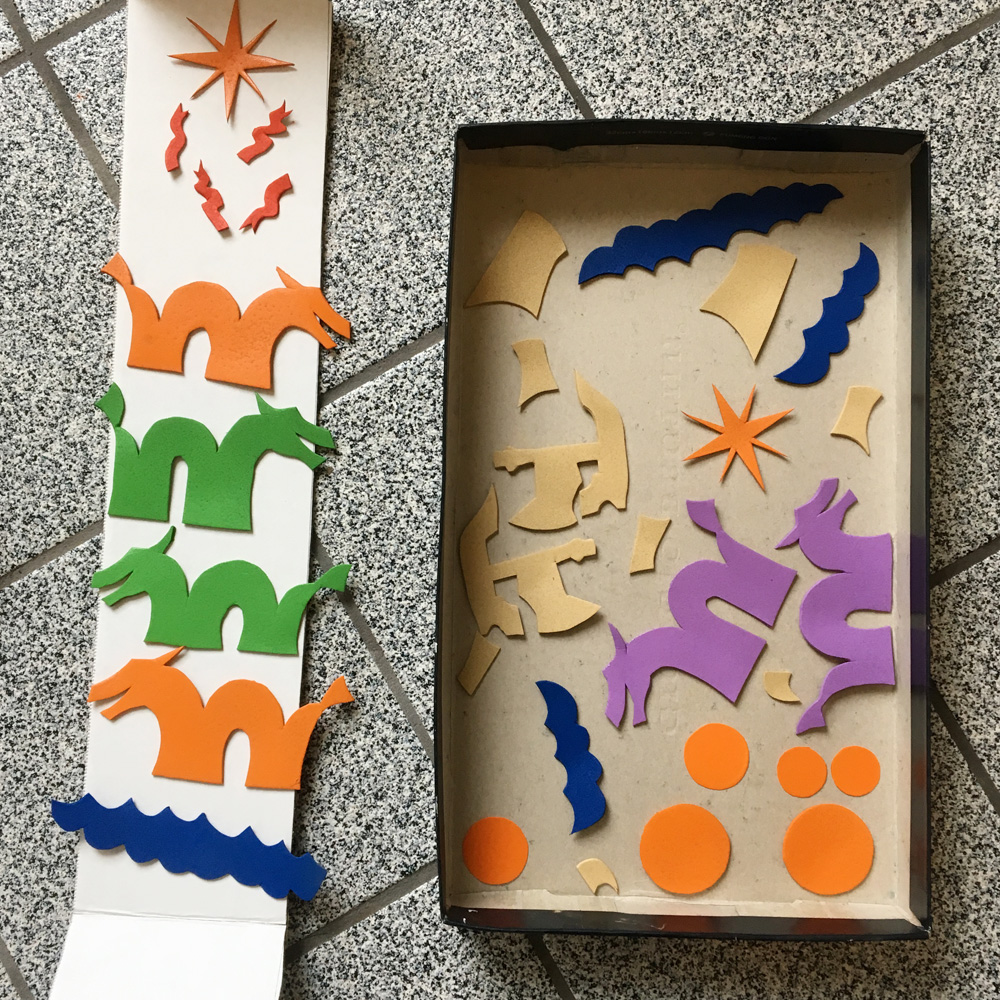
I let the pieces dry outside for a day. To keep them from blowing away I set them in a cardboard box with a piece of screen over it; I have a big roll of this screen door stuff to use in the eye/nose/mouth holes of all my big paper maché skull masks. I weighted the box lid down with some heavy tools and left it out on my terrace. The pic below is after I brought them inside; I brought them in a little too early and they still smelled like paint, so I left them in my foyer for another day.
When the paint was dry and the chemical smell had faded away, I painted all the details on all the pieces with a couple tiny paintbrushes and various colors of acrylic paint — the eyes on the sea serpents, the cross on the sails, etc etc etc.
With the painting done, it was time to assemble all the pieces. I glued all the pieces onto the globes in layers with a hot glue gun — the trick here is to use lots of very small drops of hot glue, as opposed to a few big blobs of glue that’ll ooze all over the place.
(Incidentally, I first did a test to see what would work better on the craft foam, hot glue or crazy glue — it turns out crazy glue doesn’t work very well on craft foam at all. The hot glue does just fine.)
Ah, I should note here, for each compass I included two little circles of poster board; I thought that many layers of craft foam would end up becoming too thick.
I love how these came out! I look forward to using this same technique for other pieces in the future. Anyway, go check out how I made the paper maché globes!


 About Manning Krull
 How to make a 4-foot paper maché alligator
 My violin skull mask, Mardi Gras 2015
 Three-headed paper maché dragon sculpture
December 17th, 2017 at 2:47 pm
Hello! I stumbled upon your site while looking up craft foam and paper mache projects. Your walk throughs are great! I was wondering about your technique with craft foam; do you wrap it in masking tape first then paper mache it? Or do you just dive in? I’m wondering if it warps without the masking tape layer. Thank you!
December 17th, 2017 at 11:20 pm
Hi Helena! Craft foam will not warp when you add paper mache — unlike foam board, cardboard, etc, which tend to warp a lot because they absorb the paste from the paper mache. The craft foam doesn’t absorb the paste so it doesn’t warp.
So you don’t need to use tape to protect the craft foam, however, you can use tape to help the craft foam hold a curve if that’s what you need. One example where you can see this is in the tails of the sea serpent I made, about 3/4 down this page.