
My paper maché method for masks, Halloween projects, etc
Published June 17th, 2015. Last updated November 2nd, 2024.
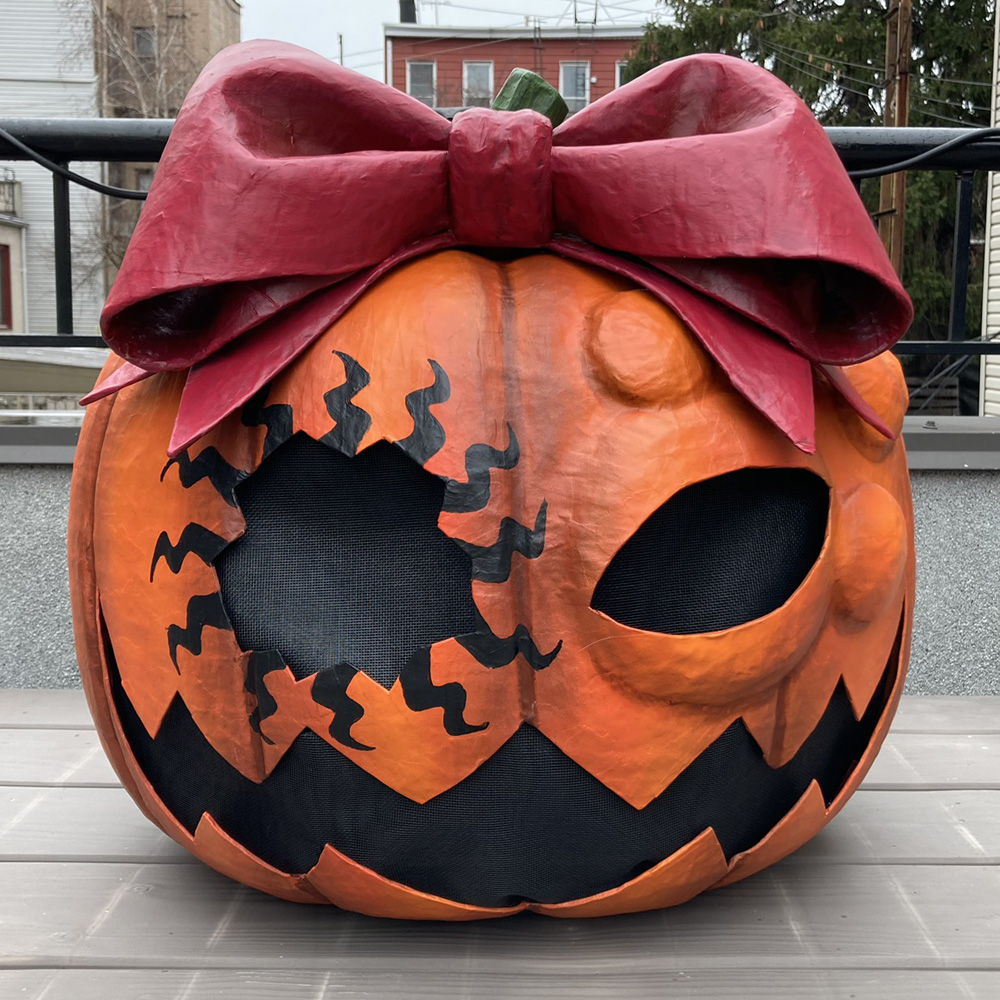
Paper maché (aka papier-mâché aka paper mache) is the foundation of most of my Mardi Gras masks, Halloween decorations and costumes, etc. Everyone who does paper maché has their own favorite materials, recipes, and methods. I've tried a ton of combinations and this is the best paper maché recipe and process I've found. The main materials I use are:
- Roman PRO-543 universal wallpaper and border adhesive (paid link). I normally buy this wallpaper adhesive in a one-gallon bottle, but they also have a one-quart size.
- Newspaper
- Brown wrapping paper, aka craft paper
That's everything for the actual paper maché, but I also use lots of other materials for all my projects, for building a base and protecting my work area; more on that coming up.
The short version
Let me try to save you some time; here's the shortest version I can give you of this article: Start with a base shape, and cover it in heavy duty shipping tape so the paper maché doesn't stick to it too much. Get some wallpaper paste, newspaper, and brown wrapping paper. Protect your work area with newspaper and wax paper. Scoop up some paste in your hand and smooth it onto your base. Lay pieces of paper in place and smooth them over with more paste. Alternate layers of newspaper and brown paper so you can keep track of your coverage. Do one or two layers at a time and let them dry for a day before continuing; sunlight and/or a fan helps! For big projects like an oversized mask, do about eight layers. Finish with a layer of brown paper for easier painting. Good luck!
Now, here's a whole lot more information...
Start with a base
All of my paper maché projects start with some kind of base. This might be: a shape made out of foam board and poster board, a shape made out of clay, a shape made out of chicken wire, a shape made out of crumpled-up blobs of newspaper or aluminum foil, or (often) a combination of several of these. Inflatable bouncy balls work great (much better than balloons), as do buckets, plastic waste baskets, plastic flower pots, etc. I always write about the specific base materials I use in all my articles about my projects, so be sure to check out a few of them to see the different ways I've built my starting shapes.
In considering materials for a base, it's important to know ahead of time if you plan to leave the base materials inside the finished paper maché, or if you need to remove them. Like, for a stand-alone sculpture, it might be fine to leave the base materials inside, but for something you're going to hang from the ceiling you're probably going to want to remove them, to reduce weight. Obviously for a mask you need it to be hollow and lightweight! All of this can inform what materials you're going to use and what kind of process you're going to use if you need to get them out of there.
Leaving the base materials inside can make the whole sculpture sturdier, so you may be able to get away with fewer layers of paper maché. If you need to make something hollow (like a mask), you'll probably need more layers of paper maché to make it strong enough. For the majority of my projects, I end up removing the base — either to make the piece lightweight, or wearable, or both.
Once my base is built, I usually cover it completely with heavy duty shipping tape. The reason for this is that the adhesive I use for paper maché doesn't stick very firmly to this kind of tape, so the tape acts as a release agent — meaning once the base is all paper maché'd and 100% dry, I can cut the whole thing open and carefully remove all the base materials and the tape without damaging the paper maché. This is important for projects that need to be very lightweight — like masks, things you wanna hang on the ceiling or walls, etc.
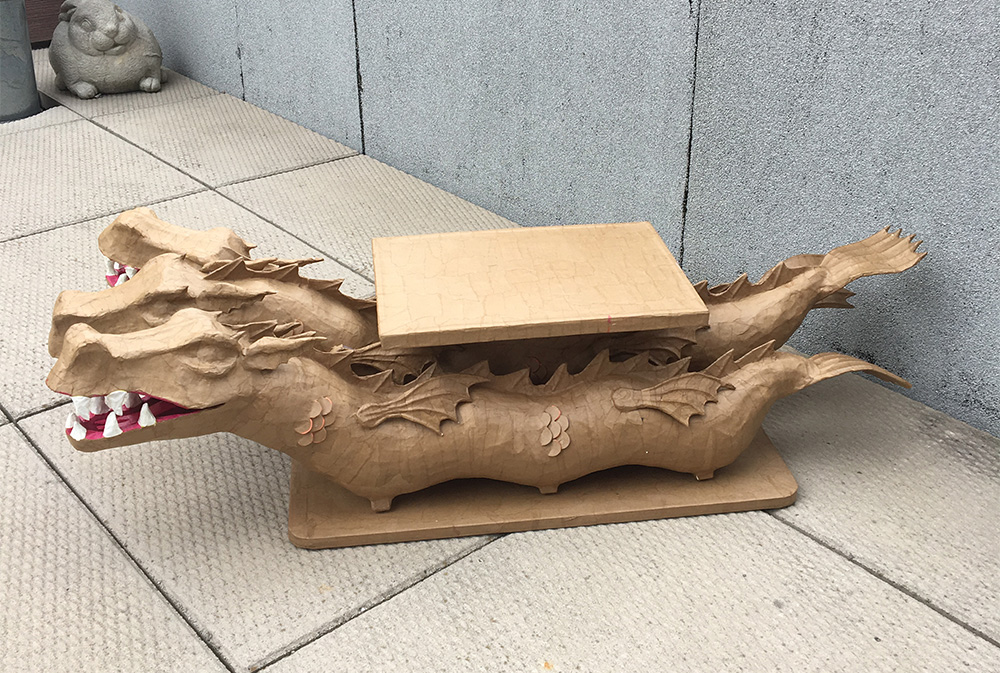
For large projects with no tiny details, aluminum foil is a great release agent. It will allow you to easily remove the base materials, but some of the foil may be permanently stuck in there; not a big deal.
My favorite material for building a base is foam board, aka foam core; I buy cheap foam board from the dollar store in bulk and I probably go through a couple hundred 20" x 30" sheets a year — and I go through more rolls of masking tape and shipping tape than I care to count! I do lots of designing and measuring and cutting and taping to build complex shapes out of foam board, and then I usually cover them in other materials (often tape, newspaper, and bubble wrap) to round them out and pad them out before finally applying several layers of paper maché. Take a look around this website and check out a few of my big projects to see how I've used foam board and other materials to create different kinds of bases.
Wallpaper adhesive and other kinds of paste
Once my base is built (and wrapped in tape or aluminum foil to act as a release agent if necessary), I can start with the papier maché! I use a kind of pre-mixed wallpaper paste called Roman PRO-543 universal wallpaper and border adhesive (paid link) — it's the best paper maché ingredient I've found in all my years of doing this stuff. It looks like this:
The Roman adhesive comes in two kinds of container: a large one-gallon rectangular jug and a small one-quart bucket. The small bucket is great because the opening is big and you can work right from that instead of pouring it into a bowl. The large jug is cheaper per volume but you need a bowl to pour it into. Since I've done so many of these projects I just keep an old bucket-shaped container to use as a bowl, and I buy the big jugs of paste and pour them into the bucket to use.
This stuff doesn't need any water or any mixing; you just open it up and you're ready to go. It's a thick white smooth paste that looks and smells a little like Elmer's Glue, but in my opinion it works much, much better than Elmer's for papier maché projects. Some people swear by Elmer's glue or Elmer's wood glue for paper maché, but I've tried those and they haven't worked well for me. They're much thinner and stickier on your hands and they seem to not dry as hard as the wallpaper adhesive; finished pieces also seem to soften in humidity. I haven't tried the flour-and-water method very much, but I hear that's a good way to go too. One caution I've had from my fellow krewe members who live in hot/humid New Orleans is that paper maché projects made with flour and water can attract roaches and mice! Eek! I'll stick with the pre-mixed wallpaper adhesive. For whatever it's worth, a lot of my fellow krewe members use powdered wallpaper paste that you mix with water.
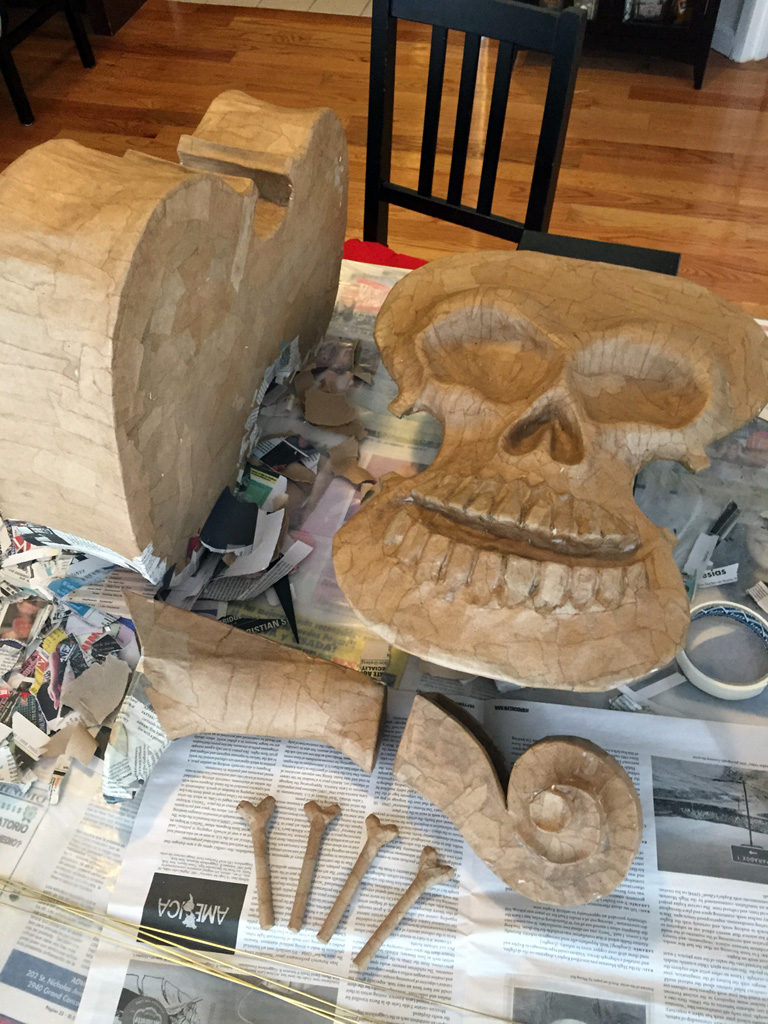
Recently I've done some experiments with a few other materials to see how well they might do in taking the place of my usual Roman paste: check out my articles about working with Elmer's paper maché art paste and plaster cloth. I also did an experiment with Elmer's wood filler to see how it might do as a substitute for layers of paper maché. I've had mixed success with all of these; they all have their pros and cons, and while I'm probably going to stick with Roman paste for most of my projects, I would definitely go back to these other products for certain types of projects where they'd be a good fit. The Elmer's art paste specifically is great because it's so cheap for such a large quantity of paste; if I were making something truly huge I'd definitely go with that.
"Do you wear gloves?"
I don't, usually. However, I'm not recommending that YOU don't. You have to make your own decision about this, or if you're a kid, talk to your parents about it. The adhesive that I use, Roman Pro-543 Universal Wallpaper Adhesive, has a safety document on their website (here's the pdf) that states, "This chemical is not considered hazardous by the 2012 OSHA Hazard Communication Standard (29 CFR 1910.1200)," and another a bit lower that says, "The product contains no substances which at their given concentration, are considered to be hazardous to health." However, lower down in the same document, there's the line about California proposition 65, "This product contains a chemical known to the State of California to cause cancer and/or birth defects or other reproductive harm."
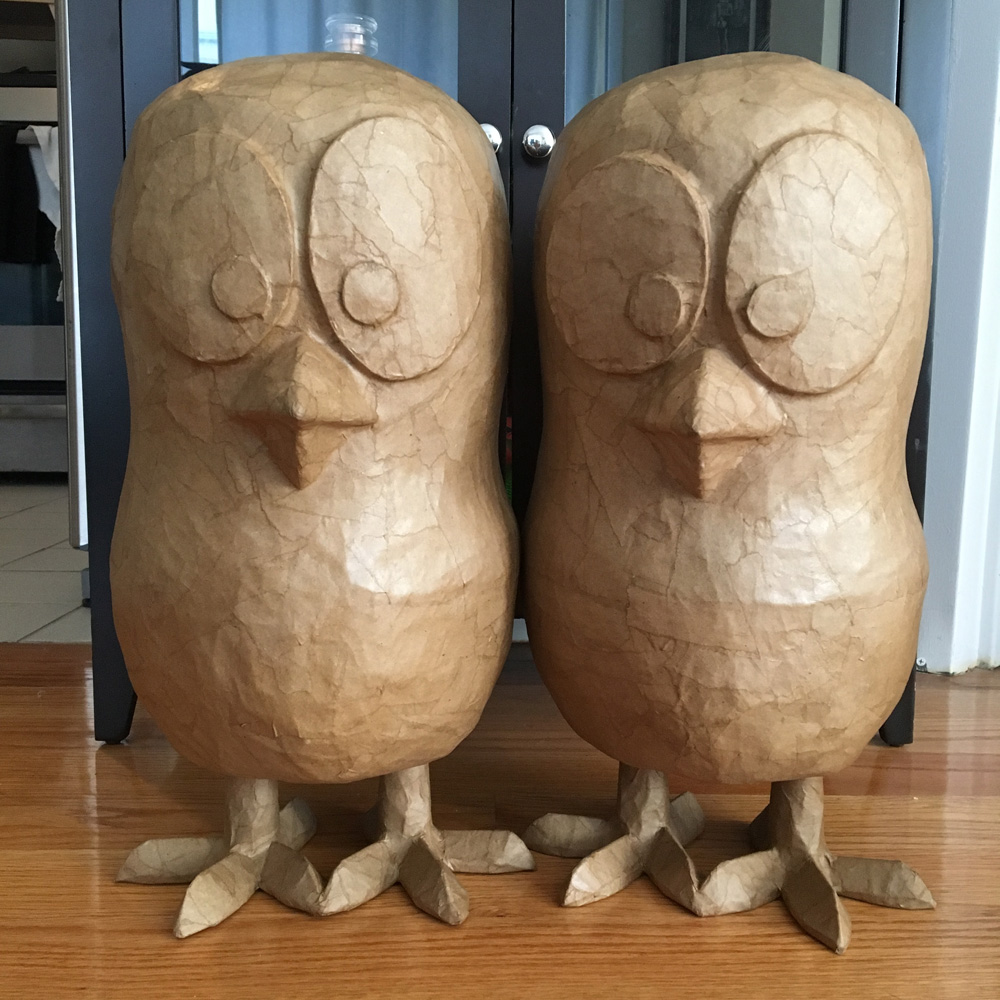
I do make sure to wash my hands very thoroughly every time I work with the adhesive, and I work in a well-ventilated area (although the paste has almost no odor; it smells a lot like Elmer's Glue). If you're concerned about safety, of course you can wear gloves or you can stick with Elmer's Glue, or Elmer's paper maché art paste, or flour and water, and you'll have nothing to worry about.
Update: I got curious about how hard it might be to do paper maché while wearing gloves, so I bought a box of MedPride powder-free nitrile gloves (paid link), and gave 'em a try; it wasn't bad! The main things I learned are:1) For applying paper maché over a big, fairly simple shape (like a giant skull), wearing gloves didn't make the work any more difficult, but for smaller, more detailed work (like teeth), the gloves definitely made it harder; I had less control when applying small pieces of paper onto small details. This was a little frustrating so I gave up on the gloves when doing small details.
2) However, there was a great benefit to wearing gloves that I hadn't thought of, which was: you don't have to wash your hands after! Or, I should say, it's much easier/faster to wash your hands after. For years I've been working with the Roman paste with my bare hands, and after a long session of applying paper maché it can take a long time to wash all the paste off my hands; I have an old sponge dedicated to this task, and it takes a lot of scrubbing to get all the half-dried paste off my fingers. After several days of several sessions of paper maché, my hands end up feeling pretty dry and beat up! So working with these nitrile gloves meant that when I was done I could simply pull the gloves off and give my hands a quick wash just to get the plasticky feel off, and to wash away any tiny bits of paste on my wrists.
Now that I've tried working with nitrile gloves, I'll probably continue wearing them for really big simple shapes, and I'll probably skip 'em for smaller projects. I'm glad I gave it a try!
Paper
Okay, before we can begin paper-machéing our base, we need to tear up some paper. I use newspaper, brown wrapping paper, brown paper bags, occasionally paper towels, and for a few projects I've tried working with "packing paper"; basically blank newspaper. I always use at least two kinds of paper for every project, so I can alternate layers; this is so I can visually keep track of which areas I've covered.
Some notes about all these types of paper:
Newspaper: Great because it's free! I grab a ton of free weekly newspapers from the boxes in my neighborhood and use them in most of my projects. There are downsides to working with newspaper, however. After a few projects you'll start to notice that some types of newspaper work better for paper maché than others; some seem to be less porous so they don't absorb the paste as well and they don't lay nice and flat and sort of melt into each other the way pieces of good porous paper does. After lots of projects I now know which newspapers I can get that work well, so I make sure you grab those; problem solved. (For example, I know the New York Times is totally great for paper maché, while the Courier Post from my native New Jersey is terrible; my mom saved a huge pile of these for me for paper maché but I ended up using them for other non-paper-maché things.)
The only other downside of newspaper is that it can take a lot of paint to cover nicely; you'd be surprised how newsprint can show through a couple coats of light-colored spray paint or acrylic paint. For this reason, I usually alternate my layers of paper in such a way that my final layer of paper maché is brown wrapping paper, which is better for painting. More on that coming up.
Brown wrapping paper, aka craft paper: I buy tons of rolls of this stuff from the dollar store. I've found that cheaper brown paper is usually thinner and more porous and works better than more expensive paper; I get rolls of it at my local dollar store, and they work better than nicer-quality Scotch paper that costs two bucks and is much thicker. The tricky thing is you can't really know how thick or porous the paper is without buying it, opening it, touching it and trying it in some paste.
Paper bags: Like newspaper, great because they're free! And like newspaper, sometimes not great because some kinds of paper bags are are too thick or not very porous; after lots of experience I can recognize these just by looking at them and touching them. However, like newspaper, these can be fine for interior layers and on large projects where you don't need to get super smooth fine detail. Free is free!
When I work with paper bags, I always throw away the bottom part with all its weird folds, as well as the seam that runs down the side. Those parts are too thick and layered and weird and they can create weird textures in your paper maché. I throw those bits in the recycling and then I tear up the rest for paper maché.
Paper towels: I don't often use paper towels for paper maché, but they can be perfect for interior layers in some projects, namely any project that's large and doesn't have a lot of intricate detail. The nice thing about paper towels is that you can tear them in long strips and just lay them in place and cover them in paste; they're a very quick way to knock out a layer over a big project, and the thickness and softness of the paper towels can help pad out a project. However, I wouldn't use them as the final layer, because most brands have that visible dot pattern. They can also get weird wrinkles and tears, so that's another reason they're better for interior layers.
(Note: You can also scrunch up small pieces of paper towels and soak them in paste and use them almost like modeling clay to create little details, but be warned, these will take several days, even a week, to dry.)
Packing paper: A while back I ordered a huge box of packing paper — basically blank newspaper — because I thought it might be a great way to get the nice texture of newspaper in a final layer of paper maché but without the hard-to-paint-over newsprint. It worked out okay, but the porousness and texture of the packing paper turned out to be less than ideal; not bad, just not perfect. So now I have a ton of the stuff left over and I use it for some things. I wouldn't recommend buying any unless you're specifically working on a project where you need the outer surface to be uniform and light in color without (or before) painting.
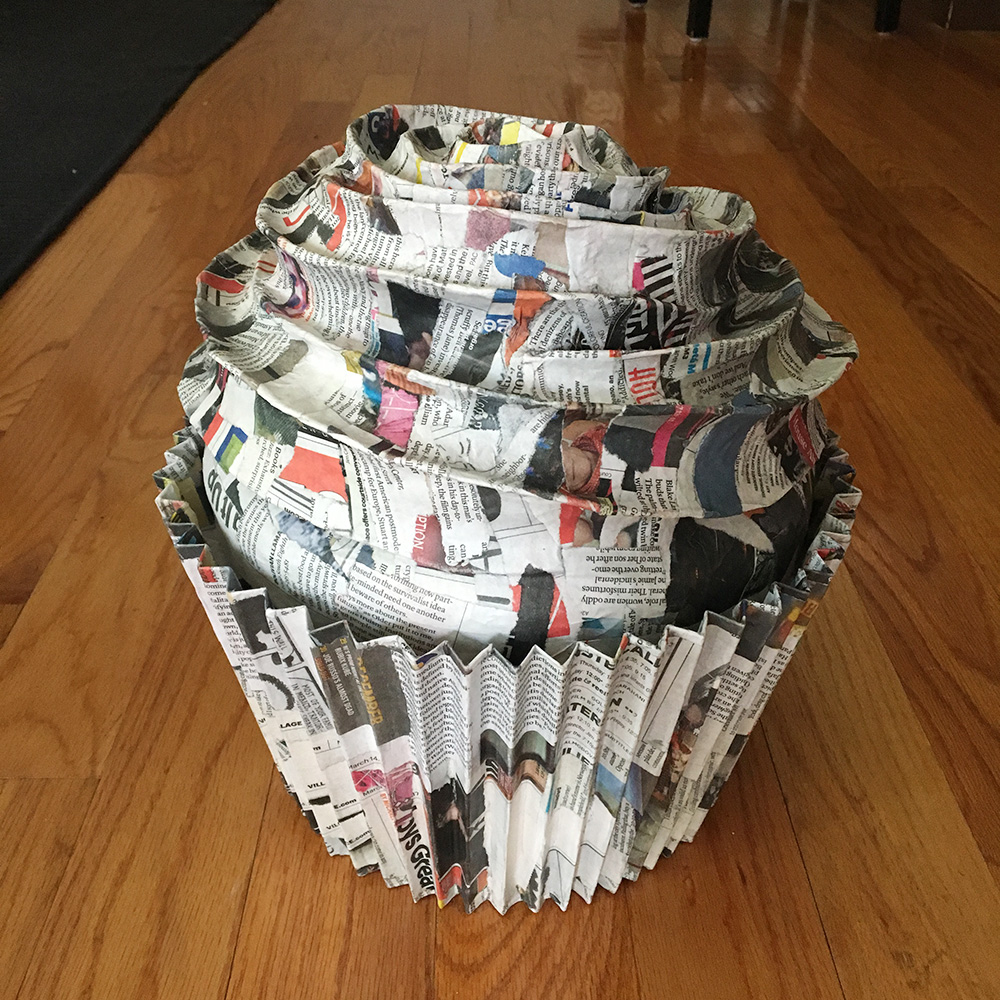
Now then, time to tear up tons of paper. I find it useful to tear up lots of strips of paper in different sizes, and set them aside in piles — big pieces (around 3") to cover big, relatively flat areas, medium-sized strips (about 1" x 3") to work around big curves and corners and irregular shapes, and tiny pieces (around 0.5" x 2") to cover the smallest details. I've even gone smaller than that for little things like the teeth on my skull masks; I've torn up tiny shreds at about 0.25" x 1" and painstakingly applied those. I try to avoid doing anything that small and intricate if I can help it!
You definitely don't want to use scissors for this; that will create lots of straight edges that will be very visible in your papier maché. Torn edges are much much better. I also recommend against tearing multiple sheets of paper together at the same time, because they'll often get kind of stuck together and are annoying to separate. Tearing individual pieces is slower but will save you this hassle. One trick I use sometimes to save time is to tear multiple pages of newspaper together, do a large quantity of these, and then put them in a shoe box and put the lid on and shake it around a lot to separate the pieces. Even with this method, a lot of pieces remain stuck together, which can be really annoying when you're working with paste and you're trying to grab just one piece of paper. Something about tearing the pieces together makes their torn edges want to lock together.
Anyway, the nice torn edges of your paper will be easy to smooth out and blend together when you're doing the paper maché, whereas if you use scissors the straight edges remain somewhat raised and visible. Of course, any paper you use will have straight edges on the sides. I set these pieces aside and use them for the interior layers, where their edges won't be visible, and I simply make sure to not use 'em for my final layer.
I always keep multiple shoeboxes full of torn up paper — one for newspaper, another for brown wrapping paper, and another for torn up paper bags; sometimes I'll even have one box for large pieces of newspaper, another for smaller pieces of newspaper, another box for the pieces with straight edges, etc etc etc. With all these separate boxes I can easily alternate between boxes for all the layers for whatever project I'm working on.
More about layers
You'll probably need to put several layers of paper on your project, depending on how sturdy it needs to be. For my masks I always do at least eight layers, because I need them to be very sturdy. For a project that's going to be a decoration that no one's going to touch, you might be able to do just three or four layers. If you're going to leave the base structure inside, you can usually have fewer layers, because the base will help keep the shape nice and sturdy. If you're removing the base, you'll need more layers since the paper maché will have to keep the shape by itself.
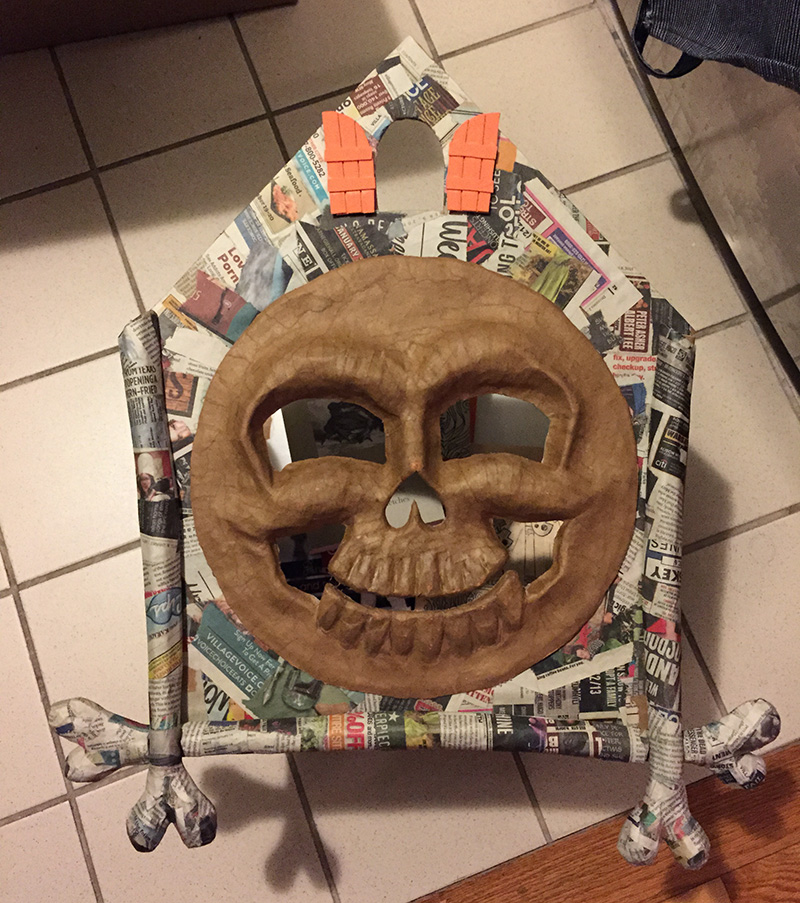
In all my articles about all my paper maché projects, I always mention how many layers I used, so you can take a look at some of those to get a general idea of how many you'll need for your project.
Like I mentioned, I always alternate my layers of newspaper and brown paper, mostly just so I can visually keep track of which areas I've covered. I've tried doing multiple layers in a row of the same paper and it gets very confusing!
Your final layer is the most important, as you want to make sure to end up with a good smooth consistent texture that's great for painting. I almost always end with either a layer of brown wrapping paper or brown paper bags.
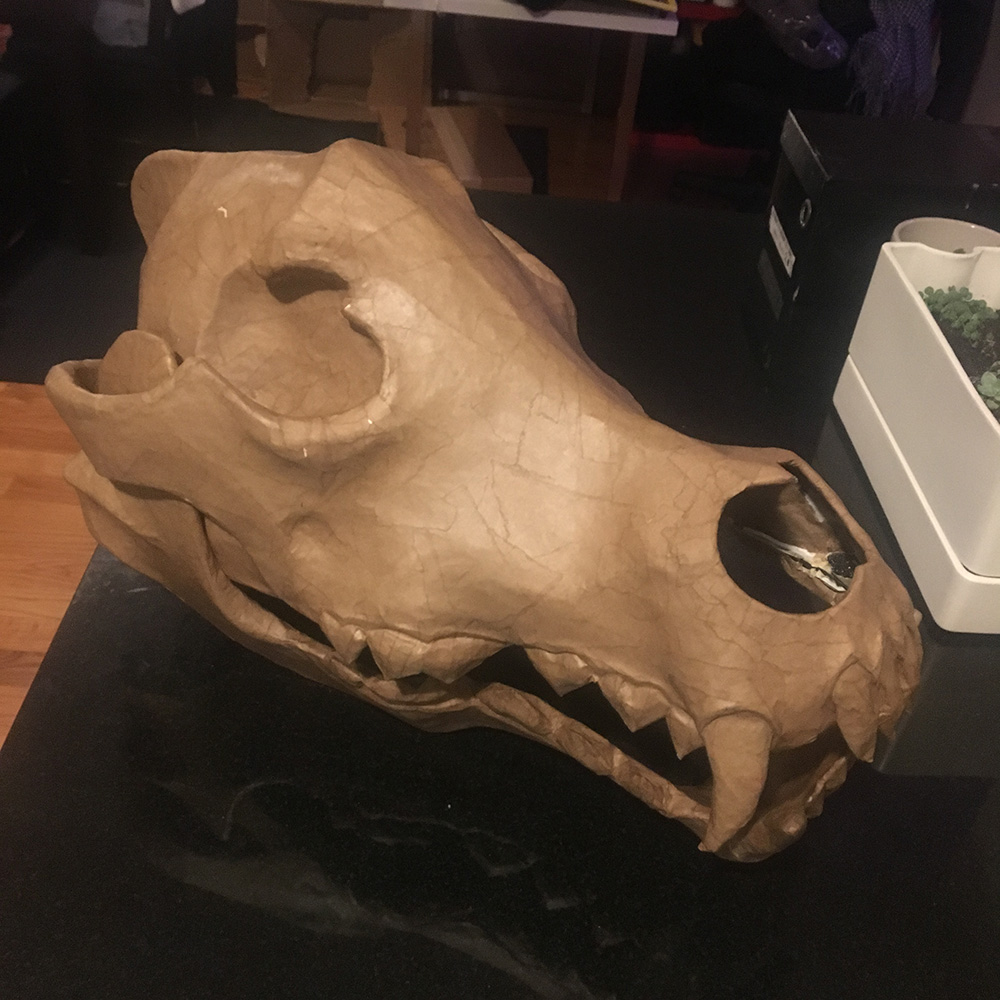
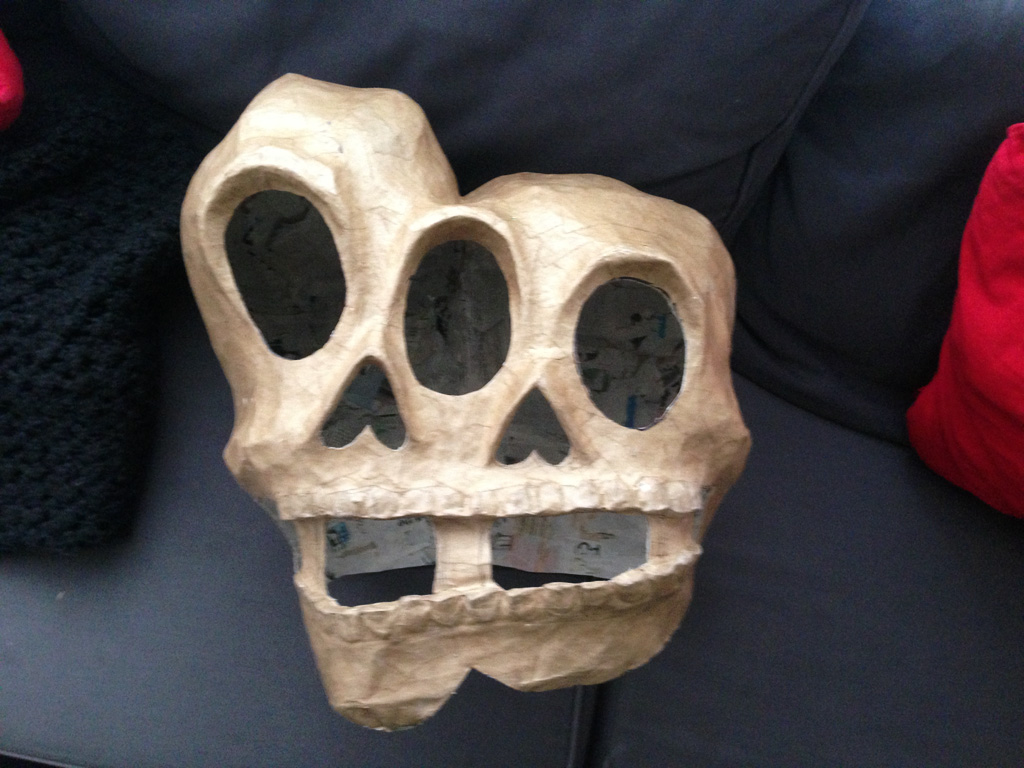
Here's my conjoined twins skull mask for Mardi Gras 2014, with the last layer of brown paper finished, insides pulled out, holes all cut, and before painting:
Preparing your work area
Okay, we've talked about paste and paper, but it's still not time to begin paper maché-ing yet. The only space I have where I can do paper maché projects is my dining room table. Before I begin, I cover the table with big sheets of newspaper, and I tape them down with masking tape. Then I cover that with long sheets of wax paper, and tape them down with masking tape. (Update: recently a friend gave me a huge sheet of coroplast, so I just lay that down on my table now!)
I always put an old sponge by the kitchen sink right before I start a round of paper maché-ing, so when I'm done I can use it to help get the paste off of my hands while rinsing them.
I'll also set out objects to rest my project when I'm done; things like wine bottles, styrofoam cups, etc. Anything non-porous that lets the project rest on small points.
Finally, we can start paper machéing!
If you did paper maché projects with flour and water as a kid, you might have worked with a relatively watery mixture, where you could dip the strips of paper in the paste, squeeze the excess off with your fingers, and then apply that strip of paper to your base. I don't work this way! The wallpaper adhesive that I use is too thick for this method, and I've found that a different method works much better. First, I scoop up some paste with my fingers and apply it directly to my base, smoothing it onto a small area. Then I place a piece of paper on the paste-covered base, and smooth it down with the left-over paste that's on my fingers. Voilà! As you work the paste into the paper you'll see how it gets saturated and just smoothes down perfectly onto your shape. Repeat with more pieces of paper like this until the whole base is covered — well, you might have to leave the bottom surface uncovered until the rest dries, then flip it over and do that part.
Drying
I used to let each layer of paper maché dry completely, for several hours or even a full day, before moving on to the next layer, however, I've recently gotten into the habit of doing two (or more) layers at a time and letting them dry together overnight. Drying time can vary a lot depending on the weather, what kind of base materials you're using, etc. In summertime on sunny days I can let my projects dry quickly in the sun (turning them once an hour) and do many layers in one day; as many as five or six! But to be safe, I recommend planning on having enough time to do about one layer a day, just in case they really don't want to dry quicker than that.
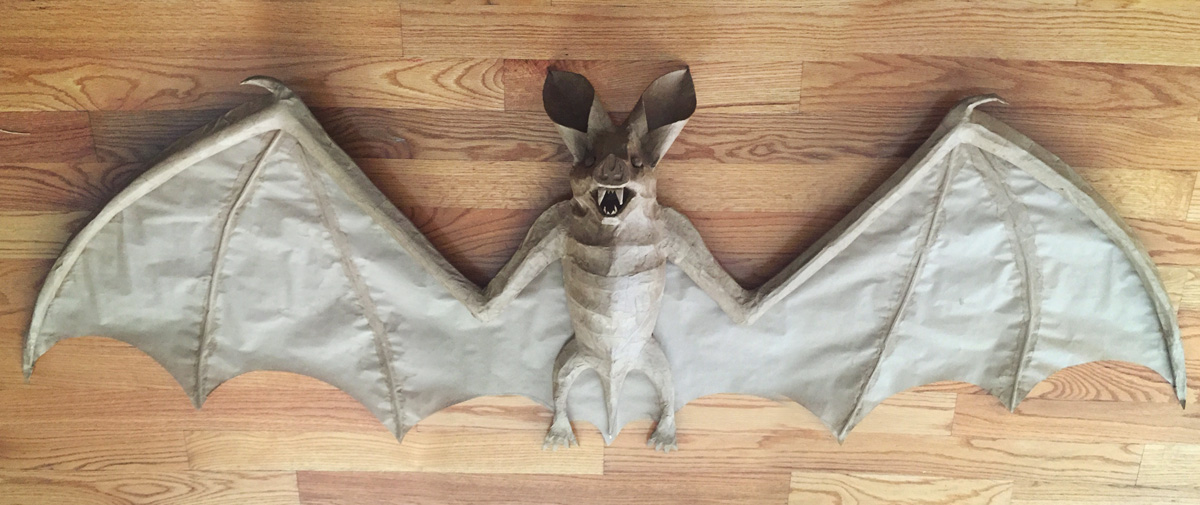
Direct sunlight will rapidly speed up your drying time; just rotate your project every hour or so to make sure the sun hits all sides. An electric fan can help speed up drying as well, but nothing beats sunlight.
If your base material is porous and hollow (like chickenwire or cardboard) drying can usually be pretty quick, whereas if it's non-porous, like aluminum foil, plastic, etc, it'll be a lot slower. I've done a few projects with papier maché over plastic cling wrap, and that can take ages to dry.
Removing the base
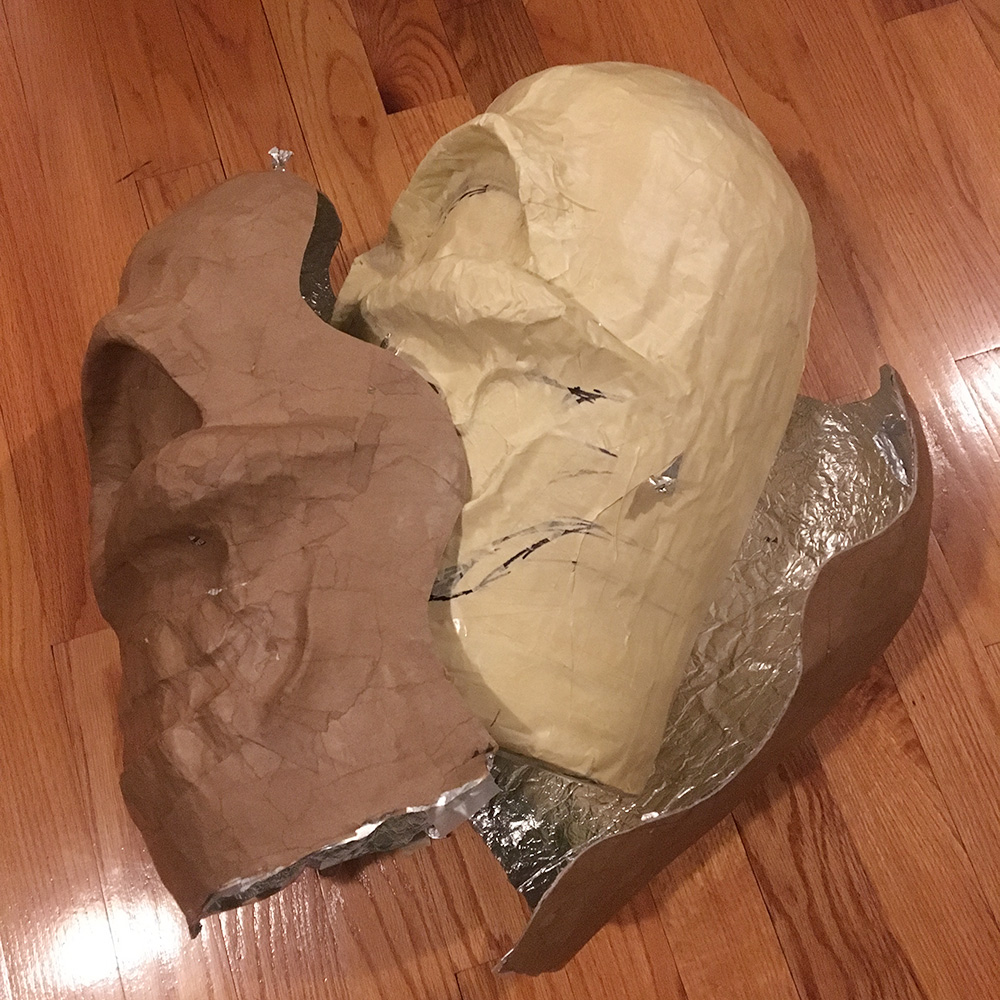
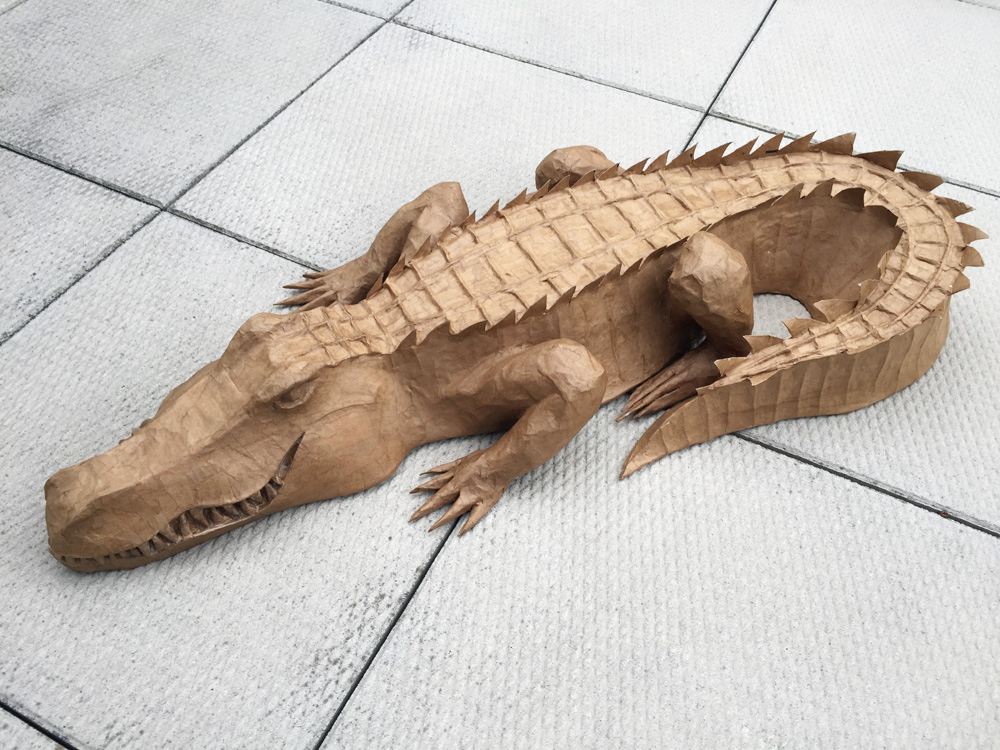
If you plan on removing the base, here are a few things to keep in mind. To remove my base materials I usually slice open the whole finished paper maché piece with an X-acto knife. I try to do this in a place that will be less visible, like the bottom of the piece, or the back — for masks obviously you just cut the bottom out. For a sculpture where I'll need to reconnect the cut pieces later, I cut wavy lines rather than straight ones, as this helps a lot when you're putting the pieces back together; with big straight lines it can be hard to line them up perfectly.
If you've used a release agent like aluminum foil, it should be easy to remove all the base materials, but you might find that you can't get all the foil unstuck from the interior of the paper maché; this probably doesn't matter though, right? If you've used shipping tape you'll probably be able to remove all of it pretty easily.
If you need to reassemble your paper maché pieces after removing the base, you can just tape them back together with masking tape to conceal the seam. Then you can cover the taped areas with two or three layers of paper maché, or more if you need the piece to be really sturdy.
Make a schedule
Because of all of the drying time involved in a big papier maché project, it's important to make sure you're giving yourself enough days to get your project done on time! I'm usually working on projects for either Halloween or Mardi Gras, so I always have a hard deadline — failure is not an option! I plan the whole thing out weeks ahead of time to make sure I'll have enough days for all the layers, all the drying in between, and then all the other stuff like painting, letting the painted project that air out for a few days, then applying a sealant, letting that air out for a few days, etc. I actually make a schedule for all of this, and I include several extra days for all unforeseen problems, which I promise you will happen!! You can plan lots of little non-paper-maché tasks to do during all those many long drying periods.
Mask making tips
I've written a few articles with tips specifically for making masks (see below), but for now here are some things to keep in mind. If you're making a big mask (like one that covers your whole head), consider mounting the mask on a hard hat. Remember you'll have to cut out eyes holes for your mask; you can reinforce the eye holes and neck hole with masking tape and then more paper maché, to make them look nicer and prevent them from giving you a paper cut. I usually install pieces of screen door materials in the eye holes using a hot glue gun. Here's a link to my article about making my Axe Man skull mask, which covers most of these topics in more detail.
That's about it! I'll get into a lot more specifics in my articles about individual projects. Have fun!
Does all this sound like too much hassle? Hire me!
I've been doing tons of commissions lately! See my page about custom paper maché masks, sculptures, etc. Drop me a line and let's chat!