
Simple(?) zombie mask made in one day!
Published October 25th, 2026
A couple years ago on Halloween I decided to try making a mask in just one day, and I ended up with this devil mask, which I spent about eight hours on total. The process was fun and hectic! The other day, in anticipation of a pre-Halloween costumed event, I decided to try it again! I took no pictures of my process this time, but I'll tell ya all about it...
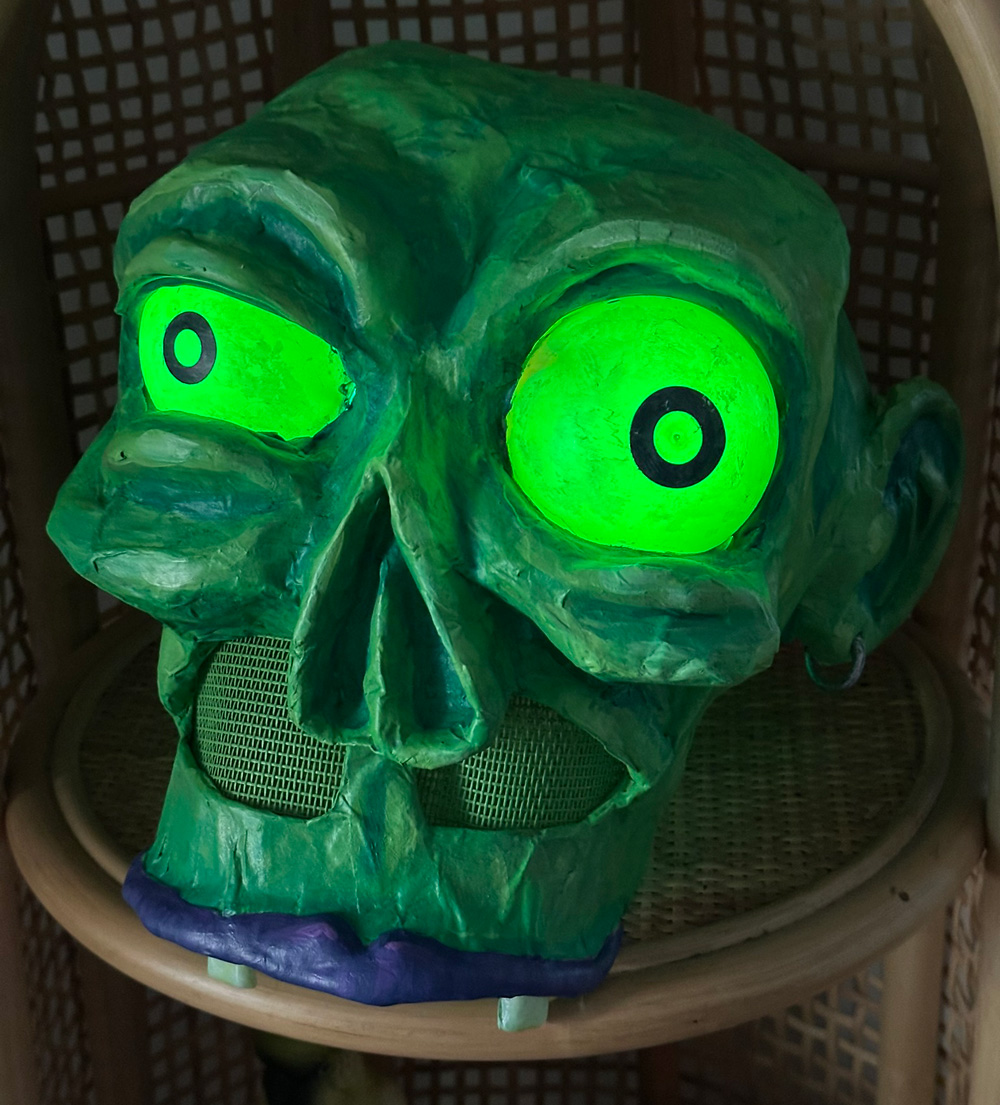
Here were the basic guidelines I set for myself:
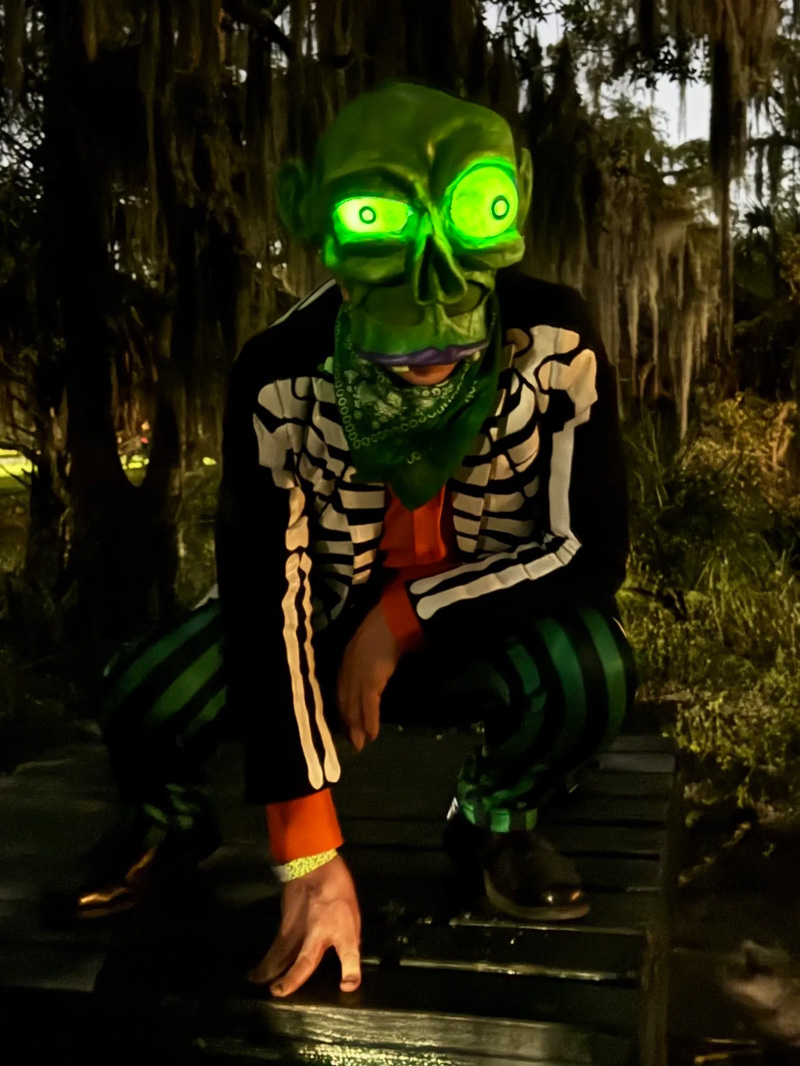
- Gotta make this thing real quick. (For reference, most of my serious mask projects take anywhere from 40 to 60 hours. I made this thing in about eight.)
- No sketching, no measuring, no using a ruler to draw straight lines. Just freestyle. Make it up as I go.
- It's gotta be comfortable to wear, nice and stable on my head, and good for walking around and wearing for a long time.
- Gotta let me drink (and eat candy) without taking it off.
- Must have really good vision so I can walk around at night and be able to see the ground in front of me.
- Must allow for good hearing, and for letting me talk to people and be heard (i.e. nothing blocking my ears or mouth).
Here's what I did!
I first made a basic wearable headband shape out of foam board and makeup pads and hot glue, very similar to the one I made for my quick and dirty devil mask. A band to go around my head, and a crest over the top, with a bunch of makeup pads glued in. Easy! (Pro tip: if you hot-glue makeup pads to a foam board band, there's a chance the paper layer on the foam board will come unattached at some point. To mitigate this I put masking tape along the edges of foam board, to lock the paper in place on both sides. Paper maché would be much better for this! But I didn't have the time.)
Separately, I made a big dome shape to go over my head. I used long strips of pasteboard cut out from a saltines box, and I assembled these into a sort of framework for a slightly narrow dome. I started with some strips to form a ring, and then a long strip over the top, running from front to back. Then I added a slightly shorter strip crossing over the top from left to right. Then I added some more crossing strips digonally, and then some shorter strips spanning between all the crossing strips, until the whole thing started to feel somewhat solid. Here's a look inside the finished mask...
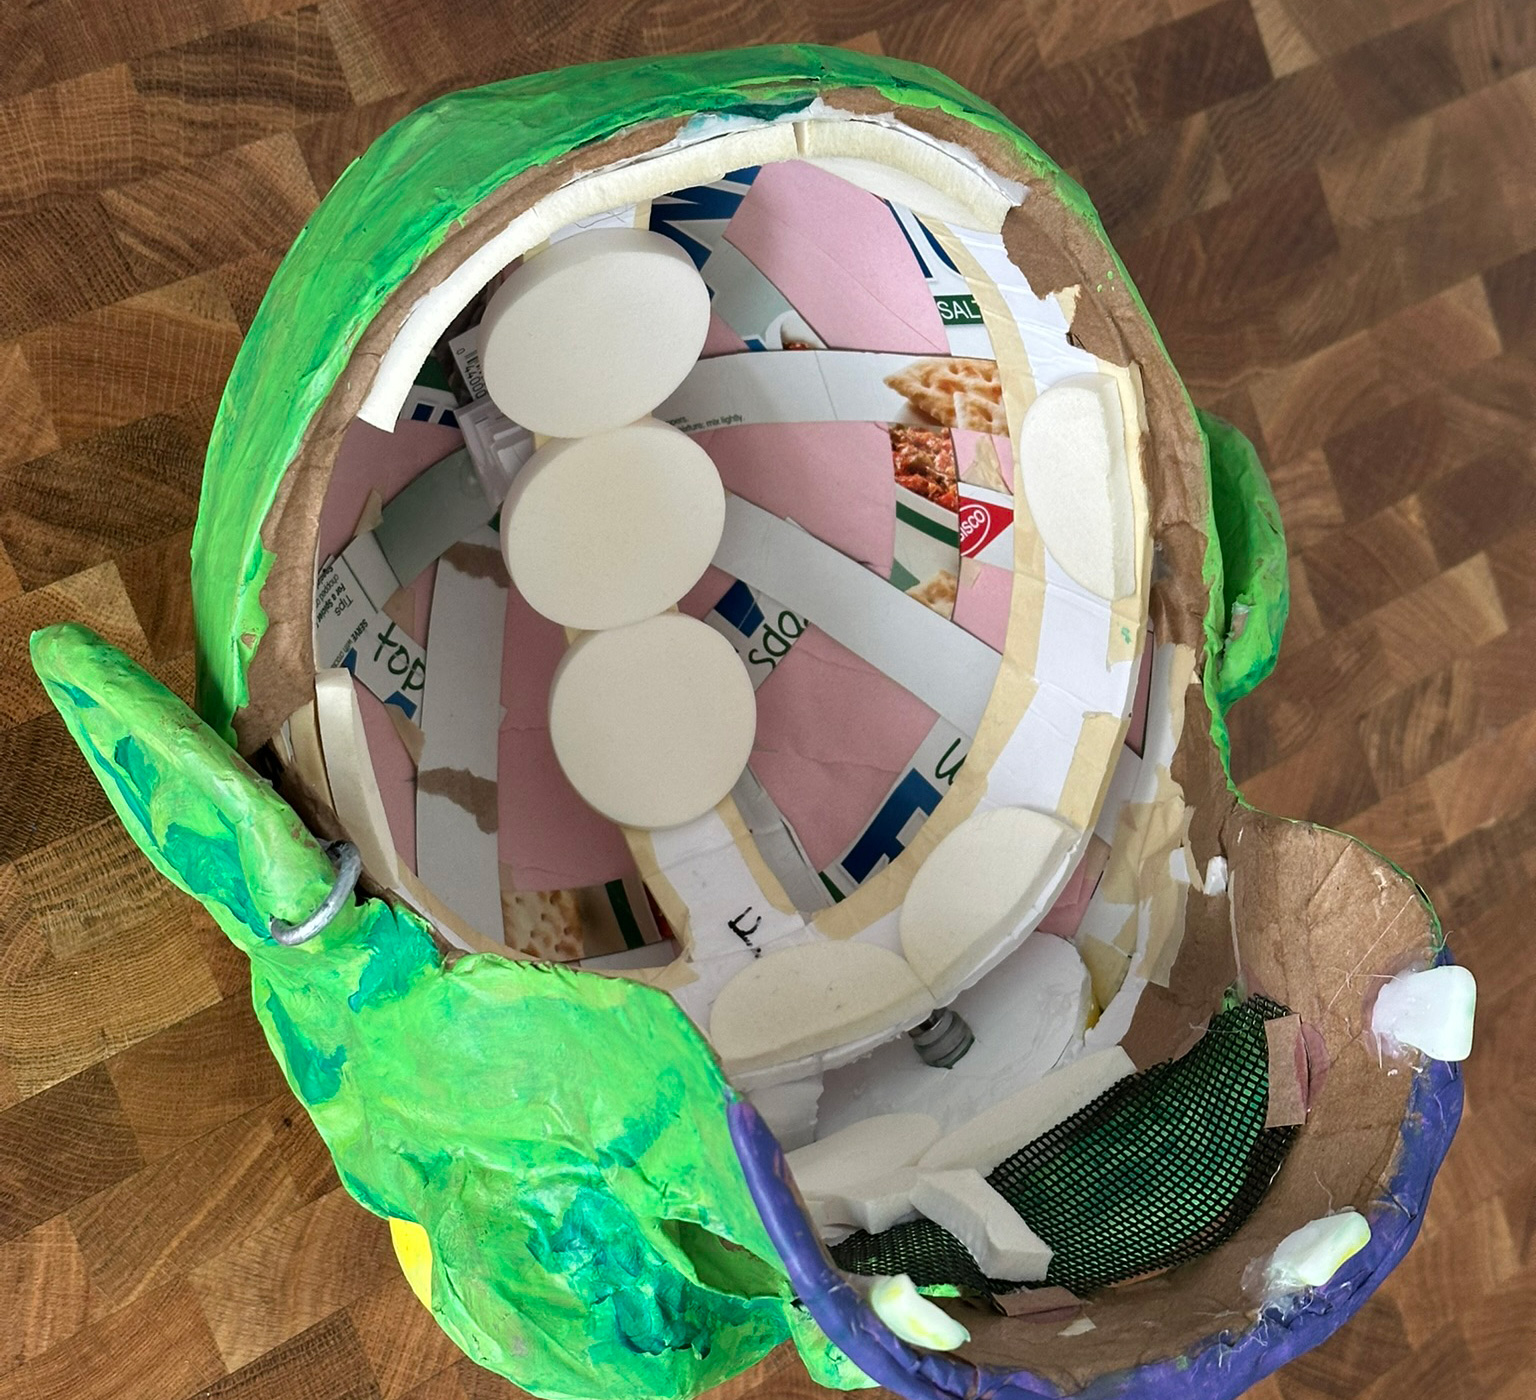
Then I covered this dome-shaped framework with lots of strips of construction paper, taped in place. Then I covered that with masking tape. The resulting shape was really bumpy, so I did another layer of somewhat thinner construction paper strips, and then another layer of masking tape. Now it was pretty smooth.
I attached my wearable headband thing into the dome shape with some hot glue at the back, and then some little foam board pieces to connect the sides of the headband to the inner edge of the dome, and then the same thing at the front.
Next I cut out a basic face plate shape from pasteboard, and I hot-glued this to the bottom edge of the dome. I designed this shape so that my eyes would be looking out from under the nose, and so the bottom edge of the upper lip would be just above the top edge of my mouth. (As you can see, this mask has no lower lip/mouth/jaw. I also designed this face shape so it wouldn't hang straight down, but rather, it sticks out forward somewhat, which gives my nose more room and actually lets me see downward behind the face. So my eyes can look forward out of the eye holes, and I can glance down behind the mask to see the ground.
By the way, at this point I wasn't sure what kind of monster this was going to be yet! I had a few concepts in mind and right here I decided to go with zombie.
Eyes
I have these plastic spheres that are packaging from crappy toys from the dollar store. They open into two half-spheres. To prepare these for lights, I first cut a circle of white craft foam (aka EVA foam), slightly larger than the half-spheres, and I cut a bunch of slits all along the outer edge so that it can mold into the interior of the half-spheres a bit better. I pushed these into the half-spheres and put hot glue all along the inner edges to set them in place. The white craft foam will diffuse the lights and give the eyes a fairly even glow; without it the lights end up looking like intense little points of light.
Then I traced the half-spheres onto foam board and cut out those two circle shapes. I hot-glued these in place as well. Then I cut a small hole in the middle of each; this is where I would insert the lights later.
For the lights, I used these individual little battery-powered lights (pain link). When it was time to get in costume, I twisted the lights on, and I simply stuck them in the holes behind the eyes and put masking tape over them to hold them in place. But that all happened later...
The irises/pupils are cut out from black construction paper; I have a bunch of different-sized hole punches I use for this. I glued them onto the eyes with the same wallpaper paste I use for paper maché; I brushed some onto the eyes, set the irises/pupils in place, and brushed more over them.
By the way, I don't love how the irises/pupils are positioned in the eyes sort of facing outward from one another, but I didn't have much choice. These plastic half-spheres each have two little holes near the middle, and I wanted to position these paper bits to cover those, so I was sort of stuck with placing them like this. No big deal for a messed-up lookin' zombie!
Sculpting the face
I decided where I wanted the eyes to be positioned on the face, and I cut out big circle holes and stuck the eyes in there, and I secured them with a bunch of masking tape. I needed to have access to the back of the eyes from inside the mask so I could put the lights in later.
I sculpted the face mostly with foam clay (paid link). But first, I put some big rough shapes onto the face made with foam board: some eyebrow ridges, cheekbones, and the outer edges of the nose. I didn't bother to make these precise or look nice because I'd be covering them completely with foam clay.
I used foam clay to basically cover the whole face and add more natural looking contours, and I built up some eye lids and stuff. Oh yeah, I also made the upper lip with foam clay.
I set the mask in front of an electric fan to make the foam clay set faster. (Note: Basically for almost every step coming up I used a fan to speed up drying — for paper maché, and paint, as well as helping foam clay set faster.) Normally I'd want to let foam clay set for at least 24 hours so it starts to feel somewhat hard and dense, but I didn't have time for that for this mask. The foam clay felt dry to the touch but was still very soft when I continued on to the next steps...
Paper maché
I put just two layers of paper maché on the mask, and I set it to dry in front of an electric fan. Here's some info about my paper maché process and materials. The short version is: I use Roman PRO-543 universal wallpaper adhesive (paid link) and alternating layers of newspaper and brown wrapping paper.
I only did two layers because more would cause it to dry much more slowly. This meant, for this mask, I would not be able to remove any of the interior materials; I need them in there to serve as a solid structure for the mask. The paper maché for this mask is really just there to give me a nice uniform surface for painting. Normally my process is to do at least eight layers of paper maché and then remove all the inner junk, leaving me with a very solid paper maché shape. No time for that this time. With just two layers of paper maché, this means the finished mask feels pretty soft and squishy to the touch; the paper maché surface isn't hard at all, which I don't love. It's also heavier than most of my masks of this size because it's still got all the foam board and tape and foam clay inside. So, I usually shoot for making a mask that's very solid and lightweight, but this rush job ended up being soft and heavier. No big deal!
Ears
While the paper maché on the head was drying, I made the ears. I cut these out of foam board and added the 3D bits with foam clay. I put the ears in front of a fan to make the foam clay set faster, and then I covered them with two layers of paper maché.
When the ears were dry, I hot-glued them onto the mask, and then added some foam clay to smooth out the connection in front, and some more behind the ears to hold them out at the right angle. I let this set in front of the fan for a little while and then covered over the foam clay with one layer of paper maché.
Painting
I covered the whole head with a coat of Mod Podge and then a coat of green acrylic paint. (No spray paint this time.) I let that dry in front of the fan, and then I did a wash with a darker green color mixed with water. I let that dry, and then I added highlights with a lighter green color.
I painted the lip purple and added some little vertical lines of slightly darker and slightly lighter purple.
Screen material
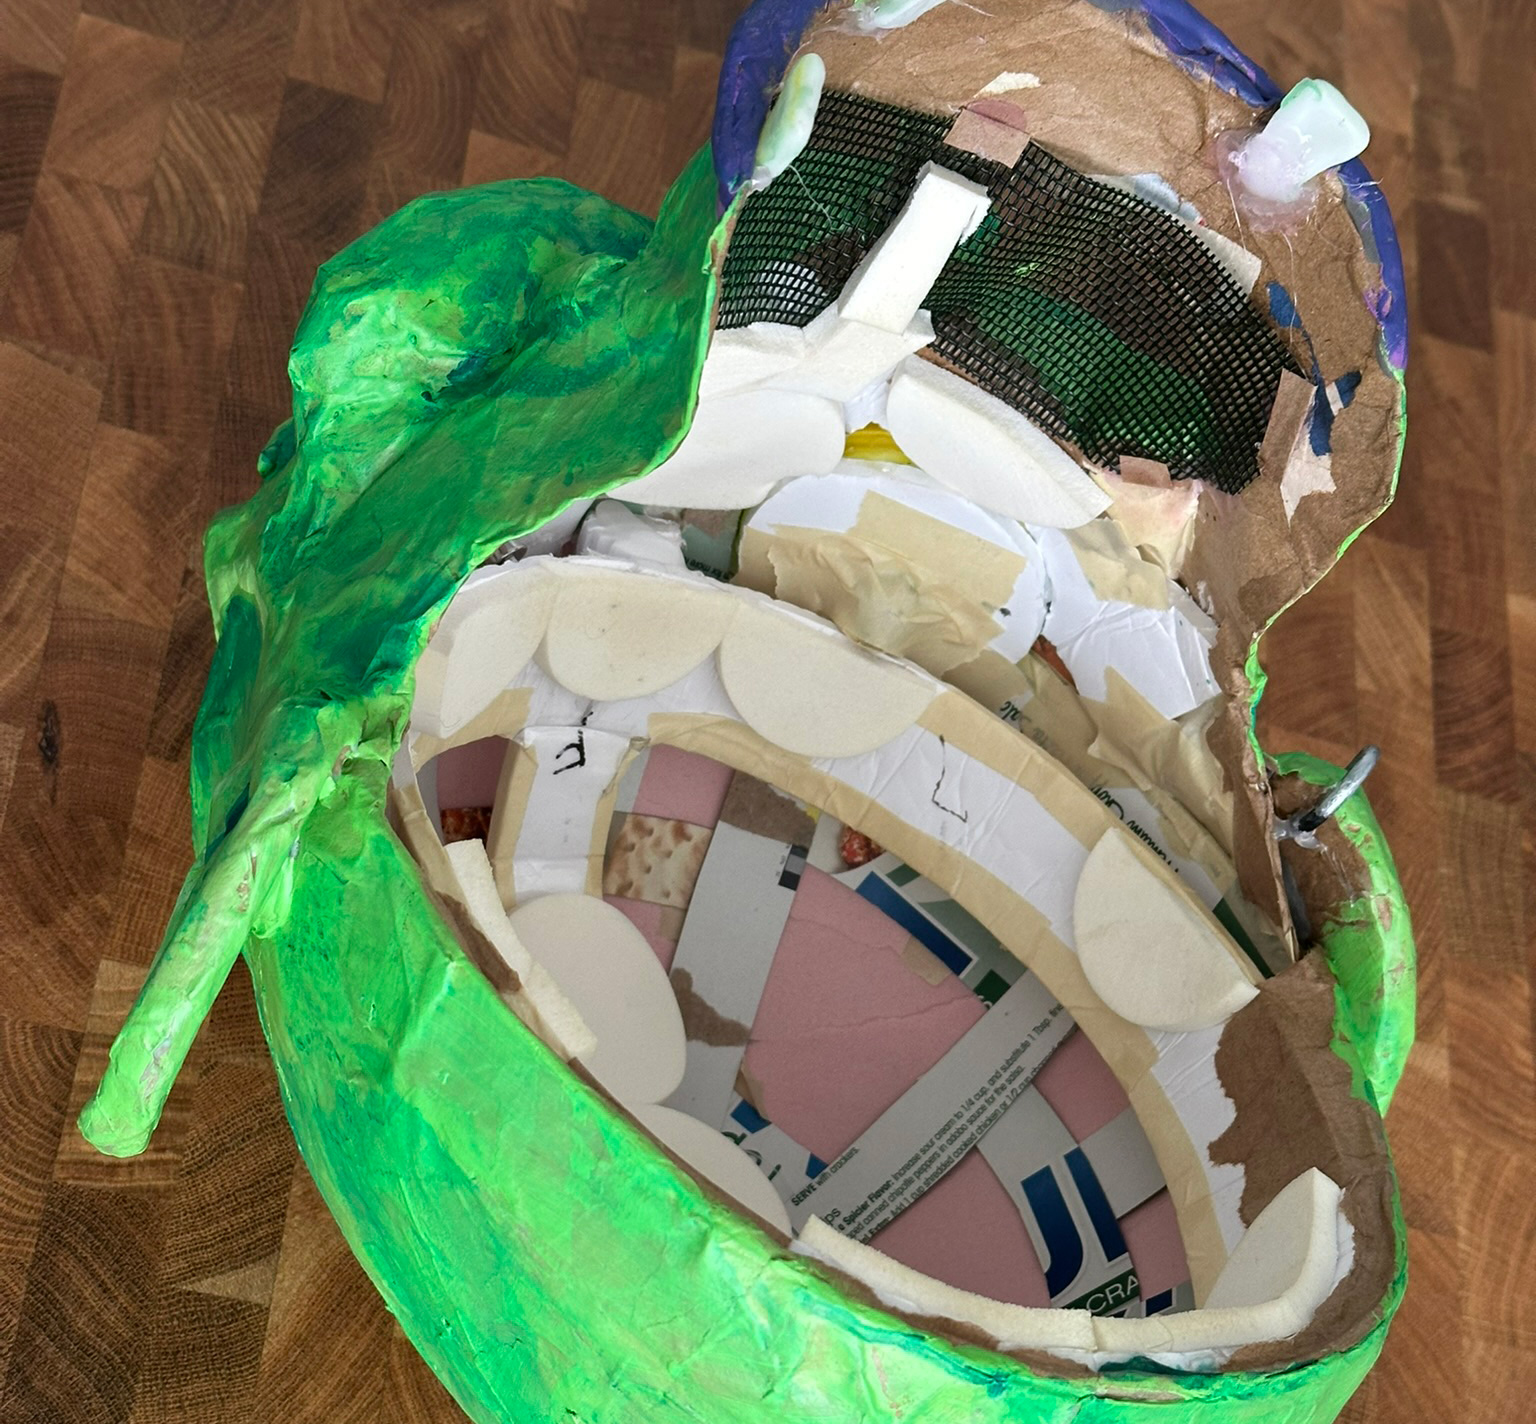
I cut a piece of pet screen (paid link), taped it down onto my work surface, and brushed green paint on it, being very careful to not let the paint fill the holes in the screen. This meant doing several light coatings.
When the screen was dry, I lifted it off of my work surface and put it into the mask to decide how I'd need to cut it to fit. I trimmed some edges off until it was the right shape. Then I hot-glued some little folded paper tabs along the edges of the screen, and then I hot-glued these tabs into the mask. This is way, way easier than trying to glue the screen directly into the mask; if you do that, the hot glue oozes through the screen (obviously) while you're trying to glue it down, and you can burn yourself, and it doesn't want to stay in place, etc etc. The paper tabs make this super easy.
Teeth
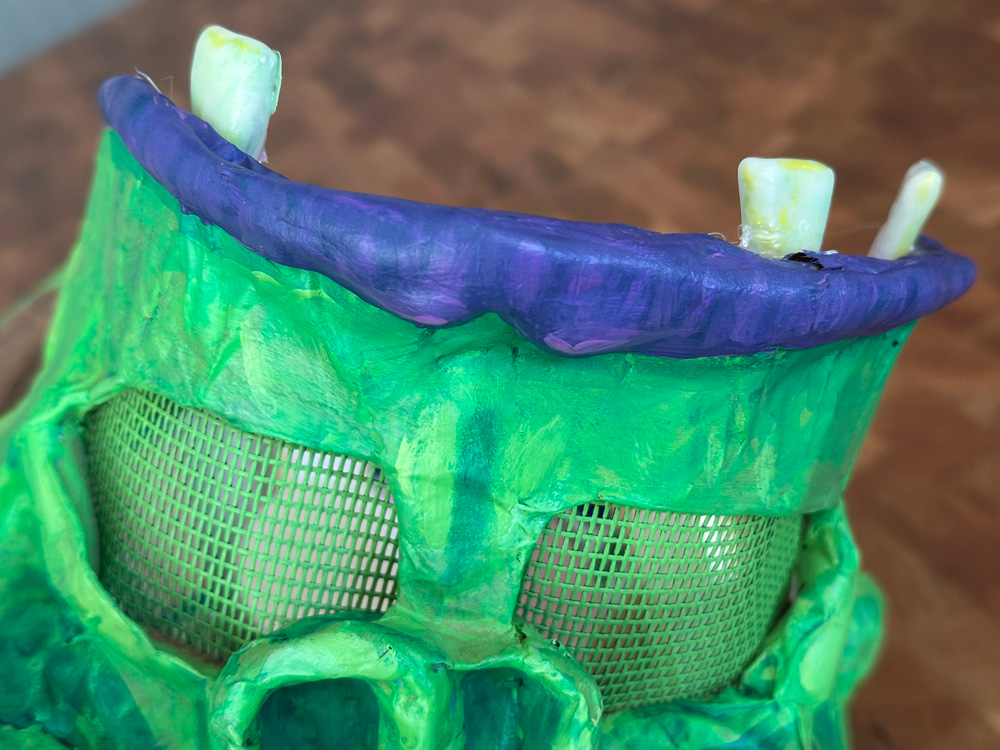
I made three teeth out of thermoplastic (paid link), which sets in just a minute or two. I just used this for the first time recently and it's become my favorite material for making monster teeth extremely quickly and easily. I painted the teeth with some thinned yellow and green paint, and when they were dry I hot-glued them in place with tons of hot glue. I was worried they'd fall off, but they held on just fine.
Counterweight
The mask was bit front-heavy since I left all the foam board and foam clay and tape in there, so I added some counterweight in the back; six of these handy little adhesive weights (paid link). The stickers on these are really strong, but I also glued them in place just in case. When you add weight to balance out a mask, obviously the makes the mask heavier but it actually feels lighter and more comfortable on your head, as your neck muscles don't have to do any work to keep it straight.
Earring
I used a rubber O-ring (like from the plumbing department of the hardware store) for the earring. I just painted it silver, let it dry, and then snipped it with scissors to insert into the earlobe. Oh yeah, and I just poked a hole in the earlobe with an awl. I hot-glued the earring at the back of the earlobe hole to secure it.
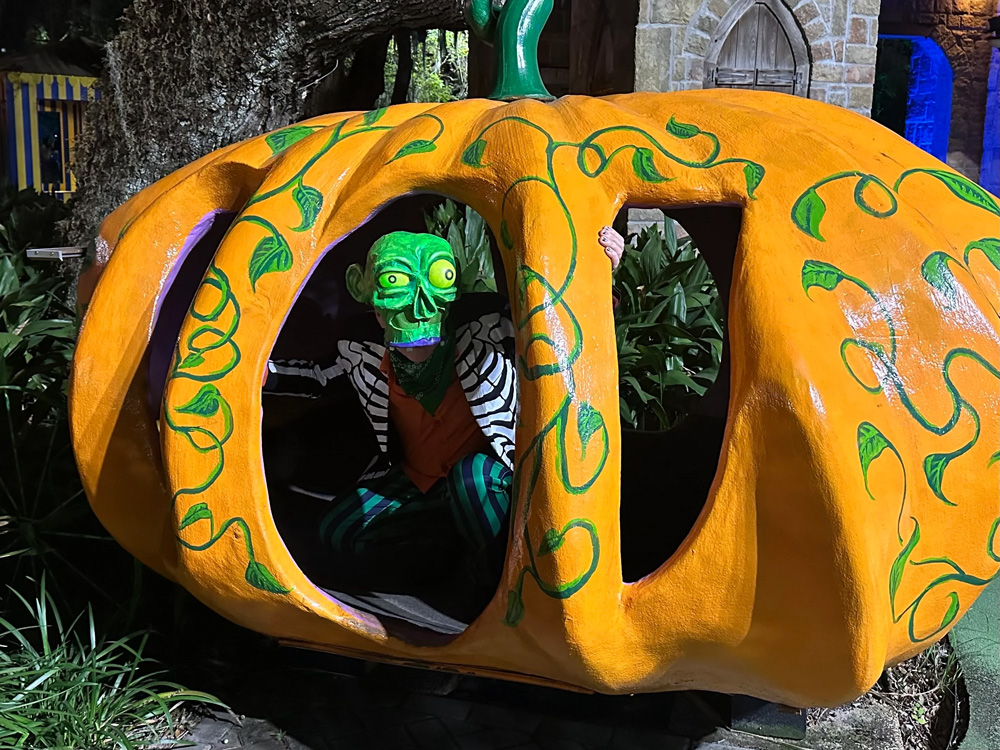
And that's about it for this mask! This mask ended up being extremely easy to wear, like, so easy that I plan to do this exact configuration for future masks where I need to be able to wear the mask for a long time and be able to see/hear/talk/drink/eat.
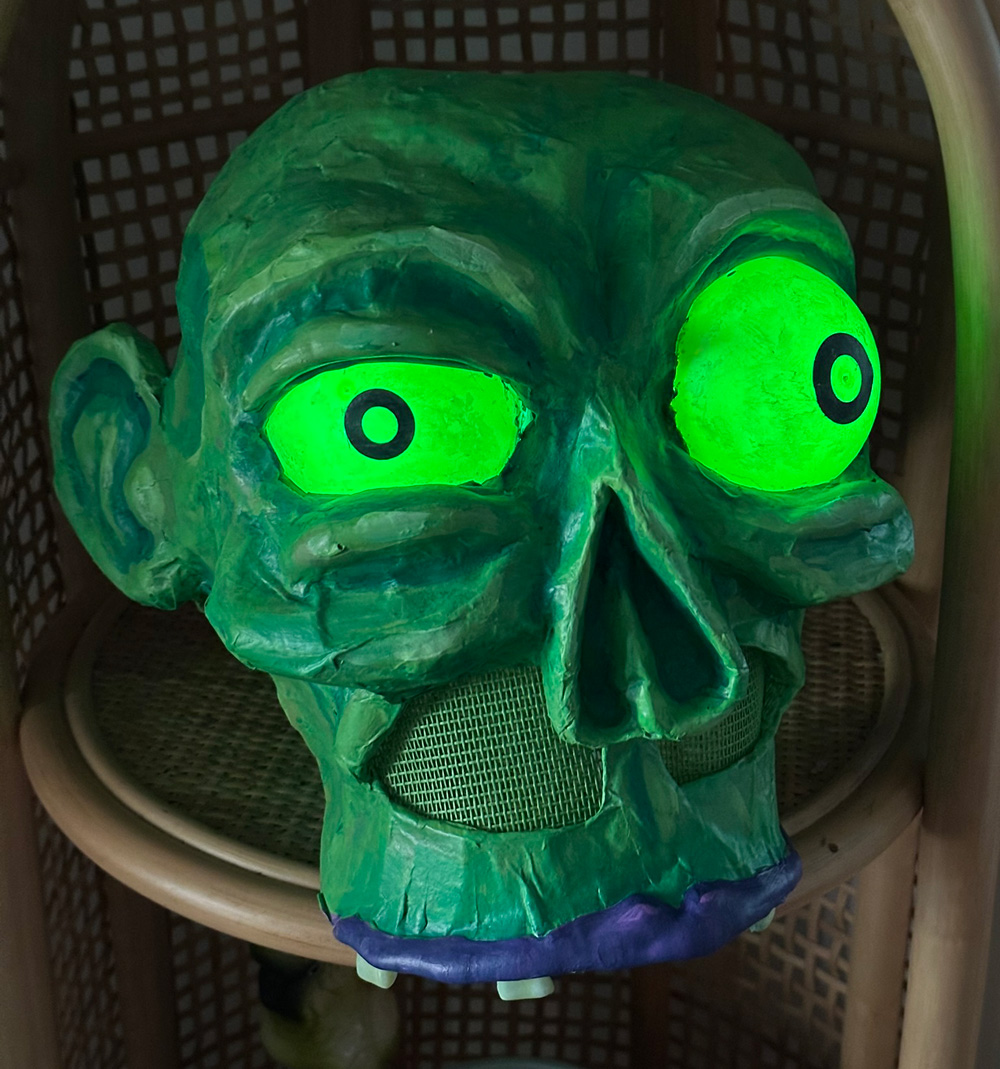
That's about it for this mask! Happy Halloween!