
Eyeball alien costume, part 2: a whole lot a' eyes
Published October 31st, 2026
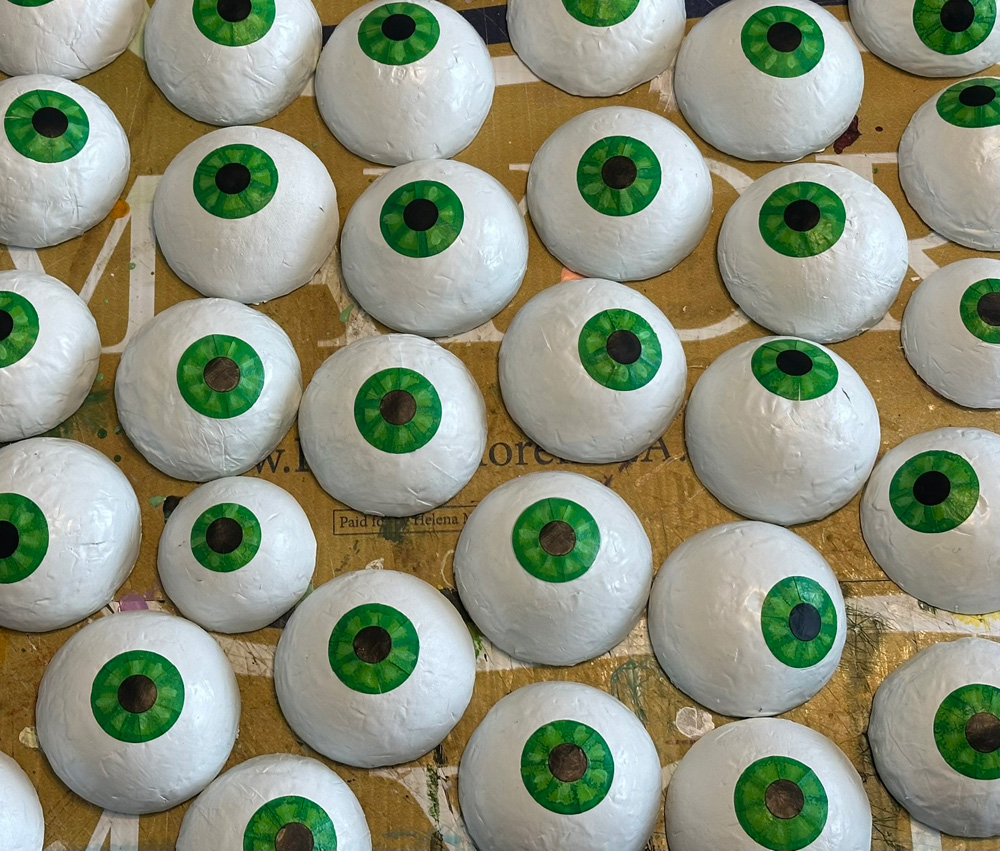
In planning out this alien Halloween costume, I did some sketching and some math and figured out that I needed to make about 40 eyes! I wrote about the dangling eyeball in the spiral shape in part 1. There are 35 more eyes that are all the same size, and then four smaller ones on my gloves and shoes, and then one small one for my earring. Here's how I made 'em!
Press mold for paper maché
For most of the eyes, I used a technique I've been wanting to try for ages: a press mold technique, using plastic half-spheres as a mold. This method involves pressing paper maché inside a shape, rather than covering the outside of a shape.
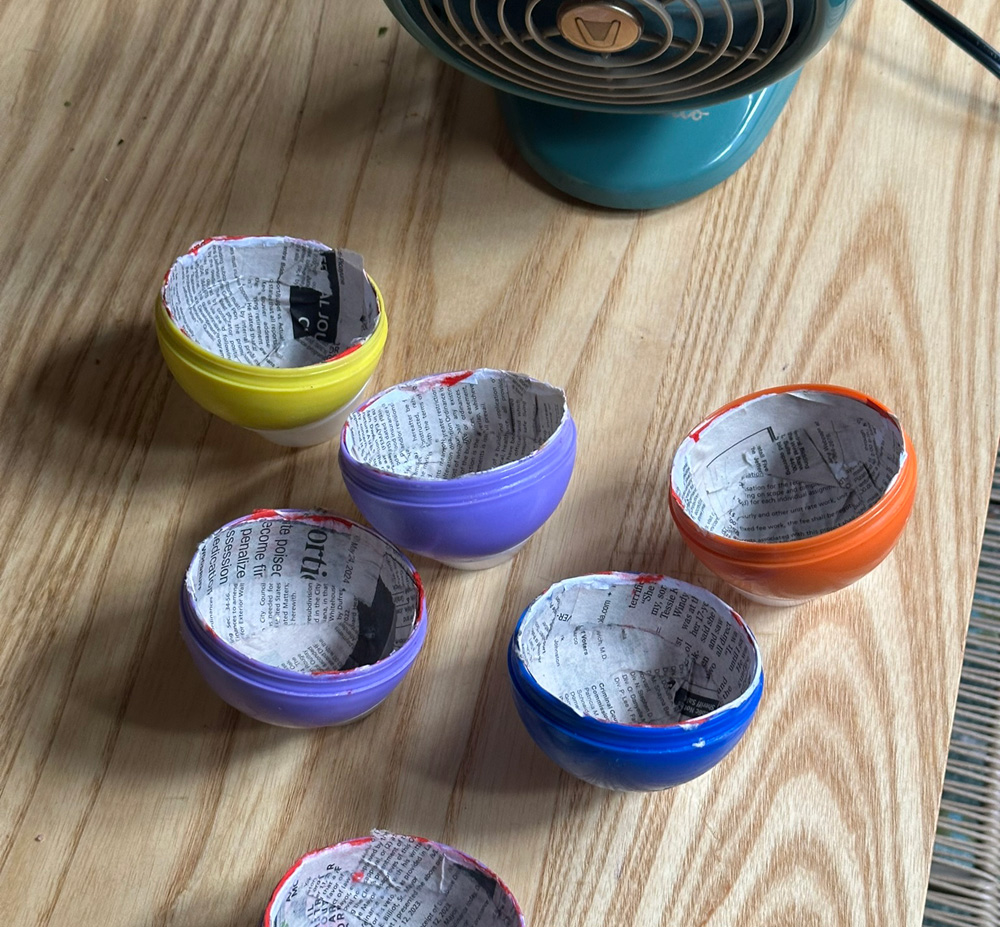
I got some little toys from the dollar store that come in spherical packaging. I rubbed some Vaseline inside the half-spheres, and then pressed my paper maché into that; about seven layers. Here's some info about my paper maché process and materials. The short version is: I use Roman PRO-543 universal wallpaper adhesive (paid link) and alternating layers of newspaper and brown wrapping paper.
The eyes had to dry for a very long time because the damp paper is pressing right against the non-porous plastic. Once the paper maché was dry, I carefully removed it from the half-sphere. I found that twisting them inside the plastic half-spheres was the best way to get them to let go.
Once I got the paper maché half-spheres out of the plastic molds, I let them dry for another day so that the surface that was against the plastic could dry completely.
When they were dry, the paper maché shapes were a bit slimy due to the Vaseline. I used a paper towel to try to absorb as much as I could. Then I actually used some Windex on a paper towel to try to degrease the surfaces a bit. All of this helped a lot, but the shapes remained a bit slippery. No big deal; Mod Podge and paint will cover this up (later).
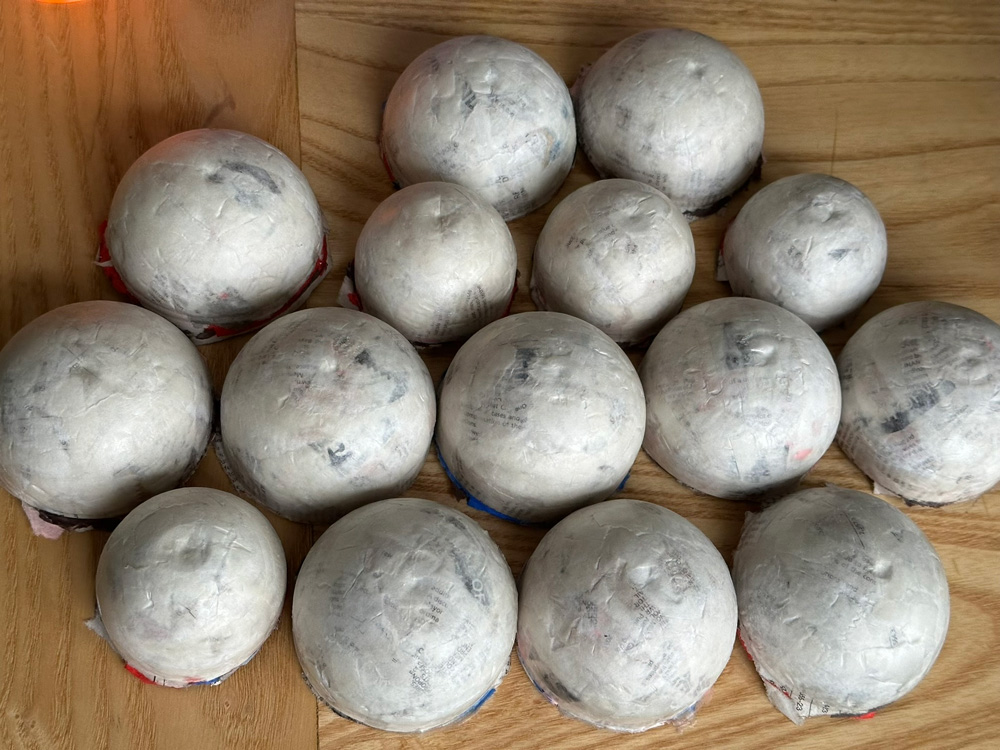
I made 35 of these eyes with the plastic spheres from the dollar store. I also made four smaller ones using the same technique with some plastic Easter eggs. (And I didn't press-mold the eyeball on my earring; that one is a Christmas ornament covered with paper maché.)
I wanted to trim the edges of the paper half-spheres with scissors to make them the right size and give them a (more or less) perfectly straight line around the bottom edge.
To mark this line where I would cut, I laid a Sharpie marker flat on my table and rotated a paper half-sphere against it, letting the marker draw the line all the way around. This line ended up lower than I wanted, so I redid this step with the marker laying on a scrap of foam board to raise it up a little bit. That did the trick. I marked all the eyes and trimmed all of them with scissors.
Painting, and irises and pupils
I applied a coat of Mod Podge on the eyes to smooth out the surface a bit, and then then a coat of white spray paint.
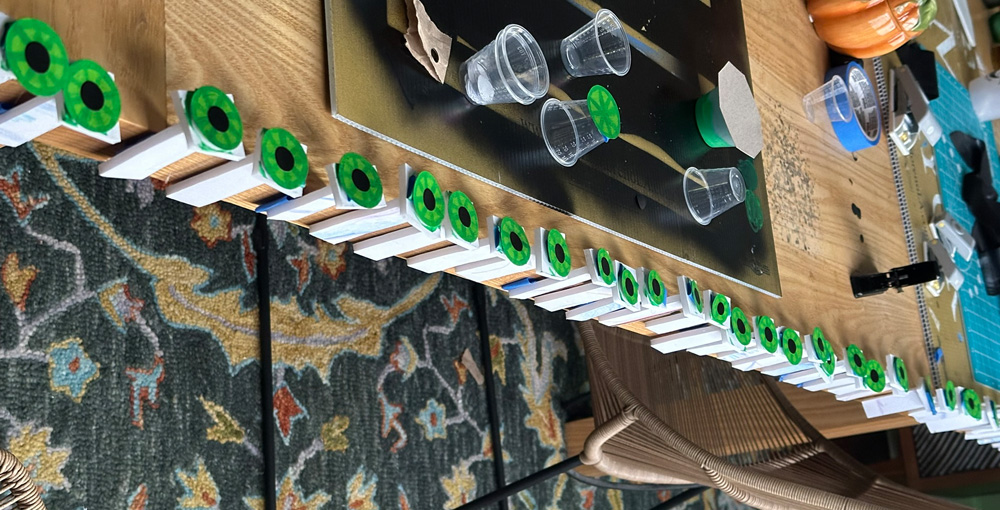
I made the irises, pupils, and little white reflections by cutting out tons of paper circles, using different-sized hole punches. I have a bunch of these things in all kinds of sizes; they're super handy.
For the green irises, I took a sheet of green construction paper and spray-painted it a more brilliant green color, and then when that was dry I punched out all the circles. (Why start with green paper if I'm going to spray paint it green? Because the edges of the cut-out circles may be a little bit visible when they're pasted onto the eyes.)
I mixed up some darker green acrylic paint, and I used that to paint a ring around the outer edge of each iris, and also little lines radiating outward from the center. I then mixed up some slightly lighter yellow-ish green and painted some highlights in between the darker lines.
To paint the irises, I set them all on little supports that I whipped up from scraps of foam board, each with a loop of blue painter's tape on top. That way I could hold and turn the irises without touching them, and easily set them down to dry.
For the black pupils, I used a huge black paint marker on a piece of black construction paper to make it even more black. (If you look at black construction paper, it's actually not super-duper dark.) Then I punched out all the little dots.
For the white reflections, I just used some thick white paper and punched out a million dots in a few sizes.
Before pasting all these bits onto the eyes, I used scissors to modify all of the green irises. I snipped a bunch of short cuts from the outer edge, pointing inward. These will let the flat paper irises mold onto the rounded shape of the eyes.
Time to put all these bits together. I brushed some Mod Podge onto the eyeballs, and then laid the irises in place and brushed more Mod Podge over them to seal the edges down completely.
Okay, then I pasted the black pupils onto the eyes with Mod Podge, let them set a few minutes, and then I pasted the white reflection dots onto the eyeballs with more Mod Podge.
Attaching the eyes
To prepare the eyes for attaching to my suit, I cut circles from some pasteboard packaging (Saltines boxes, LaCroix boxes), just slightly smaller than the diamater of the eyes. Since the eyes aren't all exactly the same size, I traced them one by one for this step. I cut these out and hot-glued them inside the eyes. Obviously it was important that none of these edges stick out; that's why I made them ever so slightly smaller.
Then I just hot-glued the eyes onto my suit. I used Gorilla Glue hot glue sticks for this, because they're much stronger than the regular cheap hot glue sticks I buy in bulk.
I wanted to glue the eyes onto the suit while I was wearing it, so I could position them perfectly. To do this, I used just a tiny dot of hot glue at first, to put the eyes in the right place without burning myself with a big blob of hot glue. Then I took the suit off and laid it on my table and lifted up the edges of each eye to put a lot more hot glue in there.
With the thin material of the pants, I was concerned the hot glue might go through and stick to the other side, so I slid a piece of cardboard covered in shipping tape in there, and moved it around as I glued each one in place.
(I also hemmed the pants with hot glue! I've done this for all my costume suits. I just work out the length I need, fold the fabric inside and mark it with masking tape, then cut away the extra and put hot-glue in the crease. Works like a charm — for a costume; I wouldn't do this with real clothes!)
Gloves and shoes
I hot-glued two of the smaller eyes onto my gloves, just like I did with the suit.
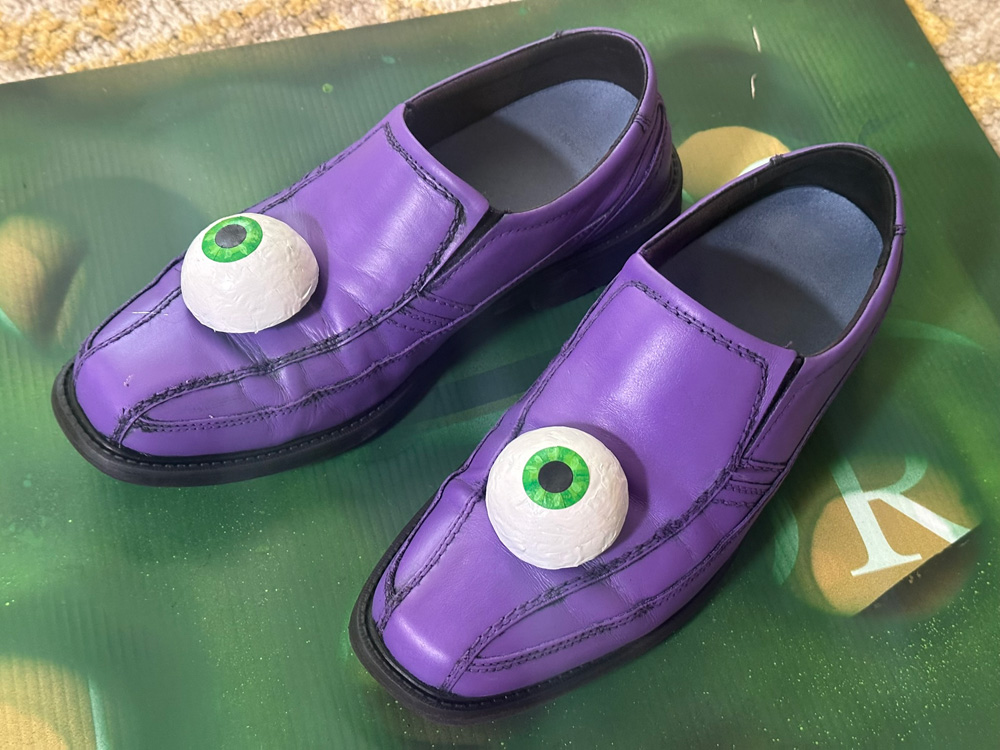
For the shoes, I used brass fasteners. I cut horizontal holes in the tops of the shoes, and then I ran the fasteners up through the holes and bent them open to hold them in place. Then I hot-glued a small piece of pasteboard underneath the tabs, and another above the tabs, to really lock them in place. I hot-glued the eyes onto these, but I added a weird step. For these two eyes, I added a little piece of elastic cord and then the pasteboard disk. This way, when the shoes bend as I walk, the eyes can slide out of place a little bit, rather than get bent or crushed or just break off completely.