
Monster hands decoration
Published by Manning on November 29th, 2025
I made these simple monster hands to decorate this cabinet that I hate that’s in our powder room. The space under the cabinet doesn’t fit to the sink at all, and you could see all these ugly tubes in there. I couldn’t think of a good way to fill or cover the space entirely, and that’s how I got the idea for these hands.

I started by drawing the profile of one of the bent fingers on foam board and cutting that out. This profile is really just to define the bent underside of the finger; I’ll build up the top part later.
I started with the pinky and then drew each of the other fingers to be slightly less bent than the last. Once I had drawn all four fingers for one hand, I numbered these and then traced them and made copies; eight fingers for the two hands. (I write numbers and letters on everything all the time to keep track of stuff — also arrows sometimes, sometimes F and B for front and back, etc. The more labeling I do the less confused I get.)

I then cut thin strips of foam board and hot-glued them along the backs of all of the joints of all of the fingers.
I then used foam clay to begin padding out the undersides of the fingers, trying my best to maintain the exact curves I’d drawn and not let the clay fill in the spaces where the joints bend. I let the foam clay set for a day, and I moved on to the fingernails…
I rolled up a tube of poster board and then put two layers of paper maché on it, to lock it in this curved shape and to make it a bit sturdier. I then cut out my fingernail shapes from this. A thing I do all the time when I’m making lots of copies of something is to make several more than I actually need, and then choose the best [X] (in this case, eight) to actually use.
I left the fingernails much longer at the back than they needed to be, and a pointed at the back, so I could shove the extra length in the back under the foam clay, coming up…
Then I built up the backs and sides of the fingers with foam clay, being careful to maintain a small ridge around the sides and backs of the fingernails.
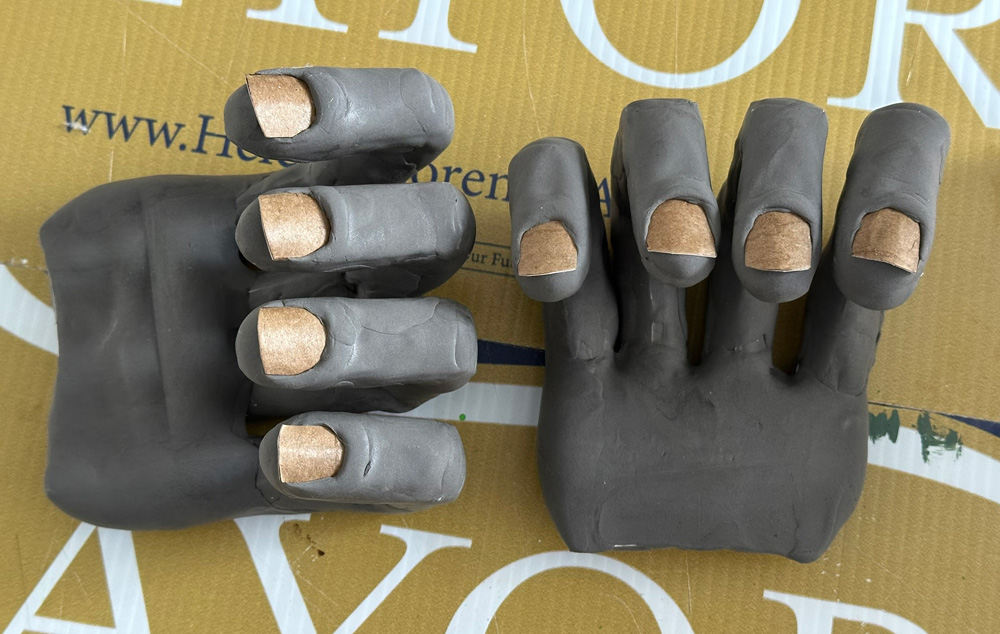
I glued the finished fingers onto a small rectangular piece of foam board to serve as the palm or whatever. I glued them slightly splayed out rather than perfectly parallel. I covered palm and the back of the hand with some foam clay.
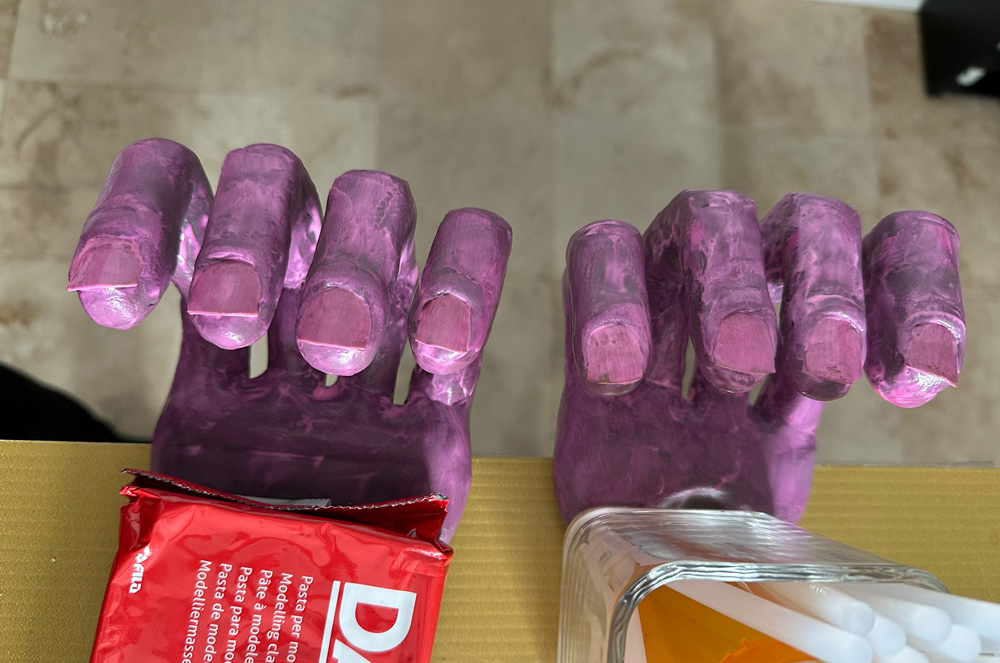
I let all of this set for a day, and then I painted the hands. I started with a coat of Mod Podge, let that dry, and then I experimented a bit with some different colors of spray paint and acrylic paint.
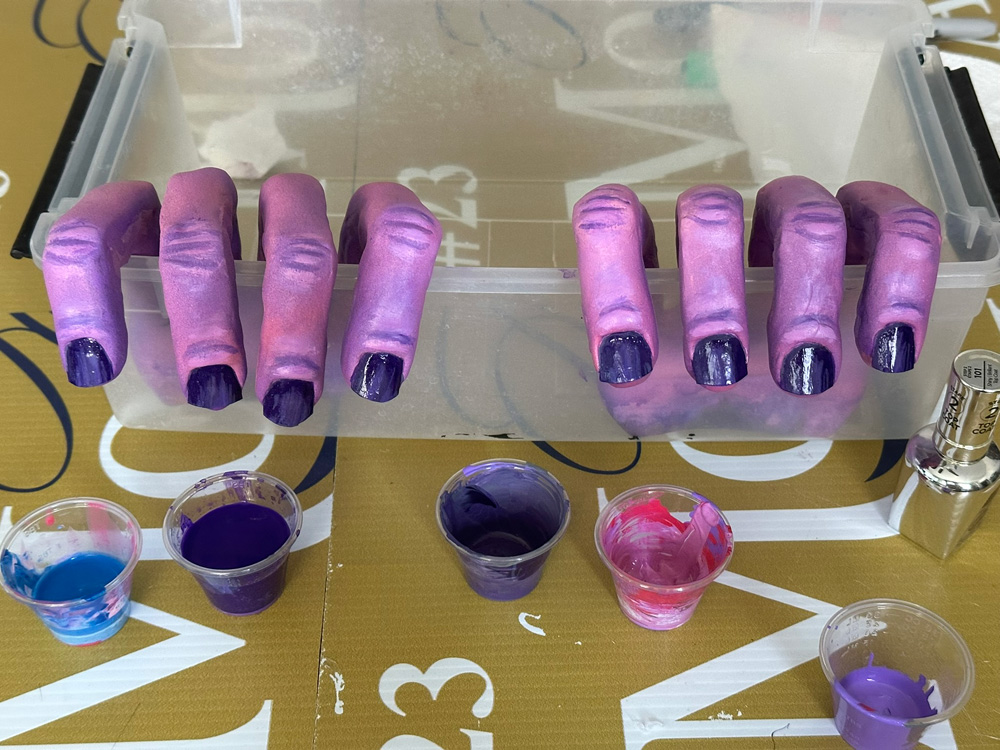
After painting the fingernails, I got the idea to use real clear nail polish to make them shiny!
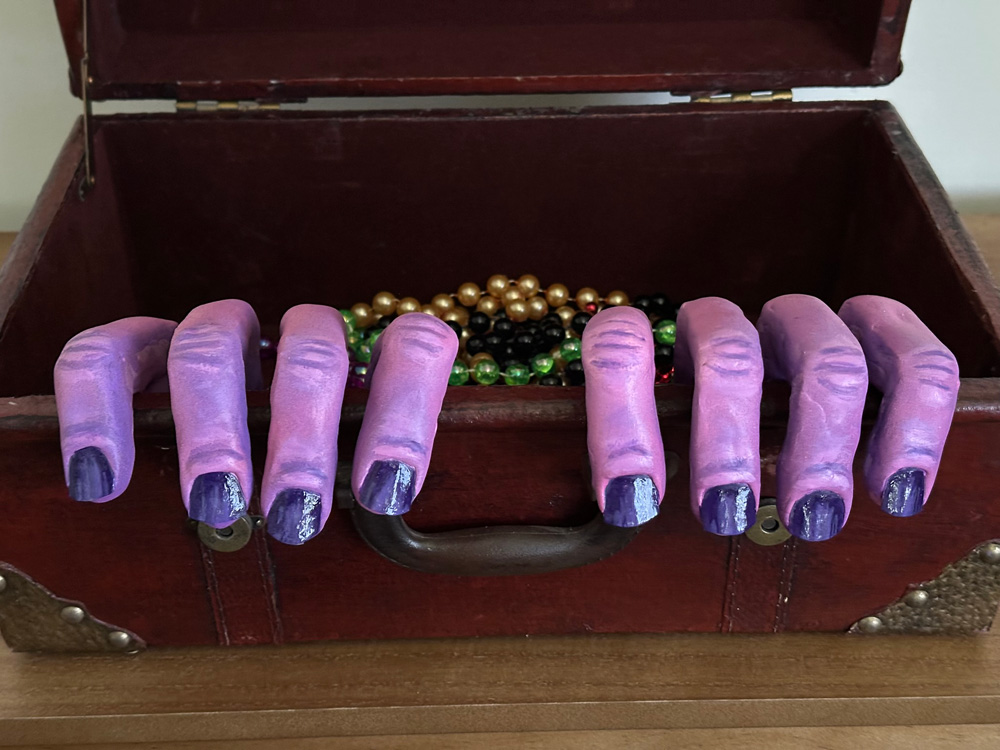
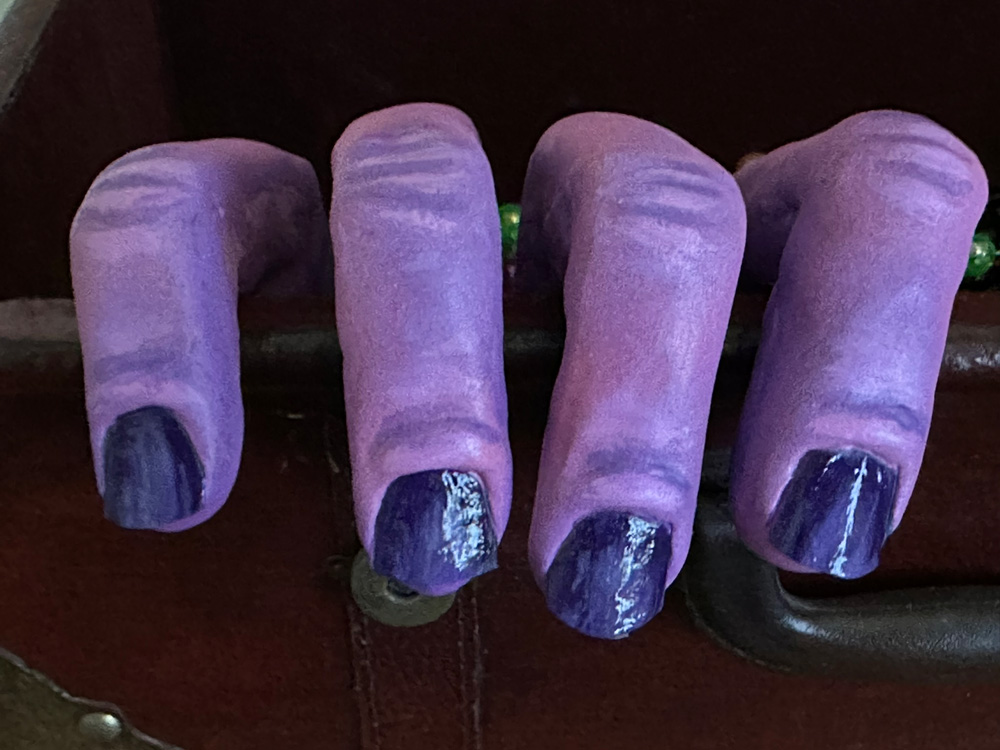
The hands are easy to stick onto the cabinet; they just hang there loosely and are easy to remove. This was a fun and easy two-day project!
 About Manning Krull
 How to make a 4-foot paper maché alligator
 My violin skull mask, Mardi Gras 2015
 Three-headed paper maché dragon sculpture
January 17th, 2026 at 1:03 am
This is super clever. Who knew that with a great ideas and a free simple supplies one can create such magic. My niece would love this. I may make smaller versions to stick in my purse pocket or onto book bag. Or a back stabbing hand with a post maybe knife. Thanks for the inspiration!