
Repainting a dollar store bird skeleton
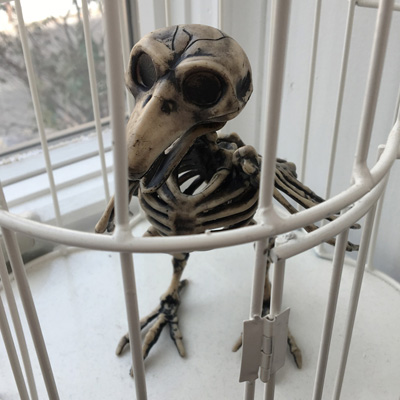
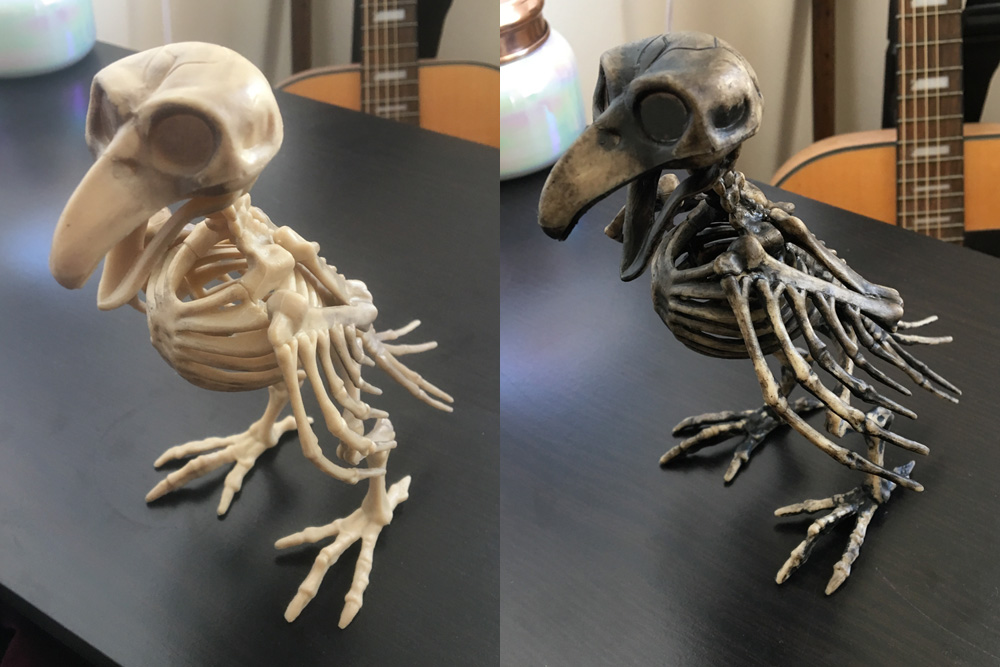
I’m sure it goes without saying that I vastly prefer hand-made Halloween decorations to store-bought ones, but when I saw this really cool spooky bird skeleton for just a buck I couldn’t resist! A few years ago I actually made a tiny bird skeleton for my cuckoo clock skull mask, and it was an insane amount of work for such a simple little skeleton! I’d never use a store-bought piece for one of my Mardi Gras skull masks, for I’m okay with it when I’m decorating for a big Halloween party; the more shortcuts I can take the better! Anyway, I knew this little plastic bird skeleton would look great in this old birdcage we have lying around, so I snatched him up.
Paper maché baby chicks! — part 2
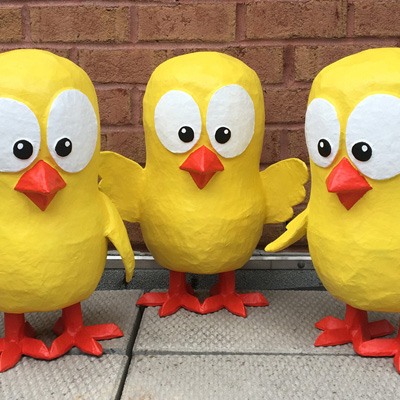
This is part two of two of my paper maché baby chicks project; see part one here.
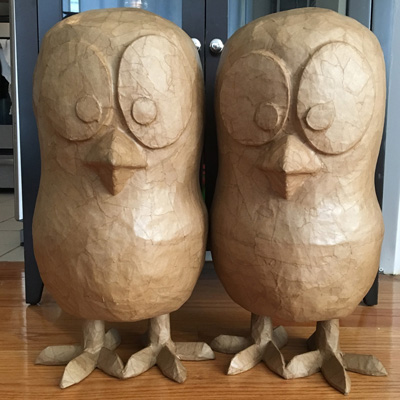
Making the chicks’ legs and feet
This was a fun challenge: I wanted the legs and feet to be hollow and removable, so when my client received them she could add a lot of coins in the legs/feet for weight and then insert them back into the body, so the chicks would have a nice solid heavy base. Without this weight, the chicks would probably fall over, and if I added the weight permanently while making the sculptures, the shipping cost for the chicks would go way up. Read more…
Paper maché baby chicks! — part 1
Another fun commission project: three big paper maché baby chicks!
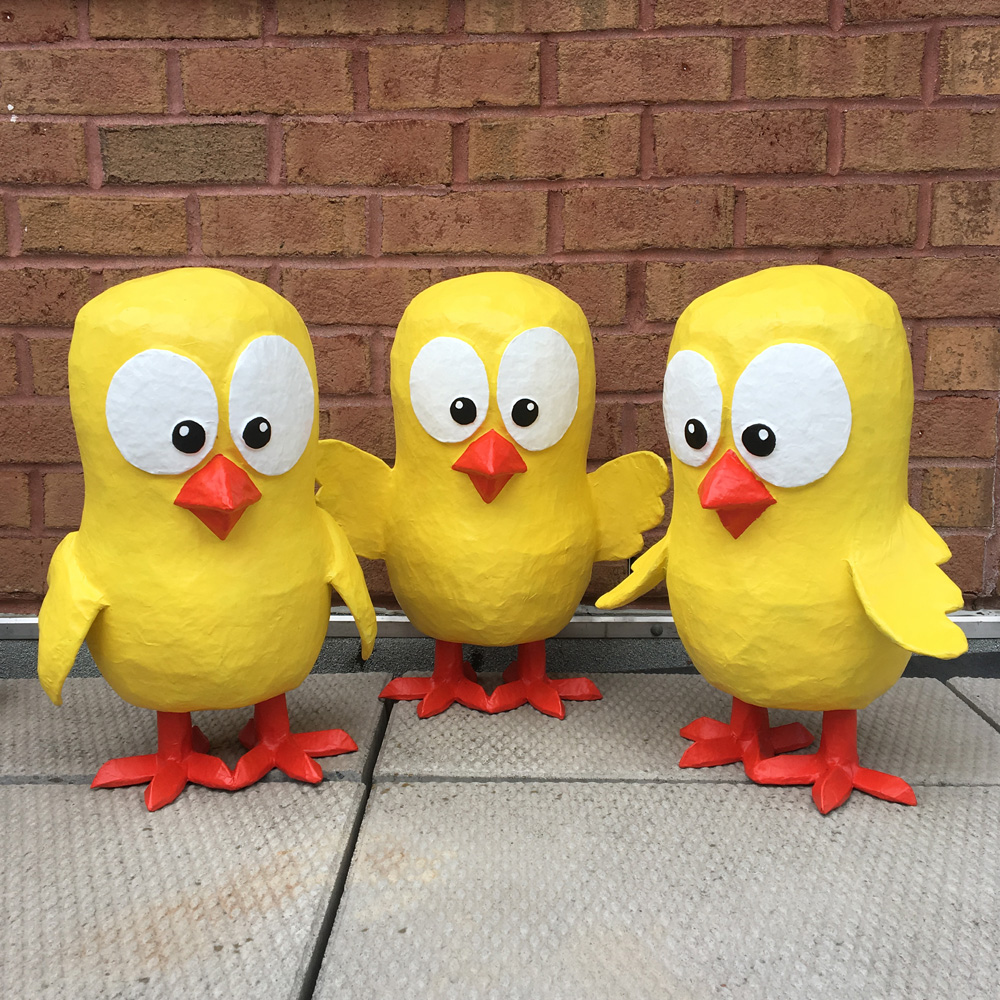
I was contacted by a wonderful new client at Canadian Crane who commissioned three sculptures of these cartoon baby chicks that their company has in some of their marketing materials. They sent me a pic and I started planning…
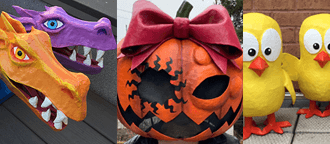
Paper maché cupcake sculpture!
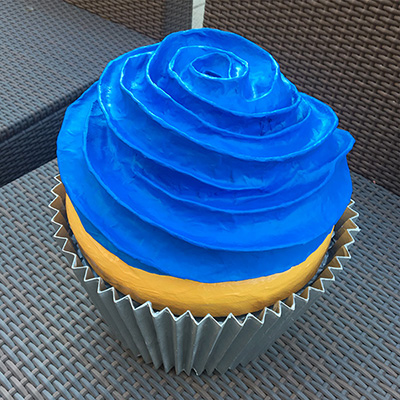
I was commissioned to make this cute paper maché cupcake sculpture, and it was a lot of fun! I’m so used to doing monsters and skeletons and stuff, this was a really neat diversion. The cupcake was to be used as a decoration in a tradeshow booth with a couple signs on it with logos and messaging, and the whole thing is painted in the client’s brand colors. Here’s how I made it!
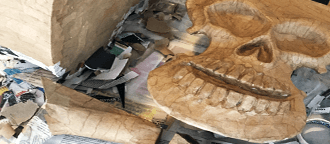
Twin paper maché skull masks
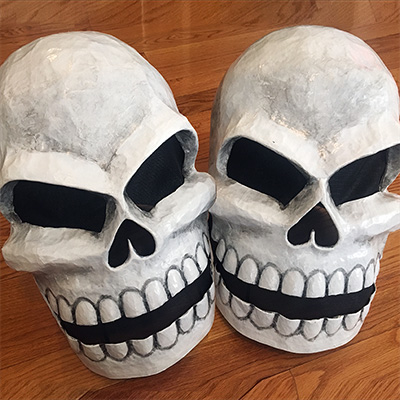
A new project, a new experiment! I received a custom order for a pair of twin paper maché skull masks; the request was to base them on the design of my first Mardi Gras skull mask and keep them more or less identical, and there was a very short timeline to get them both done. So, I decided to try a reusable base! This was a first for me.
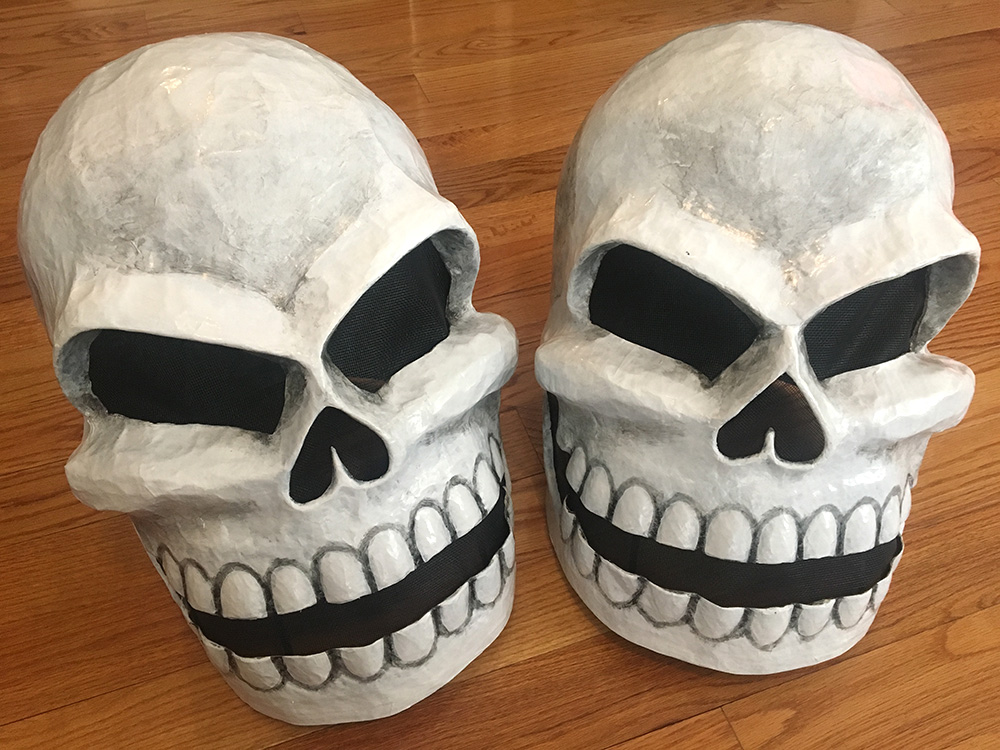
Luckily I have that article about how I made that first Mardi Gras skull five years ago; otherwise I probably wouldn’t remember how I did it! Of course it would be impossible to get these new ones exactly the same as that one, but I’d do my best to get them close. Read more…
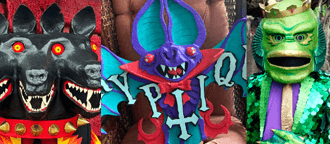
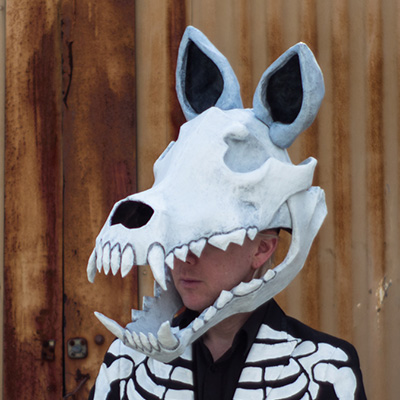
Wolf skull mask — part 4; making the ears
This is part 4 of my paper maché wolf skull mask; see part 1 here.
I wanted to give my wolf skull some ears; I had this idea because in researching wolf skulls I realized that basically all carnivorous mammals’ skulls look almost indistinguishable, and the main different from one mammal head to another is the ears. So my hope is that adding ears will help people recognize my skull as a wolf (or at least a dog! I’ll settle for a dog!). Read more…
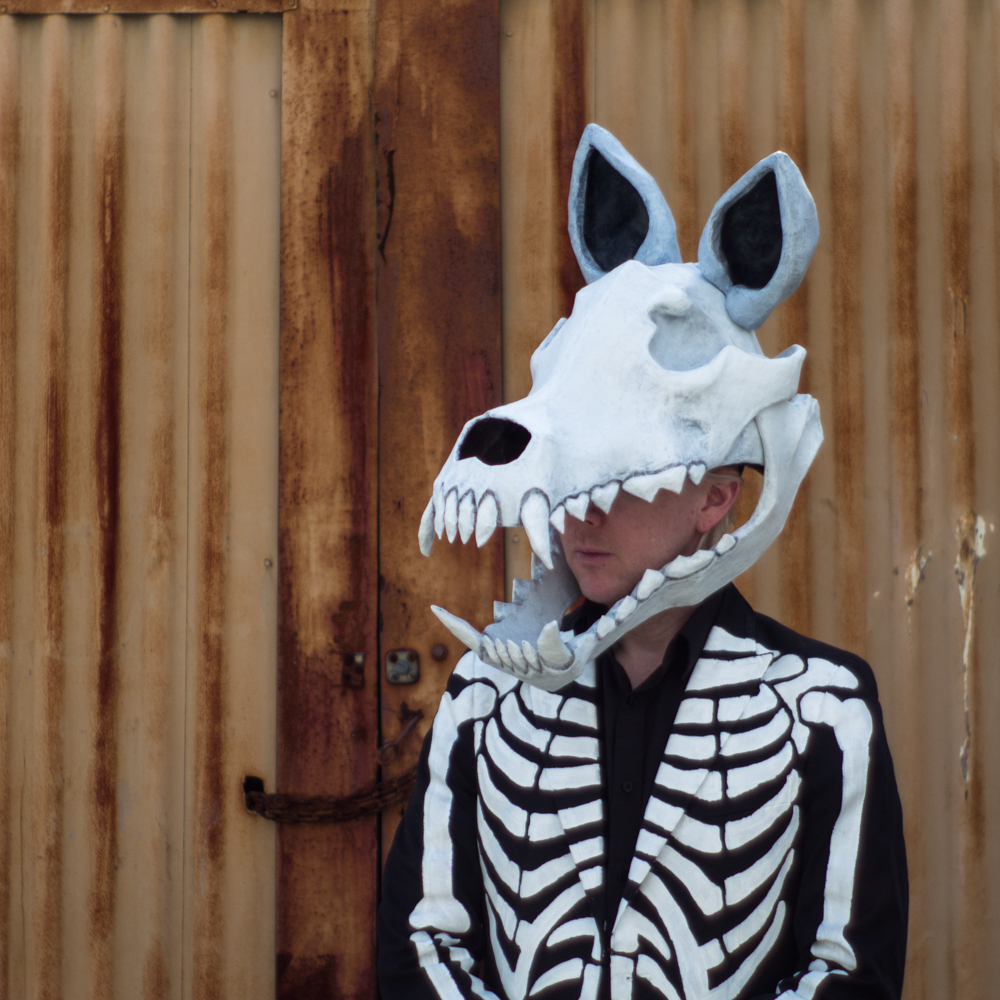
Wolf skull mask — part 3; painting, etc.
Painting the wolf skull
Before painting the wolf skull mask, I applied a coat of gesso over the whole thing. Gesso is a thick white paint-like substance that can help smooth out any imperfections in your paper maché surface. In this case it really helped smooth out the teeth in particular.
Paper maché wolf skull mask — part 2
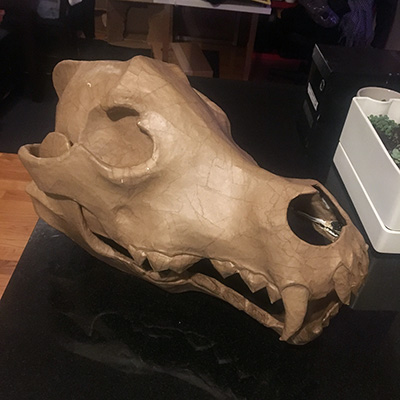
What big teeth you have!
Hooboy, the teeth were one of the hardest and most time consuming parts of this whole mask project! Like I mentioned in part 1, the four big fangs were made out of foam insulation tubing and masking tape; those were pretty easy. I tried a few different methods for the other teeth; I’ll spare you my failures and just show you where I ended up…
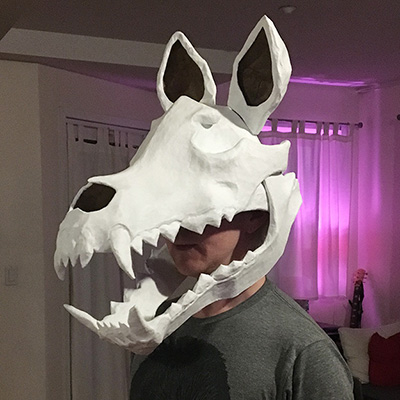
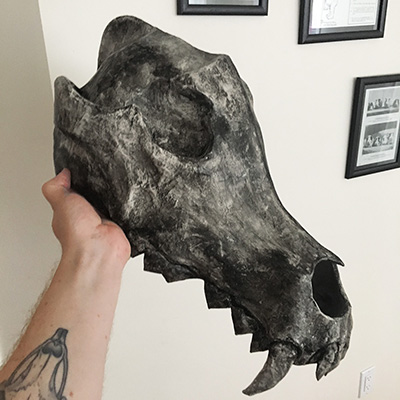
Paper maché wolf skull mask — part 1
I made this here paper maché wolf skull mask for Mardi Gras 2017! It’s got detachable ears, a movable jaw, and it’s one of my most lightweight and comfortable skull masks yet. It was a lot of fun to make; here’s how I did it!
Painting new skeleton pants
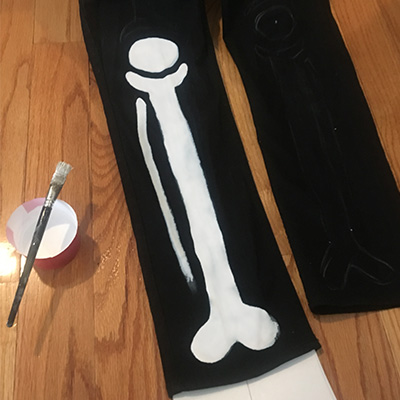
I’ve been wearing my hand-painted skeleton suit for five Mardi Gras in a row now, with a few Halloweens thrown in there as well, and for some reason the pants seem to be harder to squeeze into every year! Huh! I wonder how that could be; they must keep shrinking in the wash a little more every single year! Yeah, that’s gotta be it. So anyway, it’s reached a point where I absolutely needed to make new ones for this Mardi Gras; last year I seriously thought they might split open on me during a parade! I learned a lot from how I made these last time, and luckily this was a much more successful project my second time around…
Now offering custom paper maché masks and sculptures
Interested in a custom papier-mâché mask, sculpture, cosplay armor/accessories, etc made by yours truly? I’ve been getting a lot of requests about paper maché commissions lately so I’ve added a page about custom pieces, with some guidelines about timing and pricing. Drop me a line and let’s talk!
My process for writing and drawing comics
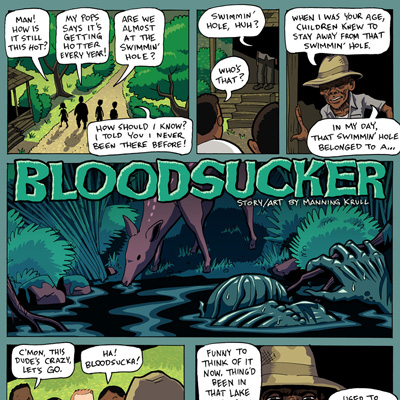
Okay, a change of pace today! Instead of paper maché and stuff, I’m going to write about my process for writing and drawing and coloring comics, since it’s something I get asked about a lot, and this is the place where I write about my processes for various art things. For reference, you can see a bunch of my comics in my illustration portfolio.
Of course there are other ways of organizing a comic project, but this is the rhythm I fell into many years ago and I’ve basically worked this way on all the comics I’ve ever done. Read more…
Ouija board wall decoration

For all my Halloween parties, I try to have at least one big decorated area that makes for a good backdrop for photos. This time our main photo area was this big ouija board wall decoration. It was really easy to do and ended up in a ton of our guests’ photos.
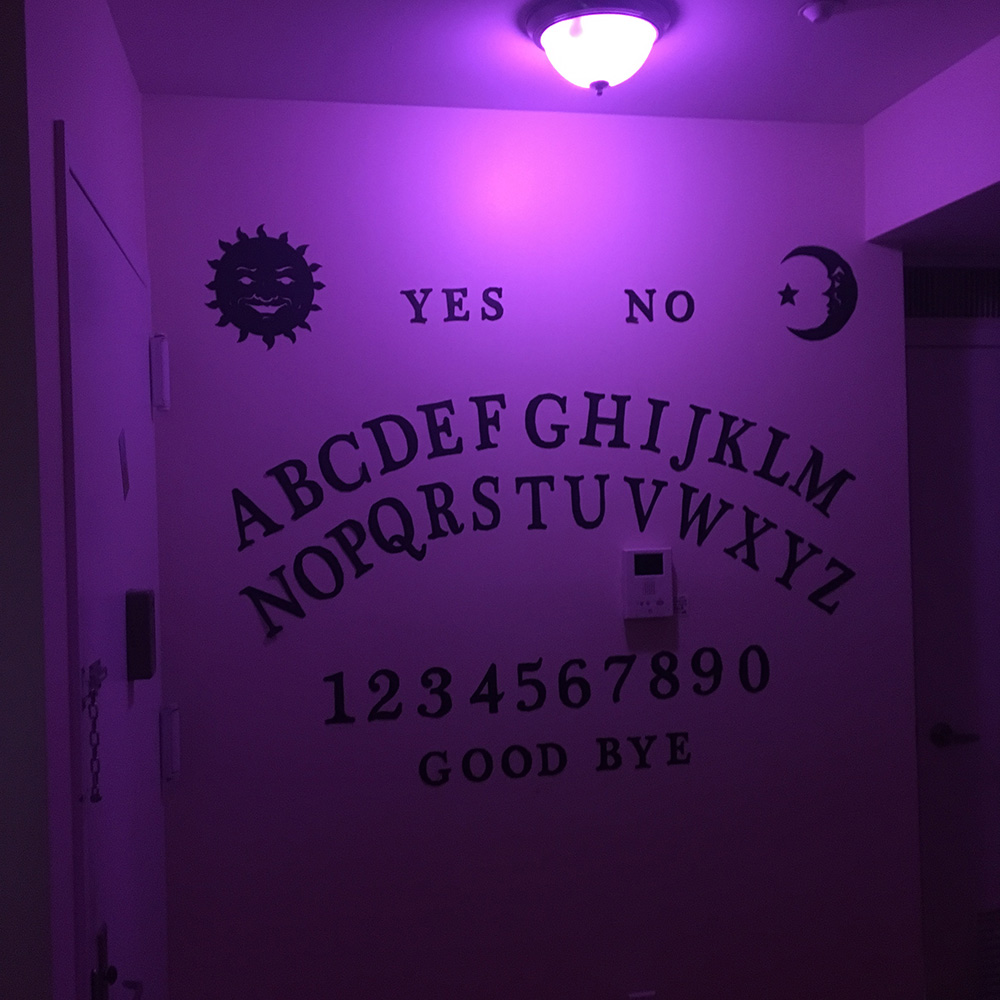
The letters and shapes are all cut out from black poster board. I photographed and measured the wall, and designed the arrangement of the letters in Photoshop to fill up the space nicely. Here’s what that looked like:
Skeleton playing a cello decoration
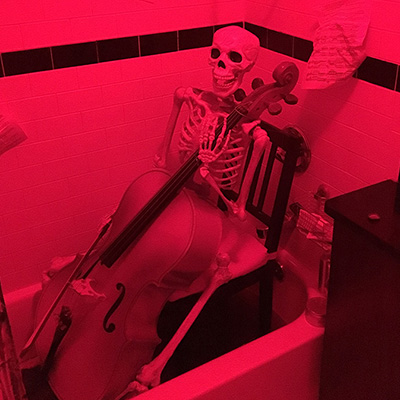
This is just a fun thing I want to share; not much of a “making stuff” project, but a really fun decoration. I recently got my cello out of storage and decided to work it into a Halloween decoration for my seance party: a skeleton playing the cello in a bathtub full of blood!
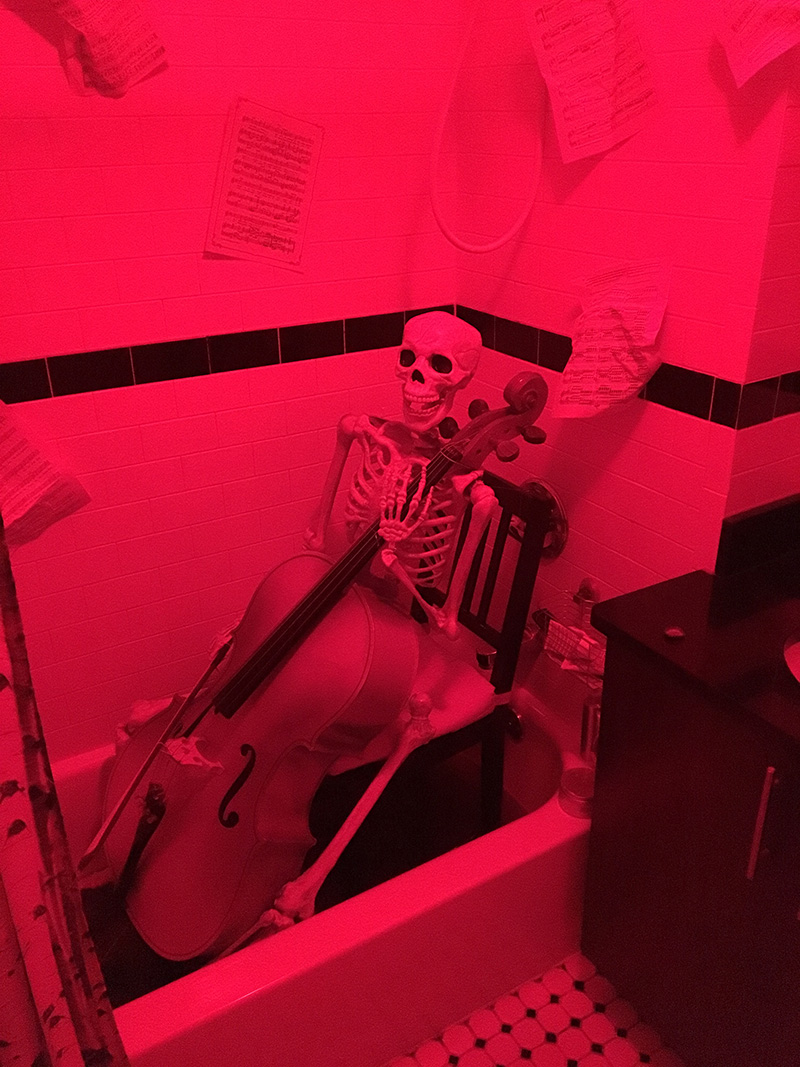
I had a nice store-bought skeleton that I’ve used for several scenes I’ve set up over the years. These skeletons come with very limited mobility, but I’ve modified mine to make them better for posing. Normally their mobility is limited to the following: their arms can only swing forward at the shoulder and bend forward at the elbow, and the legs can swing forward at the hip and bend back at the knee. Read more…
Haunted flying books decoration
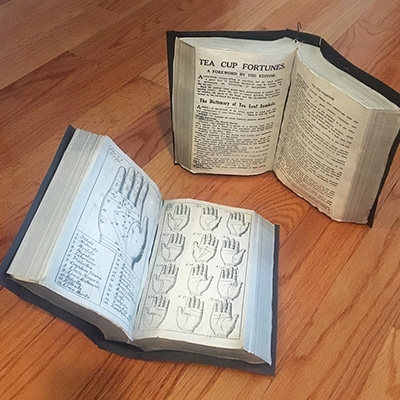
I made these lightweight fake books to hang from the ceiling for my seance Halloween party, to look like they were floating around the room due to spectral activity! These were really cheap and easy and fun to make!
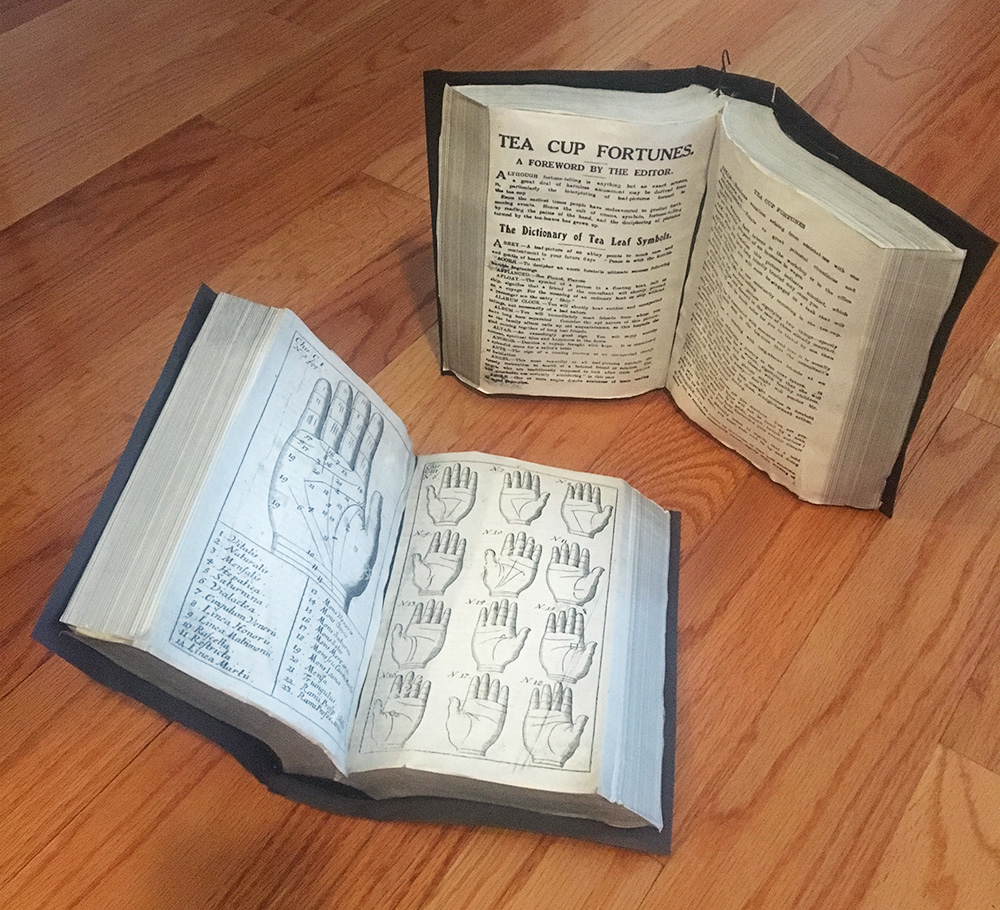
I made graphics in Photoshop for several of the surfaces of the books: the pages, the left and right edges of the pages (those are the long straight pieces pictured below), and the tops and bottom edges of the pages (i.e. the curved pieces). I did some Google image searches of old books to find references for all of this, and then did a lot of tweaking and measuring in Photoshop. Read more…
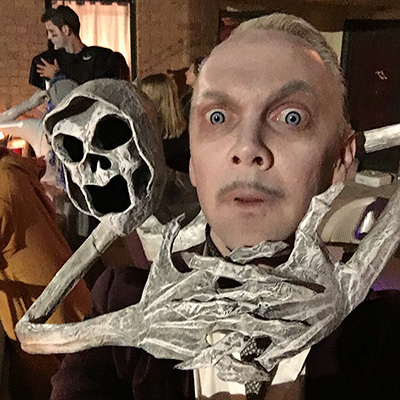
Stabby ghost costume!
This was the second of the two “person getting killed by a ghost” costumes that I designed. Read about mine here for most of the basic info. I made my fiancée’s ghost second, using most of the same steps and materials, with a few important differences. I’ll cover those below…
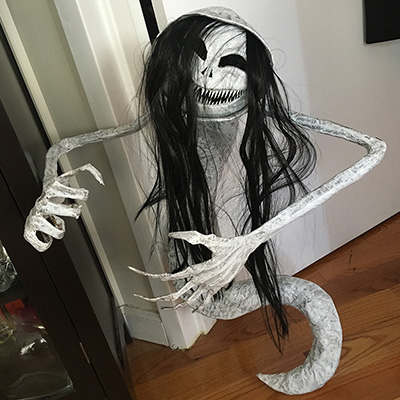
Strangler ghost costume!
Hooboy, this costume was a big undertaking! The basic concept for this costume is a lightweight ghost sculpture, made with wires inside to make it somewhat adjustable, and it’s attached to a harness worn under one’s clothes. There were so many different parts to build and so many problems to solve, and I basically made up the whole thing as I went along, jumping around from part to part in a weird order. So, I’ve put together as much info as I can about how I made this thing here…
Cheap and easy DIY knife props
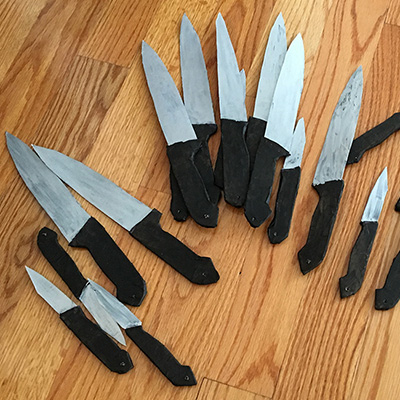
These are so easy! For my séance Halloween party, I wanted a quick and easy method to make dozens of knives and have them floating in our kitchen, held aloft by murderous ghostly hands (i.e. hanging on fishing line). The knives needed to be lightweight, cheap, and relatively quick so I could make a ton of them. (I also wanted them to not actually be dangerous if one of them were to fall on someone; the lightweight part is key there.) I came up with this method that’s really fun and easy and the knives look great. Read more…
Crystal ball decoration for my séance Halloween party
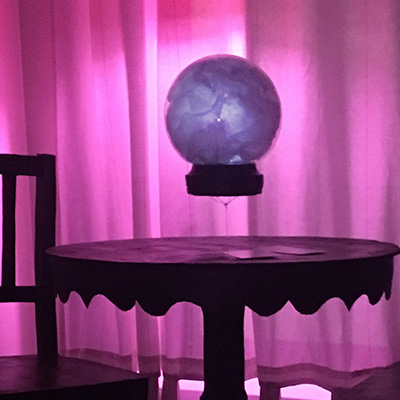
This homemade crystal ball decoration was for my séance Halloween party. The main decorations for the party were lots of pieces of lightweight paper maché furniture hung upside down on the ceiling. This crystal ball was the centerpiece for all of that, hanging upside down from the little paper maché table I made. It was fun and easy to make!
I considered a lot of options for the clear ball part itself; my main criteria were that it had to be lightweight, transparent, and preferably cheap. I ended up buying an 8″ acrylic globe off of Amazon; these are meant to go over a light, like on a light post in front of your house or whatever. They come in a lot of sizes, with options for clear or frosted, and mine ended up being about $11. You can find these at Home Depot too.
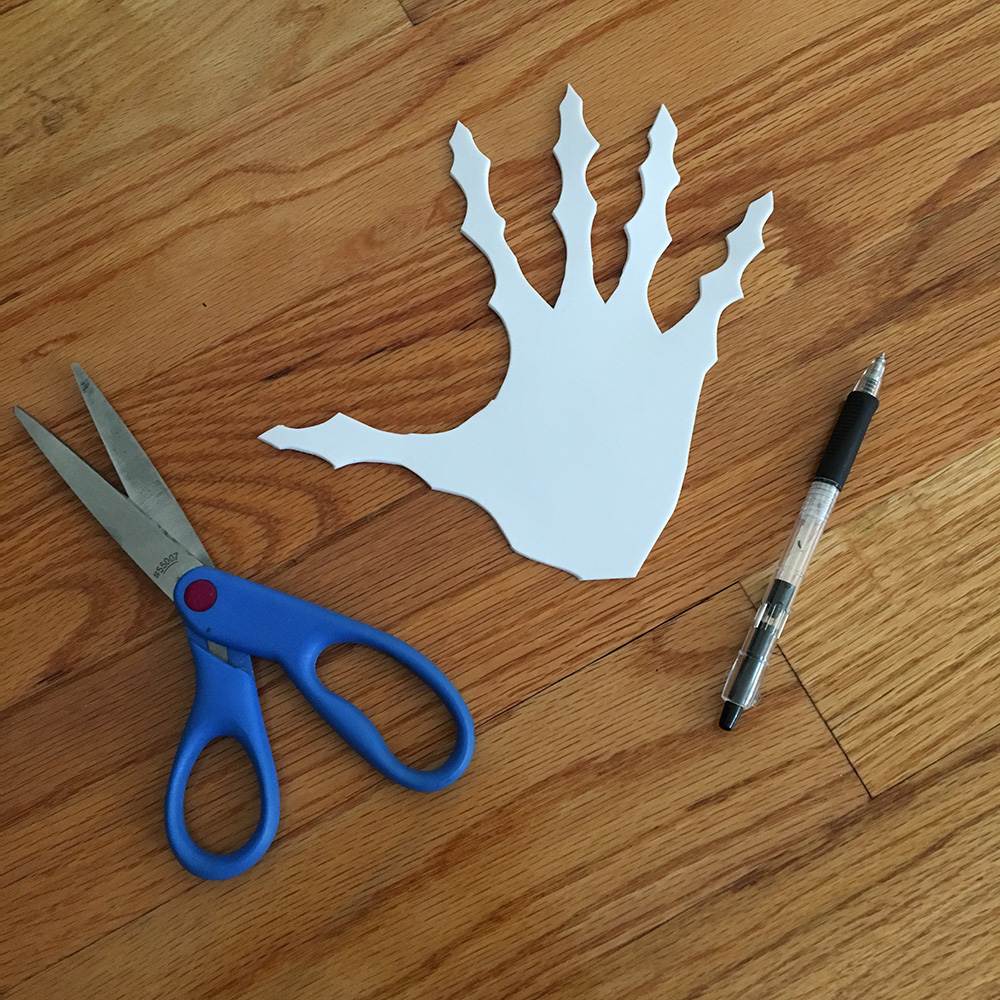
Creepy paper maché hands for my ghost costume

I made these creepy hands for my “guy being strangled by a ghost” costume! (Article about that whole thing coming soon.) You could use this same method for posable, realistic hands for any kind of monster decoration: a witch, a vampire, a zombie, etc!
First, I traced my own hand onto a sheet of craft foam (aka Wonderfoam). I kept my thumb stretched way out since ultimately I wanted these hands to be in a strangling position around my neck.
 About Manning Krull
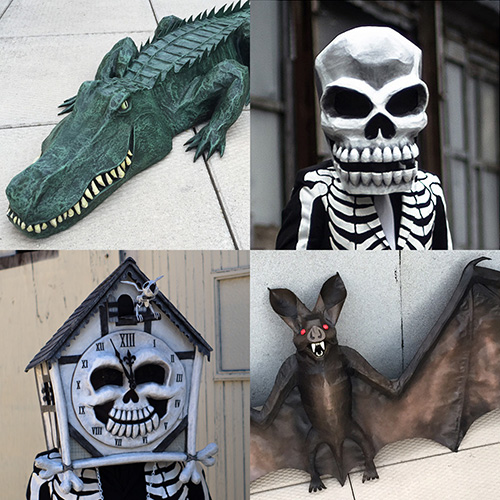
 How to make a 4-foot paper maché alligator
 My violin skull mask, Mardi Gras 2015
 Three-headed paper maché dragon sculpture