
“How do you get your paper maché so smooth?!”
Published by Manning on November 1st, 2025
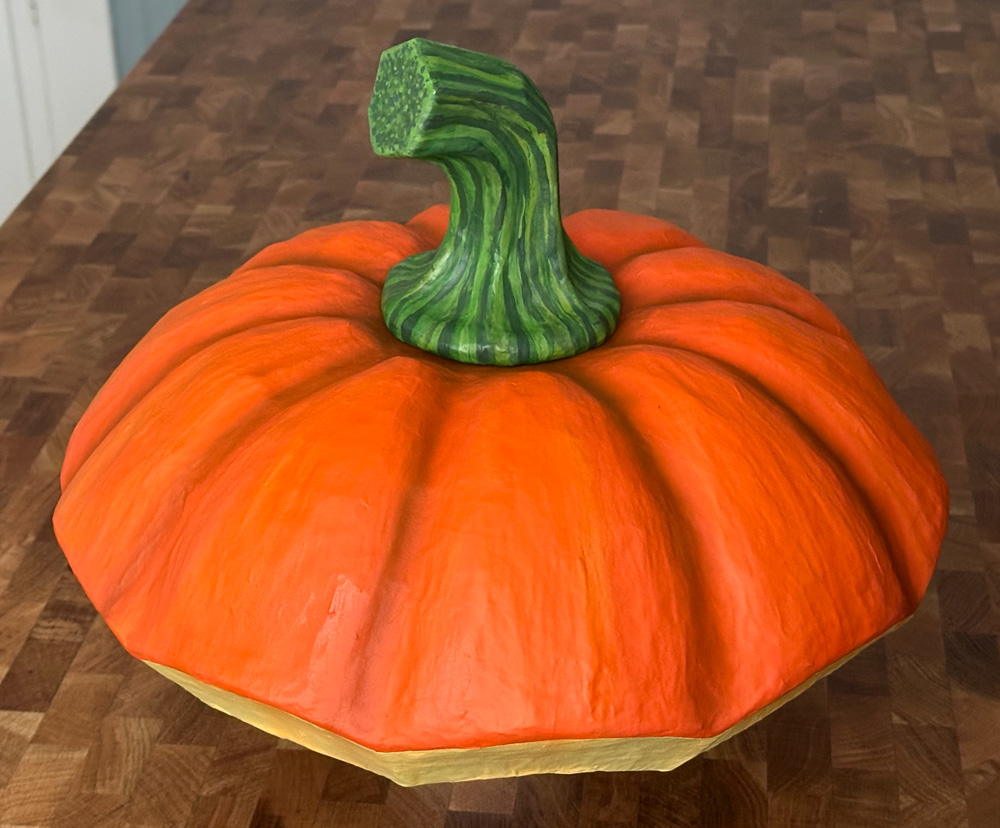
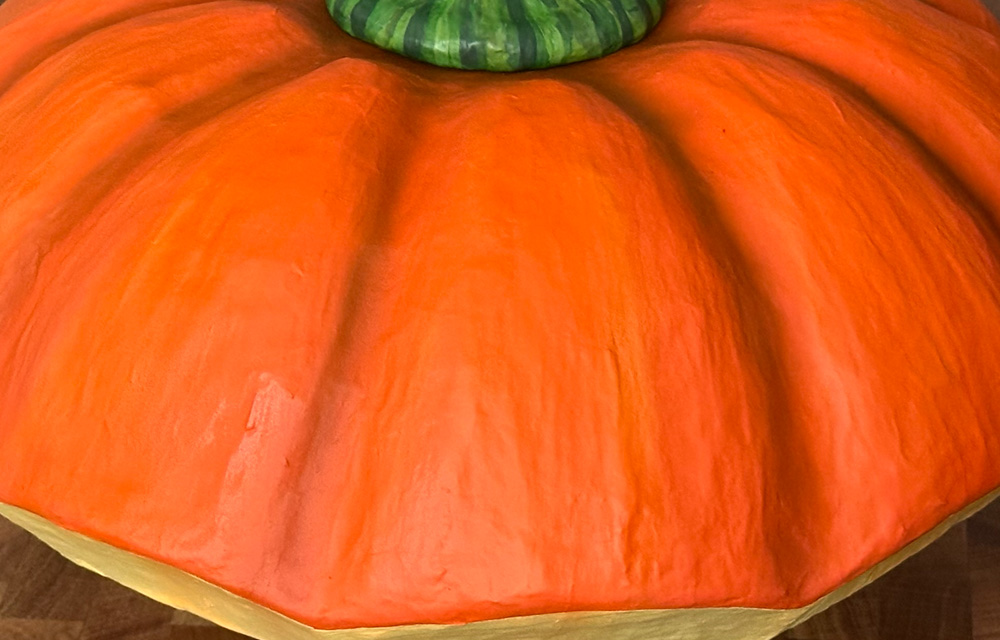
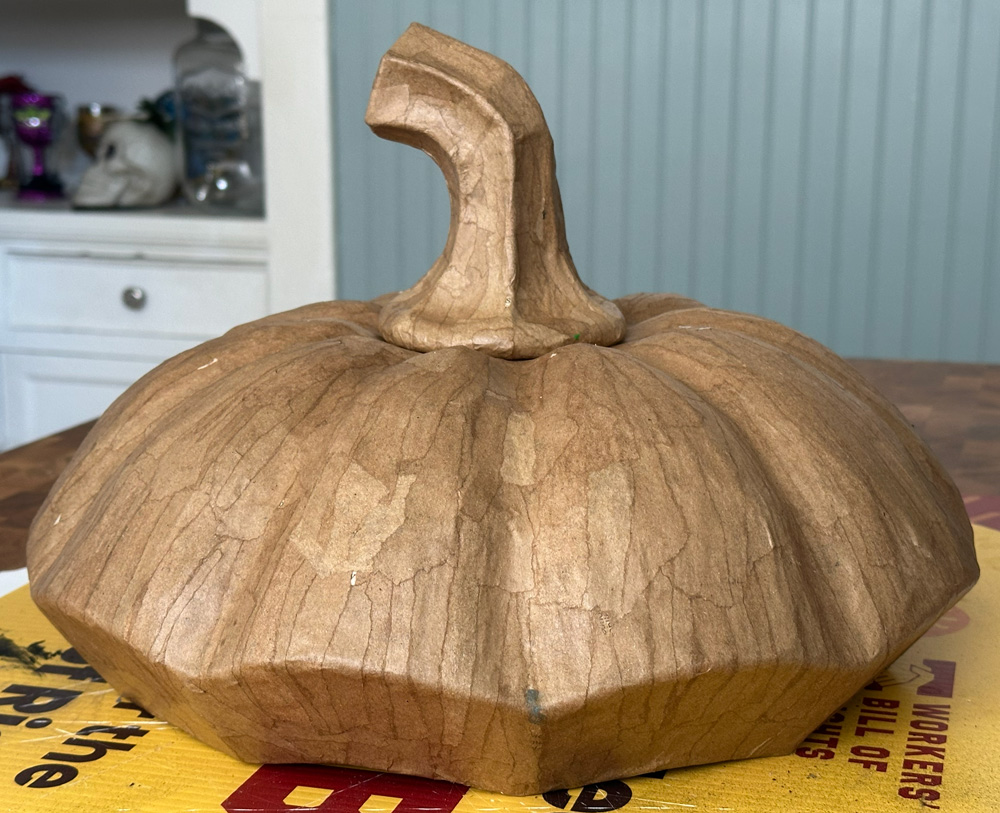
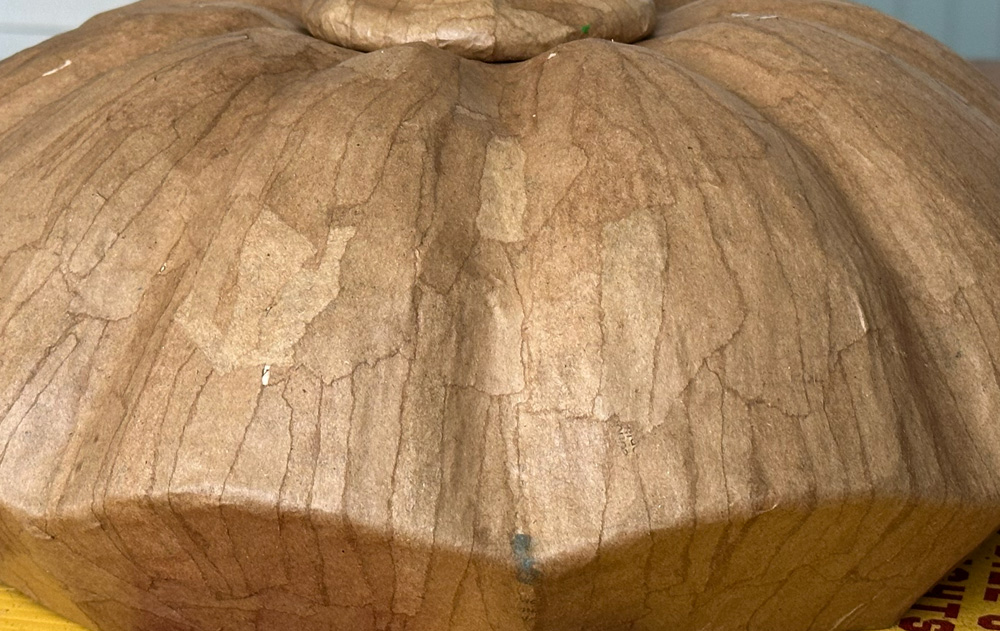
I’m so proud of how many people asked me this question this Halloween season when they saw my pumpkin lid hat thing! Even before I wore it out in public I was really pleased with how it came out; I took my time and put a lot of care into the base sculpture and the paper maché itself. Anyway, it’s not the first time I’ve heard this question about how I get my paper maché surfaces so smooth, so I have an answer prepared. That answer is:
Very very small pieces of paper.
That’s the short version, anyway! Here’s a longer version, with lots of tips:
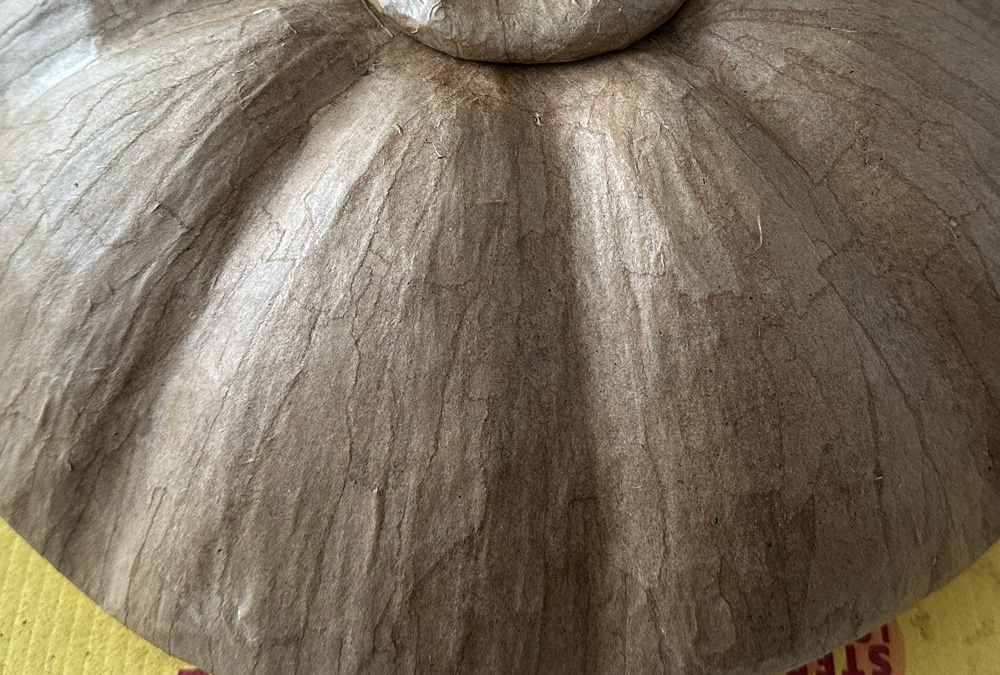
With paper maché, the smaller the pieces of paper you use, the easier it is to avoid bumps and wrinkles. Honestly in many cases the bumps and wrinkles are what makes paper maché look like paper maché, and that’s not a bad thing! That classic paper maché look can be really charming, with lots of bumps and rough surfaces all over. For most of my pieces I like to try to avoid this, but that’s just my personal preference.
Masking tape and shipping tape
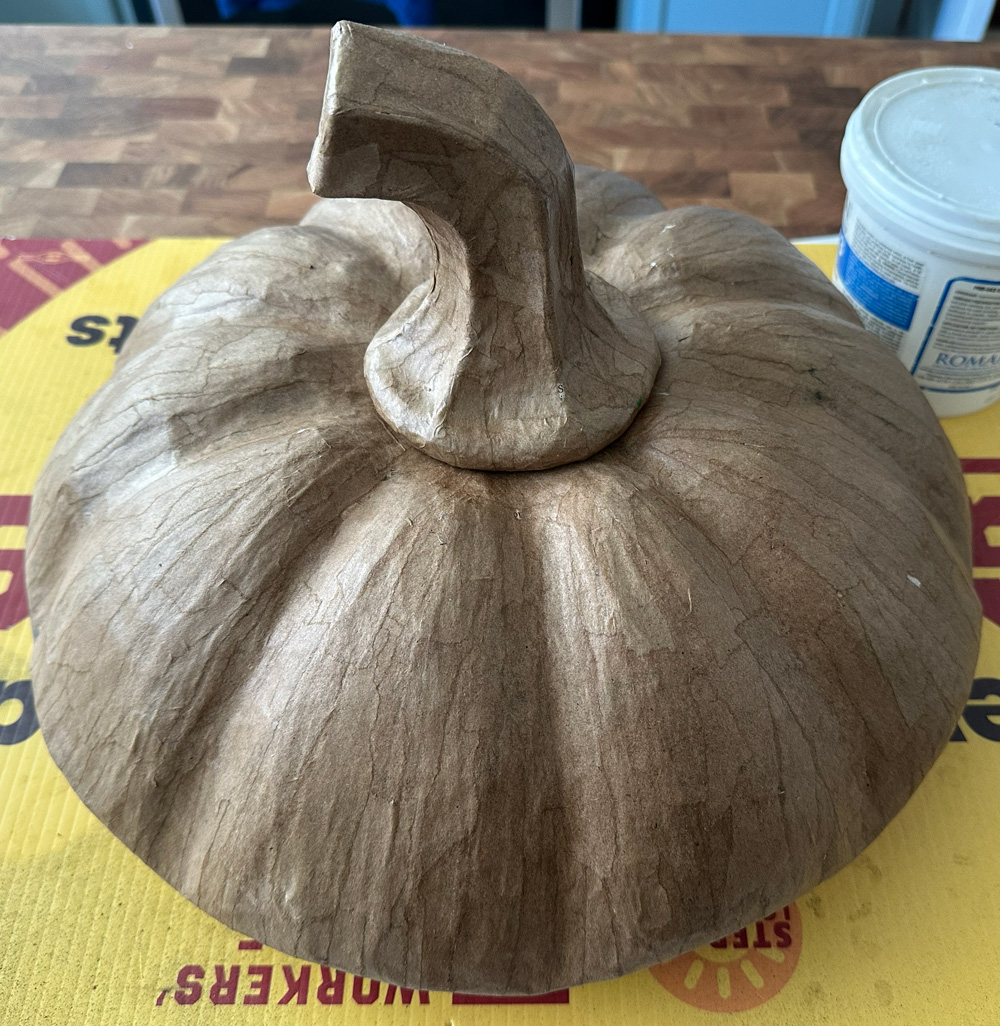
Now, one thing that helps paper maché go on smooth is starting with a base shape that’s already smooth. I take a lot of care and a lot of time in building my base shapes to be as precise and smooth as possible. Then I always cover my base shapes with tape before I start the paper maché on. Usually I will cover the whole thing with a layer of masking tape, which smoothes out surfaces a bit on its own, and then I always cover that with a layer of heavy duty shipping tape, to act as a release agent for the paper maché.
Masking tape is very flexible and can cover curves and corners pretty neatly, but shipping tape is very unforgiving, and if you work with strips at the full width (1.88″) they really don’t want to adapt to curves and corners; you get lots of wrinkles and folds and bumps. So when I’m applying shipping tape, I tear it into very thin pieces. Usually this is easy to do because the tapes comes off the dispenser with that tiny zigzag pattern along the edge from where it was cut. Those zigzags make it fairly easy to tear a piece of tape into three or even four narrow strips. (My wife does this with scissors, which is even more time-consuming, and personally I find this process annoying, since the tape sticks to the scissors.) I usually cut off the tape with the dispenser at about two inches long and then tear it into tinier strips. These very narrow strips can adapt to curves and corners a lot more easily.
One more step with the shipping tape: No matter how careful I am with the tiny strips, there will always be a few bumps and wrinkles. An easy way to fix these (most of the time) is with an X-acto knife. In many cases, if there’s a raised wrinkle of tape, you can slice it along its length and then press the two sides down to overlap each other. In some cases I’ll even slice the whole bumpy part off with the X-acto knife and just cover the hole with another piece of tape. So, after I’ve covered a base with shipping tape, I look it over carefully and look for little problems that need fixing like this.
Tiny pieces of paper
Then when it’s time to do paper maché, like I mentioned above, I use small pieces of paper. I can’t tell you a standard size because it really varies with each project, based on the overall size of the thing, and what kinds of details there are. For something like my big paper maché masks, I often use strips of paper that are about 1″ x 3″ for the larger, less detailed areas, and then very thin strips for the smaller details, maybe 1/3″ x 2″. For my pumpkin lid hat, I used very thin strips; the largest were… lets say about the size of a golf pencil, and lots of pieces that were even thinner than that.
I also tend to go with smaller and smaller pieces of paper for each layer of paper maché, so the last layer is made up of extremely tiny pieces. This means in my first layer or two I might get some small, unfortunate bumps due to the larger strips of paper, but by the last couple layers I’m able to smooth them out a bit as the tiny pieces cover them up.
Applying paper maché carefully
You can read about my paper maché process and materials here. I use a lot of paste when I’m applying paper maché, taking care to make sure each piece of paper is really saturated. As I apply some pieces, I also take some more paste and smooth it over the surface with my hand. This helps all the edges of the pieces of paper lie totally flat and sort of blend together.
Applying paper maché carefully also means making good decisions about what sizes and shapes of paper need to go on certain details, and never cutting corners. It would be a lot faster to cover, say, an eyebrow ridge with wide strips of paper, but you’re definitely going to get some little wrinkles on the sides of the strips as they don’t want to lay perfectly flat on the rounded ridge. So instead of taking a shortcut, you have to prioritize smoothness and take the time to work with tiny pieces. (That is, if you want! You really don’t have to!)
For whatever it’s worth, I often apply two to four layers of paper maché in one go and then use an electric fan to speed up drying; all of this doesn’t harm the overall look or quality of the surface at all.
Your paper maché recipe can make a difference
There’s no magic formula that will make your surface smooth, but there are formulas that can result in some paper edges not laying flat, making real smoothness almost impossible. I think the most common reason for this is a formula that’s too watery, but I’m not 100% sure. If you read about my paper maché process you’ll see I use pre-mixed Roman PRO-543 universal wallpaper and border adhesive; when I use this stuff I never have edges that won’t lay flat.
Fixing imperfections
Here’s one of my favorite little tips: When I’m all done with paper maché and the piece has dried, I take a marker and I inspect the whole sculpture very carefully, and I mark any little bumps or wrinkles that I find. In some of these cases, it’s possible to use your fingernail to scrape the bump or wrinkle to become pretty flat. I still mark these areas with the marker. Then, I cover all the places I’ve marked with one or two more pieces of paper maché. This little step doesn’t take much time but can make a big difference in the overall smoothness of the piece.
Mod Podge or gesso
A coat of Mod Podge or gesso can really help hide tiny imperfections, and it can also do a great job of hiding all those torn edges of the paper — if you’ve applied your paper maché carefully and gotten all the edges to lay flat.
I used gesso for many years for this, but I’ve switched to Mod Podge in recent years; it’s cheaper, and I think the results are even better than what you get with gesso.
Mod Podge goes on somewhat clear and dries quickly to become totally clear, and on a large project this means it can be difficult to know where you’ve covered and where you haven’t. So here’s another tip I made up that I love: I mix a few drops of acrylic paint (any color) into the Mod Podge before applying it. This color won’t go on evenly or opaque at all, but it will perfectly show you where you’ve covered and where you haven’t. Just don’t use white paint for this, as the liquid Mod Podge is white and you won’t be able to see if you’ve mixed it in well or not before applying.
I’ve never bothered to do more than one coat of Mod Podge or gesso, but multiple coats might help get your surface even smoother. My basic philosophy is, if I haven’t been careful enough with my paper maché surface that one coat of Mod Podge hides the imperfections, then probably nothing will. And that’s okay!
(The rest of my painting process doesn’t really have any effect on smoothness, I don’t think. I usually start with a coat of spray paint and then do any details and shadows and highlights by hand with acrylic paint.)
Sandpaper?
A lot of people use sandpaper on their paper maché projects to smooth them out. I’ve almost never done this, and when I’ve tried it I haven’t been very happy with the results. So by doing all the steps above every time I basically never need to sand anything.
Patience
All of these steps take a lot of time. It helps to really enjoy all of this work, and I really do. I find it relaxing, even therapeutic. I love to zone out and just work with my hands for hours on end; it makes my brain focus on these steps and not think about anything else. Even mundane things like doing the dishes puts me in this zone, and I love it.
I know a lot of people who make paper maché things and others who want to get into making paper maché things, and they want everything to be quick; they want all the shortcuts. They don’t love the process — some of them even hate it! I honestly know some people who make paper maché masks every Mardi Gras who don’t enjoy the process at all. And I actually really admire that they make themselves do it at all, because they want the finished product badly enough. You absolutely can rush and cut corners on a paper maché project and end up with something really beautiful and fun, despite — or thanks to! — the imperfections, the roughness, etc. Those bumps and wrinkles add a lot of character.
A smooth surface isn’t what makes a paper maché sculpture good or cool or fun. The ideas and the personality you put into it are much more important. I want all that personality AND a nice smooth surface, and fortunately for me I love all the steps in the process, including the extra time and effort for making things smooth.
A question I see come up pretty frequently on the paper maché subreddit and other places is: “How can I smooth out the bumps on this work in progress?” In most of these cases, my opinion is usually: you can’t. :) Although I keep that to myself and let other folks give their ideas. If you’ve got a very bumpy base sculpture and you’ve applied very bumpy paper maché to it, there’s no magical way I know of to smooth it out — short of covering the entire thing with foam clay or some other type of clay. They key to ending up with a smooth paper maché project is to put in the time and effort from the beginning to take all those steps that help with smoothness. If that’s your priority, of course! It certainly doesn’t need to be. This is such a cliche, but the most important thing is to make sure you’re having fun with it — hopefully some fun with the process and a lot more fun with the finished piece.
Hopefully some of that helps a bit! Happy paper maché-ing!
 About Manning Krull
 How to make a 4-foot paper maché alligator
 My violin skull mask, Mardi Gras 2015
 Three-headed paper maché dragon sculpture
Leave a comment