
Fortunato costume: bottle, jabot, festive suit, etc
Published July 15th, 2026
The biggest parts of this Fortunato (zombificato!) costume were the mask, the brick wall, and the hands; check those out! Here are some other details of making the costume.
Bottle of amontillado
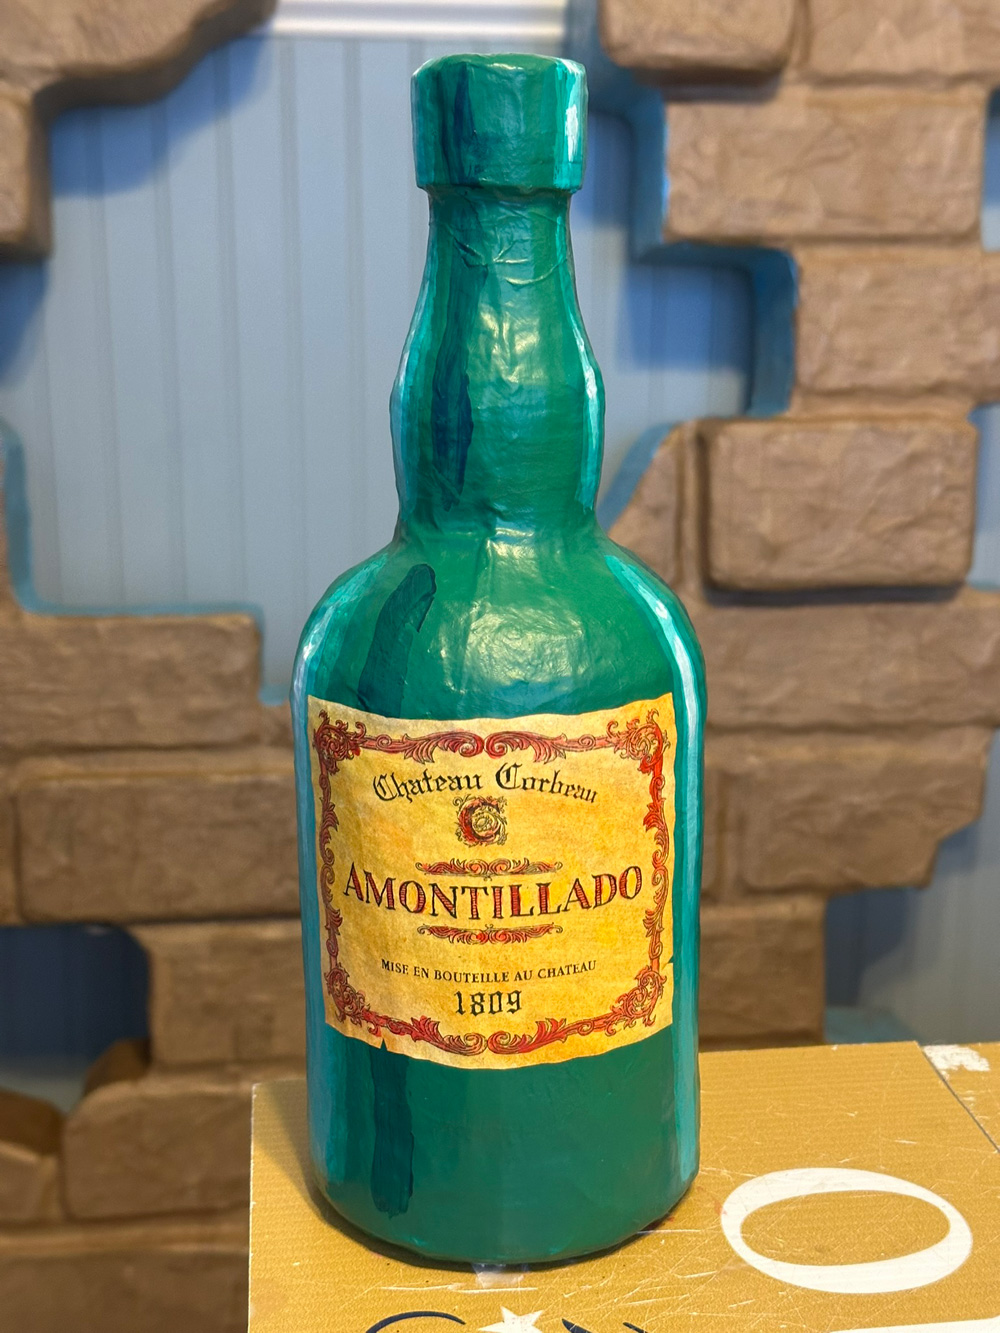
I made this bottle by basically just covering a real 1.75-liter liquor bottle in paper maché and then removing the bottle. To do this, first I drank 1.75 liters of liquor. Then I wrapped the glass bottle in plastic wrap and then shipping tape. I covered the bottle in about six layers of paper maché (minus the bottom surface), let it dry completely, and then I sliced down the sides with my X-acto knife and carefully peeled the paper maché halves away from the bottle; this was tricky and the paper maché tore in some places, but that's no big deal.
When I removed the paper completely from the bottle, I was able to easily peel all of the shipping tape and plastic wrap out of it. I then repaired the torn areas with masking tape, and attached the two halves back together with some hot glue and masking tape.
I attached a disk of foam board at the bottom to make the bottom surface of the bottle; I taped this in place. I added a thicker lip at the top of the bottle with a strip of craft foam, taped in place and then covered in masking tape. Then I covered over all the taped areas with two layers of paper maché. Done!
I spray painted the bottle and then added some highlights and shadows with acrylic paint.
I designed the label on my computer, printed it out on thick drawing paper, and then I dirtied it up with some heavily watered down acrylic paint. (Regular printer paper will fall apart if you do this.) I pasted the label onto the bottle with Mod Podge and then covered it completely with Mod Podge to really seal it down.
Fortunato suit, letters, symbols
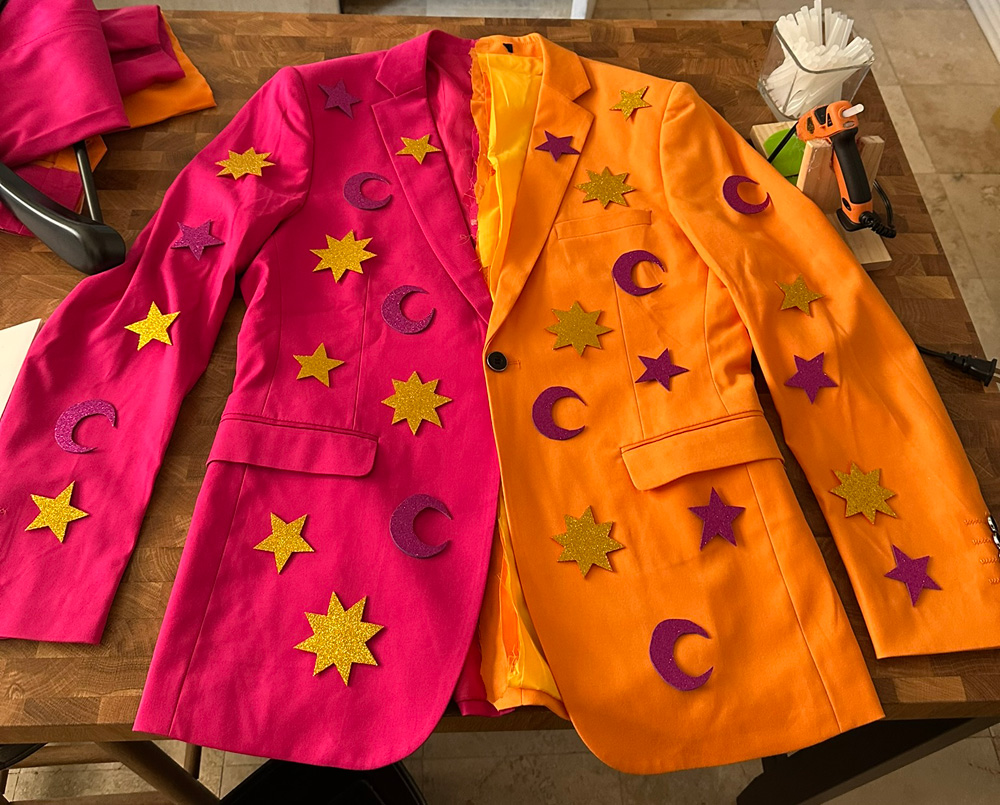
Probably obvious; I made the two-tone suit by buying two different-colored cheap costume suits, cutting them each in half, and — get a load of this! — hot-gluing them tother. No sewing at all. I used Gorilla Glue brand hot glue sticks and the higher heat setting on my hot glue gun, which I don't normally use. I wanted to get the glue as hot and liquid-y as possible so it would seep into the fabric, and it worked like a charm. I left some extra fabric on one half of the jacket and one half of the pants so I could hem those bits and also so I could overlap them a bit, to give me plenty of room for lots of glue; as I'm sure you can imagine, I didn't want the suit to fall apart while I was out there on Mardi Gras day! And it worked fine; the whole thing held together with no problem.
I set aside the unused pant leg and sleeve to make the sleeves for the zombie hands/arms that would get attached to the fake brick wall.
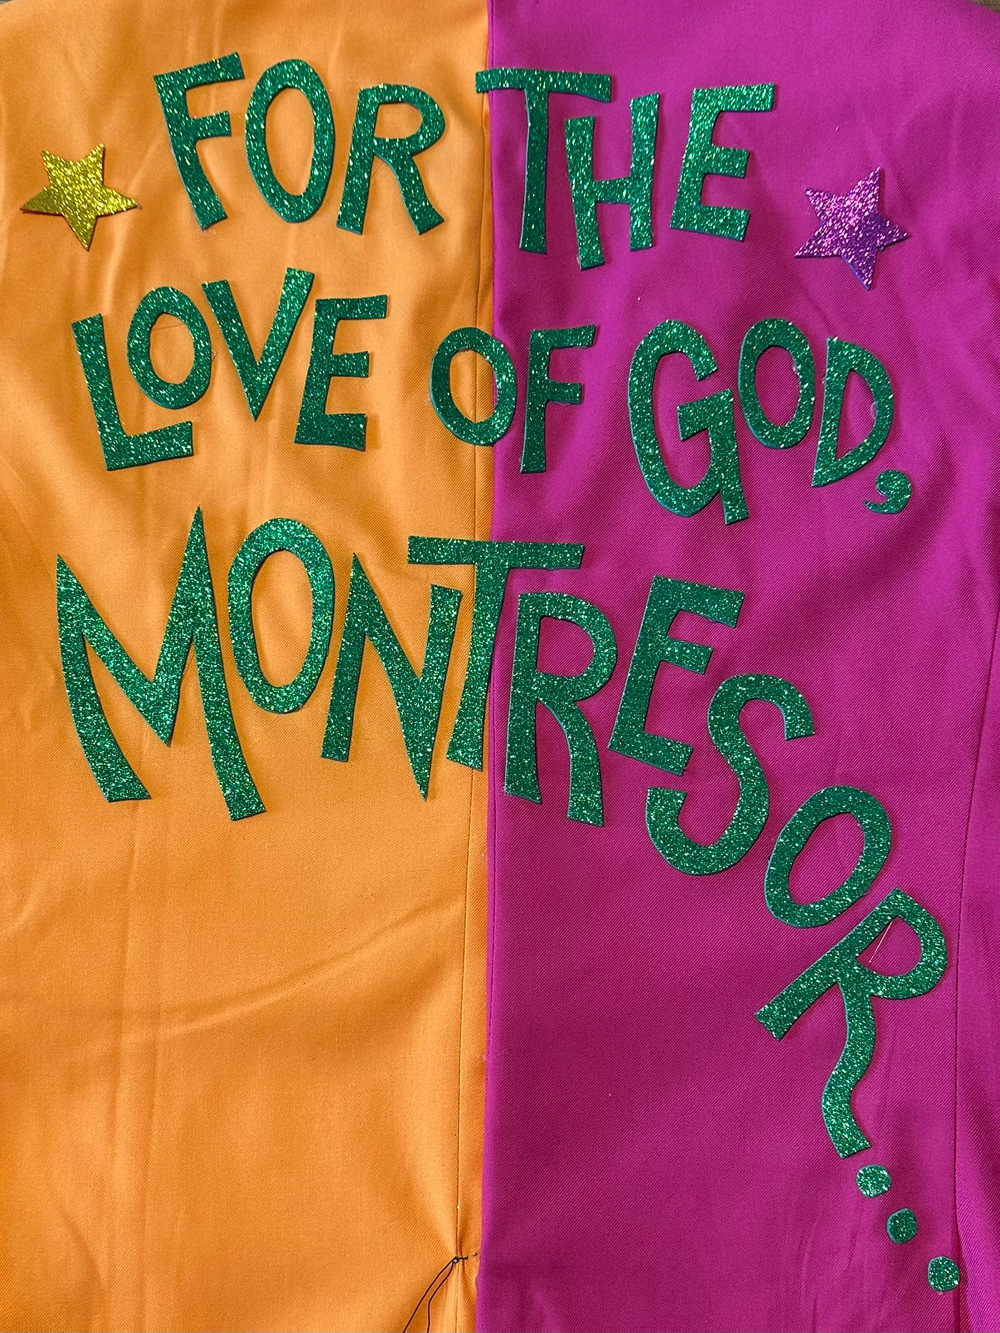
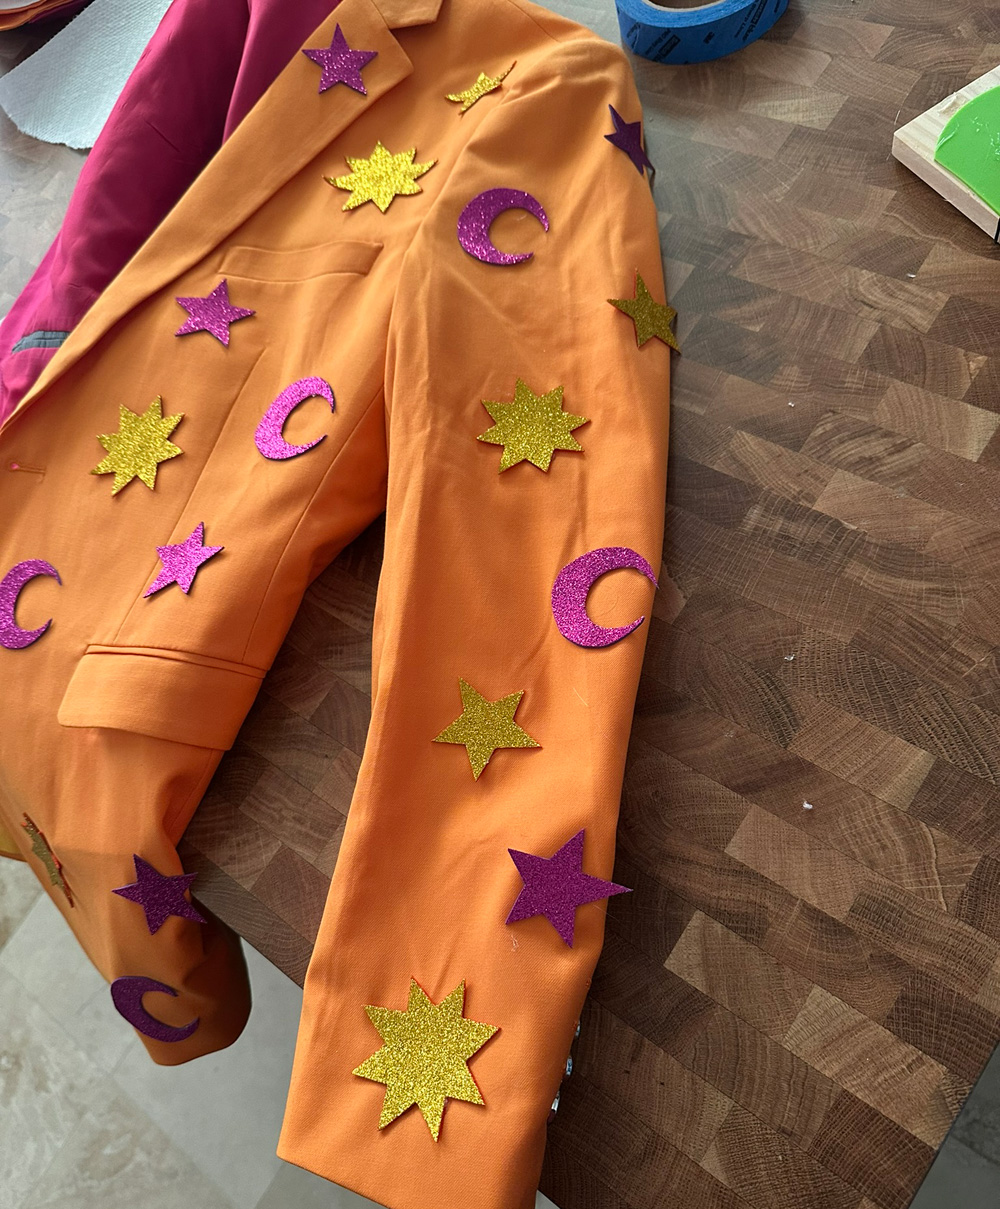
For the letters on the back of the jacket, I cut those out from glittery craft foam and hot-glued them in place. Same for all the little symbols; I first made stencils out of poster board covered in a few layers of shipping tape to make them extra rigid, and then I traced them onto glittery craft foam several dozen times, and cut them out. They're all just hot-glued in place.
Jabot and cuffs
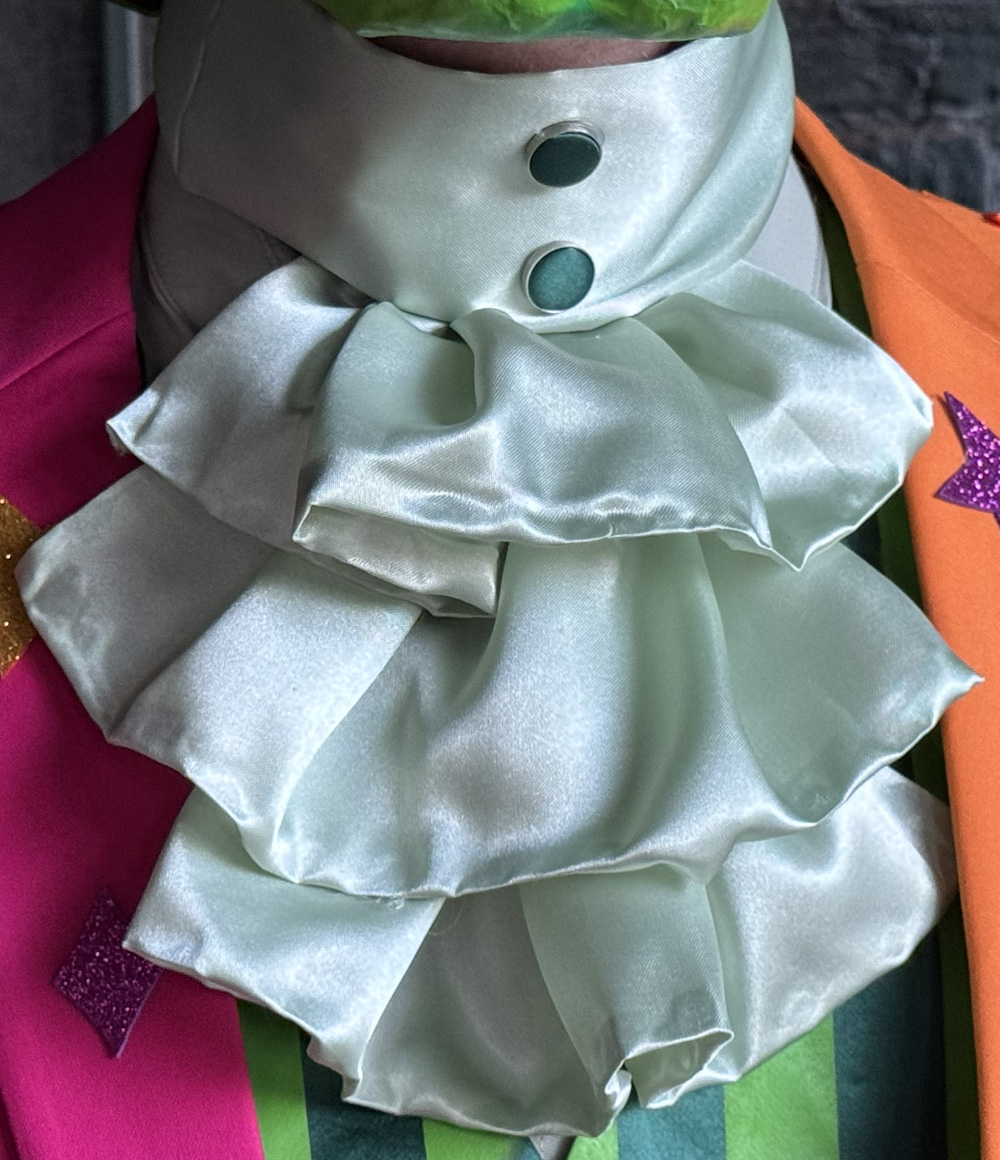
I made the jabot and cuffs through some trial and error with the cheapest, lightest fabric I could find, and a lot of hot glue; no sewing. It took a million practice tries to get the fabric to do what I wanted, and then when I'd finally figured out the method it was pretty easy. The jabot and cuffs are both mounted on strips of poster board. The buttons on the jabot are from some cheap, costume-quality cufflinks that came with the vest I used in my next step...
Vest
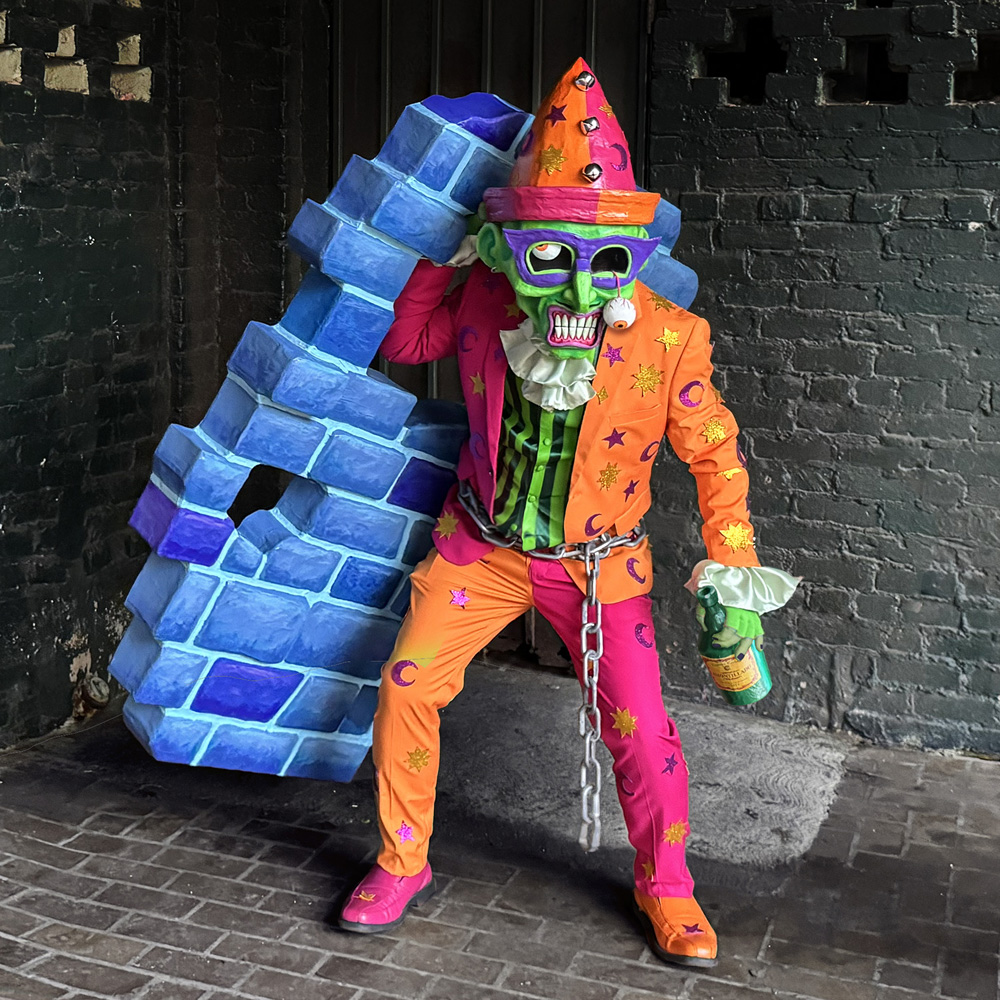
I had a very cheap, costume-quality dark green satiny vest, and I decided to paint light green stripes on it. I cut a cardboard shape to fit inside the vest so it would lay very flat and tight, and I used blue painter's tape to define all the stripes. I then just spray painted the whole thing! I was really pleased with how smooth and crisp the lines were when I removed the tape. It helps to really press down on the tape everywhere right before painting, so it's sticking down as smoothly as possible.
Shoes
I also spray painted my shoes! That's something that's never perfect, the paint will totally crack and peel a little bit here and there over the course of walking for several hours. No big deal. This time I actually spent a lot of time with blue painters tape protecting the soles of the shoes so those would remain black; if you paint 'em, that's often the first place where the paint job starts to look damaged and bad.
Chain
The chain is just some extra large plastic chain that I ordered, like it's a hardware store product rather than a Halloweeny plastic chain; I don't love the look of those. I did some snipping with wire snips and used some twist ties to make the chain fit the way I wanted around the jacket. I even snipped the links in the front so they're sort of like a belt buckle; the chain looks complete in the front but I can actually open it like the belt of a robe whenever I want to take the jacket off.
And that's the whole costume! Whew!