
"Gras-goyle" gargoyle costume, WIP part 5: hands and legs
Published February 27th, 2025
This is part five of my gargoyle costume project for Mardi Gras 2025! If you wanna start at the beginning, check out part 1: column, part 2: wings, part 3: starting the mask, and part 4: finishing the mask.
Now then, where were we? Oh yeah, time to make the gargoyle's hands and legs! These will be part of the illusion I'm trying to pull off where my real legs are hidden in the column so it looks like my torso is attached to the fake crouched legs on top.
Hands
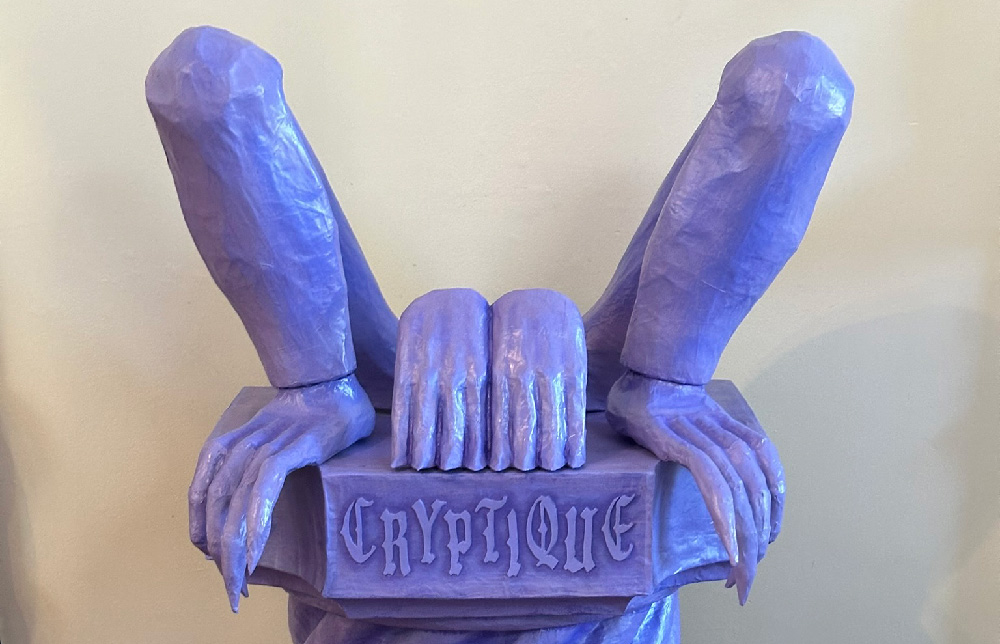
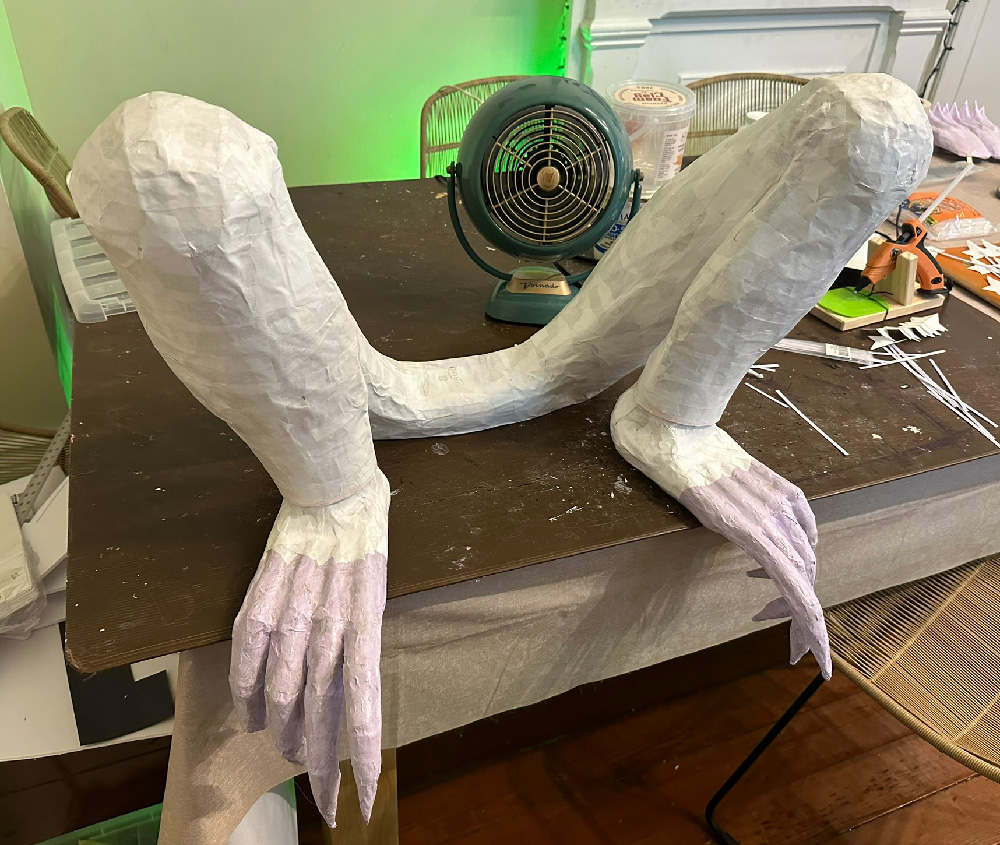
So, the idea with these hands is that they're meant to be just the front surface of the gargoyle's hands so I can hide my real hands behind them as I'm walking in this costume. Also, because I was concerned about the stone column potentially being a bit heavy or off-balance, with most of the weight certainly being in the front, I wanted to put a sort of handle behind the fake monster hands so I can hold onto that and steady the column as I walk. More on that in my next article when I'll talk about making the stone column wearable.
To make these hands, my plan was to create a solid base structure, then apply paper maché to the front of it, and then remove the sculpture and leave just the front part of the paper maché.
My first idea for the hands was to use foam backer rod for the fingers. I love this stuff because it's lightweight and easy to cut, and fairly dense and sturdy. (I used different sizes of foam backer rod for my alien brain and for my Creature gills.) I cut out some finger-length shapes and I started hot-gluing them onto a foam board surface that I'd cut out, but they just don't want to sit right and they didn't look enough like fingers.
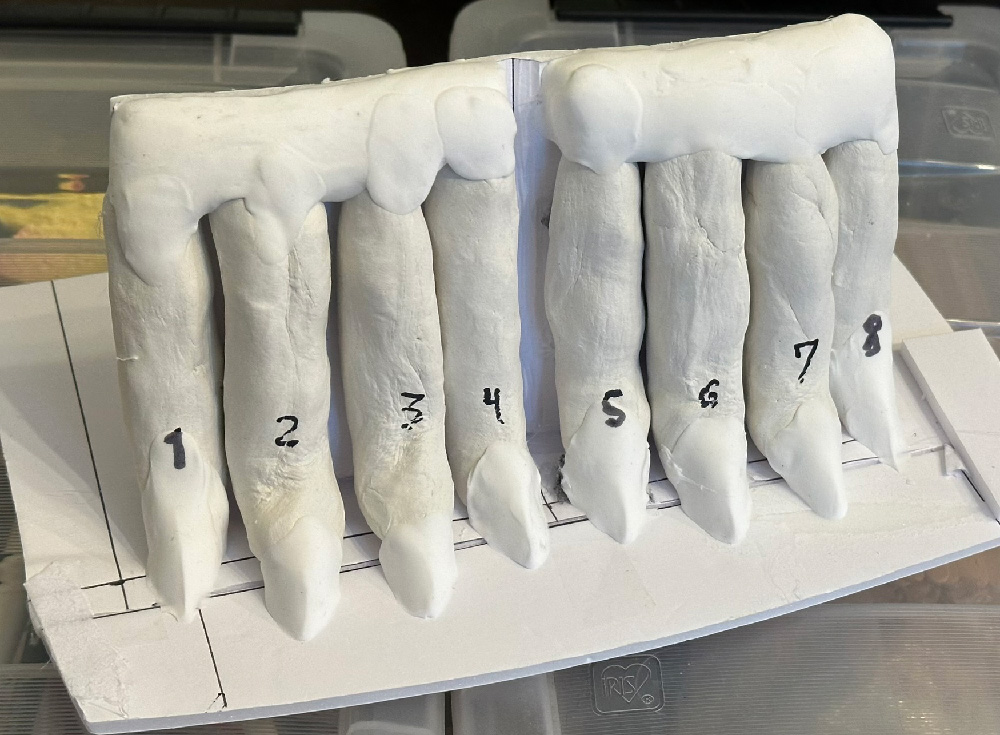
I had a pack of air-dry modeling clay sitting around for over a year and it seemed like I would never have a use for it, so I decided to use that to sculpt the fingers. While I know my art projects are never truly realistic, I wanted to try to give the fingers a slightly realistic curve, to show that they're under tension — like if you were to push your fingers straight down onto a table, your finger tips actually bend outward a bit; the opposite way of how those joints usually work. Right?
I also wanted the index finger and pinky to sit slightly behind the middle and ring fingers. If you push your fingers down on a table you'll see what I mean. Also, if you put both hands down this way, and put them together, you'll see that your thumbs are completely hidden. So I didn't include thumbs on these hands.
Okay, so, modeling clay for the fingers; that gave me a decent amount of control over their individual thicknesses, lengths, and the way they're curved. I set them in place on a piece of foam board to dry over night, and then the next day they were solid enough that I could remove them, flip them over, and let the back side dry for one more night.
After that, I hot-glued the fingers onto the foam board permanently, and then I used foam clay — not air-dry modeling clay — to sculpt pointed finger tips, as well as the area across the knuckes that connects all the fingers.
When the foam clay was dry, I made the backs of the hands with curved piece of foam board, hot-glued in place, and then I built up the backs of the hands a bit with more foam clay.
When all of this was dry, I covered the whole structure with masking tape, and then shipping tape. The shipping tape is there to act as a release agent for the paper maché, and I put the masking tape on first because shipping tape doesn't want to stick to modeling clay very well, but it will stick to masking tape.
I put five layers of paper maché on the hands, let them dry, and then used my X-acto knife to slice the paper maché open so I could remove all the materials inside, leaving just the paper maché form of the front area of the hands and fingers.
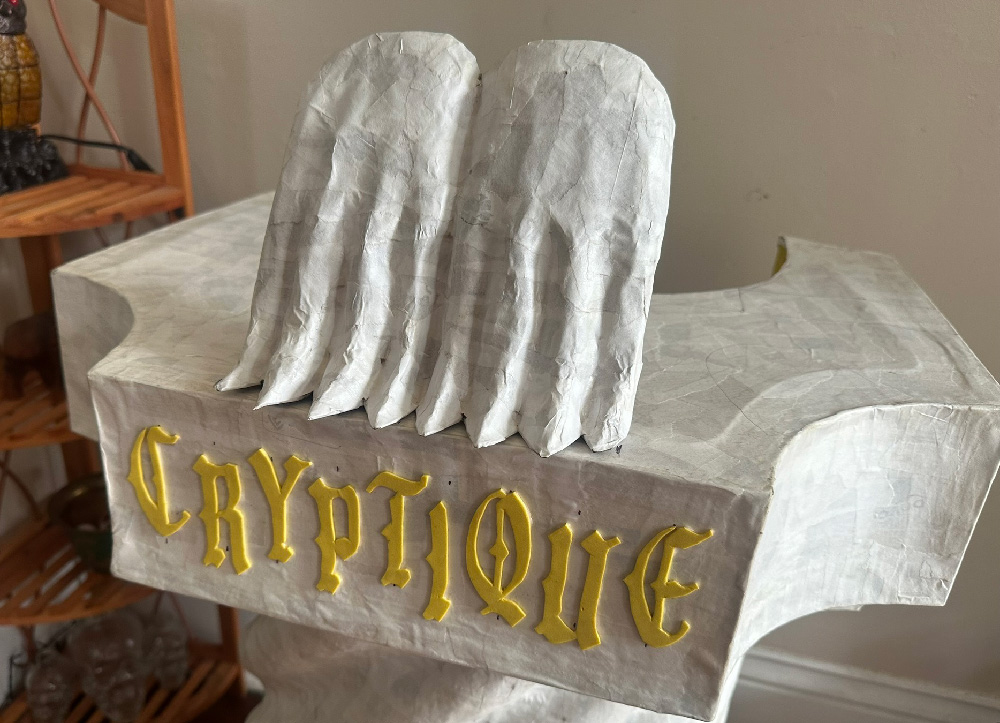
I built a little flat base for the hand out of foam board and then hot-glued the hands onto it. I then used tiny pieces of paper maché to cover all the cut edges of the hands and fingers.
The hands will get painted later...
Feet
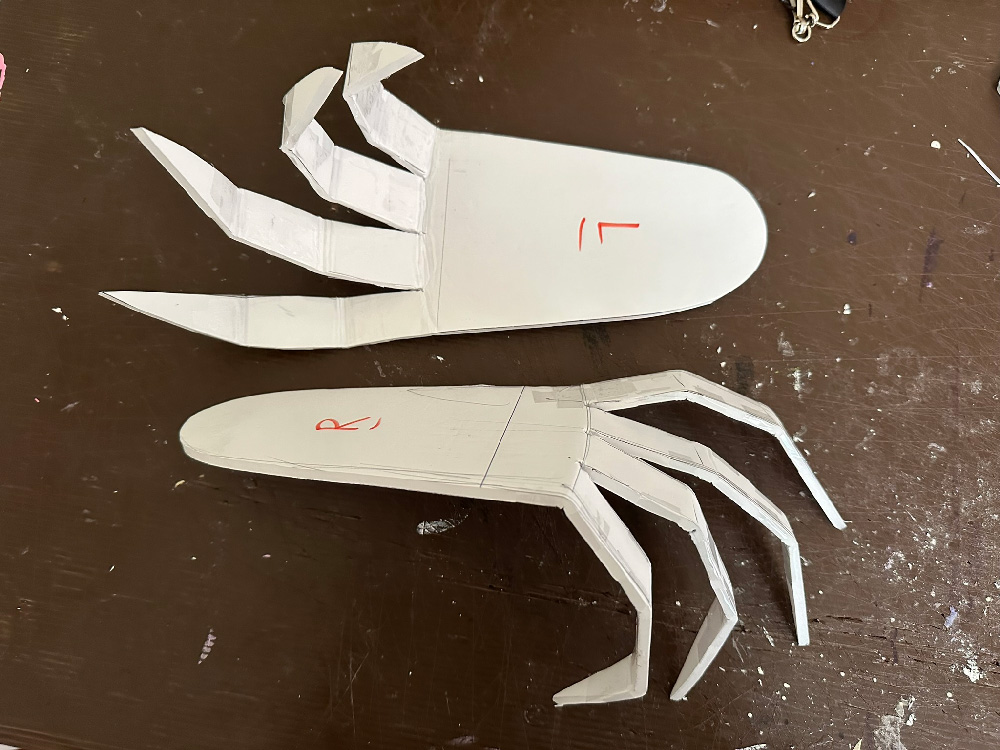
I cut out the feet shapes from foam board and then carefully bent the toes at the joints. A trick I use to keep foam board bent at a specific angle is to put thin strips of shipping tape on it, both crossing over the bent part and also running parallel to the bent part. (Another way to do this is to hot-glue wire or twist ties to the foam board.)
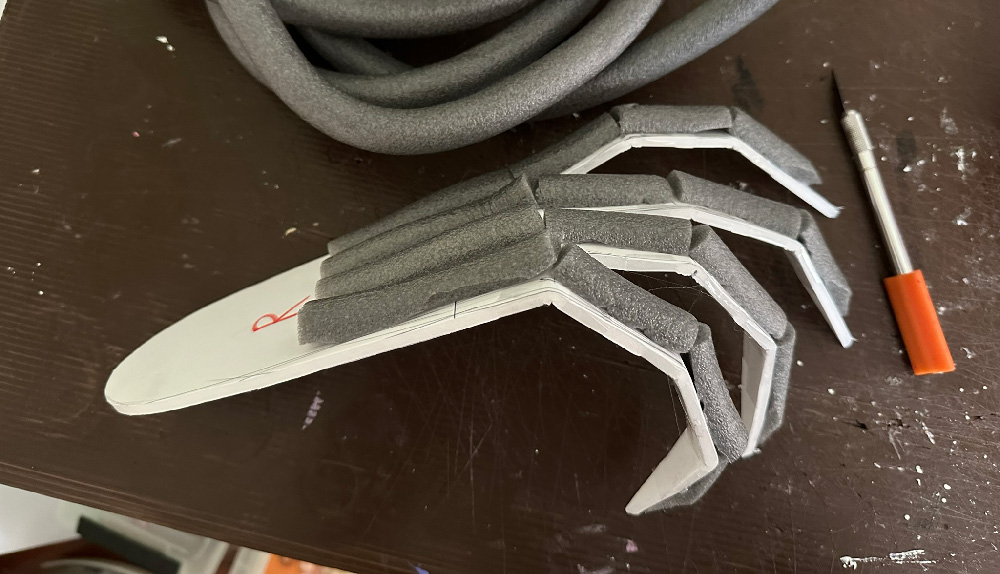
I then cut some lengths of foam backer rod and slit them down the middle with my X-acto knife. I hot-glued these in place on the toes and the backs of the feet. I then used foam clay to cover and smooth out the whole thing. When the foam clay was dry, I covered the feet with just one layer of paper maché; they don't need to be strong.
I applied a coat of gesso to the feet (mixed with a little bit of purple paint to keep track of where I'd covered) and then set them aside to use when making the legs.
Legs
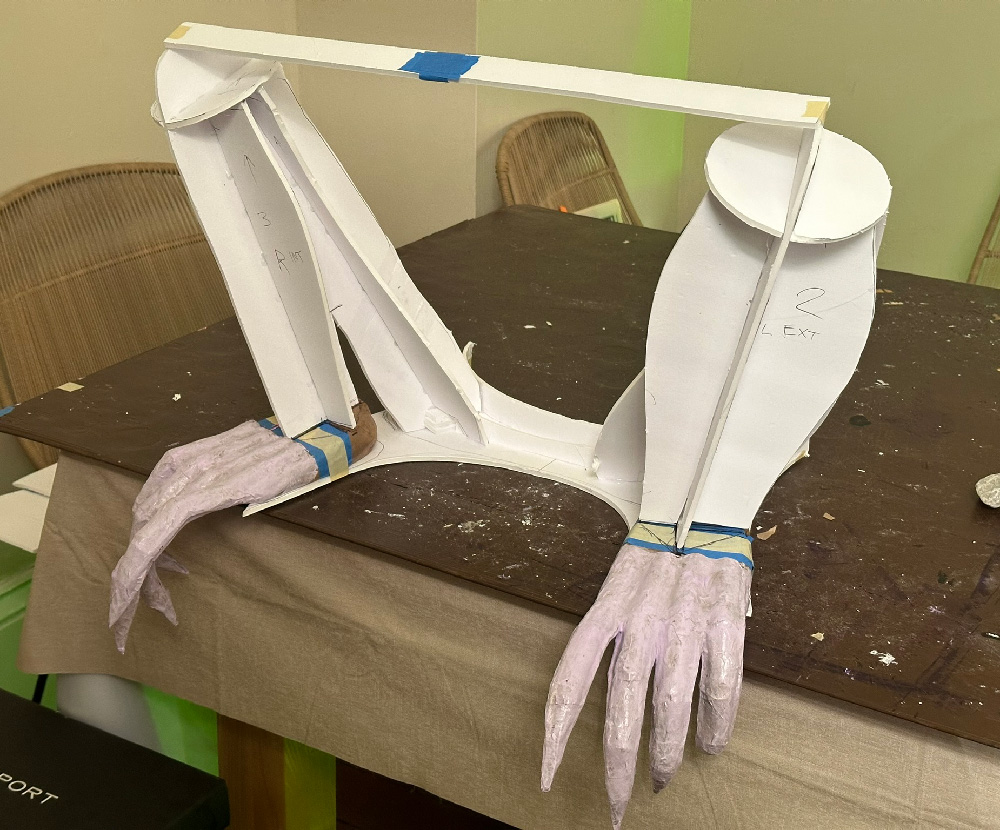
These legs were maybe the trickiest part of this whole gargoyle costume. I started with a big flat piece of foam board for each leg, and then I added perpendicular pieces of foam board to flesh out the legs in 3D, creating a sort of armature. This is similar to the technique I use to make the base for most of my big paper maché masks. I attached a long strip across the top to hold the knees at the right distance.
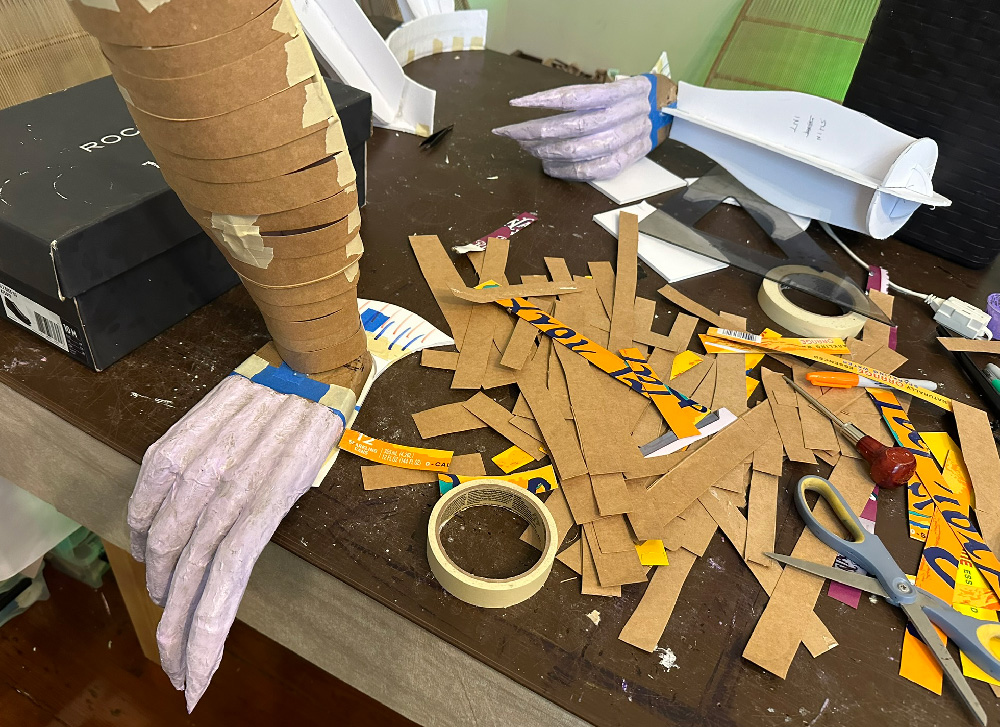
I covered this armature with curled-up strips of LaCroix boxes in order to round out the shapes, and then I covered the legs completely in masking tape.
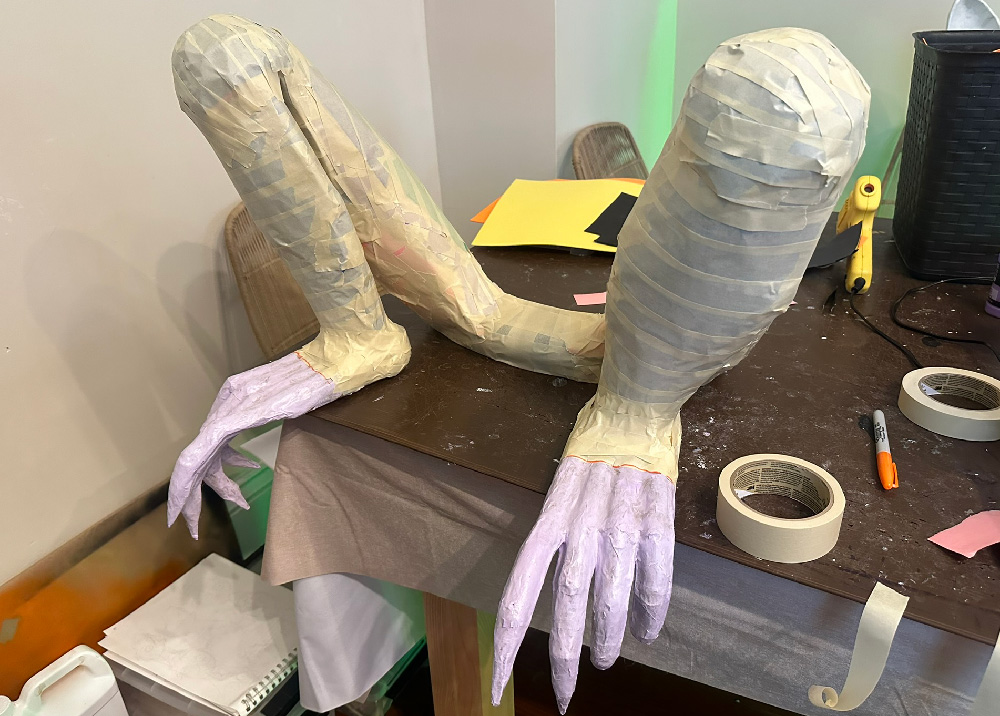
The legs were looking kind of skinny and a bit too straight, and I wanted to add some shapes to them to make them a bit more realistic. I did a lot of "sculpting" for lack of a better word, adding pieces of foam here and there and covering them with tape, basically adding padding where muscles would be. It takes some trial and error but it's fun to do. It definitely helps to know anatomy a bit.
At this point I covered the legs with two layers of paper maché.
After all that, I added the cuffs for the pant legs. These are just strips of craft foam, wrapped around and taped in place. In order to hide the top edge of the craft foam, I taped strips of construction paper over the edge and then covered that in masking tape. That smoothed everything out. Then I covered the cuff areas with two layers of paper maché.
At this point the legs were "done," but I decided to do an experiment and make things a lot more complicated for myself. :)
Although the legs were done, I was a little disappointed by A) how heavy they were, and B) how they didn't feel very solid; with all that foam and tape and just two layers of paper maché, they felt somewhat squishy and wobbly.
With some sculptures, I leave all the base materials inside and just do two layers of paper maché, and that's good enough, but with others I prefer to make them totally hollow, which means I have to use way more layers of paper maché. I decided to do an experiment where I weigh the legs as they are at this stage, and then go ahead and add six more layers of paper maché, cut them open and remove all the interior junk, patch the pieces back up with more paper maché, and then weigh them again. I was curious if the new hollow legs would weigh significantly less; I really wasn't sure. I was confident, however, that the new hollow legs would feel a lot more sturdy and stable.
The legs with all the inner materials intact and two layers of paper maché weighed 2.205 lbs.
In applying those first two layers of paper maché on the legs, I found that the overall shape was very difficult to work with; the bent legs bowing outward and the long feet just make for a very awkward shape that doesn't want to sit nicely on my table while I work on it. So to make the next six layers of paper maché infinitely easier, I decided to chop up the sculpture into four parts: I cut the feet off, and then I sliced the waist area right down the middle (ouch!) to separate the legs into two pieces.
Now, covering the legs with six more layers of paper was a breeze; this went very quickly. The feet didn't need any more paper maché on the front, and I did not plan on removing the foam and stuff from inside, but I did add four more layers of paper maché on the tops and sides and back, to make them feel a lot more solid.
When the legs were 100% dry, I sliced them open and removed all the interior junk; all that foam and tape and stuff. Since I did not use a proper release agent, some of the masking tape remained permanently glued inside, and that was fine.
I put the pieces back together with hot glue and masking tape, and covered those connecting areas with two layers of paper maché.
Then I simply hot glued the legs onto the feet.
With all of this work done, the legs and feet now weigh 1.98 lbs. That's just a few ounces less than before, which isn't a huge difference, but as I'd hoped, they do feel a lot more sturdy and stable now. Am I glad I spent all this extra time on this? Not really! :)
The legs and feet will get painted later...
That's all for now! Next up, putting it all together, and some finishing touches...