
48″ flying saucer Halloween decoration
Published by Manning on October 31st, 2023
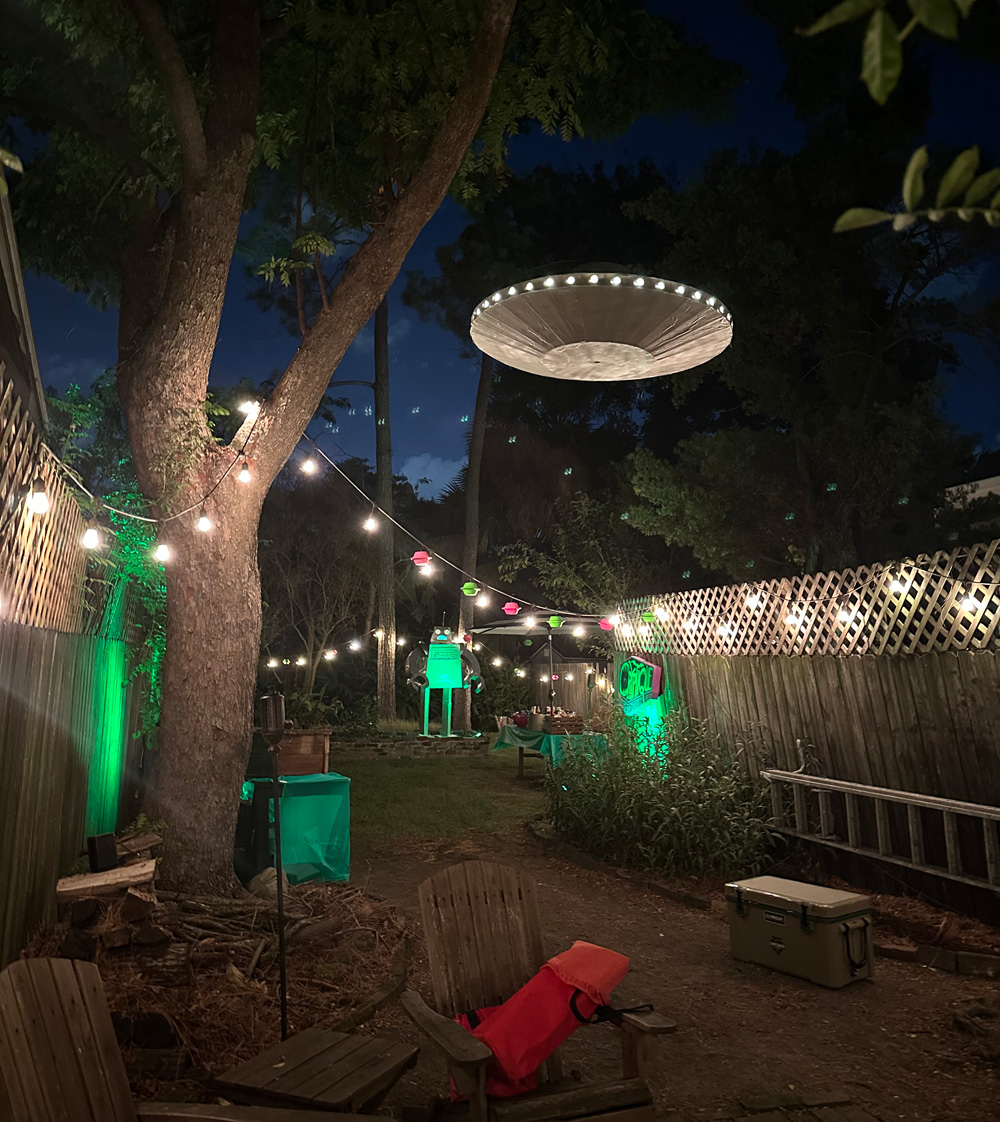
I made this 48″ flying saucer for our 1950s sci-fi Halloween party! Here’s how I made it.
This thing required a lot of math, and A), I’m bad at math, and B) the materials I use are not very precise so sometimes the pieces just don’t work out perfectly even though I’ve done the math correctly. Doesn’t matter! It’s just a big dumb decoration that people will see from relatively far away, as it’ll be up in a tree.
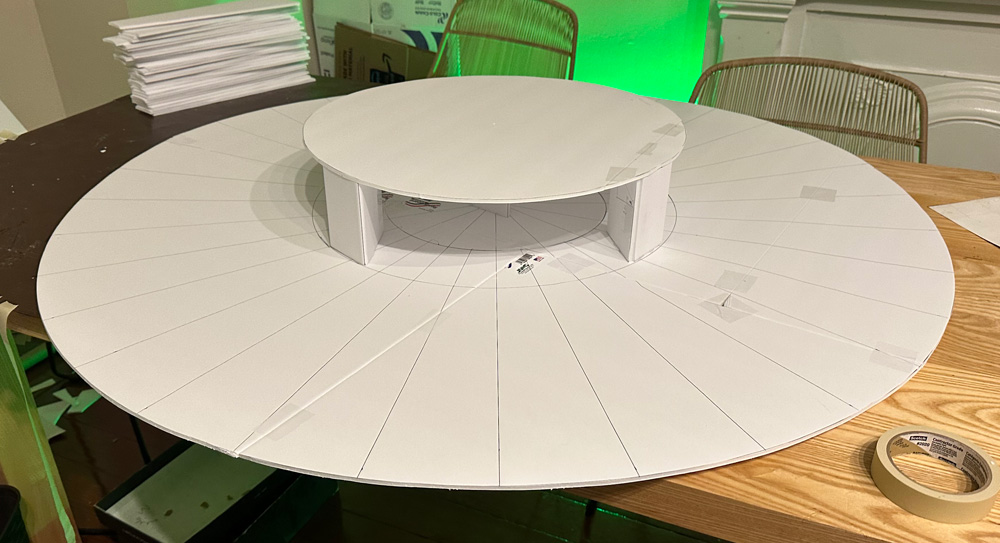
The flying saucer is three main disk shapes — the small one on top, then the large top part of the main saucer, and then the bottom part of the saucer. Each is made up of a flat disk of foam board, and then many panels extending outward to make the walls of the saucer. I can’t really go into detail about all the calculations and measurements that went into these because they were very haphazard and done on the fly.
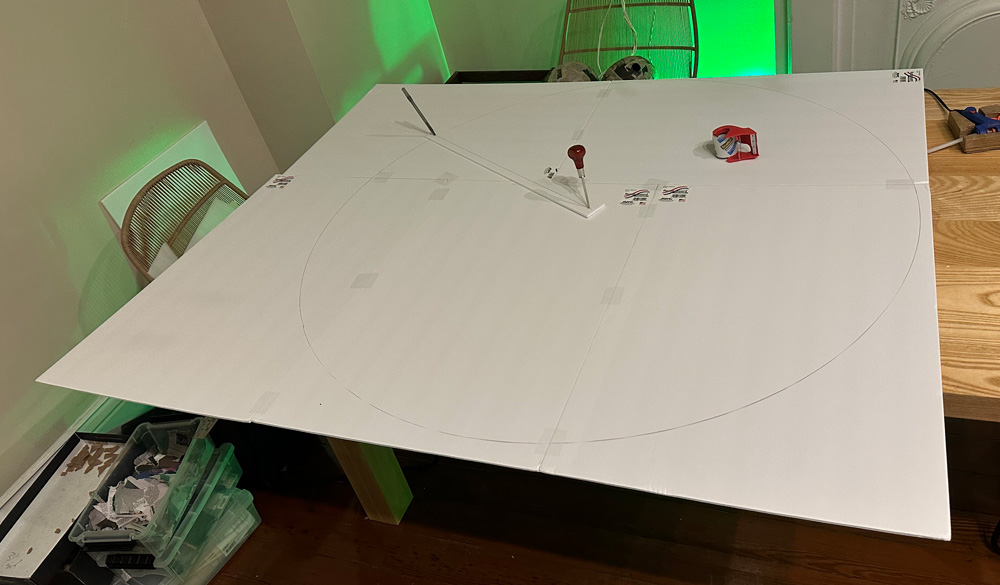
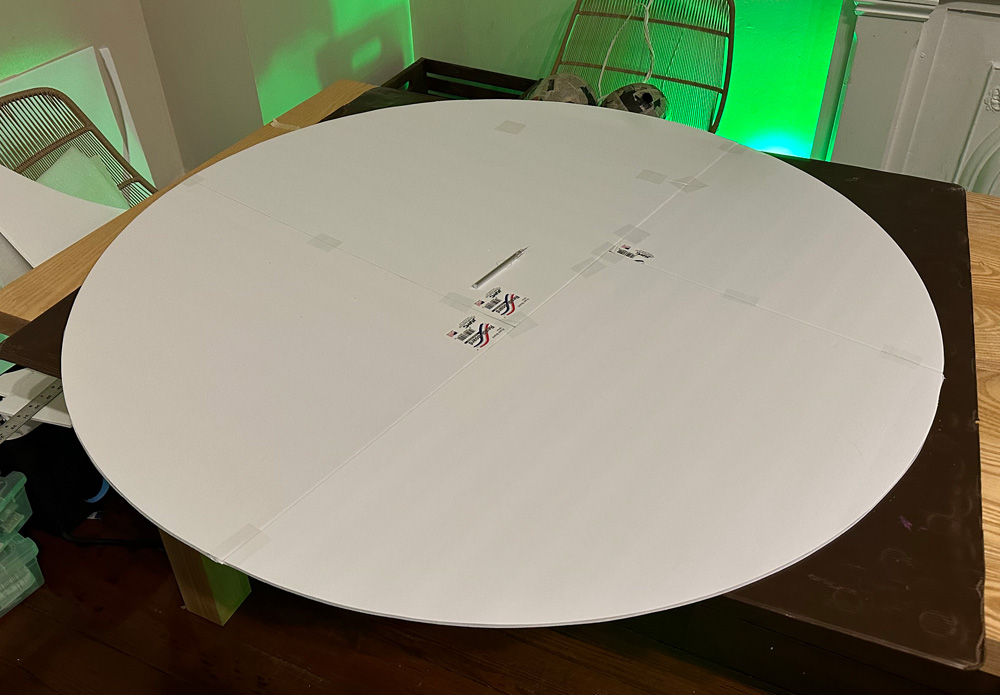
The top small part of the saucer has 16 panels around it, and the larger ones have 32. For each segment of the saucer, I figured out what size one panel would need to be, and then I made just one of them out of poster board, and then I used that to trace all the other ones onto foam board. I cut out all the panels with my X-acto knife.
I taped each of the panels all the way around with masking tape, just to get them all in position and allow me to readjust some of them along the way. Then when that was done, I went around and put little dots of hot glue into all the connecting areas at the top and bottom. This made the connections a lot more stable.
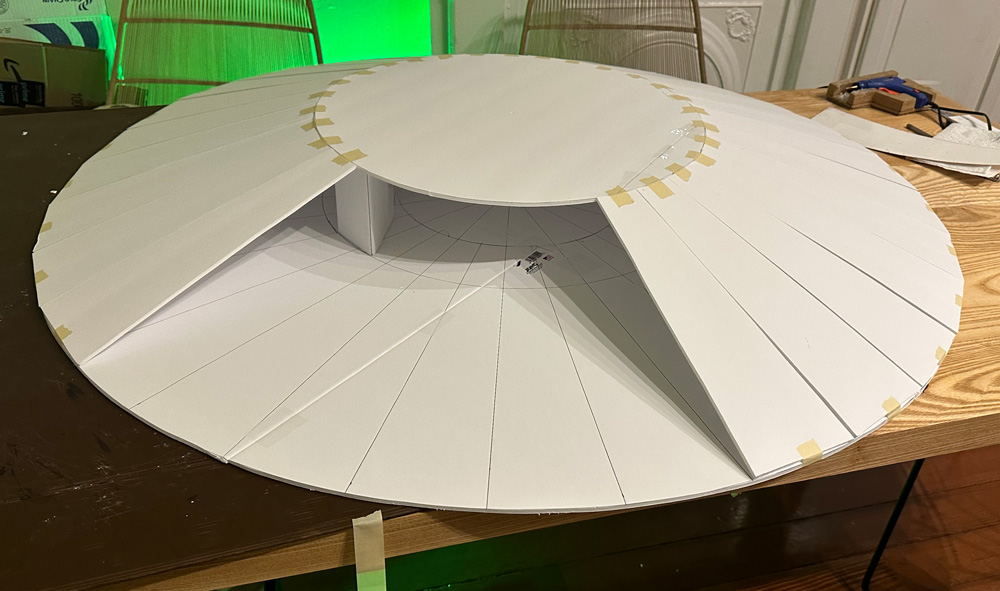
Now, if this was meant to be a more permanent sculpture, I would have covered the whole thing in paper maché, but this is a very temporary decoration so I didn’t bother. So rather than paper maché, I used tons of masking tape to cover over all the connecting areas. This ends up not looking perfect, but it’s close enough. Paper maché would give me a much more uniform (and sturdy) surface to paint on.
Fyi, I’ve learned from other projects that masking tape takes spray paint pretty well, where as plastic-y shipping tape does not; it remains really shiny when you paint it. So I specifically used masking tape on this thing, with the hope that it would not be very visible after painting. This worked out fine.
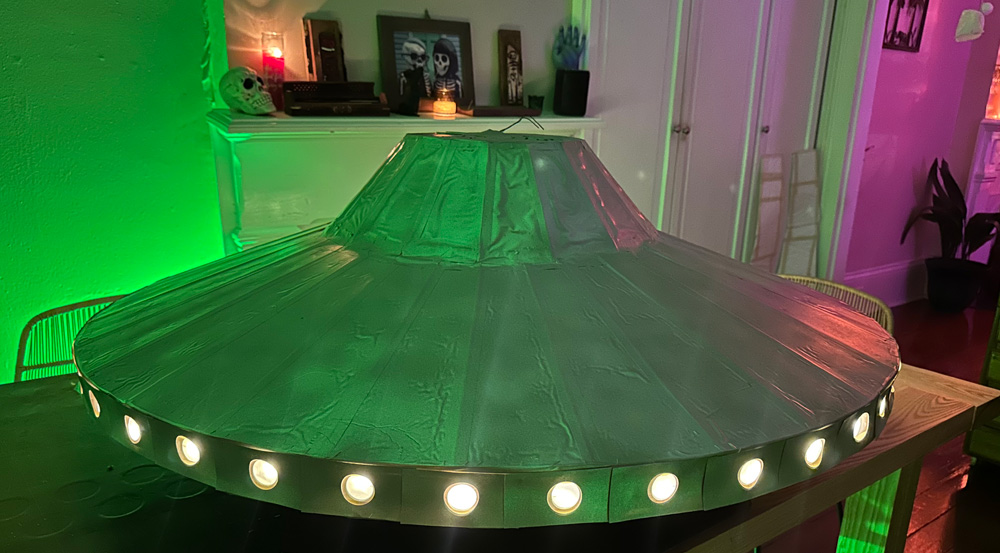
Okay, aside from the three saucer shapes, there’s the inner disk with the windows and lights. I built this area right onto the lower saucer shape.
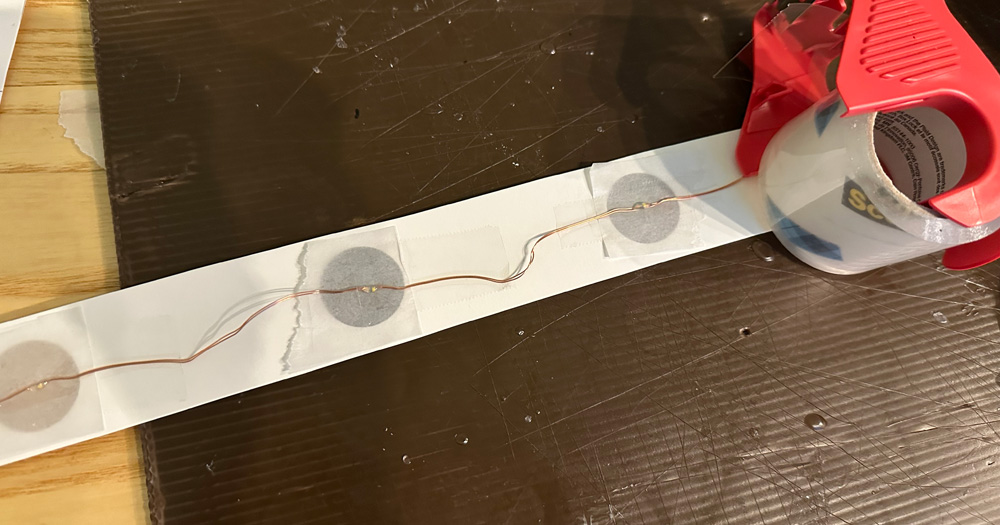
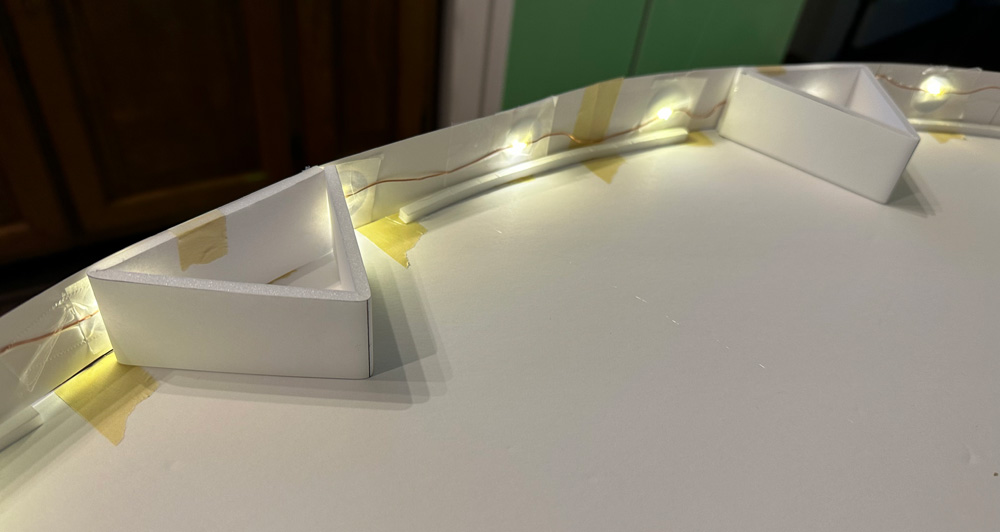
I decided on 1.75″ for the height of this area. I cut out a bunch of foam board strips at 1.75″ and bent and taped them into triangular supports, to hold the two main saucer shapes apart at the right distance. I also cut out a bunch of poster board strips at 1.75″ wide, to serve as the outer wall with the windows. I measured and marked dots where I wanted to space out the windows — I based this distance on the distance between the lights of the string of lights I bought. The lights are about 4″ apart, so I made the windows 3.75″ inches apart to be safe.
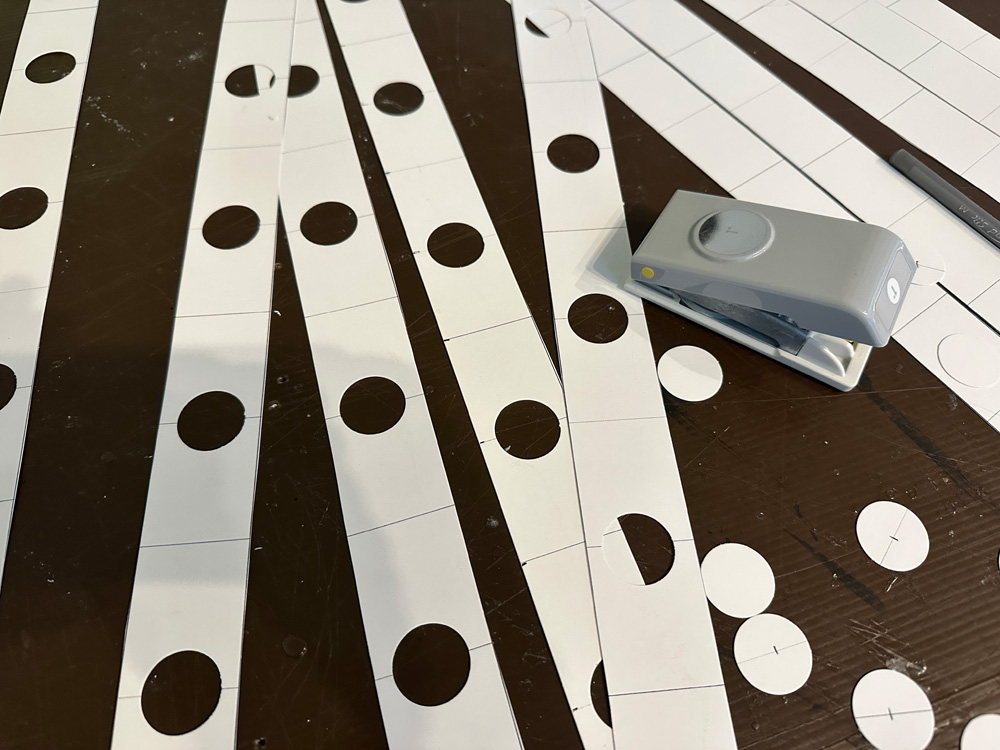
I used my 1″ hold punch to punch out all the windows; this is fun! Then I taped wax paper behind all the windows; this is to diffuse the light. I then taped all the poster board strips together, and taped the lights in behind each window. When this was done, I carefully placed this whole outer wall onto the saucer, securing it with masking tape.
I taped the battery pack for the lights (with three AA batteries in it) near the inner edge of the saucer, and I cut a little door in the outer wall so I can get to it. To balance out the weight I taped three more AA batteries into the opposite edge of the saucer; silly but practical.
Then it was time to place the top part of the saucer onto the bottom part. I put a ton of hot glue on top of all those triangular supports, and lowered the top saucer in place. I then put lots of masking tape all the way around the outer edge, between the windows, to secure the edges of the top and bottom saucer shapes.
I forgot to mention: I put a hole in the middle of all the saucer shapes so I could run a wire vertically all the way through the center of the flying saucer. This was one more little trick I did in the hope of preventing the ship from falling apart under its own weight.
I reinforced the very top of the flying saucer with the popsicle sticks, hot glued in place. This is to prevent the top surface from buckling, bending, and breaking.
I added a twist tie at the top of the flying saucer to serve as a hook to hang the thing.
Painting
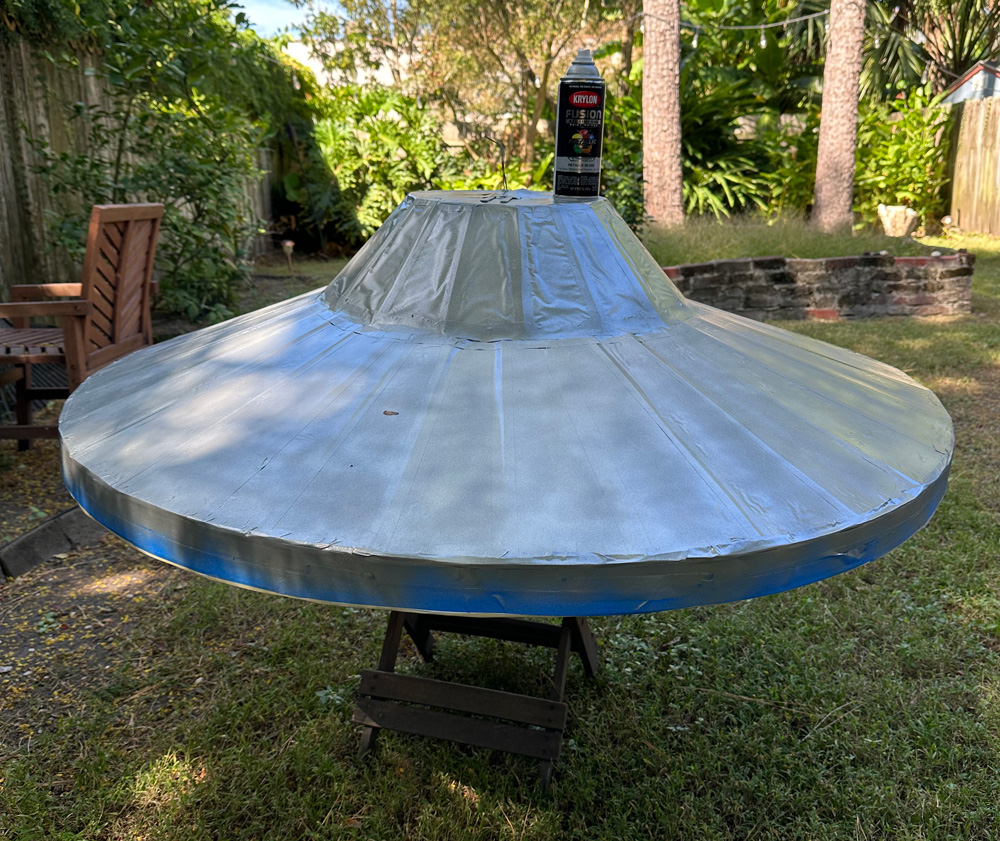
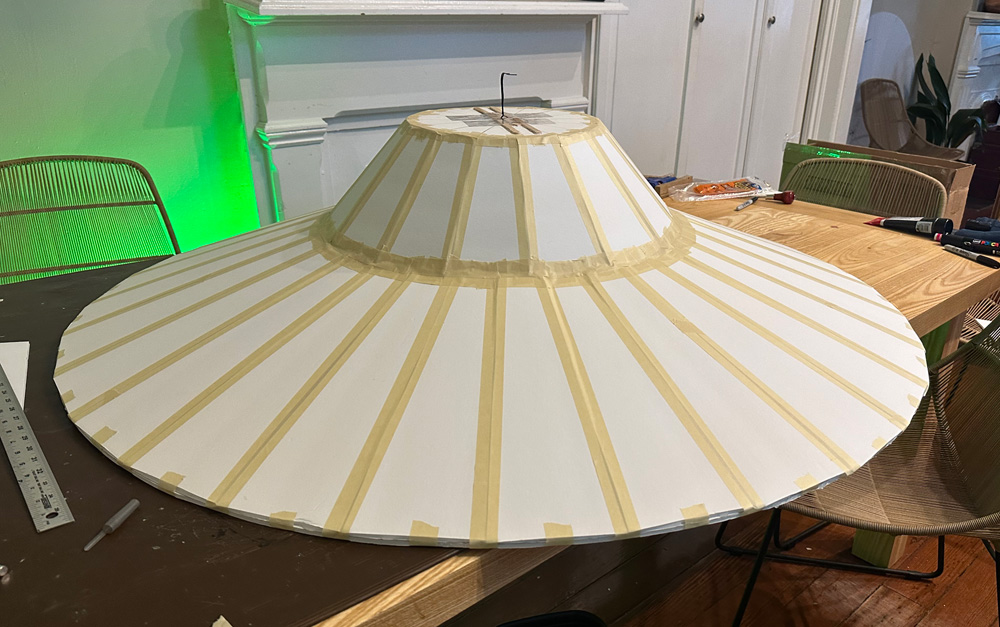
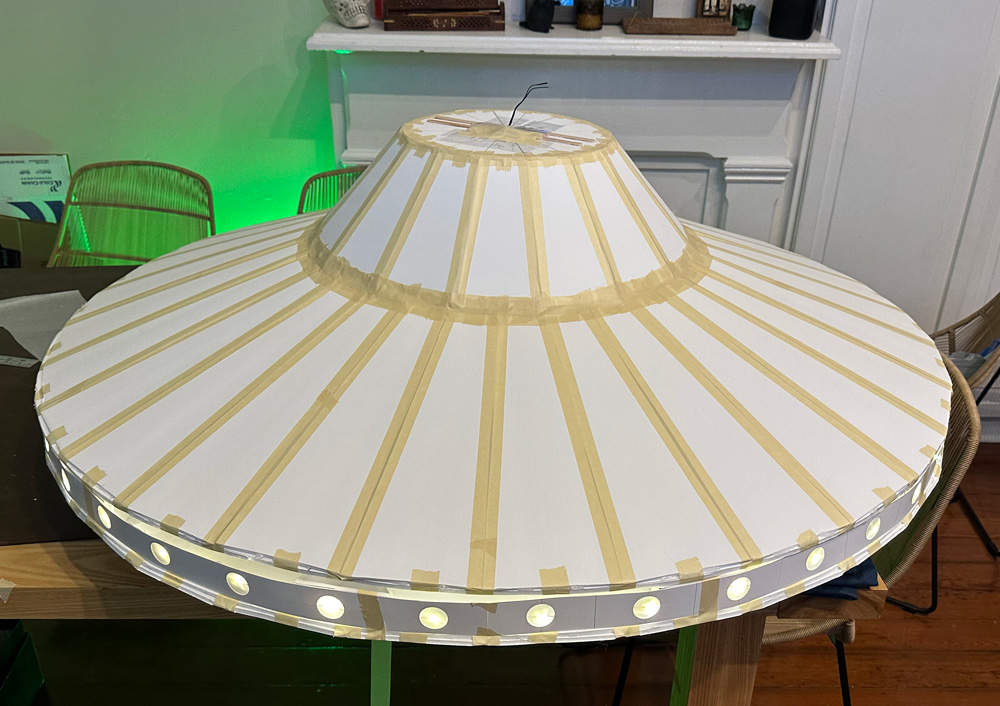
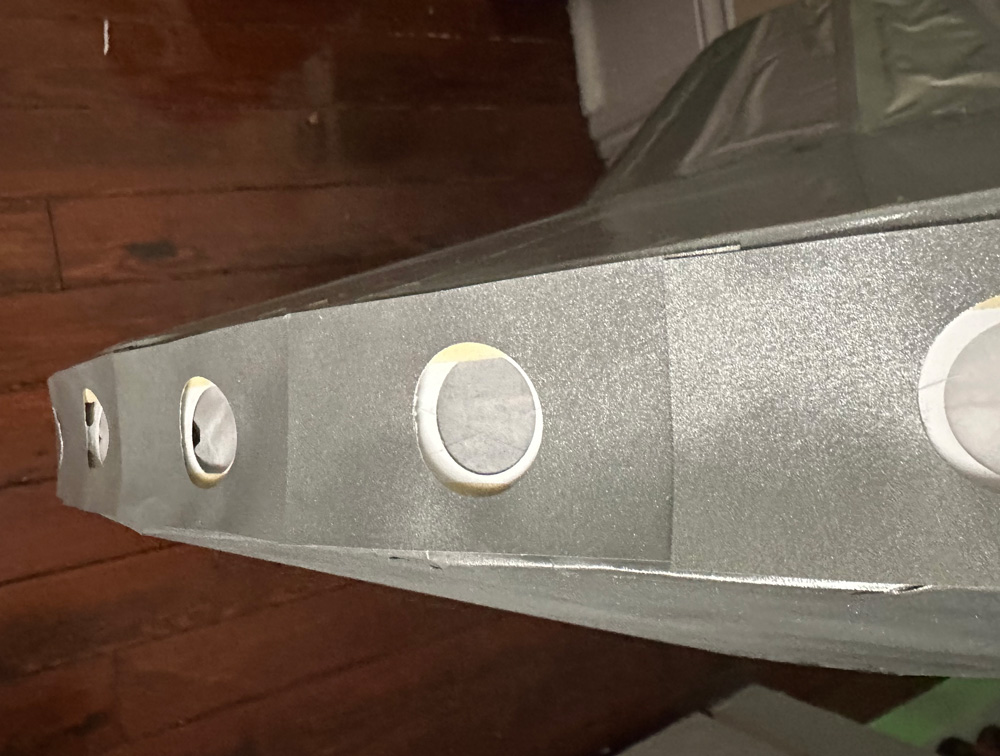
Before painting, I masked out the outer wall with the windows, using strips of paper and blue painter’s tape.
I then spray painted the saucer gray, let that set, and then spray painted it silver.
I considered painting the outer wall by hand, so I could carefully go around all the windows — this would be a ton of work! But then I came up with a simpler plan. I took some drawing paper and measured and drew a bunch of small strips. I didn’t cut these out, I just drew them, then turned them over, and then spray painted the entire sheets of paper with the same gray and silver paint.
When they were dry, I cut them all out, then used my 1.25″ hole punch to punch out holes for the windows. I intentially used a bigger hole punch this time so these wall panels don’t have to perfectly line up with the 1″ windows on the ship.
I hot-glued all these little panels in place, overlapping all of them, to create the outer wall. They’re not perfect, but this was so much faster and easier than painting around all the windows by hand.
On the night of the party we switched the lights on and hoisted the UFO up onto a branch! It looked really cool, and all the little imperfections I mention above weren’t noticeable at all. I was really happy with how this thing came out!

 About Manning Krull
 How to make a 4-foot paper maché alligator
 My violin skull mask, Mardi Gras 2015
 Three-headed paper maché dragon sculpture
Leave a comment