
DIY mummy props
Published by Manning on October 30th, 2017
My fiancée and I made these mummies for our ancient Egypt Halloween party. I didn’t get any pictures of our process but they were really easy! I’ll explain how we made ’em…
We started with a 5-foot articulated plastic skeleton; we buy these whenever we see them on sale and we’ve got a ton of them now. We ended up using two of the skeletons to make two mummies; the others went into different projects.
For all of our projects using these skeletons, the first thing we do is take the arms/legs/hands off (this requires various screwdrivers and a wrench) and then put them back together using wire or string. The reason for this is that, although the skeletons are articulated, the limbs are stuck in very stiff positions that aren’t very lifelike. Re-wiring them in this way lets you pose the skeletons much more realistically.
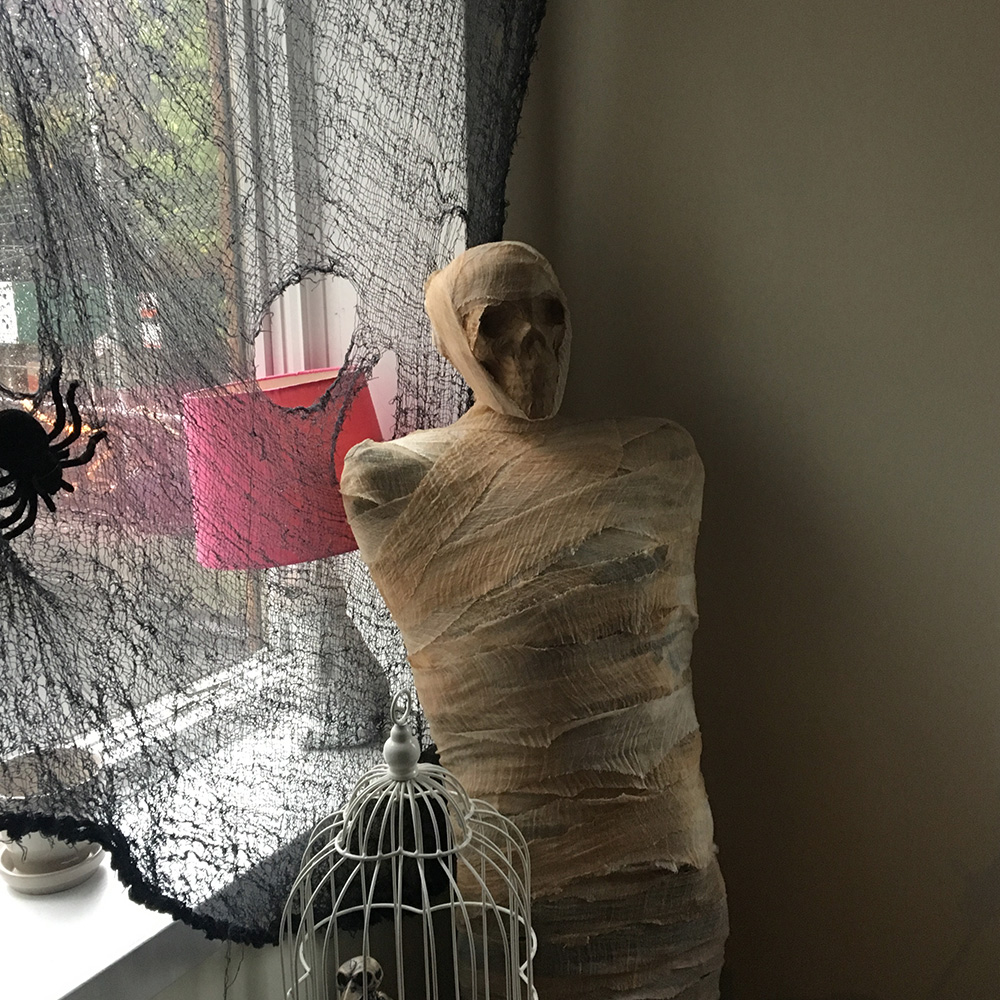
Once we had the skeletons ready with nice pose-able limbs, we used some long strips of masking tape to put them in the mummy-like position we wanted — namely, with the arms crossed over the chest, and with the ankles tied together. We also used tape to prevent the head from turning by wrapping connection between the head and neck.
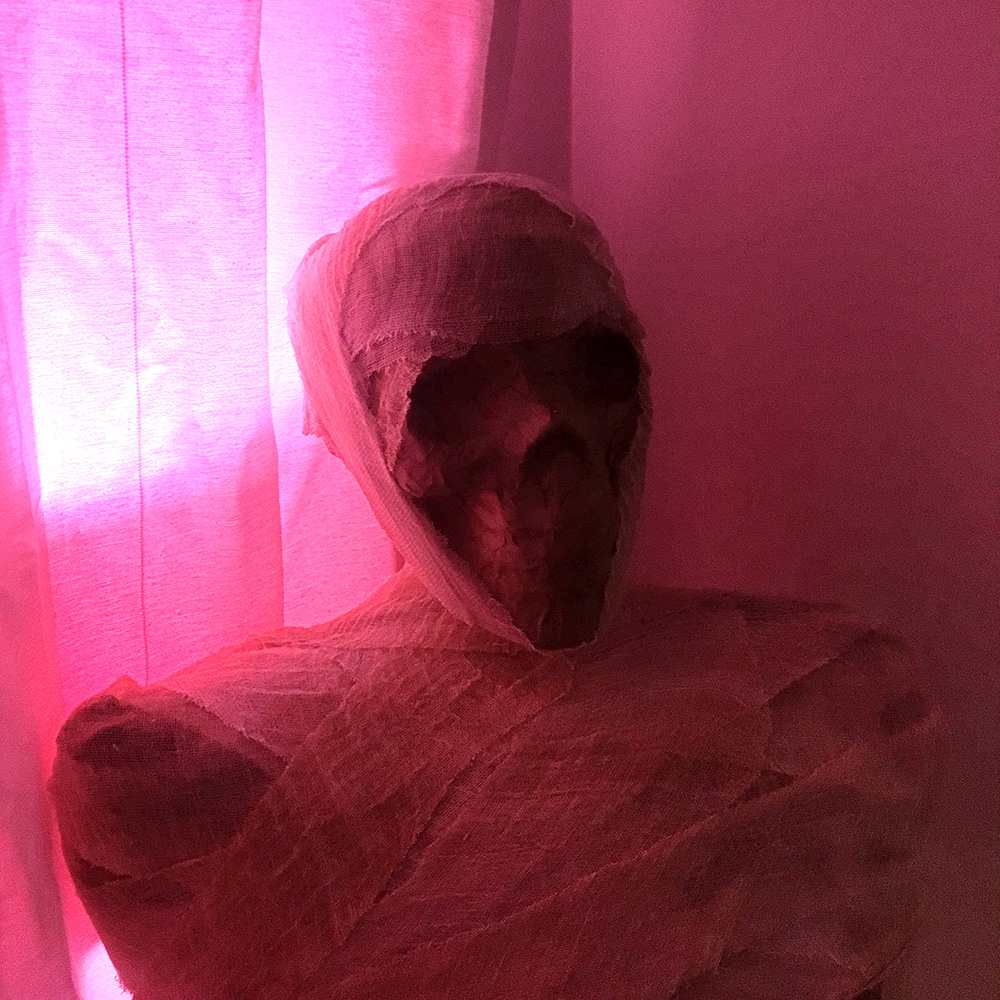
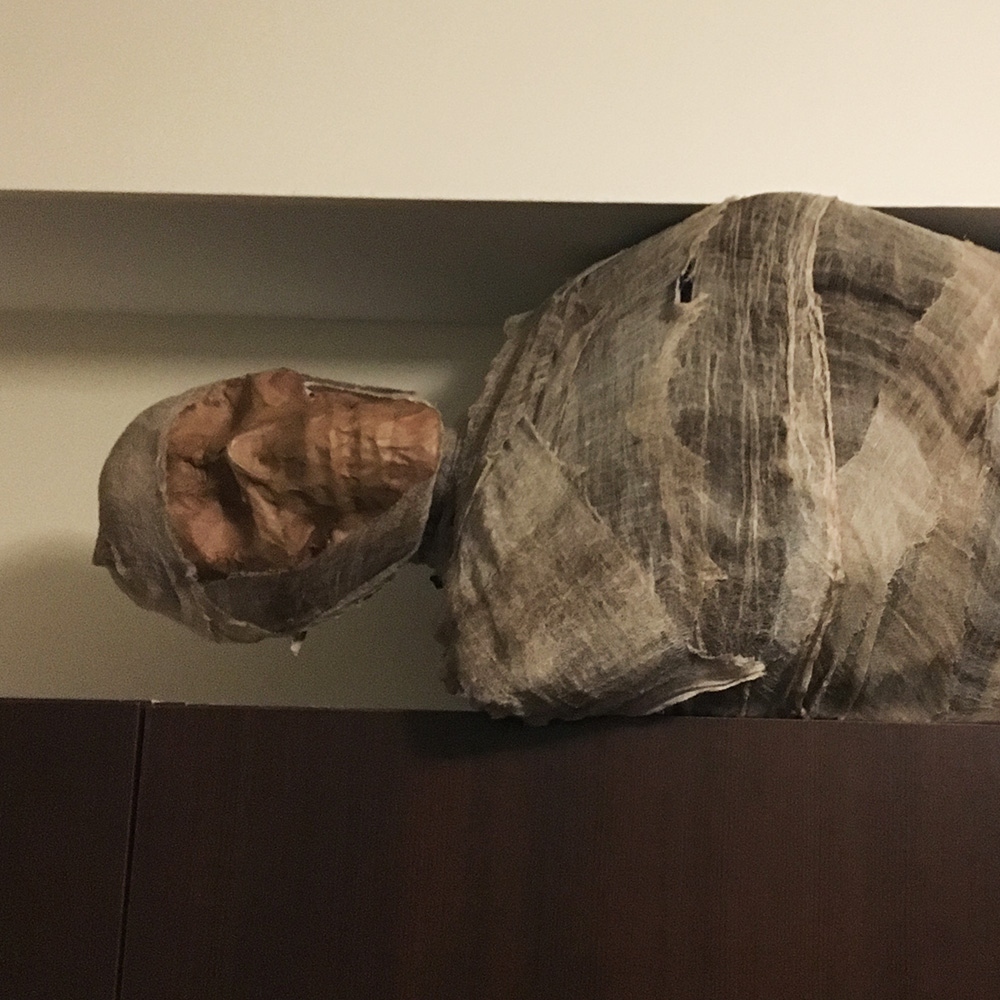
Before wrapping the mummies, we created their faces right on the skull with paper maché. First we covered the skull face with a piece of aluminum foil, and then we applied one layer of paper maché over that using wallpaper adhesive and brown wrapping paper. I use Roman PRO-543 universal wallpaper adhesive (paid link), and I usually do alternating layers of newspaper and brown wrapping paper, but in this case one layer was enough.

We opted not to paint the faces at all; the wrinkled brown paper had a great texture and color that worked great on its own.
We wrapped the mummies in a few different materials: First, we wrapped the whole body (minus the head) with a cheap plastic table cloth from the dollar store; we happened to have some green ones left over from another year. The purpose of this layer of plastic is to round out the skeleton’s shape — for example, creating a kind of wall that covers the big open space the ribs and pelvis, so the next layers of material don’t sink into there.
Then we wrapped the body (again, minus the head) with a layer of bubble wrap, using a 12-inch roll and wrapping the body as evenly possible, and securing the bubble wrap here and there with tape. The purpose of this layer is to give the mummy some bulk, so it doesn’t look like just a tightly-wrapped bony skeleton.
Next, we wrapped the body in a second black plastic table cloth; this is mainly so when the final layer of cheese cloth strips are in place, the surface underneath is matte black rather than shiny bubble wrap. The cheese cloth ends up being partly see-through in places, and the strips might separate a little bit here and there, and it would look dumb if you could see the bubble wrap through there.
The final layer would be strips of cheese cloth, but first we had to stain the cloth. I bought some packets of cheese cloth on Amazon; each packet was 45 square feet for about 11 bucks, and each mummy used a little less than one packet.
To stain the cheese cloth, we filled a bucket with water and squirted some brown acrylic paint in there. We swished the water around with our hands a little bit to partially mix the paint into the water, but not enough that it became a perfectly even mix; having the mixture be less evenly mixed means you get neat stains and darks and lights in your cloth, rather than a solid brown color.
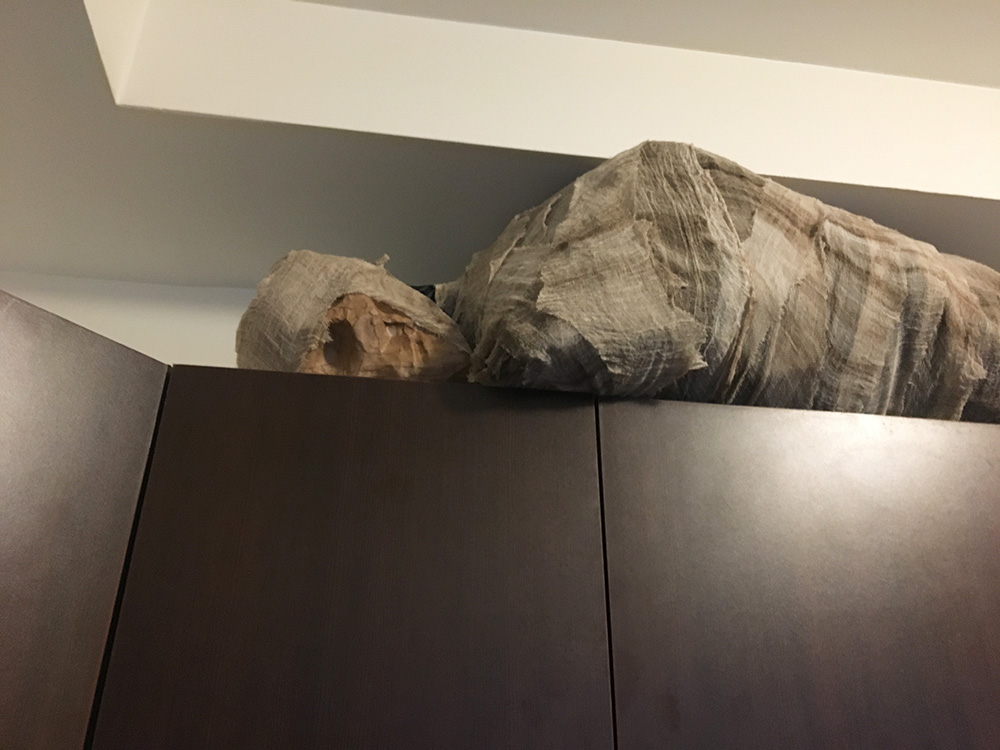
We let the stained cloth dry outside and then brought it in and cut it into strips that were about four inches wide. We then carefully wrapped the mummy, starting from the bottom and working our way up, and connecting the strips with tape on the back of the mummy (which wouldn’t be visible during our party). The last step was carefully wrapping the head with some strips of cheese cloth, so just the paper maché face showed through.
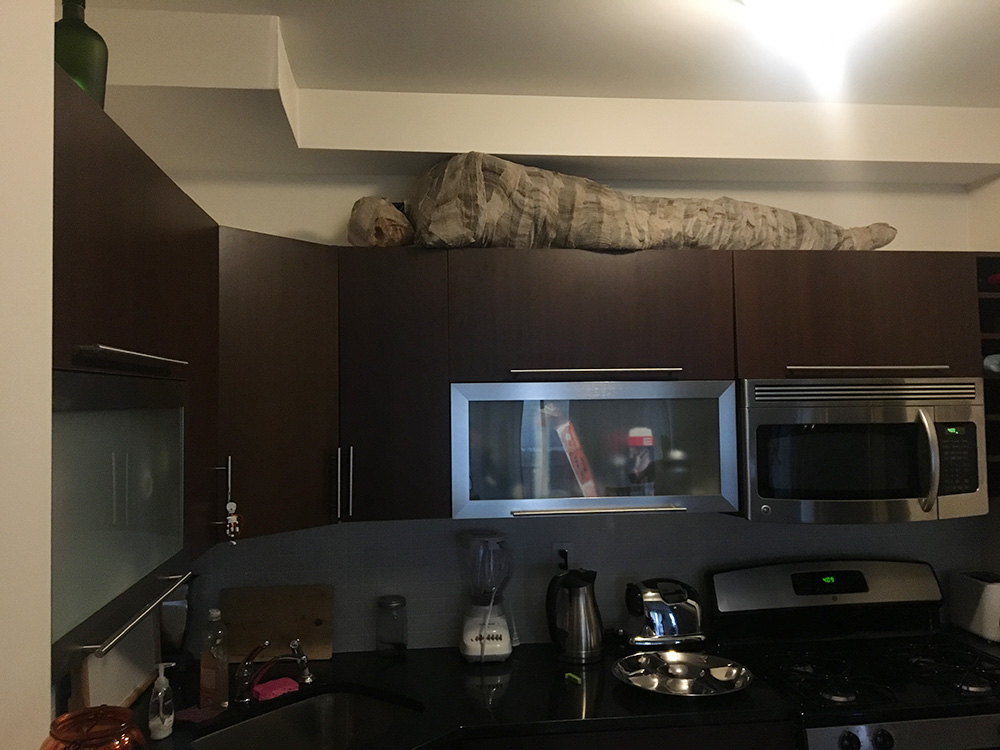
We displayed one of our mummies on top of our kitchen cabinets, and another in the corner of the living room. I forgot to mention, for the mummy that was standing up, we attached a broomstick to his back before wrapping him, so he’d be able to stand up nice and straight.
These mummies were a really easy and fun project and they looked great!
 About Manning Krull
 How to make a 4-foot paper maché alligator
 My violin skull mask, Mardi Gras 2015
 Three-headed paper maché dragon sculpture
Leave a comment