
Huge 5-foot skull decoration for Halloween!
Published by Manning on October 8th, 2021
I made this giant 3D skull decoration for a wonderful client to display on the front of his house for Halloween 2021. Here’s how I did it!
Building the base
I started with a few sketches of the skull in different styles to get a sense of what the client wanted. When we settled on a final sketch, I re-drew it at real size onto foam board.
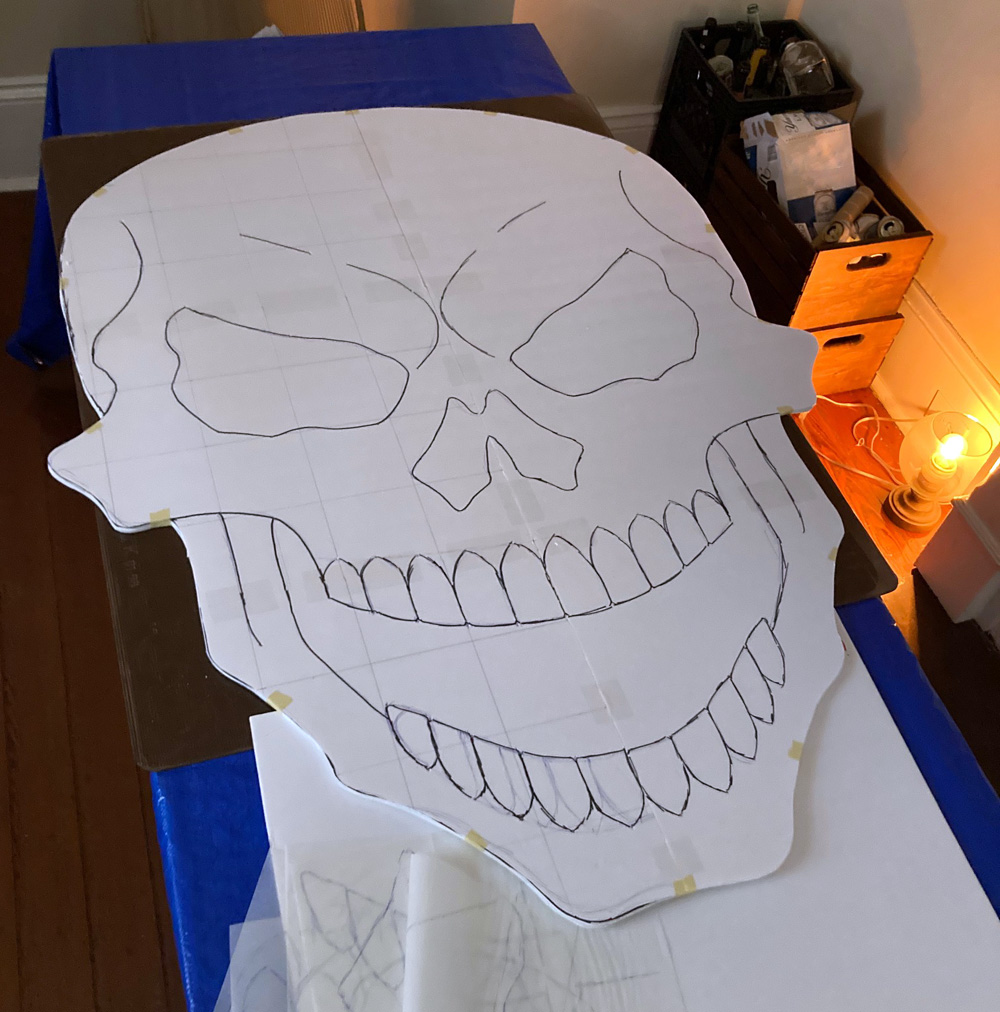
I took three pieces of 30″ x 20″ foam board and taped them together with packing tape on both sides to make a panel that’s 30″ x 60″. This is the size of half of the skull face. To transfer the small drawing to this large surface I used that trick with a grid; you know what I’m talking about. It’s easy. Anyway, I drew one half of the skull face this way.
I then cut out the half-skull shape with my X-acto knife, flipped it over, and traced it onto a second 30″ x 60″ panel to make the other side of the skull face. I taped these two halves together with packing tape on both sides.
I then traced the entire skull face shape onto a second set of six foam board sheets taped together (60″ x 60″) and cut that one out. I glued the two big layers of foam board together and set books on them to help them dry flat. This will be the back surface of the skull decoration.
(Pro tip for making a base that’s two layers of foam board like this: It’s important to make sure the seams between your foam board sheets don’t line up with each other; otherwise the base will be weaker, and prone to bending. You can do this by planning out your drawings/tracings to not be positioned on the foam board in the exact same way.)
When the glue was dry, the base was nice and sturdy.
Building out the face shapes

To build out the 3D relief of the skull face, I used lots of different cheap, lightweight materials: foam board, foam insulation tubing, random pieces of styrofoam, scraps of pasteboard from food packaging, etc. I used tons of tape and hot glue to put everything together.
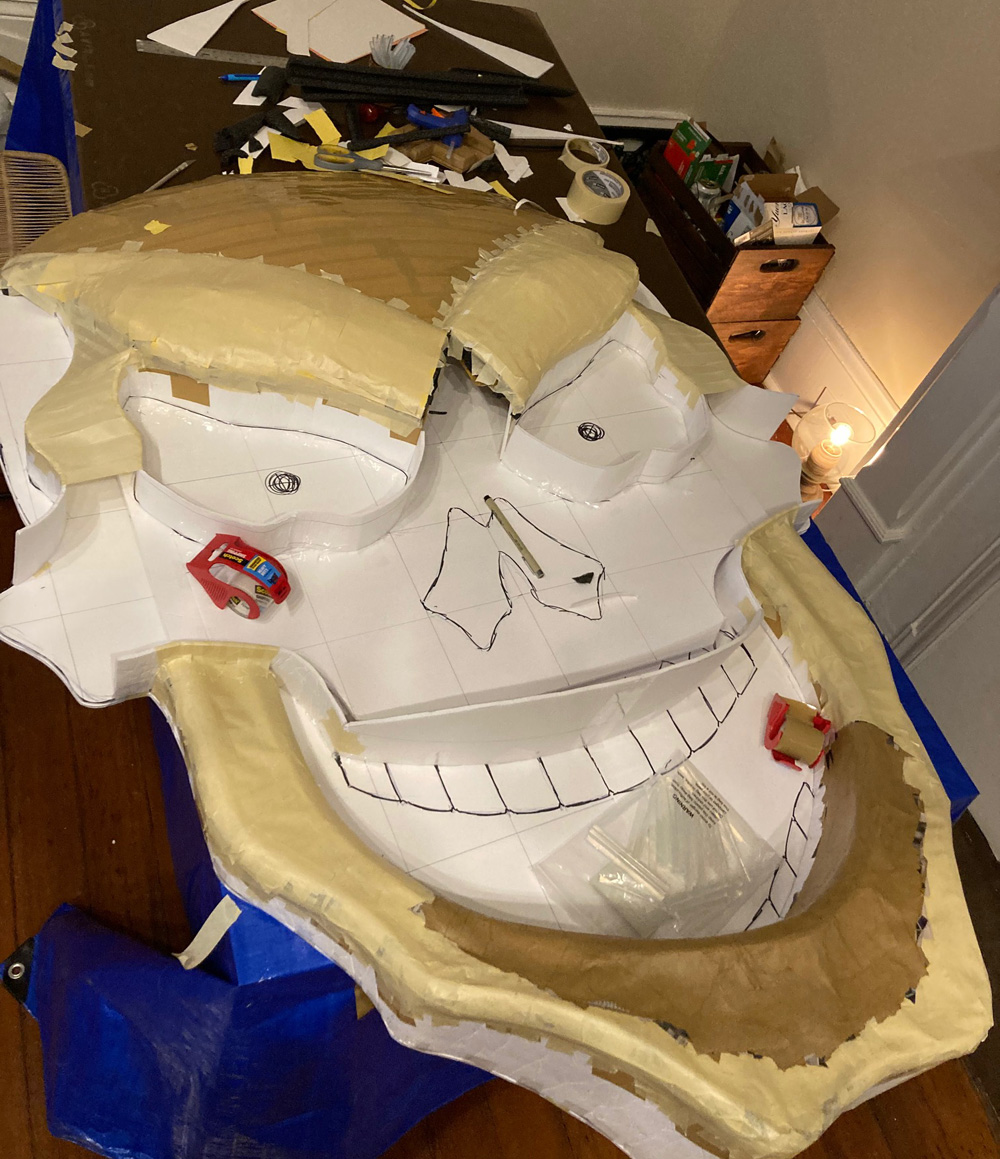
One of the main tricks I use for this kind of work is cutting out tons of narrow strips of foam board (1″ or 1.5″ wide) and rolling them up to make them somewhat curled, and then I hot-glue or tape them into place to make all kinds of curved shapes.
I didn’t take pictures of all of my steps because there are just too many of them. But you get the idea. I was really making up the steps as I went along, tackling each detail of the face separately and looking at the materials I had and thinking about, “what could make a cheekbone? what could make an eyebrow ridge?” Etc.
Teeth
To make the teeth, I first used tracing paper to trace all of them from the drawing on the base, and I numbered these to keep track of them. I then cut out the tracing paper shapes, and traced them onto foam board. I numbered them there too; I number everything! Otherwise it’s easy to lose track of stuff. I cut out the foam board teeth with my X-acto knife.
I then traced the teeth a bunch more times onto other materials. I traced each tooth three times onto craft foam, and once onto poster board. (Of course I numbered all of these!) Let’s talk about just one tooth here. For the craft foam, I drew a smaller outline inside of each shape; each a little more narrow than the last. For the poster board, I drew a line that was just slightly wider than the real tooth shape. Then I cut all of these out with scissors.

I used a tiny dot of hot glue to glue the biggest craft foam shape onto the foam board shape. Then another tiny dot of hot glue and I added the second craft foam shape. Another dot of glue, and then the narrowest craft foam shape. I then took the poster board shape and used masking tape to tape it over all this foam stuff. You get the idea; the poster board over the narrower and narrower craft foam shapes give the tooth a curved surface. Boom, that’s one tooth down. Nineteen more to go.
Paper maché
After building the teeth, I covered them each with four layers of paper maché; here’s some info about my paper maché process and materials. The short version is: I use Roman PRO-543 universal wallpaper adhesive (paid link) and alternating layers of newspaper and brown wrapping paper.

I also applied paper maché to the jaw areas where the teeth would be attached — six layers. I wanted to create a very strong, porous area where I could glue the teeth in place before completing the rest of the paper maché.
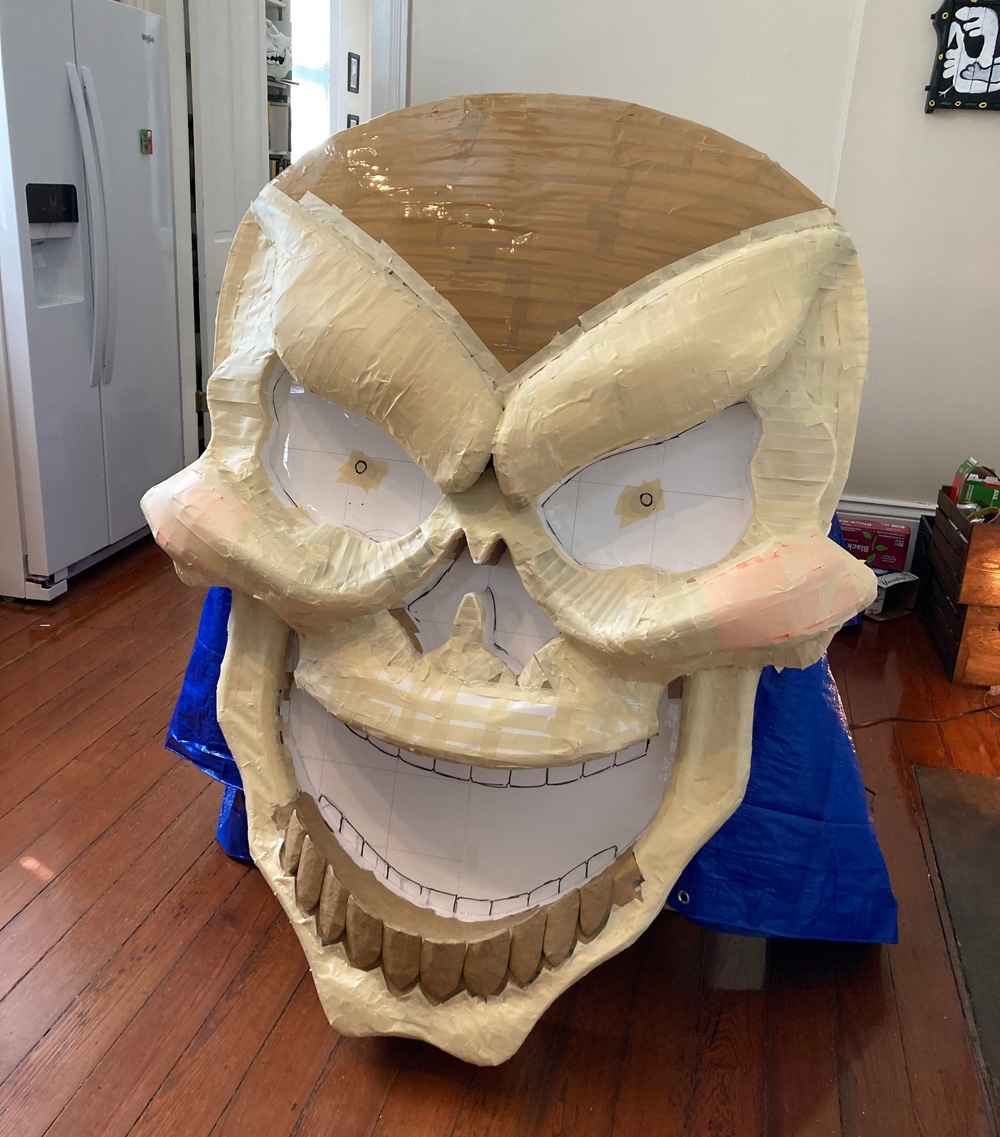
Once the teeth were glued in place, I built up a gumline using small pieces of craft foam and lots of masking tape.
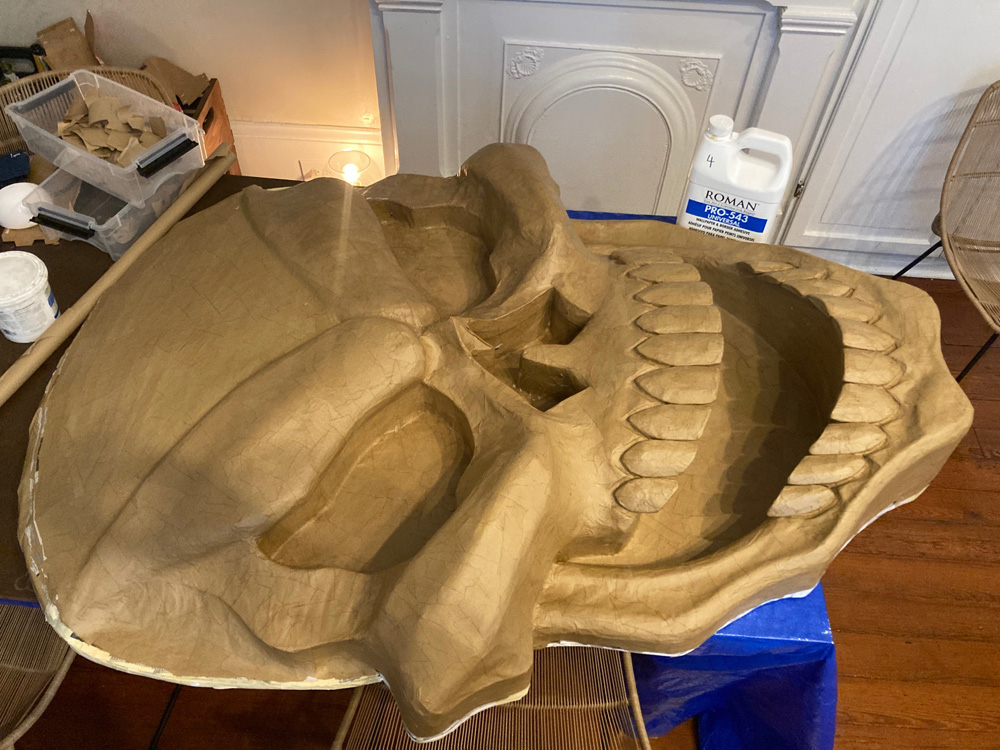
Then it was time to cover the entire skull in paper maché! This took several days. I did six layers on the whole thing.
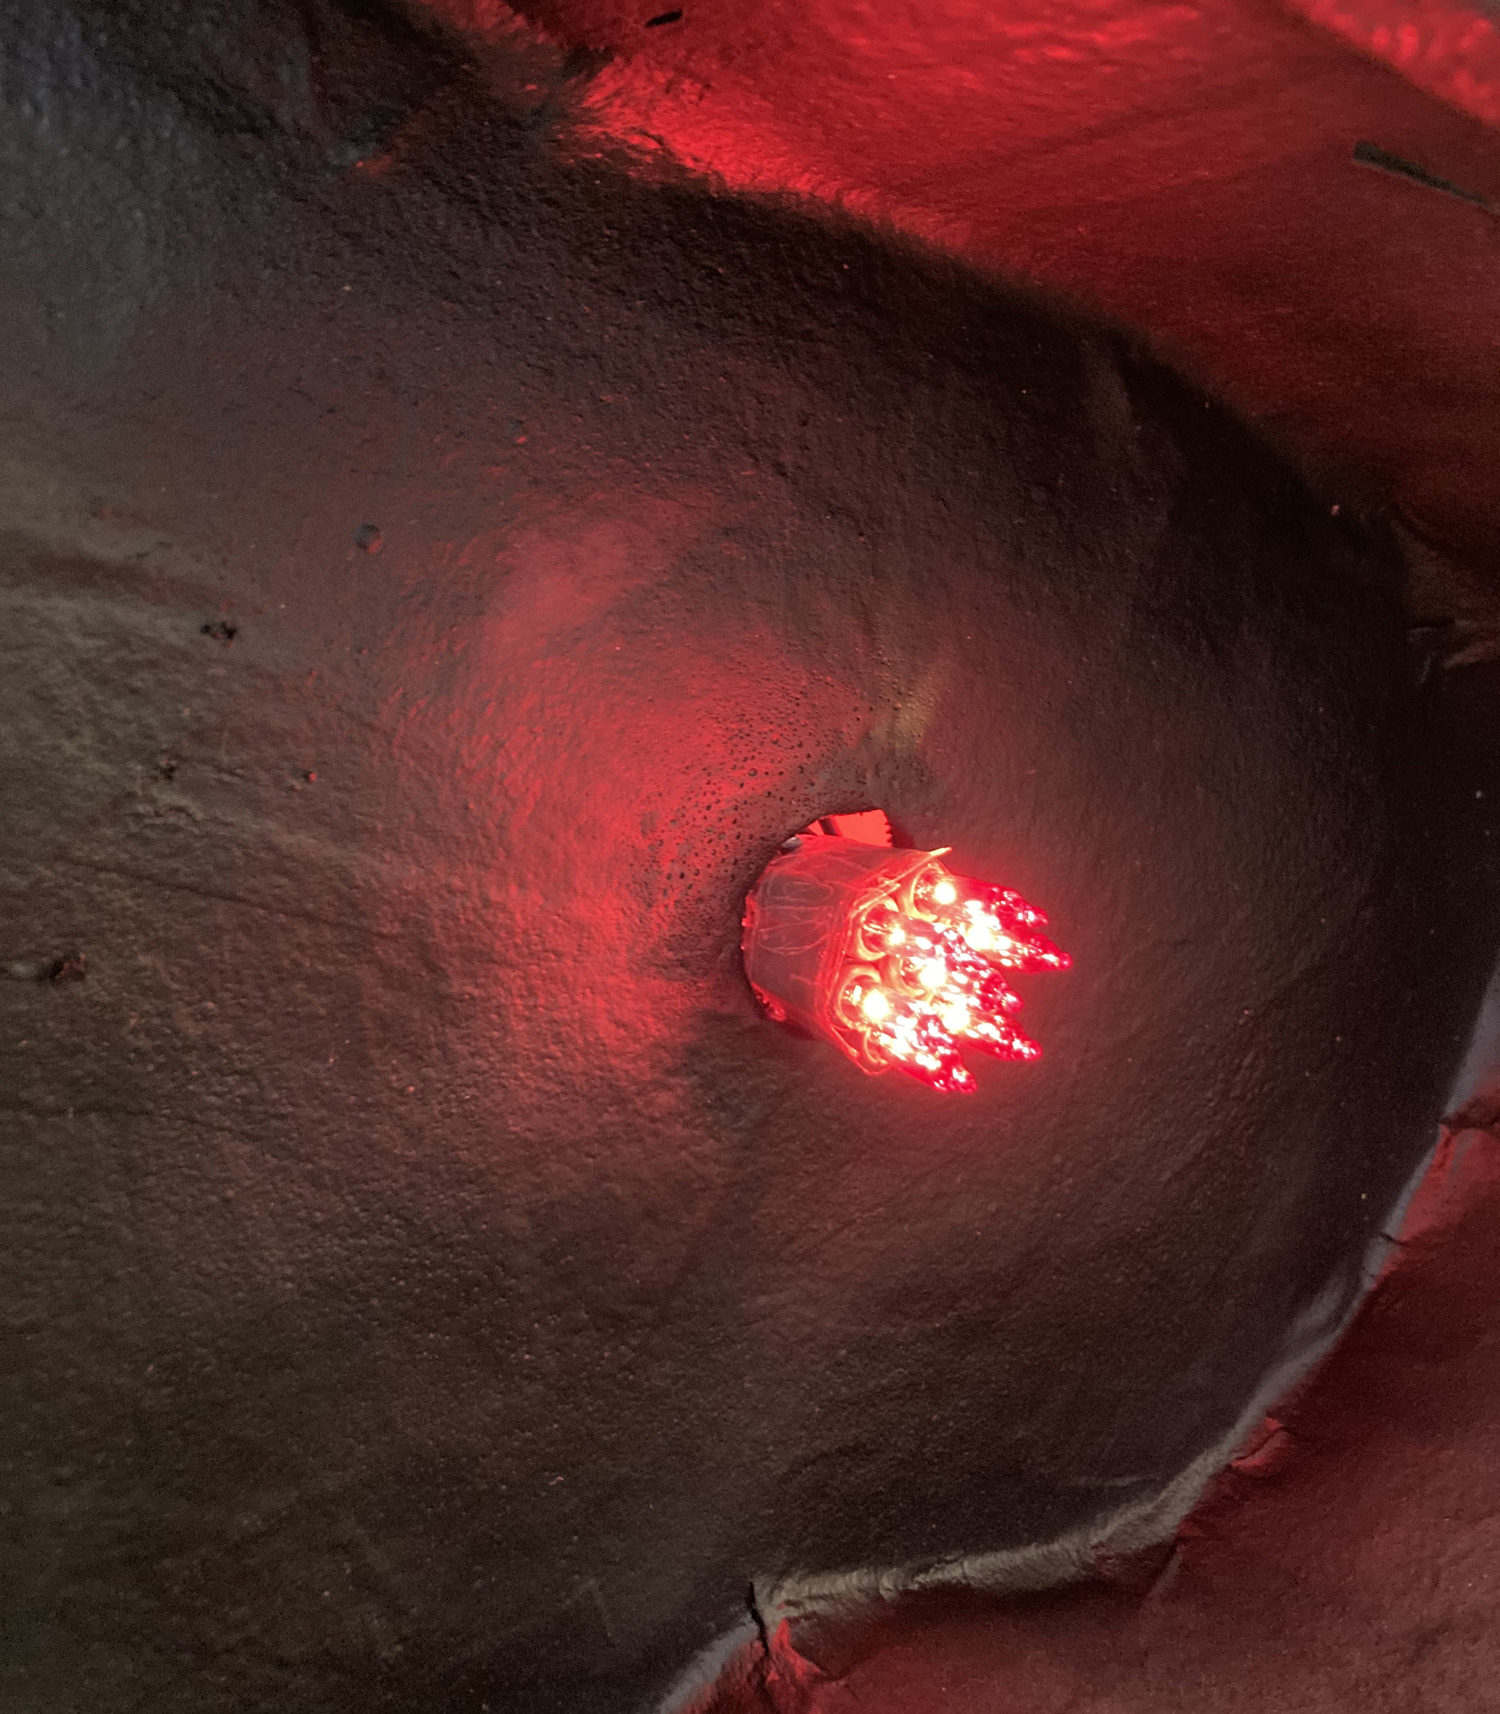
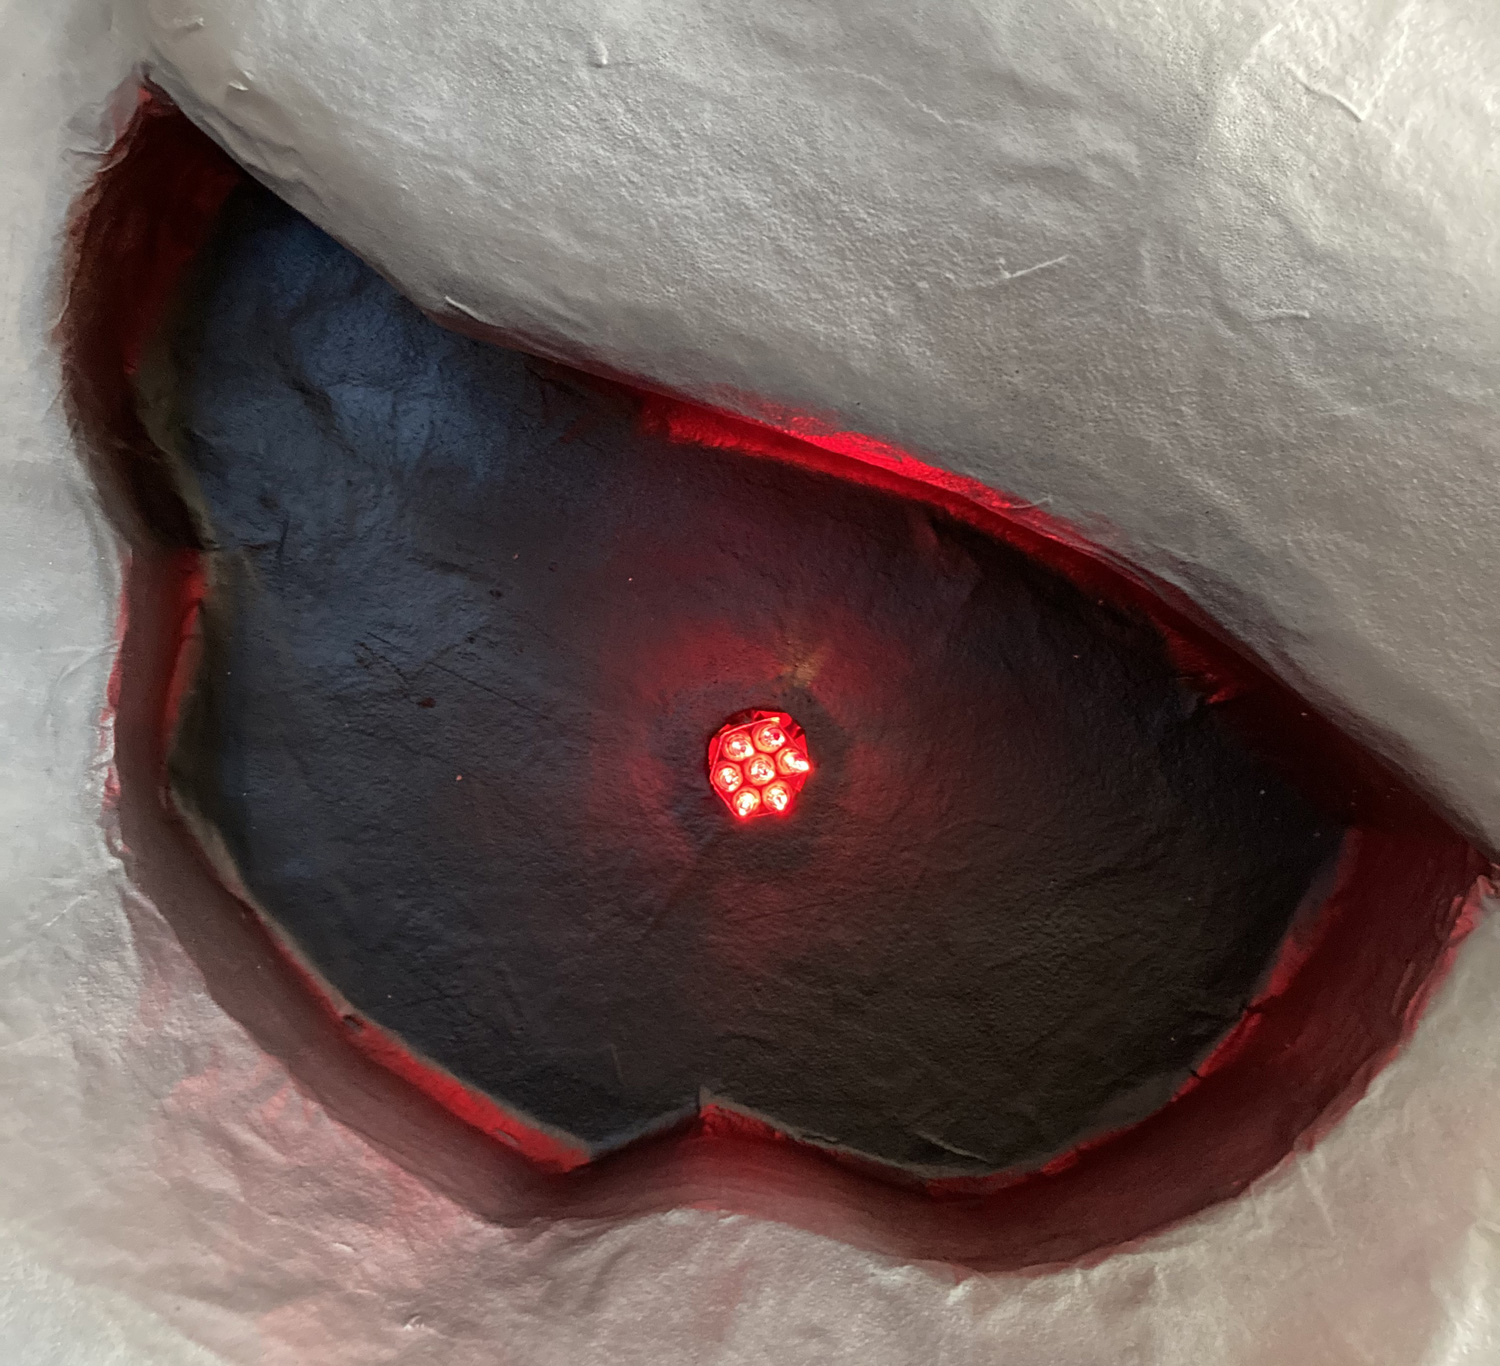
Lights in the eyes
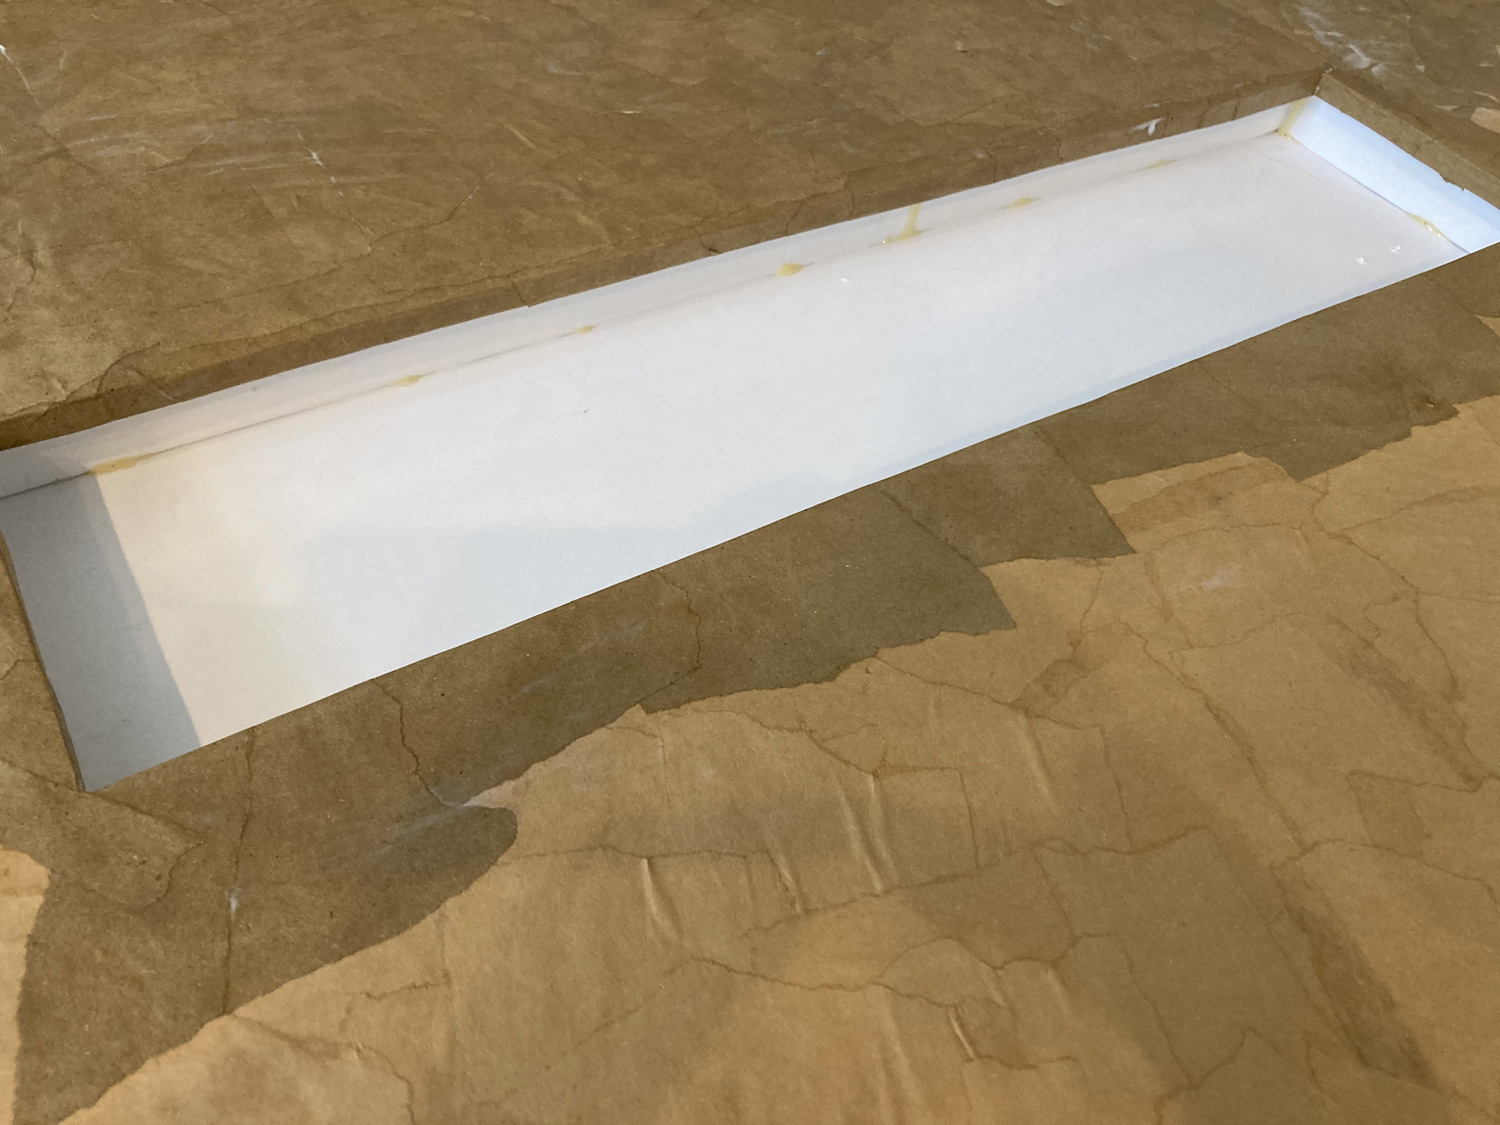
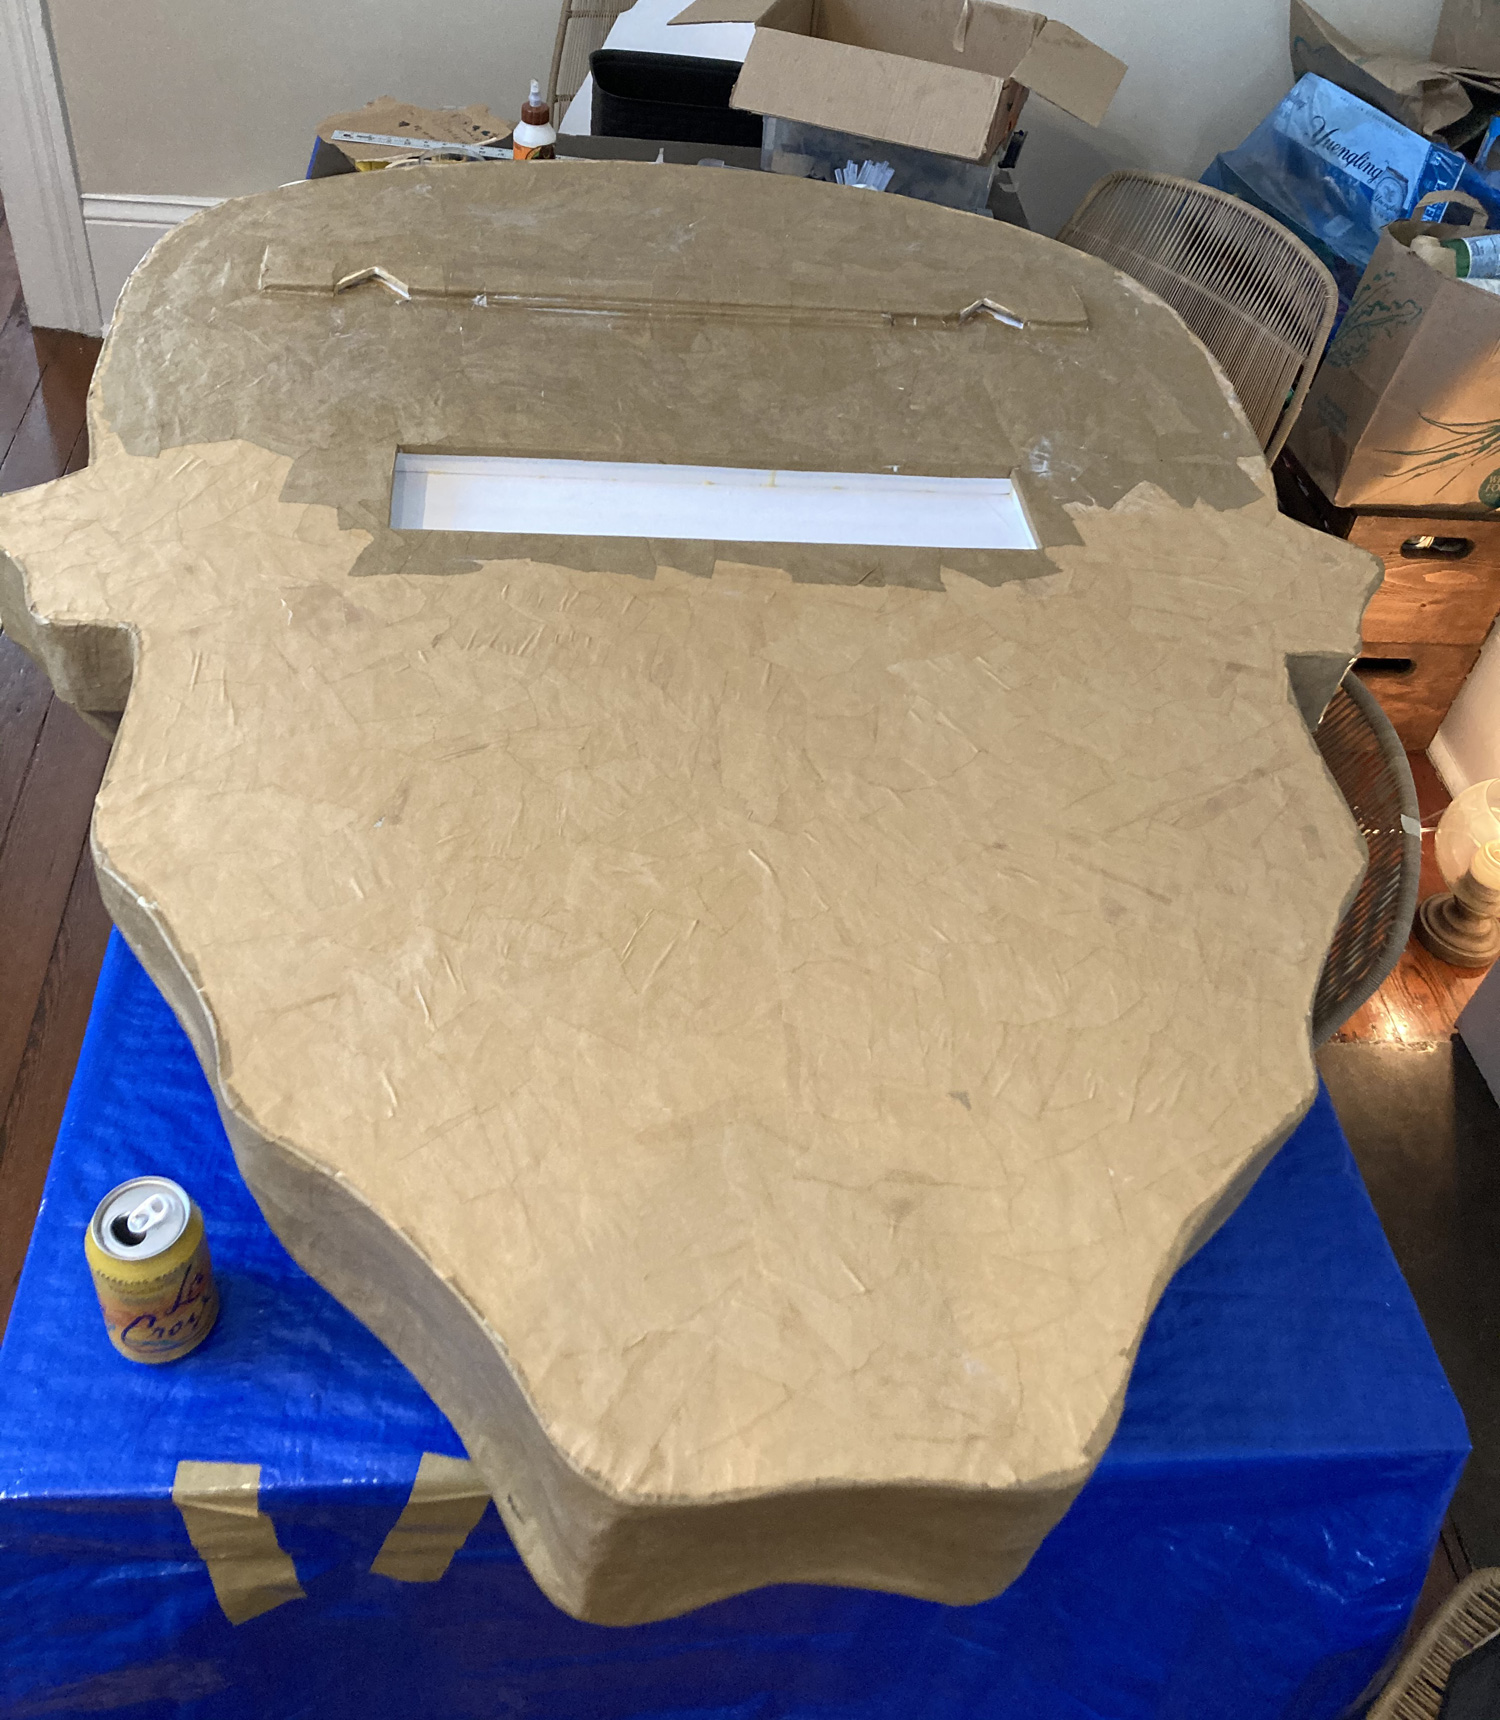
I bought a string of red Christmas lights to use for the eyes; pics of that coming up. I’d planned this out before I built the base, so I’d already built a sort of shallow box shape inside the back of the skull, behind the eyes. This is where the lights will be stored, and held in place with twist ties. The box shape closes with a flap (now shown), so the owner can swap out different lights later on if he wants.
Making the skull hangable
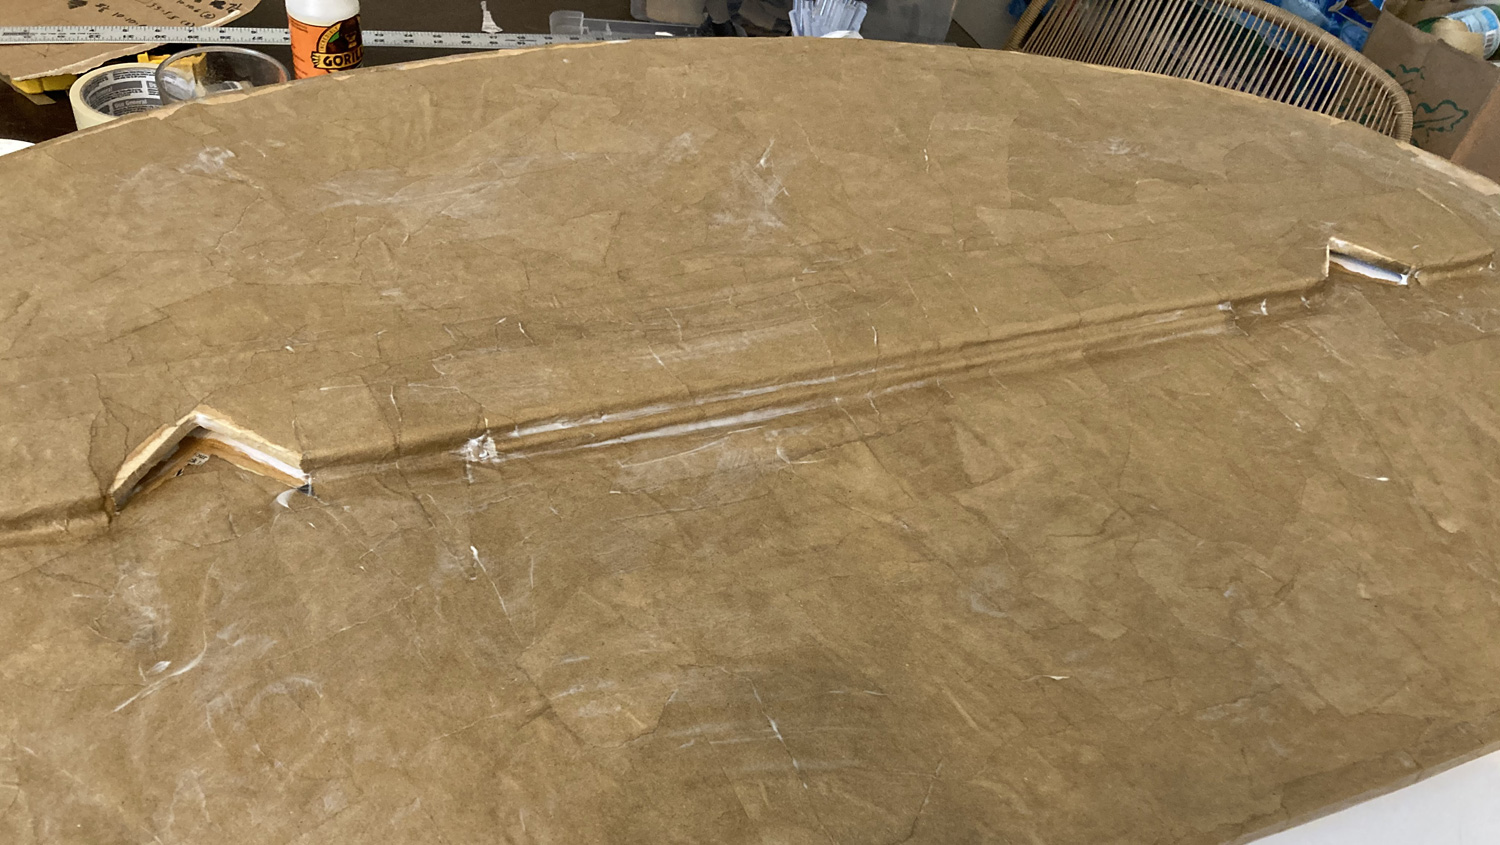
My client showed me a pic of the wall where he wanted to hang the skull, and we discussed putting two big nails or screws in there to hold it up. I designed this very simple wooden apparatus for the back of the skull, so it can sit on the two nails. (The wooden piece is already covered with paper maché here; not yet dry.) The two big upside-down V-shaped notches are there to make it easy to set the skull in place; you can just raise the skull up more or less centered where the nails are, place it against the wall, and bring it down, so the V-shapes guide the nails into place. Easy!
Painting
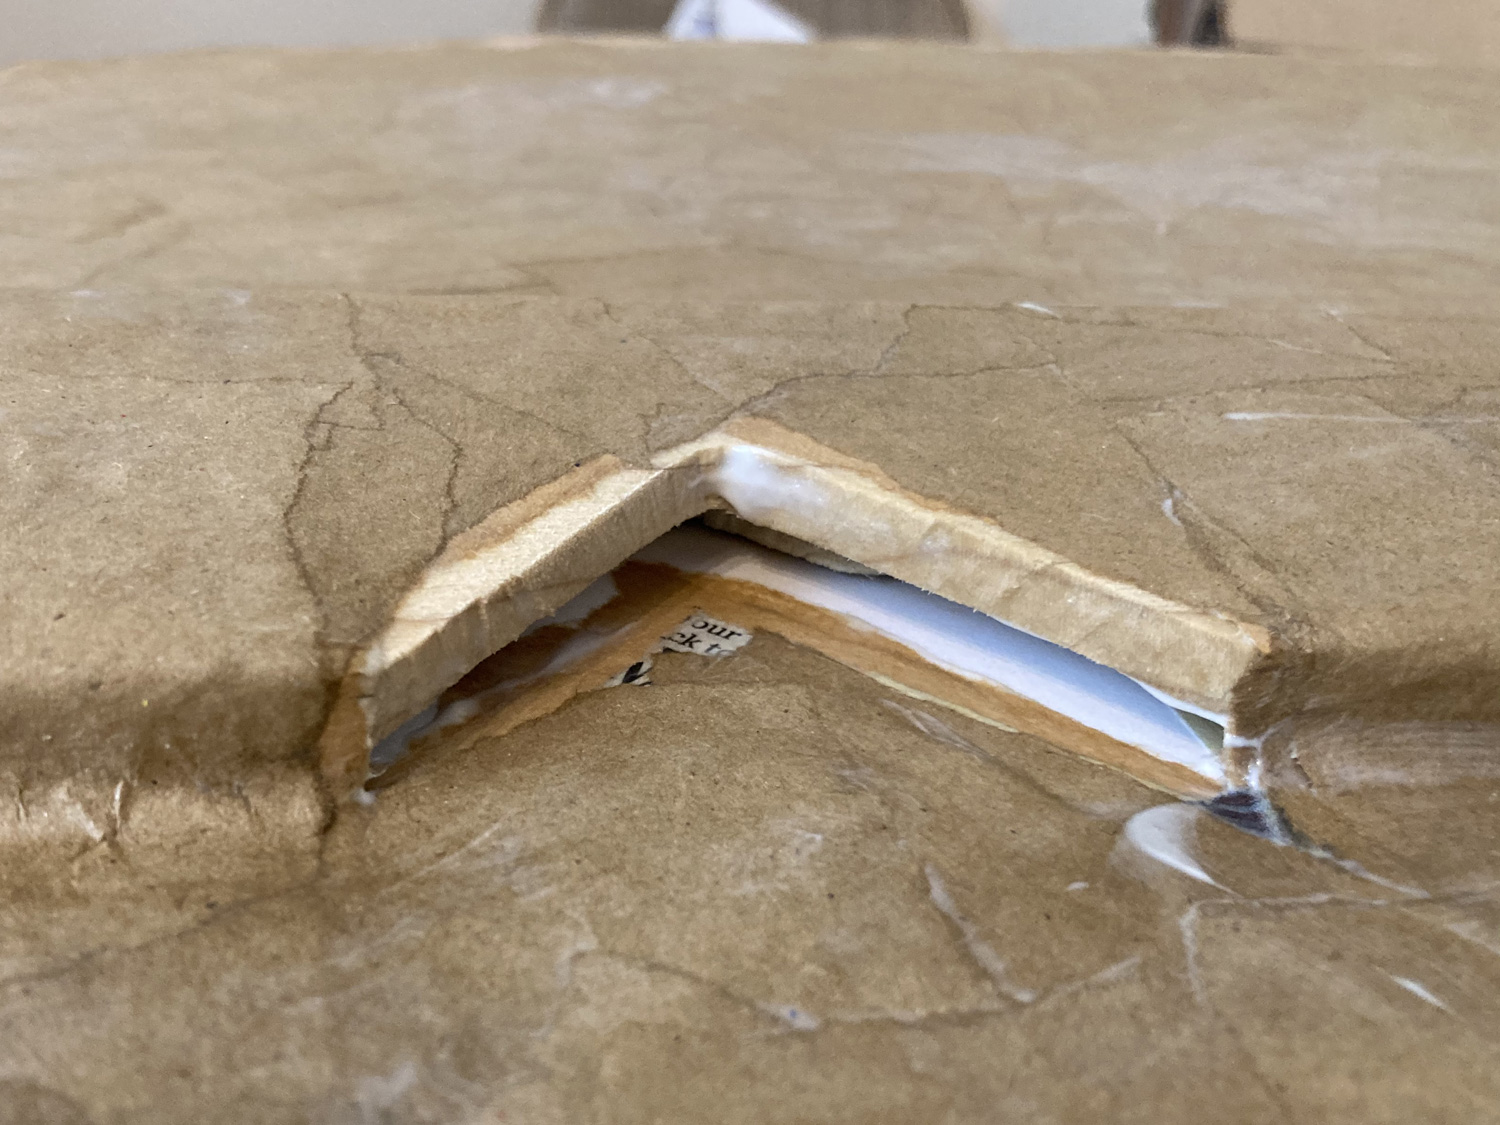
Since this skull will be an outdoor decoration, I wanted to make it waterproof and weatherproof. I used two cans of Flex Seal (paid link) to coat the entire skull before painting. I’d already done a test with the Flex Seal — I took a small cardboard box and coated the bottom half in flex seal and set it in a bucket of water, floating like a little boat. I checked it a few days later and the coardboard hadn’t taken on any water; it was perfectly waterproof.
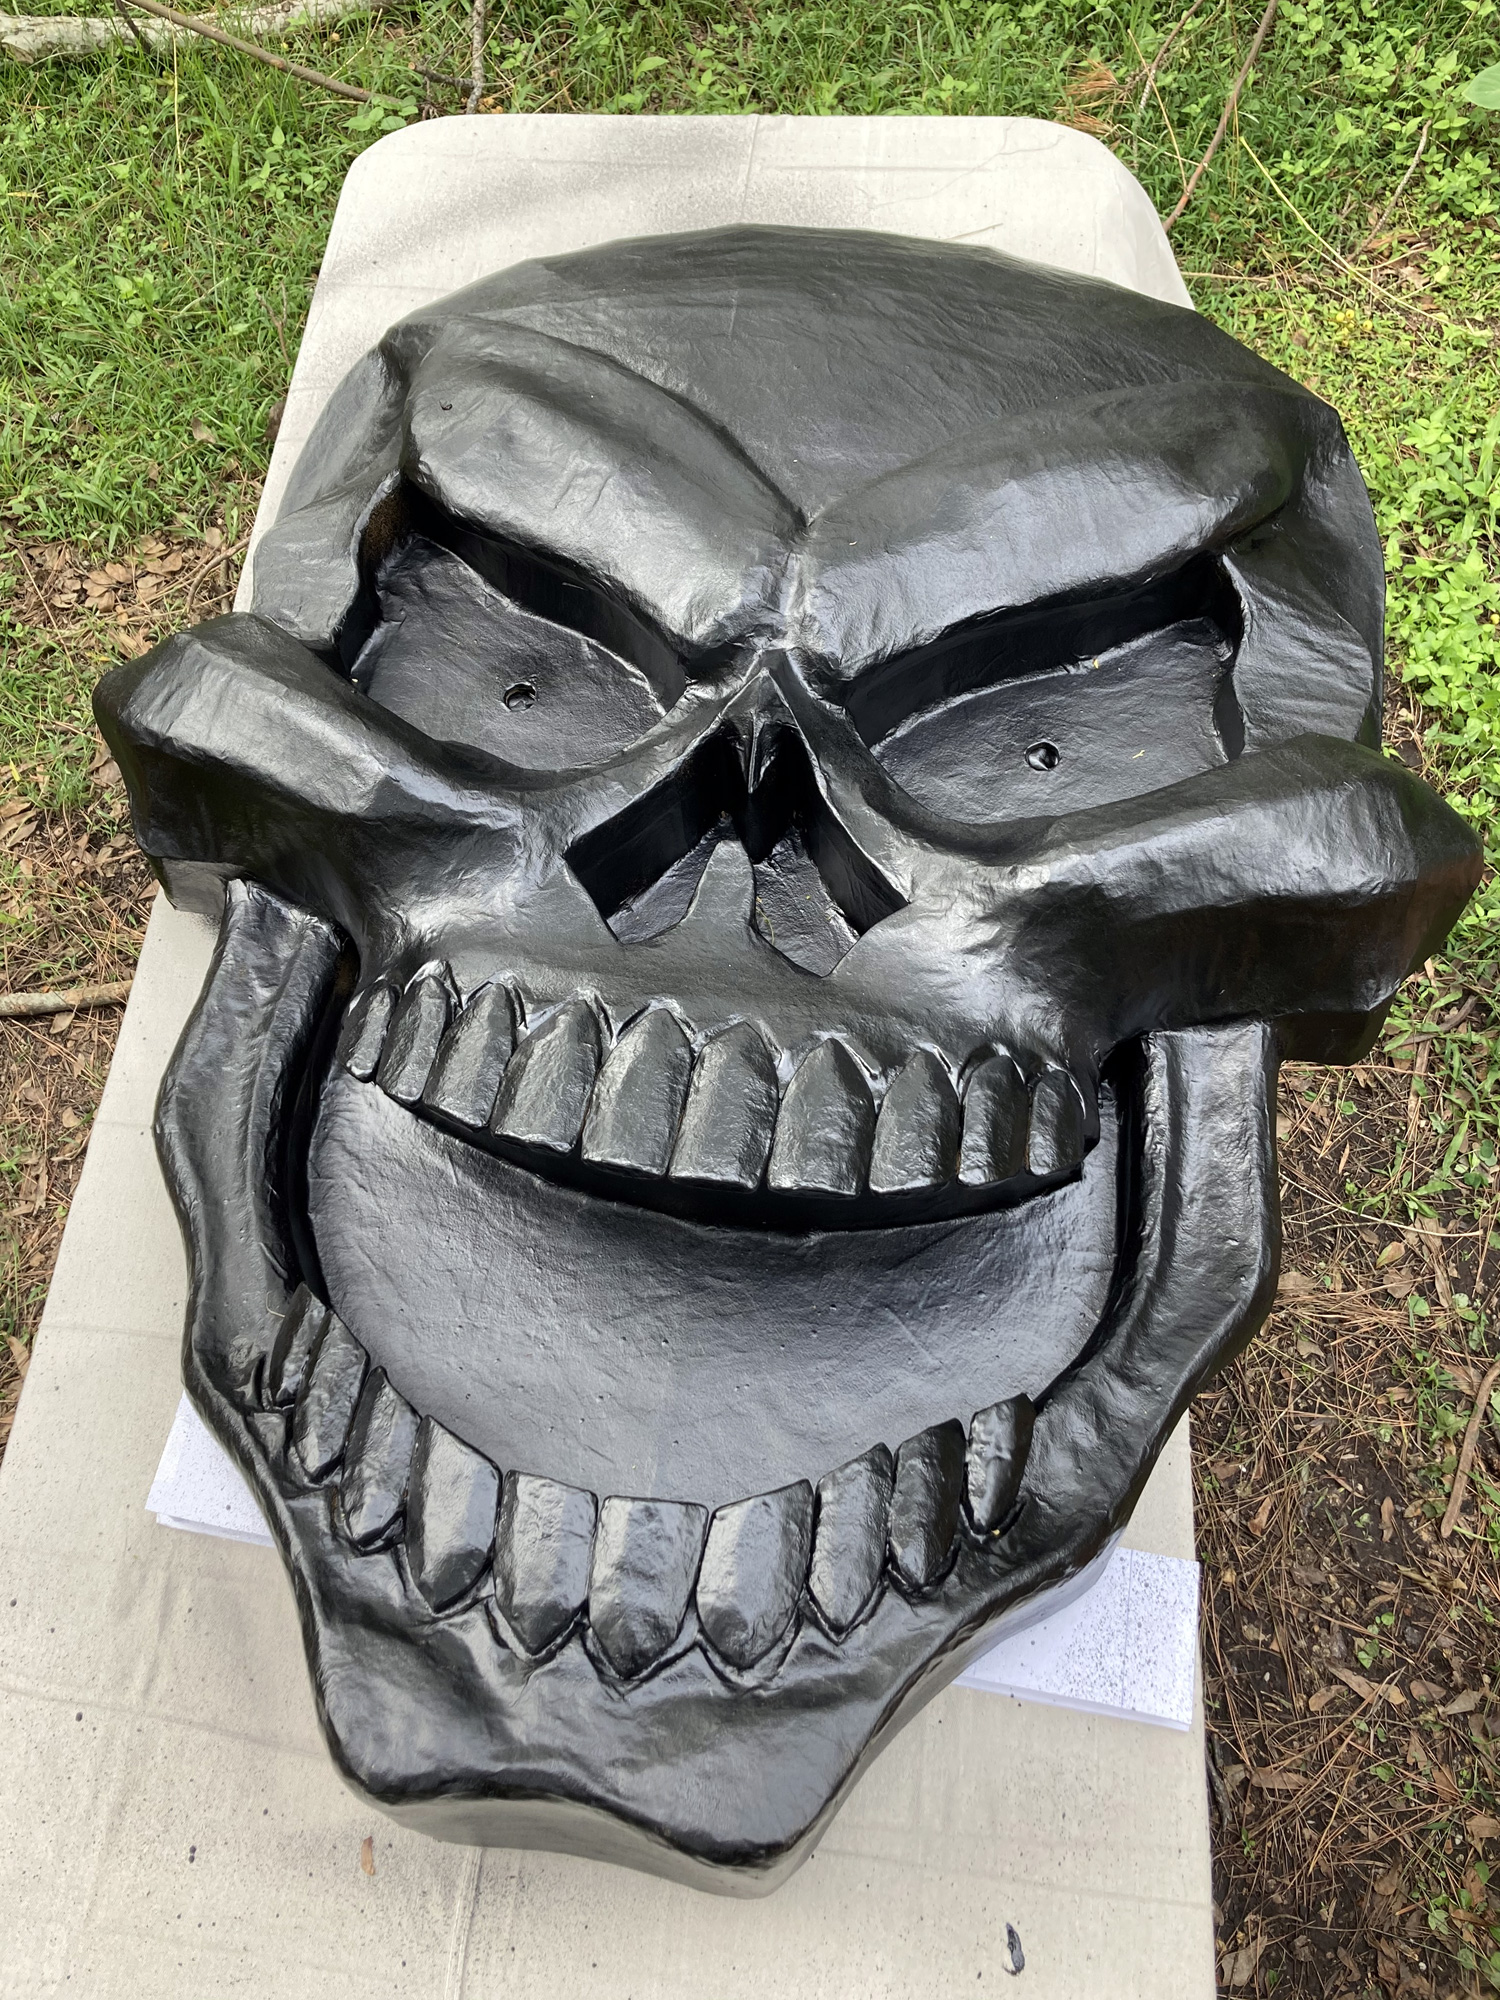
I let the Flex Seal set for a day, and then I spray-painted the skull a middle gray color. I let that coat sit for a day as well.
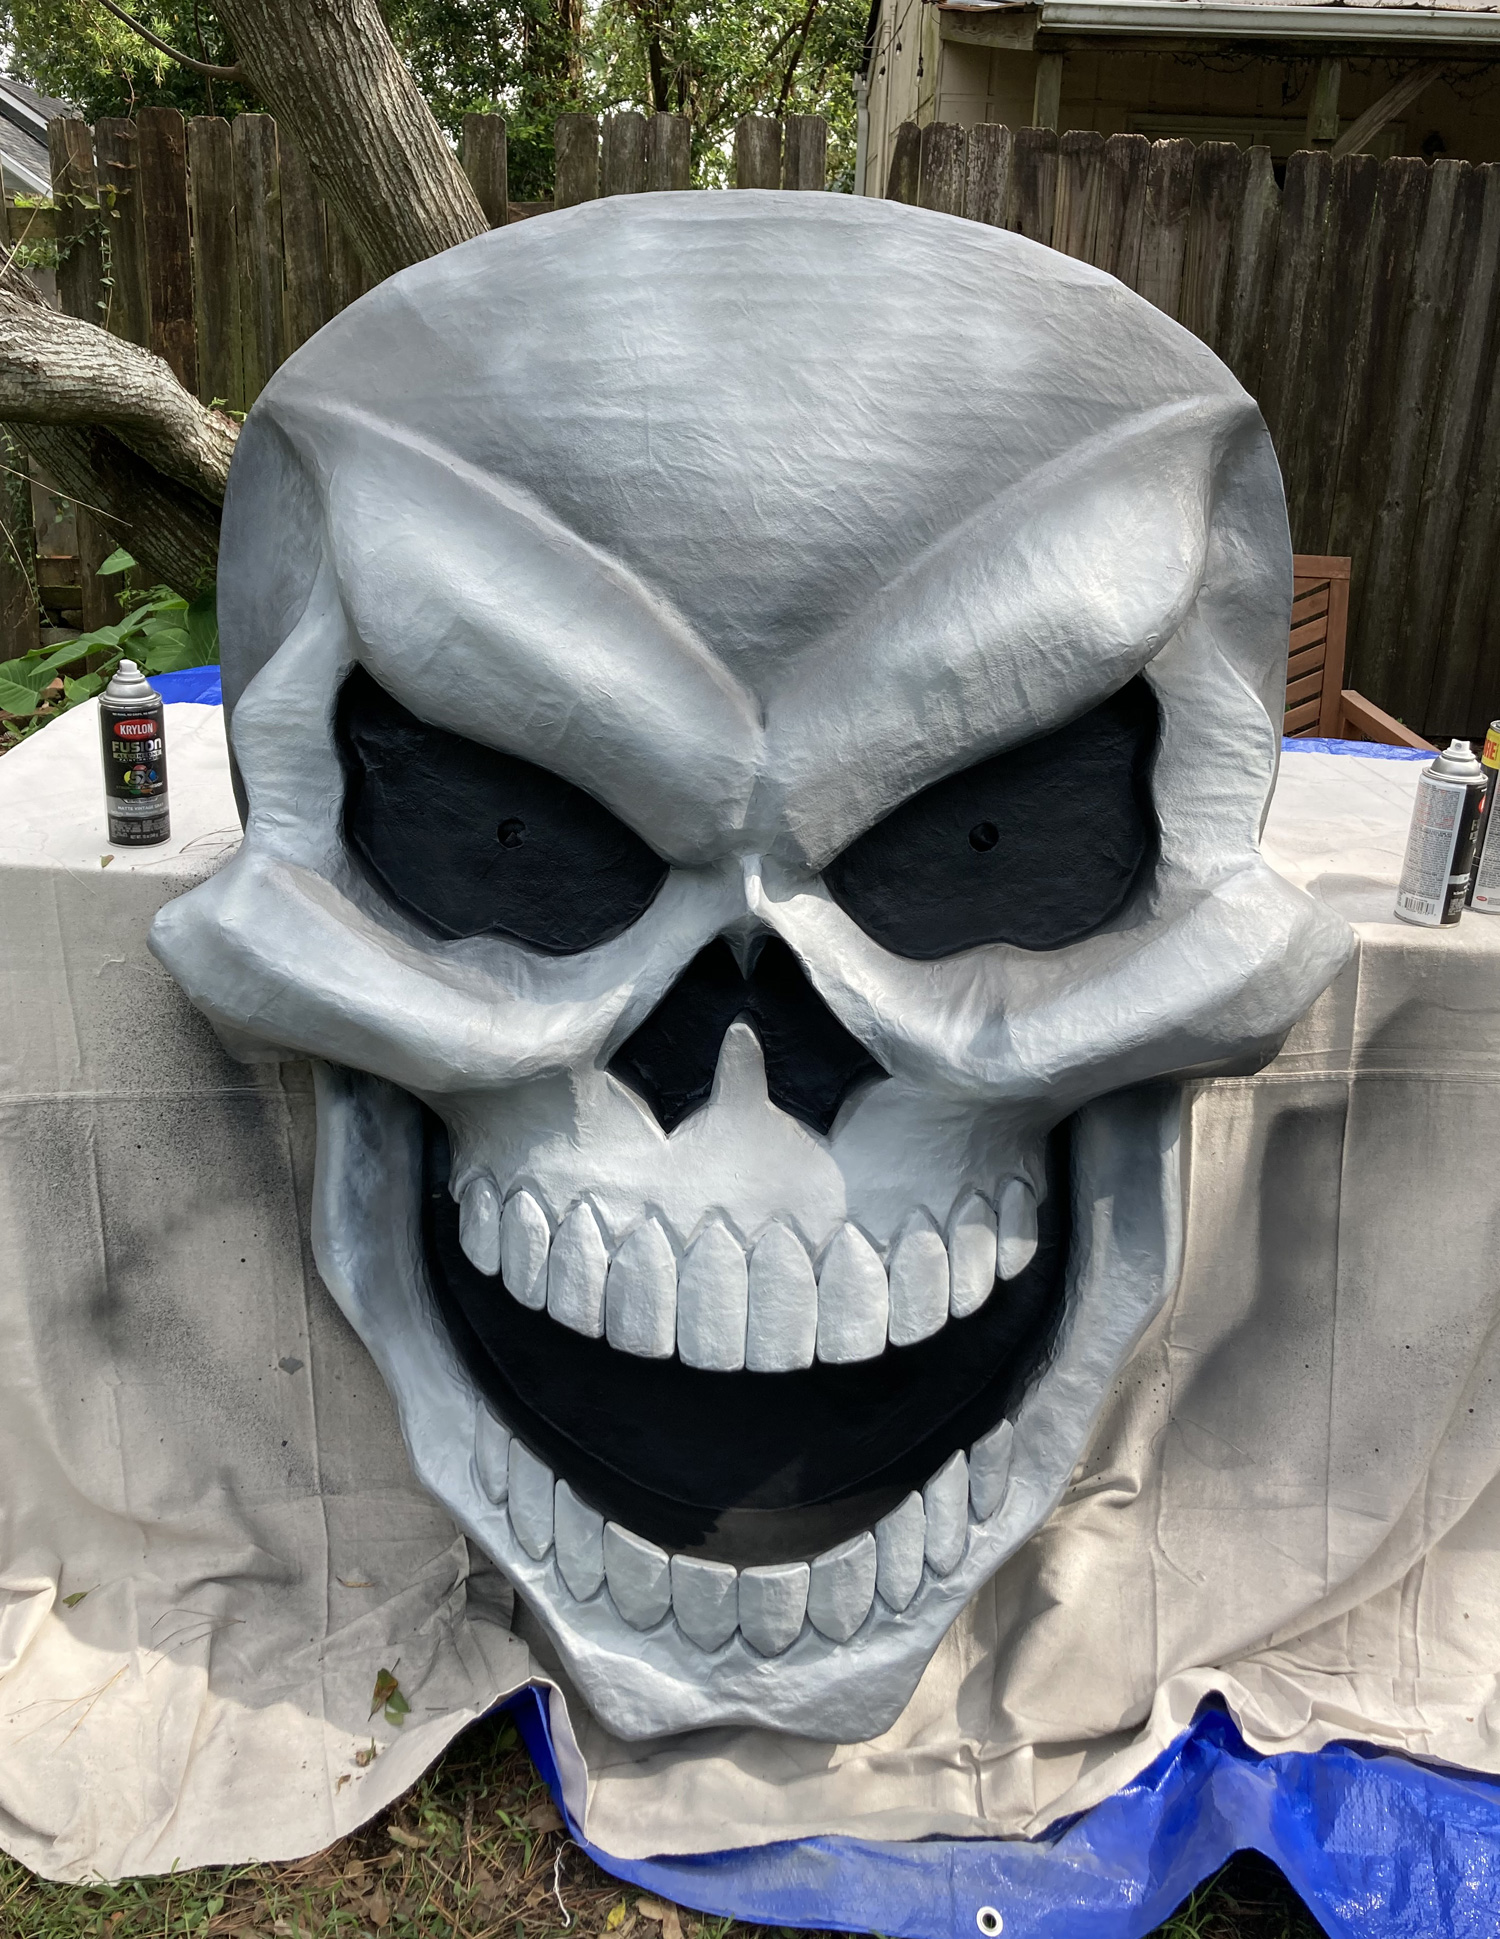
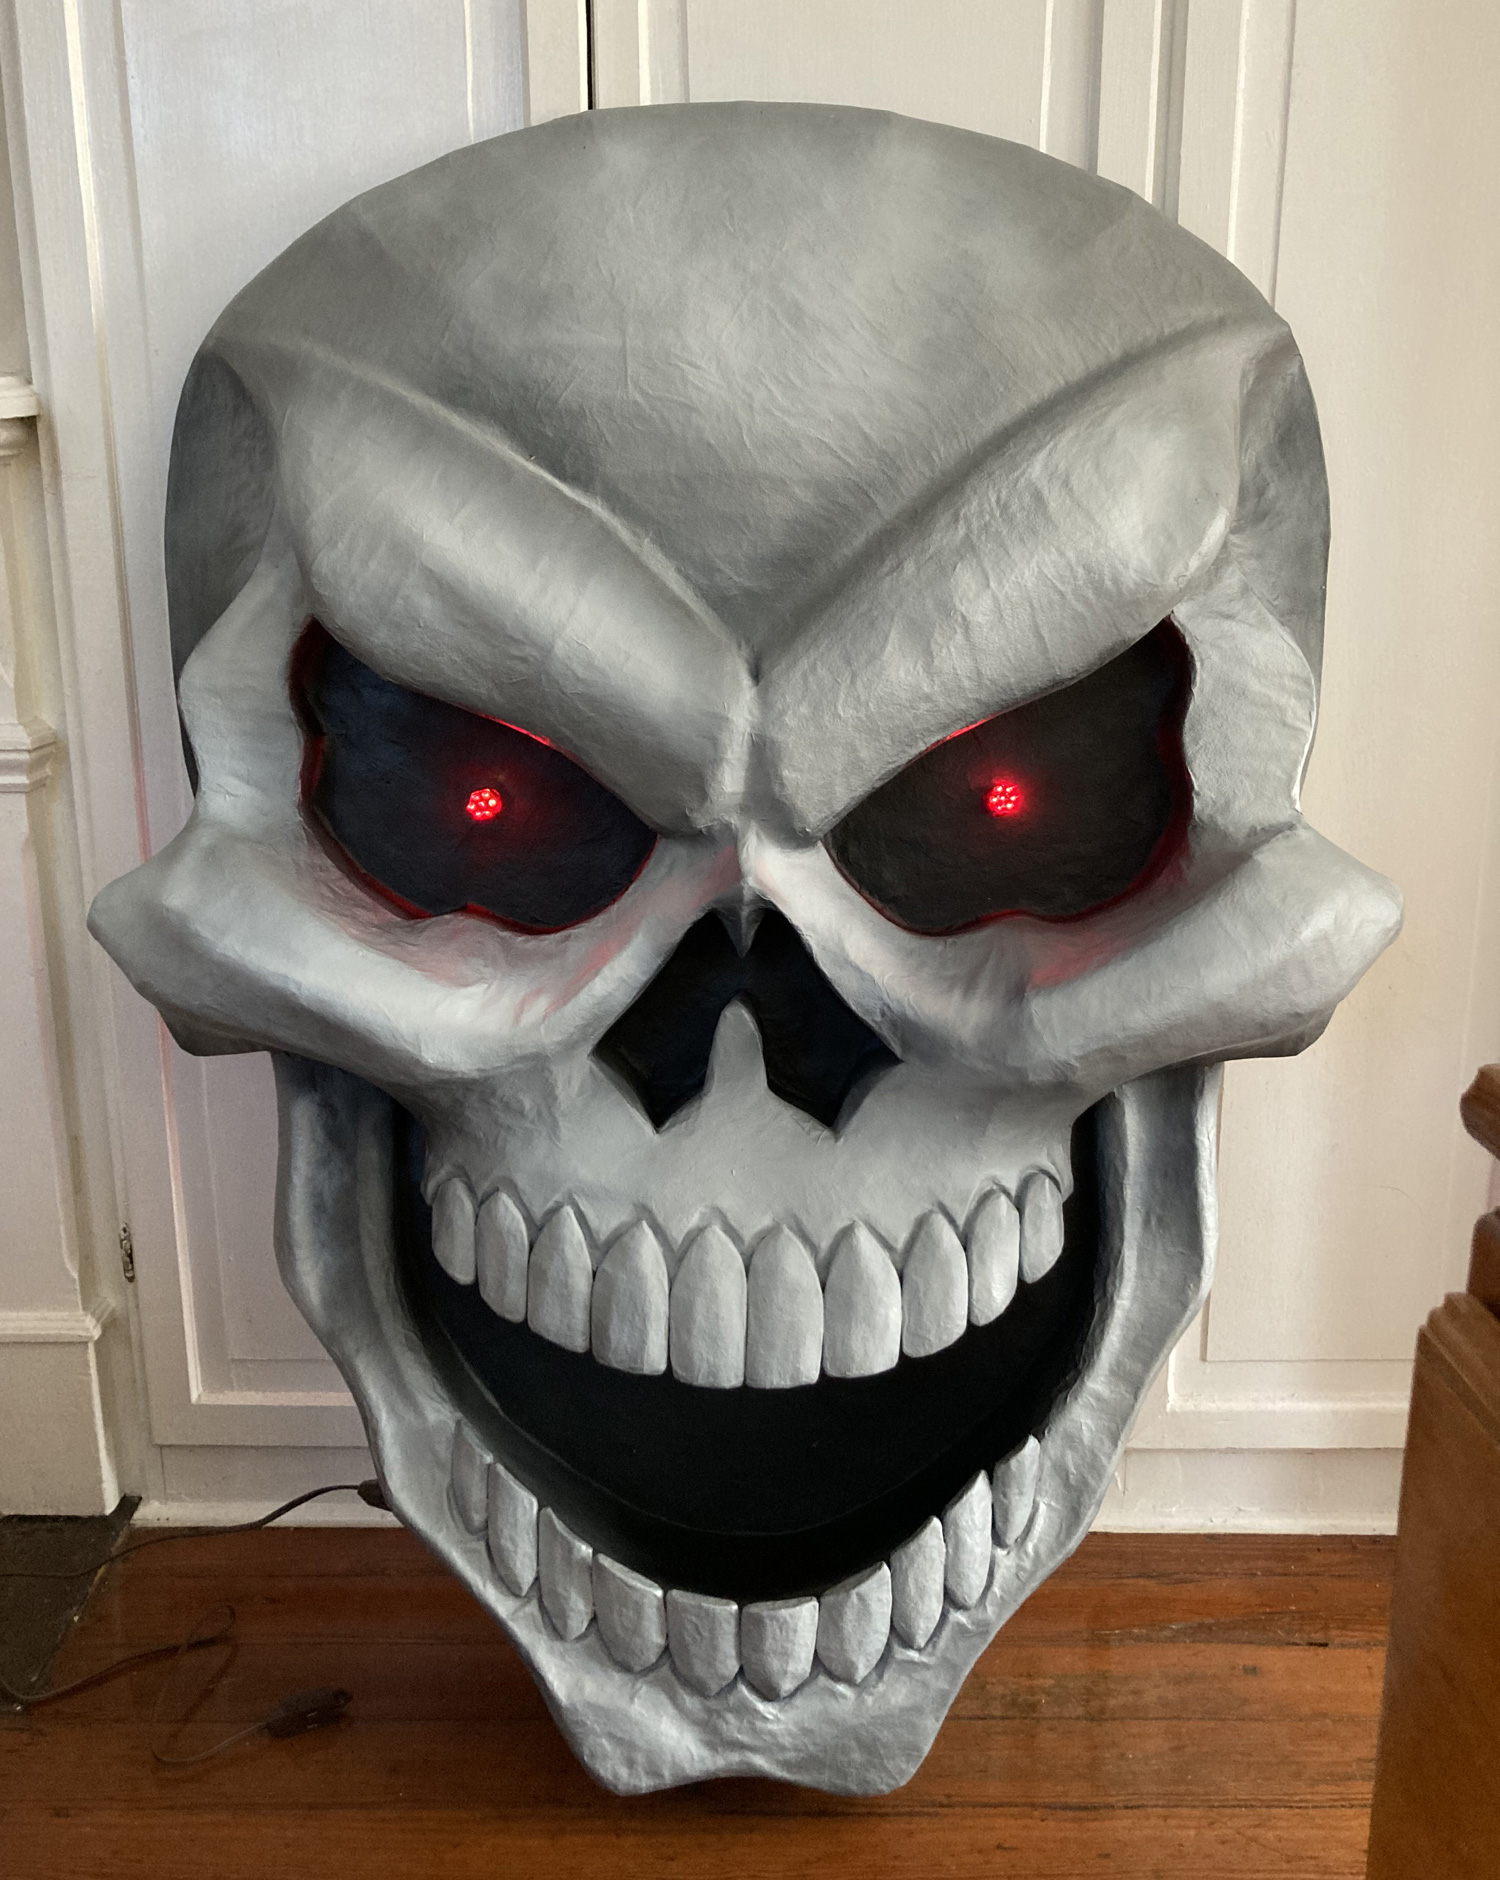
Next, I used black spray paint to paint some big loose shadows here and there, and I used a lighter gray to lightly dust some big hightlights on the outermost parts; cheekbones, brow ridge, teeth, etc. I painted the insides of the eyes/nose/mouth black.
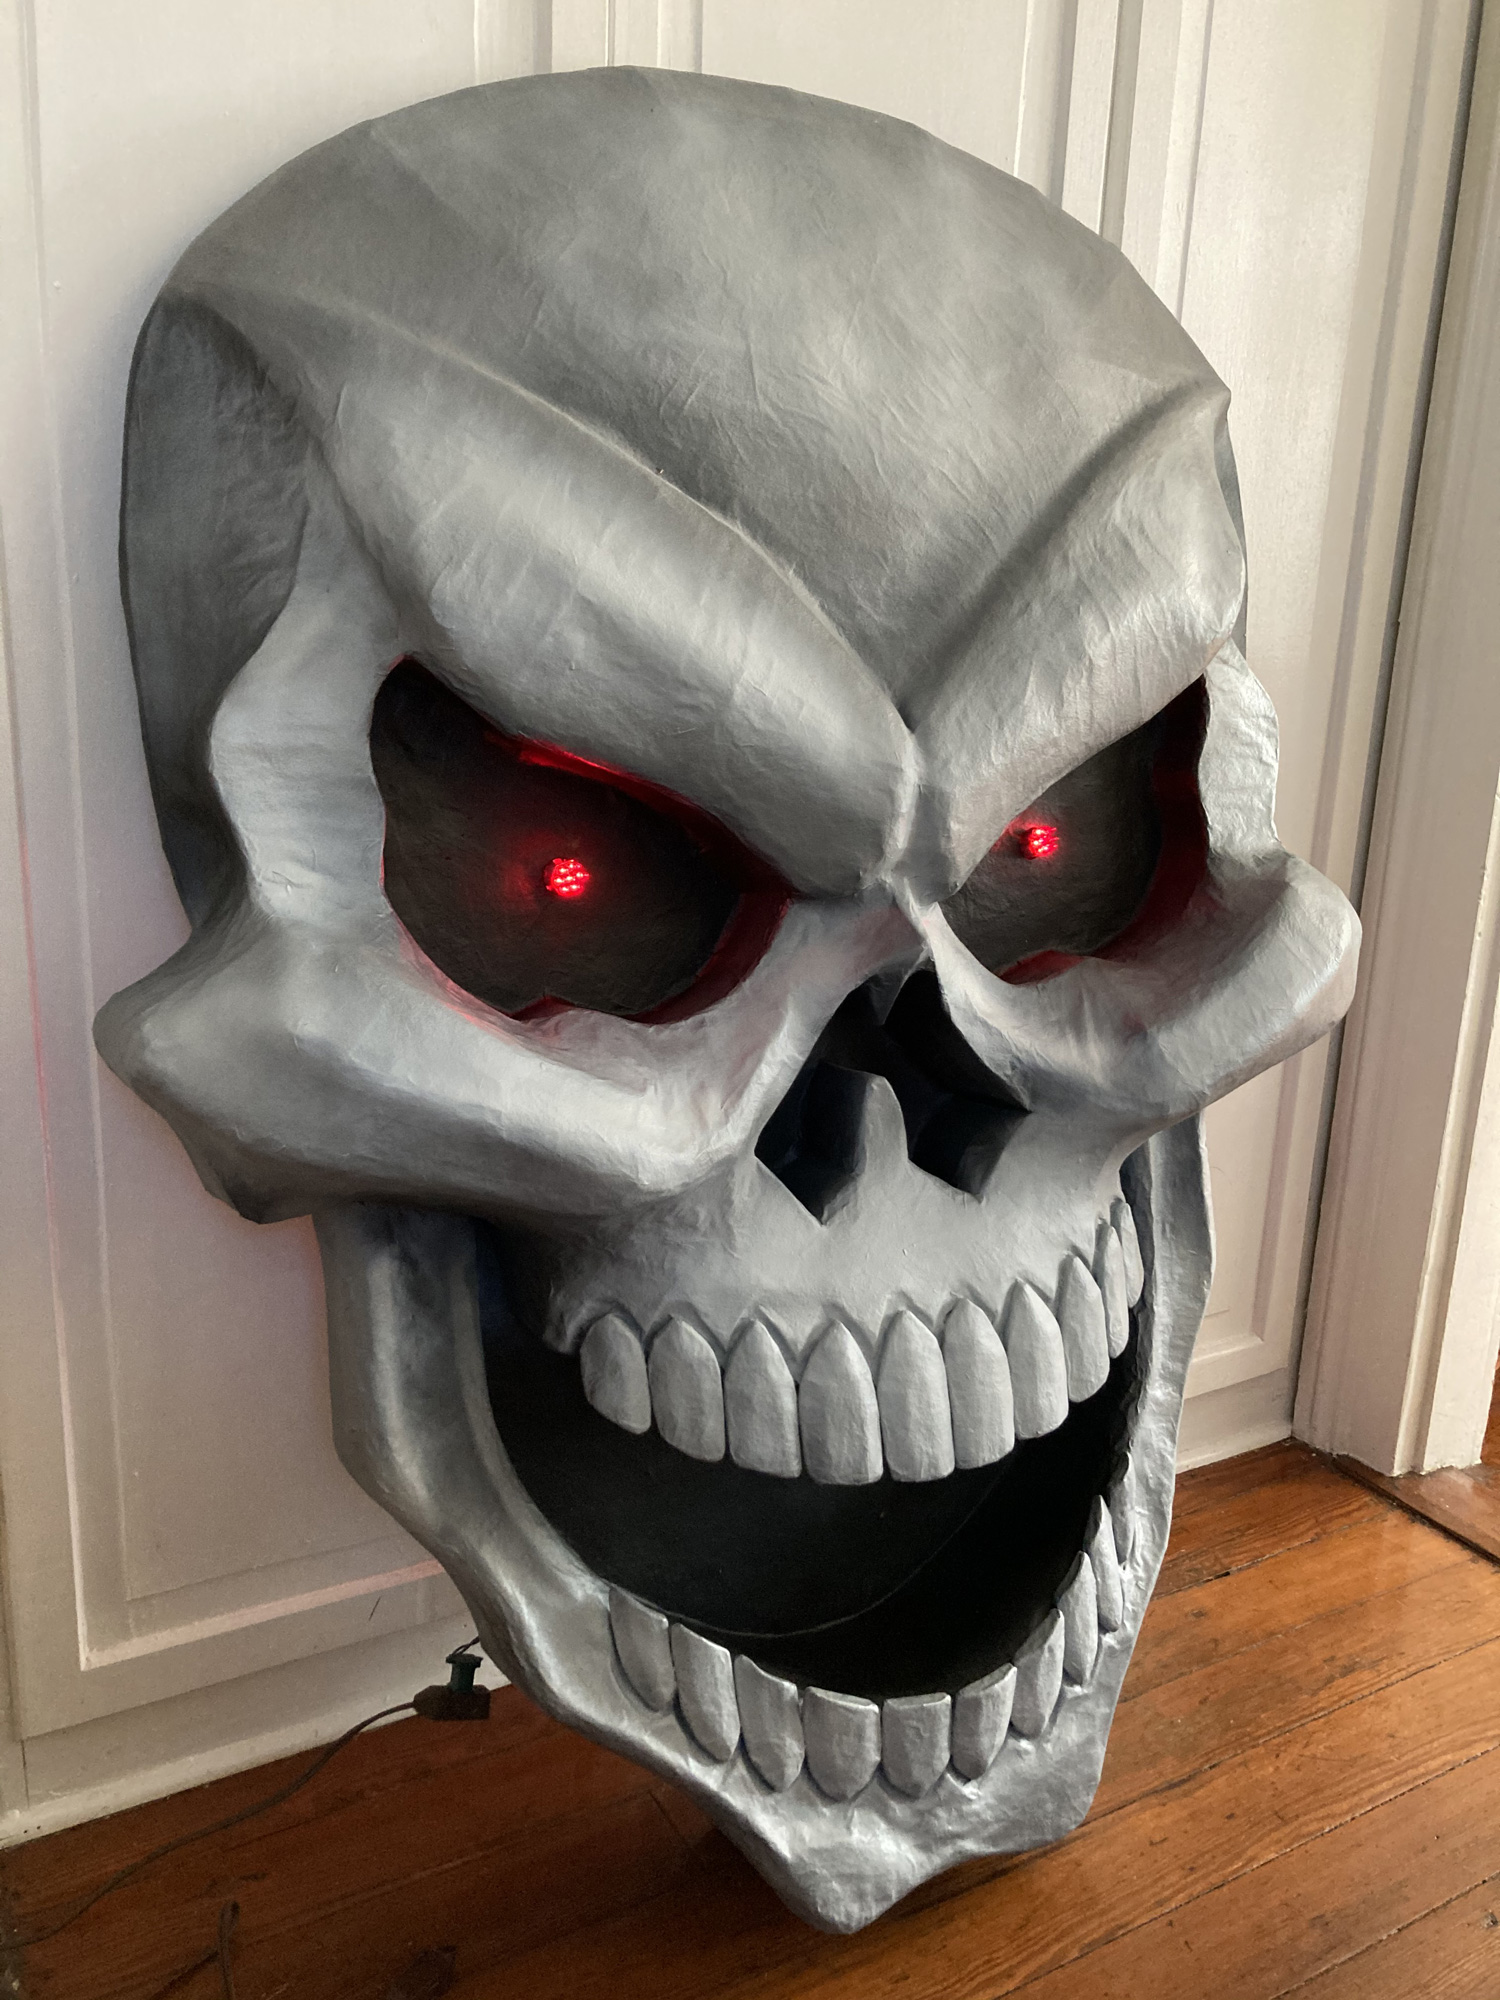
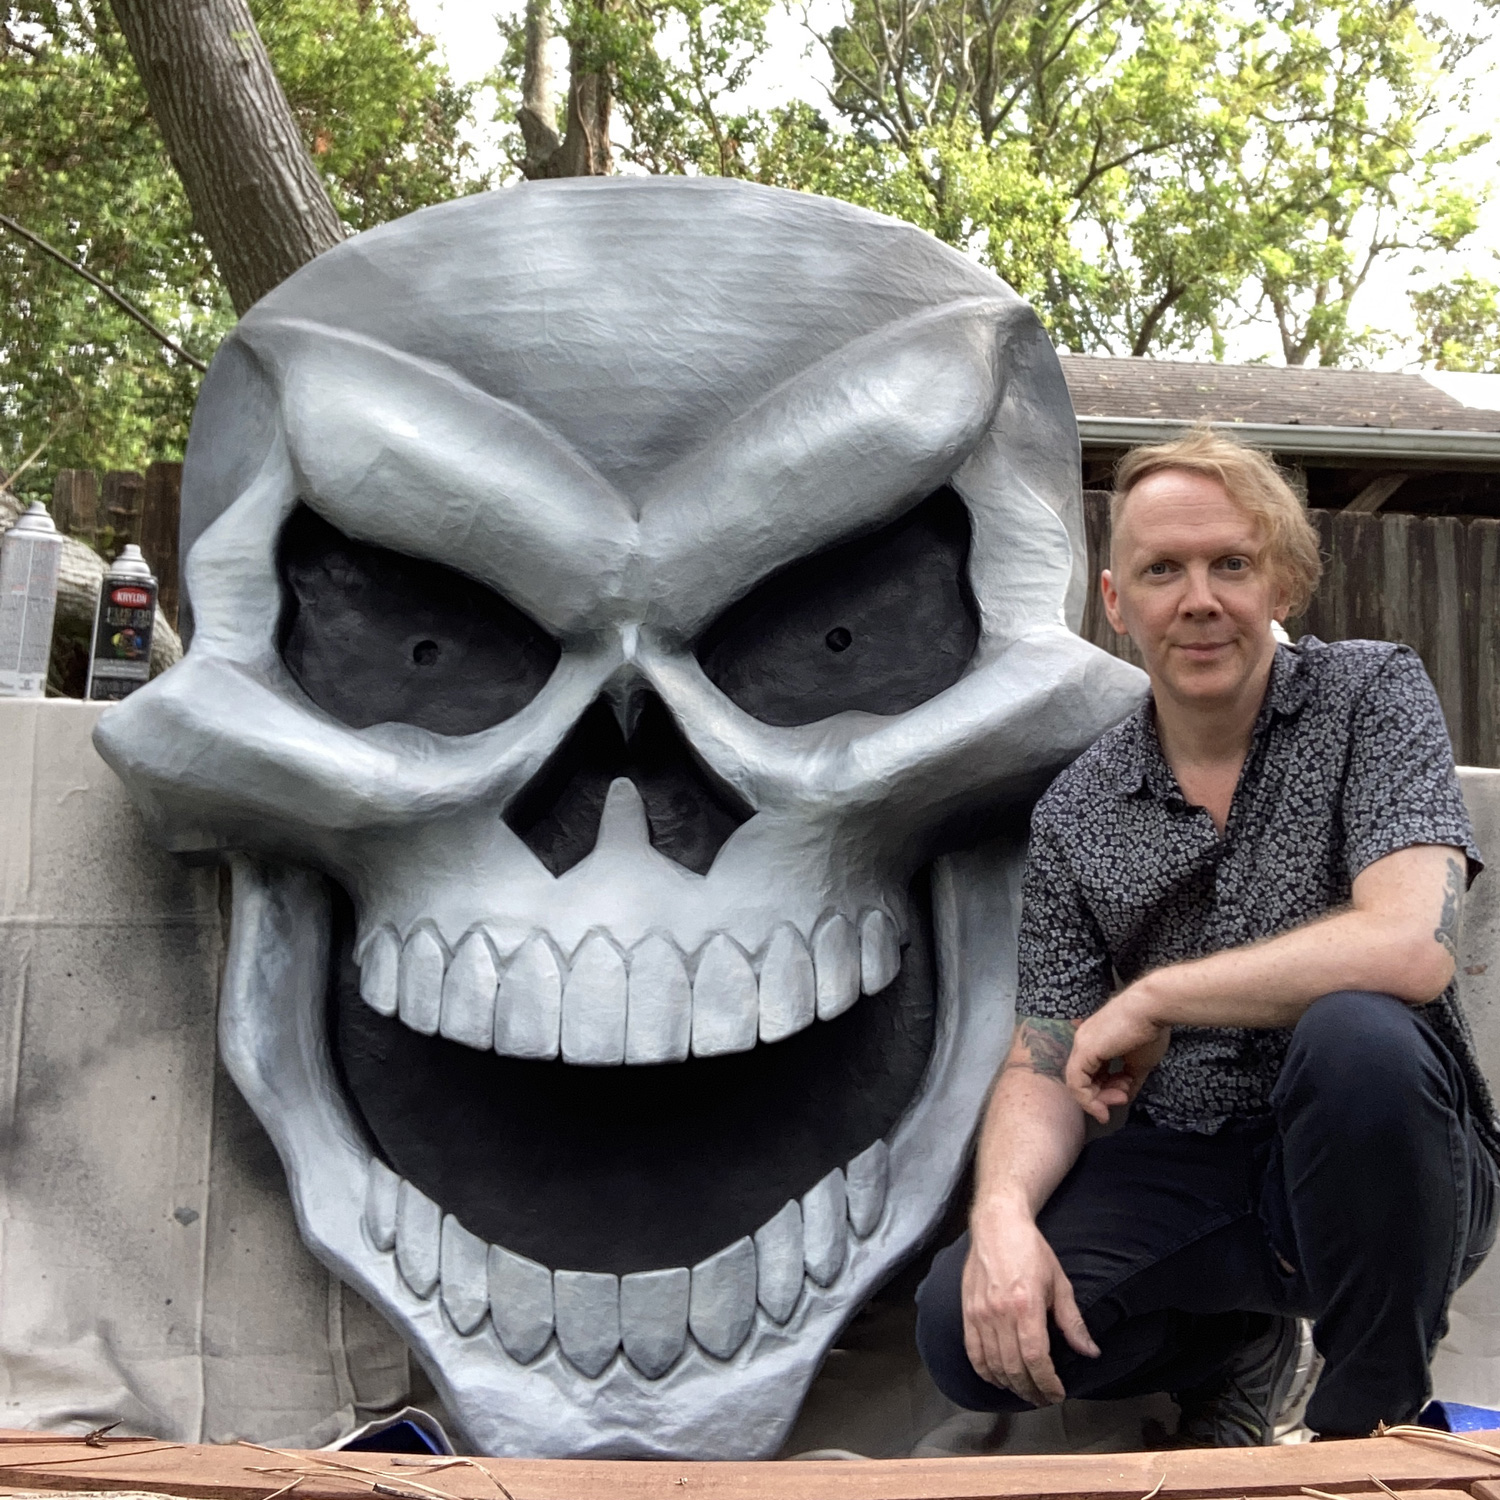
I set the lights in place, and the skull was done! Then I had to build a cardboard to ship the thing; that was a whole project unto itself!

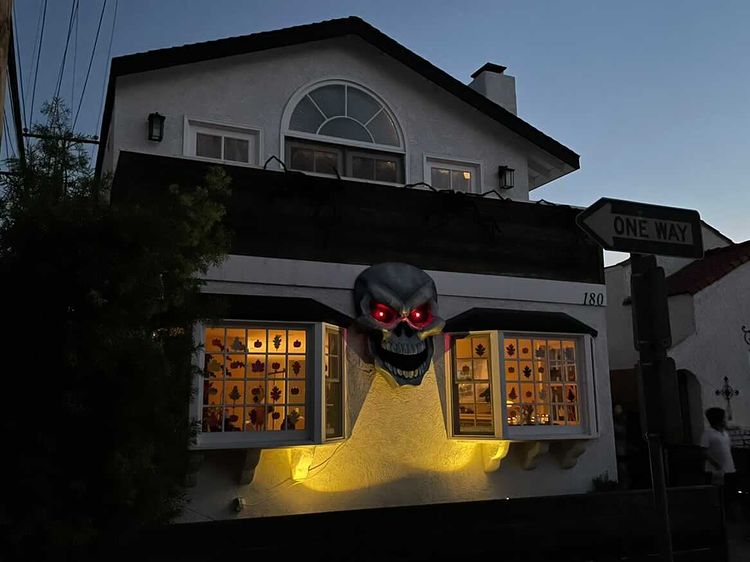
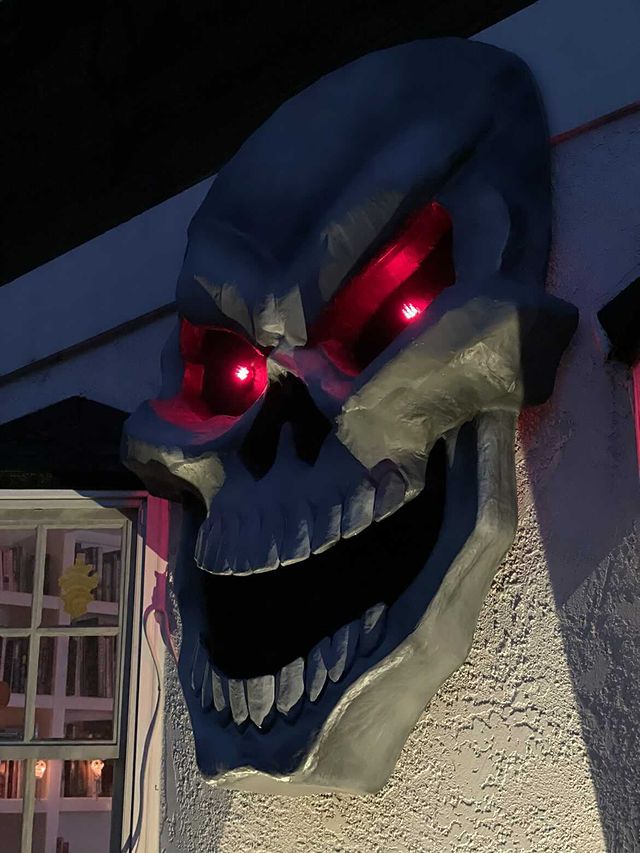
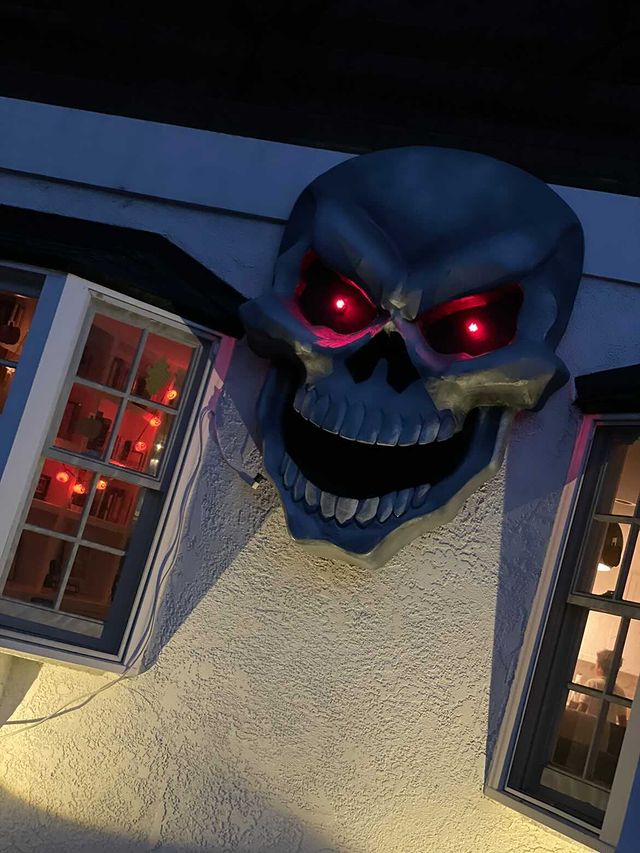
Check out the giant skull in place on the owner’s wall! I’m thrilled with how it came out. Happy Halloween!
 About Manning Krull
 How to make a 4-foot paper maché alligator
 My violin skull mask, Mardi Gras 2015
 Three-headed paper maché dragon sculpture
August 26th, 2022 at 4:53 am
Have you got any new pieces how about an update to the website if you do or at least to your Pinterest account should like to see some new stuff your mighty good at it I hope to be that good one day
May 29th, 2023 at 4:58 pm
wow that was a lot of work and well worth it to have such a nice huge halloween decoration you can treasure for years to come and be passed down to someone one day that will also treasure it.. i wish i was your relative..lol
thanks for sharing.
August 9th, 2023 at 2:02 pm
This is an awesome job!!!! can you make one for our family?
thanks for sharing.
September 21st, 2023 at 3:21 am
What does 3 pieces cost