
Paper maché scarab beetle decorations
Published by Manning on October 30th, 2017
I made these very quick and easy paper maché scarab beetle decorations for my ancient Egypt Halloween party. They were a breeze! Check it out…
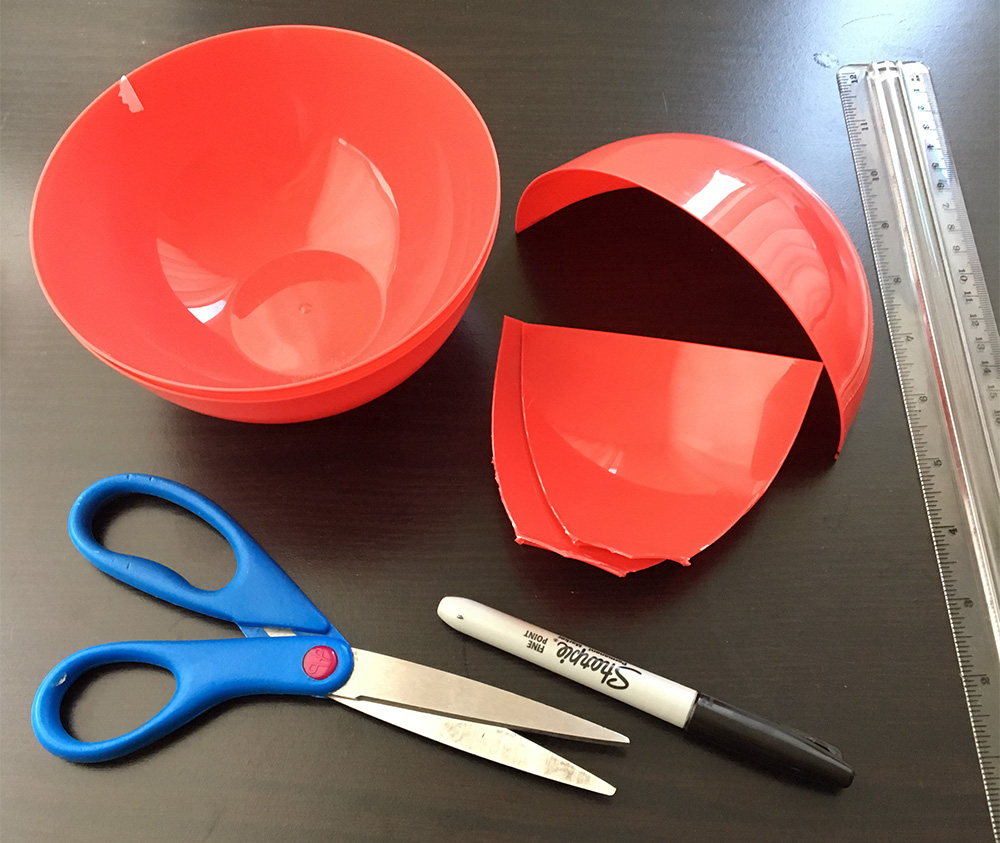
I started with these plastic bowls from the dollar store — four for a buck! I cut one of the bowls in half to make the head and back end of the scarab beetle. One half would be the head, and I cut the other half in halves again to create the division between the wing coverings.
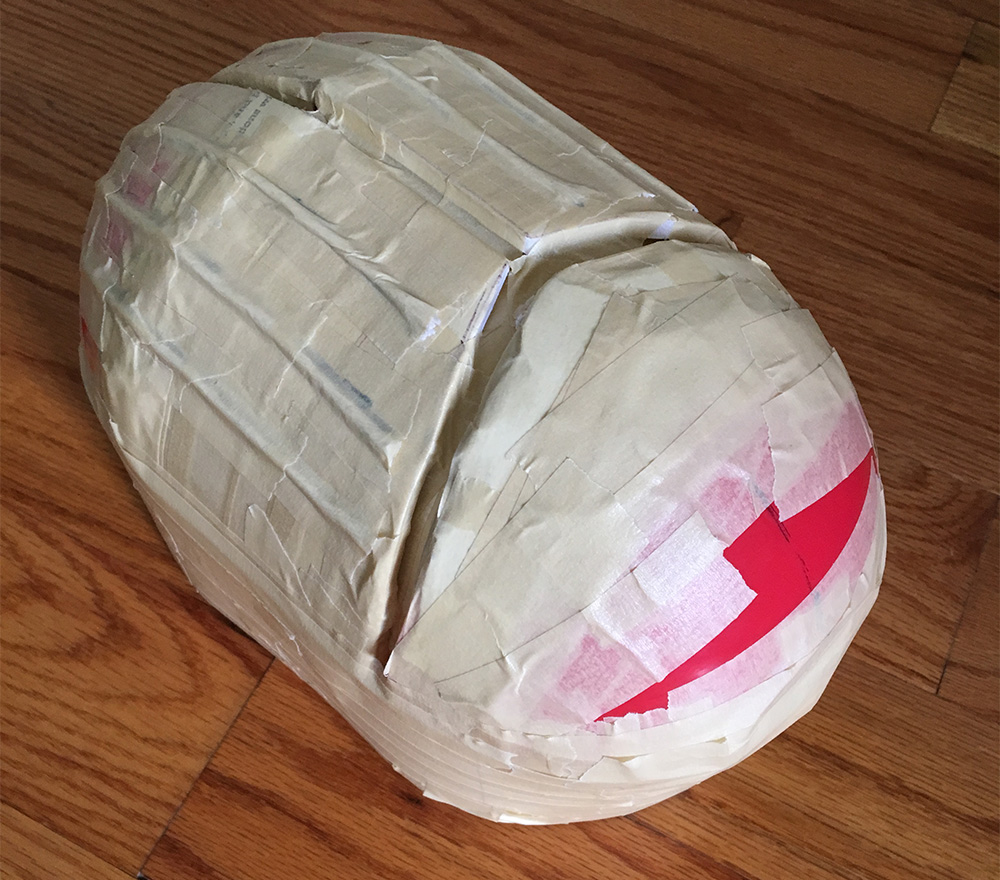
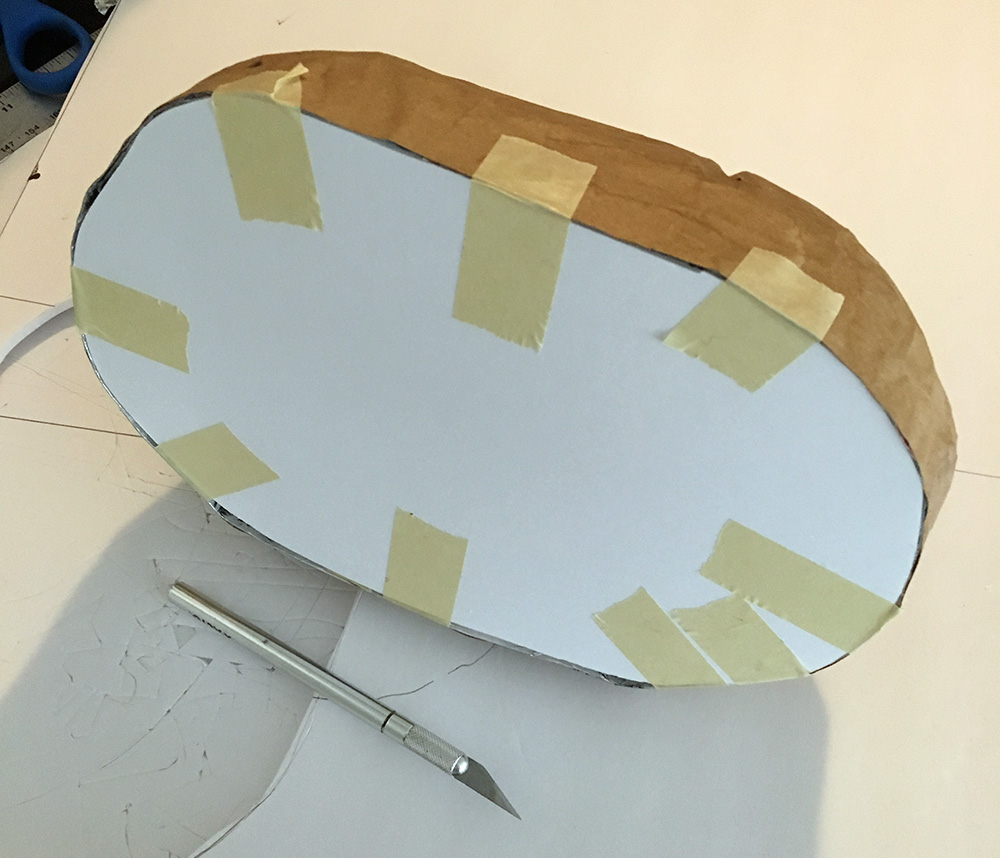
Uh… I really didn’t take many pictures of the next steps for building the base; I was totally just winging it and taping stuff together. Basically I used lots of pieces of foam board and tons and tons of masking tape. I traced an oval shape for the base, and made a half-cylinder for the body segment between the halves of the bowl. To create the curved half-cylinder part, I used my usual method of making foam board bendable: I covered both sides of the foam board with masking tape, and then carefully rolled it up. If you try to bend or curve foam board on its own it’ll break, but the masking tape lets it curve without breaking.
I added two more curved foam board parts for the shell/wing coverings. I then added six pieces of strings along the back of the wing coverings with masking tape, just to give the whole shape some more interesting details.
You can see the base shape is much taller than necessary; I made it this way to make it easier to hold onto and work with. I built up the height by making a second copy of the scarab’s oval-shaped base to serve as the very bottom surface, stuck a small box shape on it to create the height, stuck the scarab shape on top, and built a wall around the bottom made from a long strip of poster board. I used tons and tons and tons of masking tape and packing tape to make all of this as strong as possible.
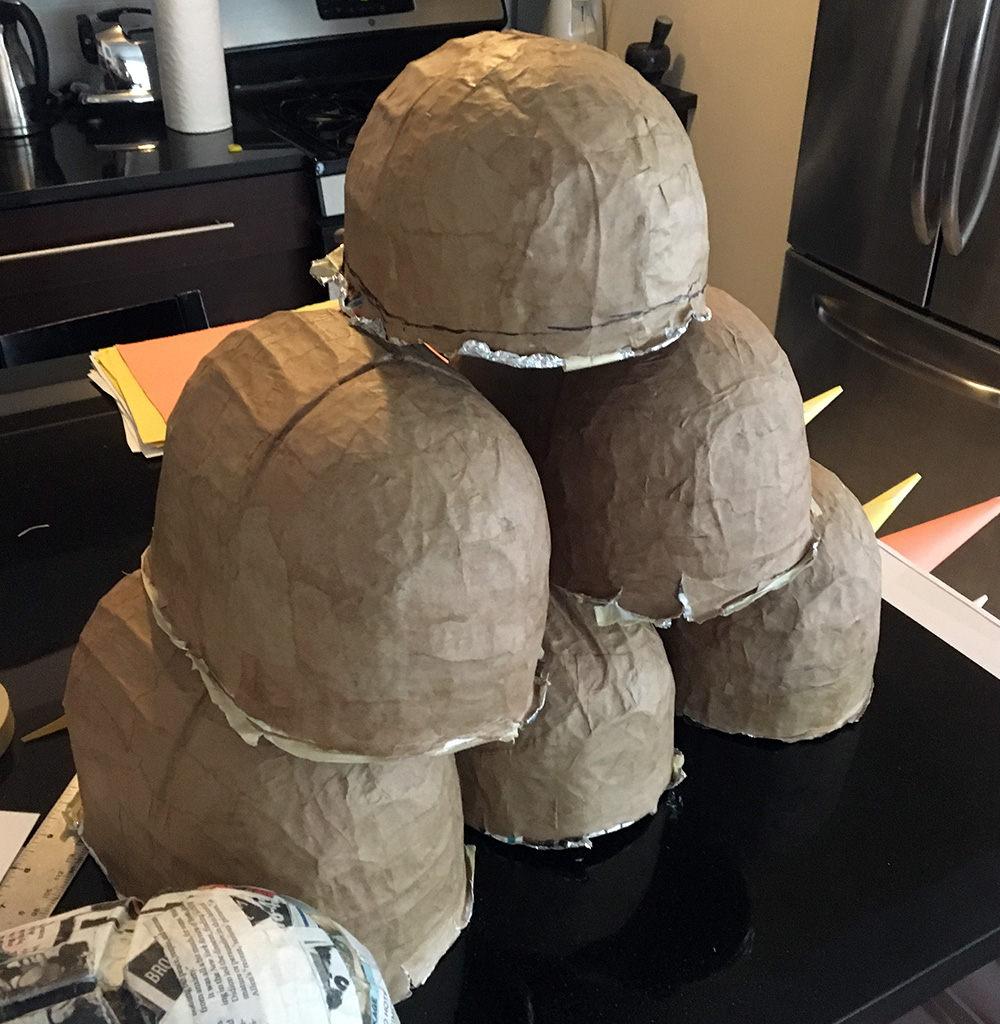
One final step before using this base to make lots of scarab beetles: I covered the entire base in two layer of paper maché. This was just to make the whole base stronger and to smooth out the surface a bit. When the paper maché was dry, the base felt very solid; ready to go!
Using the scarab beetle base
Now, to make the beetles! My fiancée actually did all the paper maché for these things. For each scarab, she started by covering the base with a aluminum foil to act as a release agent; the paper maché sticks to the foil but the foil doesn’t stick to the base, so when the paper maché is done you can simply lift it away from the base.
We use Roman PRO-543 universal wallpaper adhesive (paid link) for paper mache; alternating layers of newspaper and brown wrapping paper.

We decided to do just four layers of paper maché for the scarab beetles; these decorations will only be used once, and they’ll be out of people’s reach, so we didn’t need them to be sturdy at all. If we were making a permanent sculpture we’d use more like seven layers of paper. You can read about my paper maché process and materials here. Since the base was so tall, we just left the bottom edge of the paper kind of ragged; it’ll get trimmed later.
When the paper maché was dry, it was pretty easy to carefully lift it off of the base. We then trimmed the edges with scissors to make a nice straight line all the way around. Now the base is ready to re-use!
Finishing the scarab beetles
We traced the finished paper maché scarab shape onto foam board, cut that out, and taped it in place on the open bottom surface of the scarab body. We then covered this area with a layer of paper maché. (It feels weird to keep saying “we” here; I’m not used to having help!)
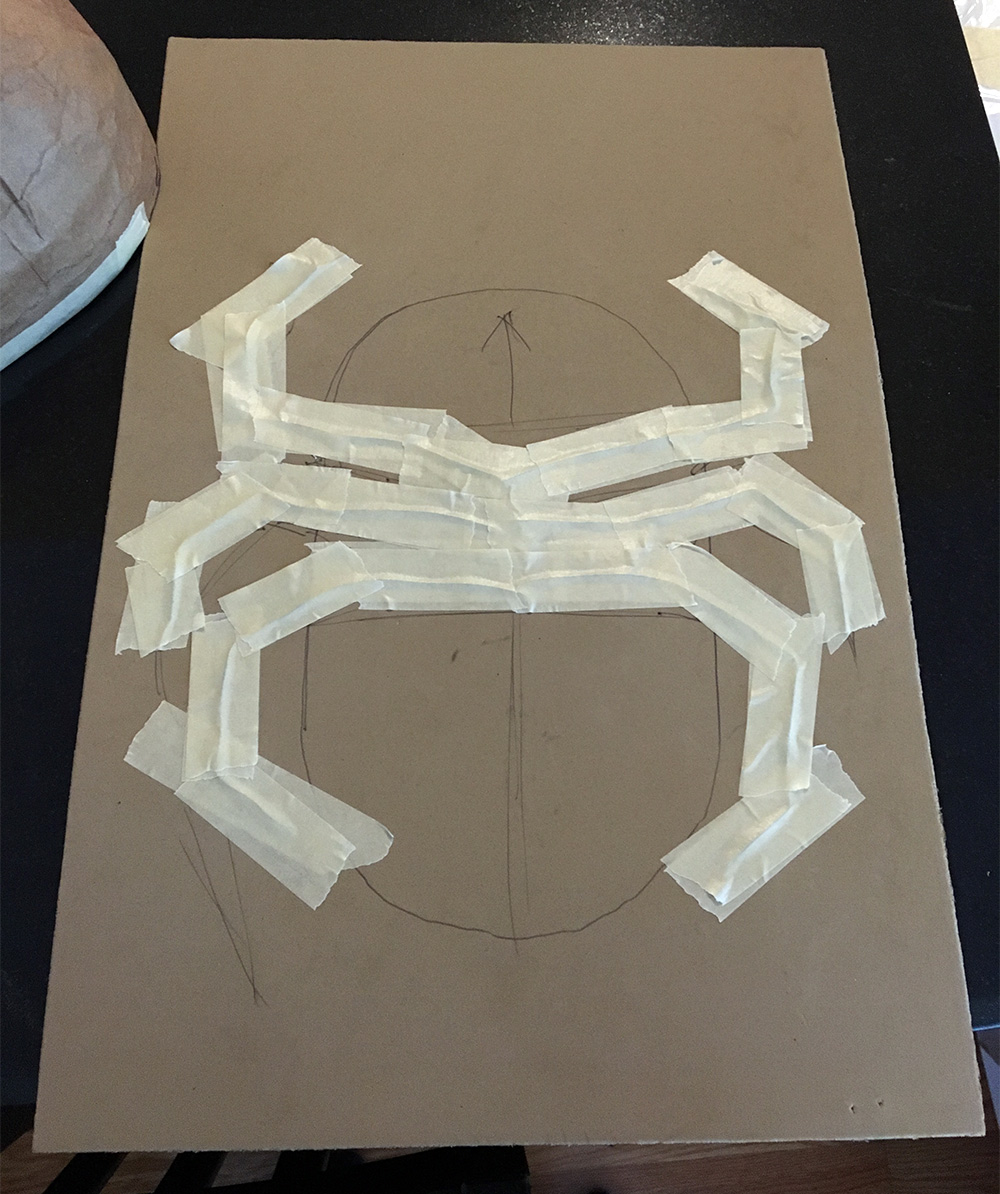
We made the legs from craft foam with thin steel wire taped in place. No need to bother with covering these with paper maché; again, these decorations are for one night only. They’ll be spray-painted black and displayed at our Halloween party with low lighting. They don’t need to look perfect!

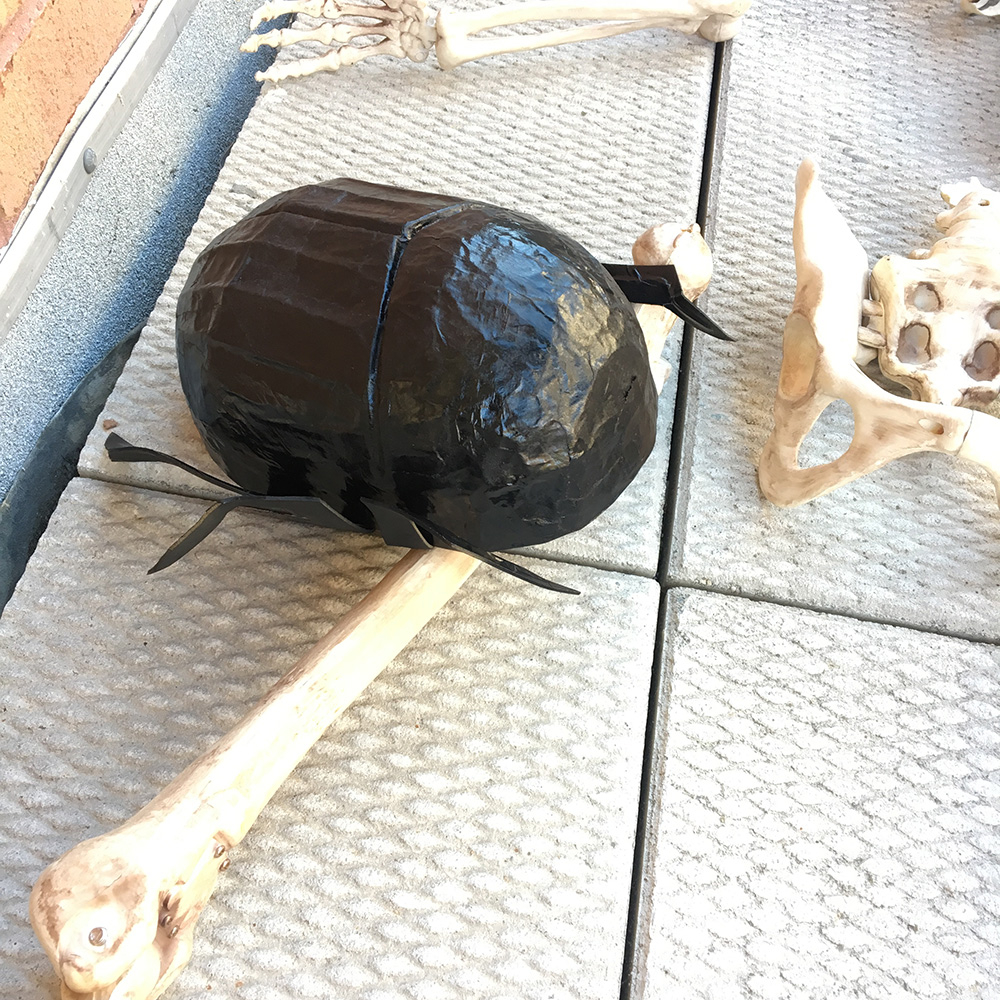
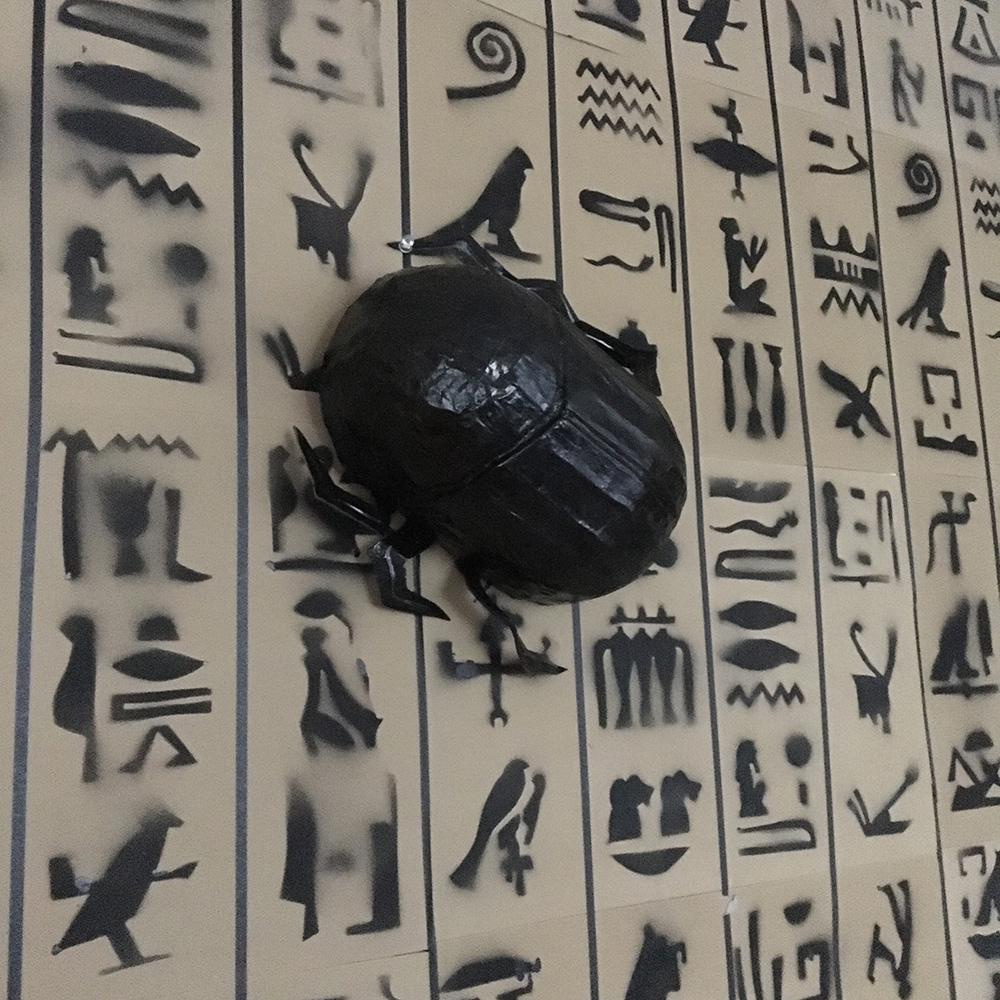
We hot-glued the leg shapes to the bottom of the scarab body and then bent the legs into position. We spray painted the scarabs gloss black and let them air out for a day or two.
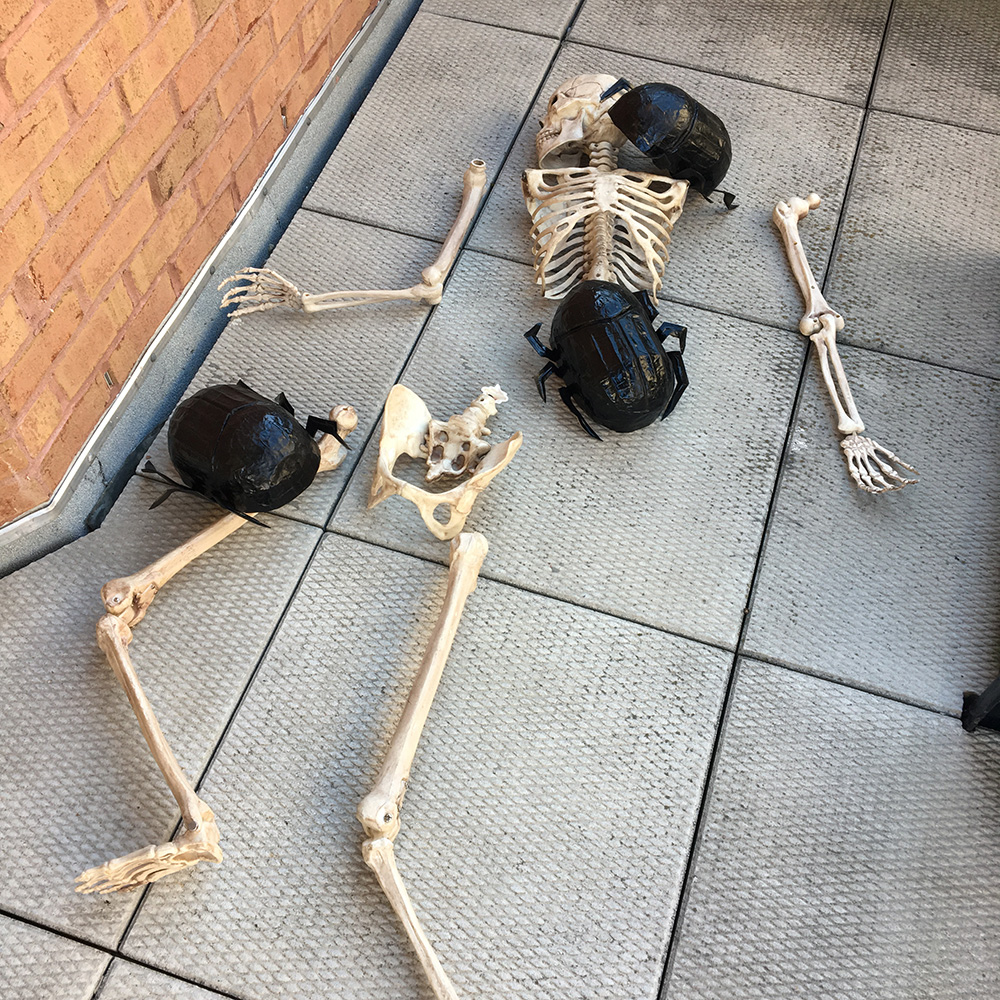
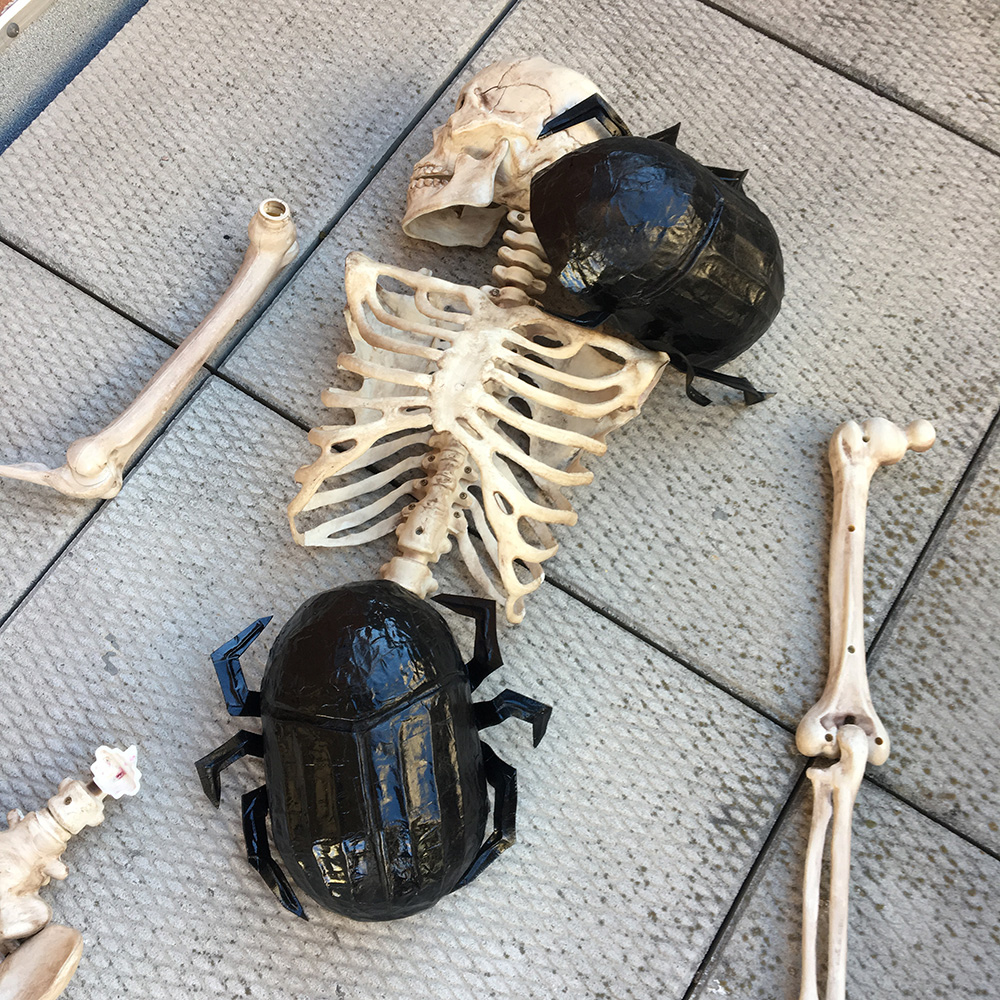
We ended up making six of these things, and if we’d had the time we (or at least I!) would’ve happily made a lot more! Three of them ended up displayed on this disassembled skeleton outside on our terrace…
Others were displayed on various walls, mirrors, etc.
 About Manning Krull
 How to make a 4-foot paper maché alligator
 My violin skull mask, Mardi Gras 2015
 Three-headed paper maché dragon sculpture
Leave a comment