
Sculpture technique: making box shapes out of foam board
Published by Manning on August 4th, 2019
Most of my sculpture projects start with a base of foam board shapes connected with tape and/or glue. I made up this technique for creating sturdy box shapes in any kind of shape or size, and I use it for almost every project, with some slight variations. This technique works great for anything from very geometric shapes to completely irregular custom shapes, as long as they’re flat on two sides. Here’s what I do…
Designing the box shape
I always do a lot of measuring and planning, often in Photoshop, to work out the exact dimensions of my shape. If it’s a complicated shape I might even print it and trace it onto foam board. If it’s something simple I’ll draw it by hand right on the foam board.
In this case I’ll use a circle box shape as an example. Let’s say I want a circle box shape that’s 15″ in diameter and 1″ thick.
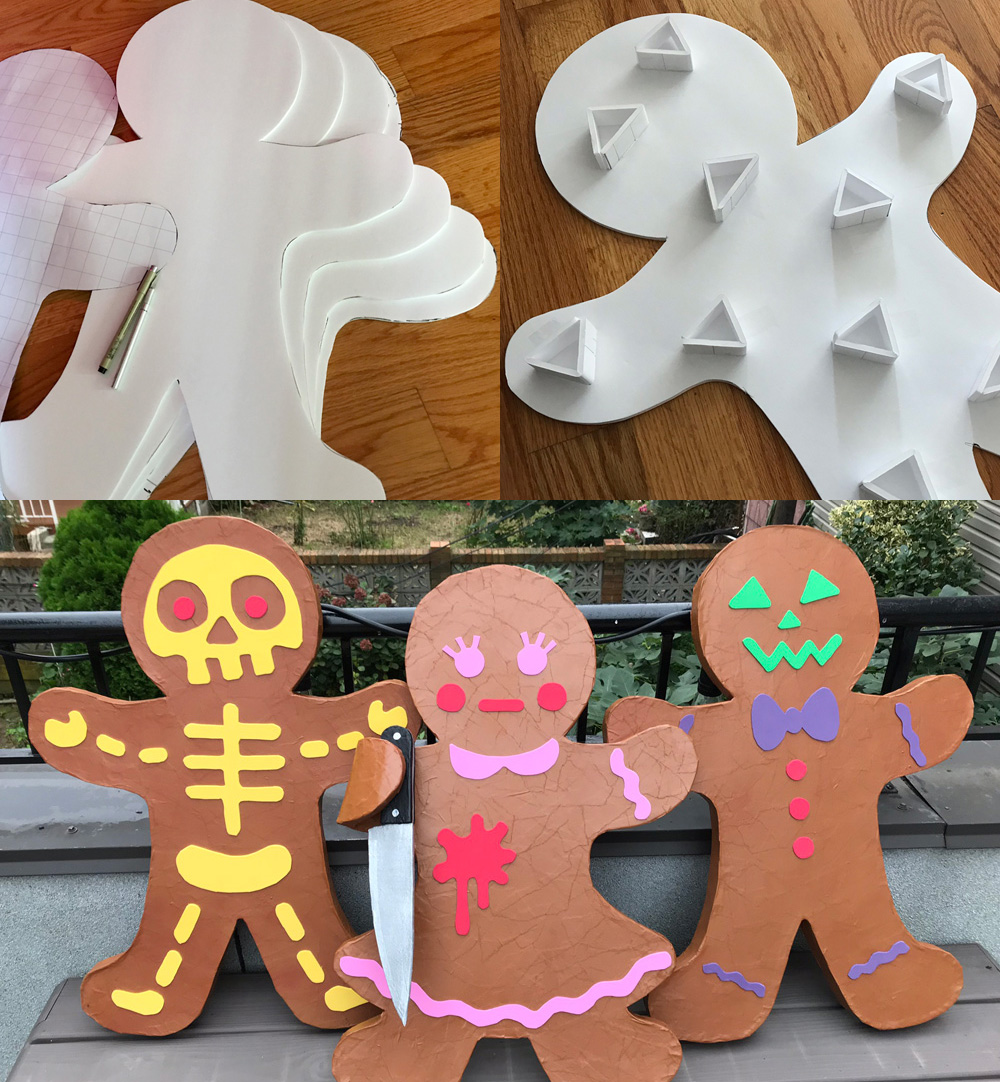
First, I draw two copies of 15″ my circle shape onto foam board and cut them out with an X-acto knife. (See my article about drawing precise circles.) I also cut out a bunch of rectangles to make the…
Inner supports
I always cut out and assemble a bunch of triangular supports out of foam board to put in between my two circle shapes. So, for this example I want my circle box shape to be 1″ thick. The foam board I use is 3/16″ thick, so when I subtract the two outer circle shapes (3/16″ each, which adds up to 3/8″) from 1″, that means my inner supports need to be 5/8″ tall.
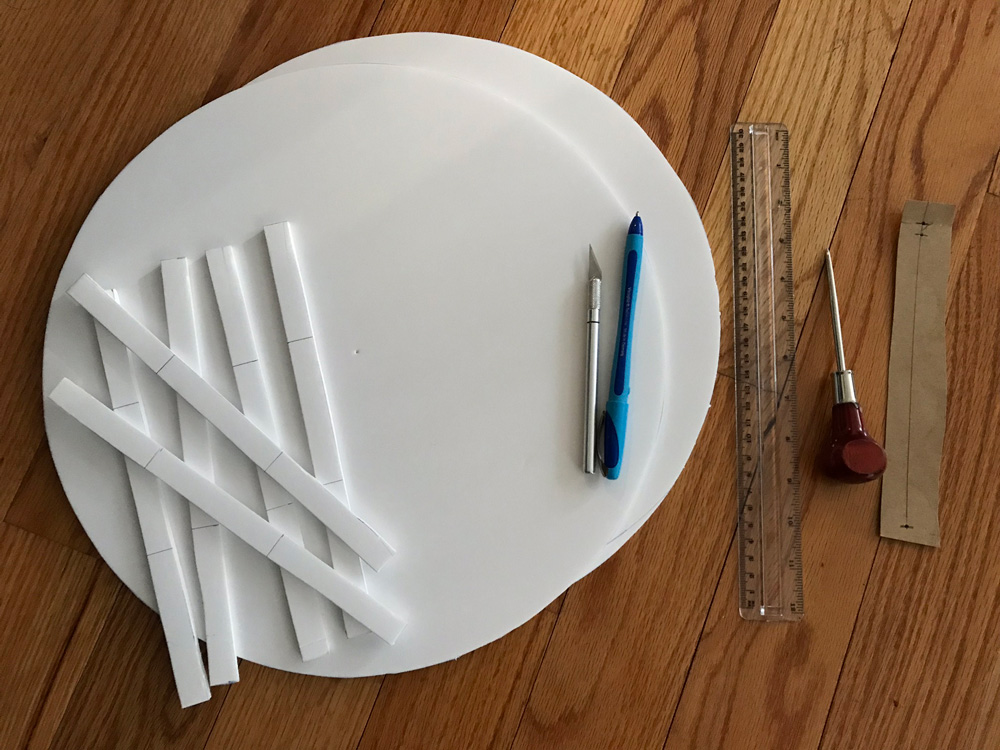
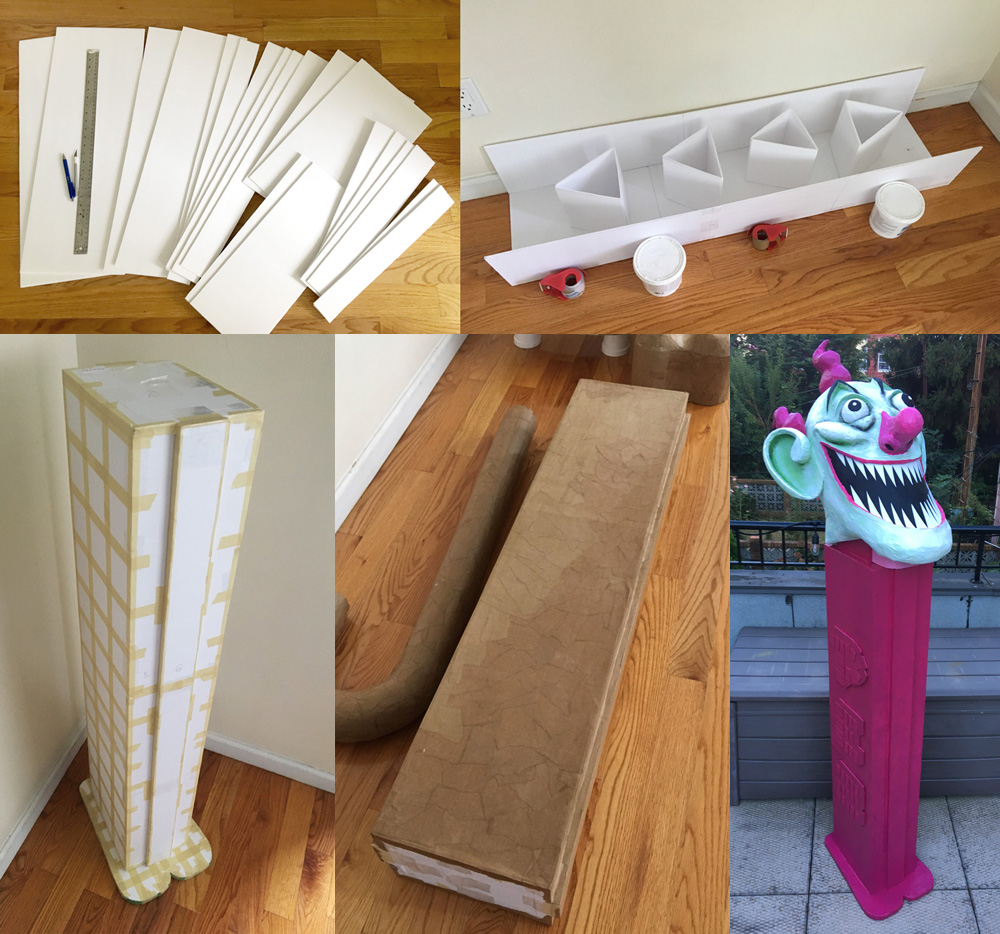
To make these triangular supports, I measure and cut out several strips of foam board. For this example, I decided to make strips that 5/8″ tall by 10″ long. I chose 10″ for the length of the strips because the foam board I use is 30″ x 20″, so I can easily measure out two of these strips at a time along one 20″ edge of the board.
I measure and draw six of these 10″ x 5/8″ strips, and I also mark off some lines where I’m going to bend them; in this case for my 10″ strips I mark off lines at 3 1/2″ and 7″. I cut out all these strips with an X-acto knife.
To bend the strips as cleanly an accurately as possible, I place them against the edge of my kitchen counter and carefully line up the line I drew with the counter. I then push on the strip with my fingers to neatly bend it along the line.
Once all the strips are bent, I close each of them up with a piece of heavy duty shipping tape.
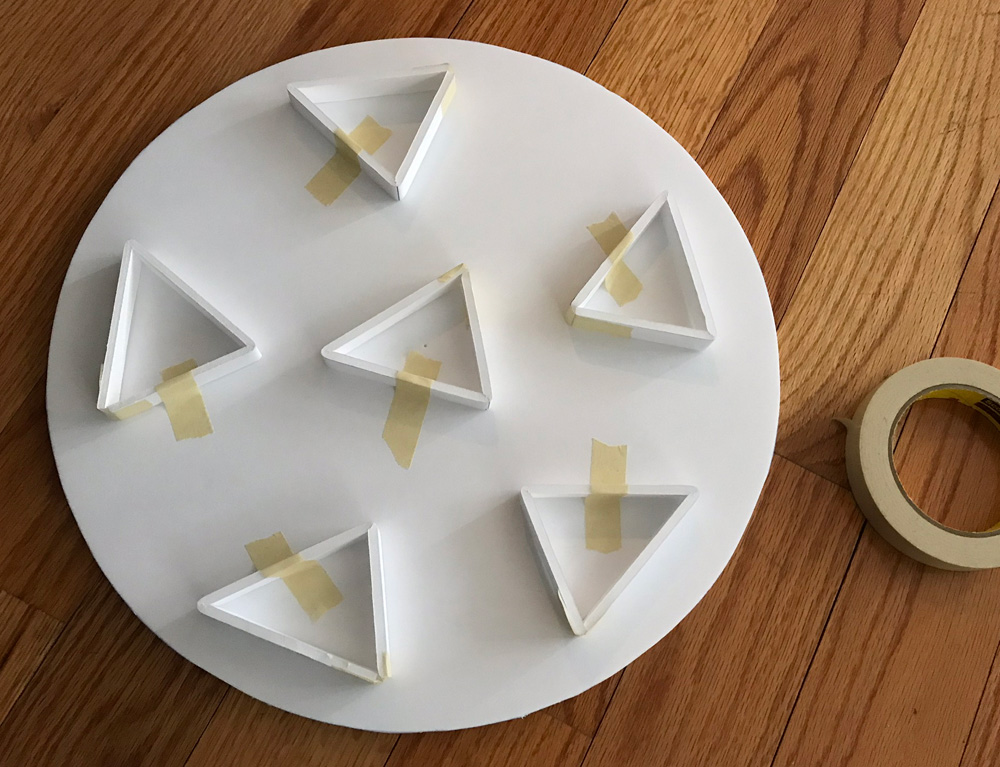
I then tape these supports in place on one of my circle shapes. I generally just tape them down on two sides; that’s enough to keep them from moving around. Once the whole box is assembled they’ll be firmly trapped in place.
It’s time to connect my second circle shape on top of the supports, but it’s a little tricky to get this perfect! It’s important to make sure the two circles are perfectly lined up, otherwise you could end up with a box shape that’s a little tilted.
I have an area in my apartment at the base of the kitchen counter that forms two perfect 90-degree angles where two parts of the counter meet up with each other and they both meet the hardwood floor. By pushing my foam board shapes into this corner, I can be sure they’re lining up perfectly. (You’d think any corner of a room would work for this, but the molding at the bottom of your walls makes this not work right. I rely on this counter so much for all my projects, when I eventually move out of this apartment I’ll have to build a wooden box for this purpose!)
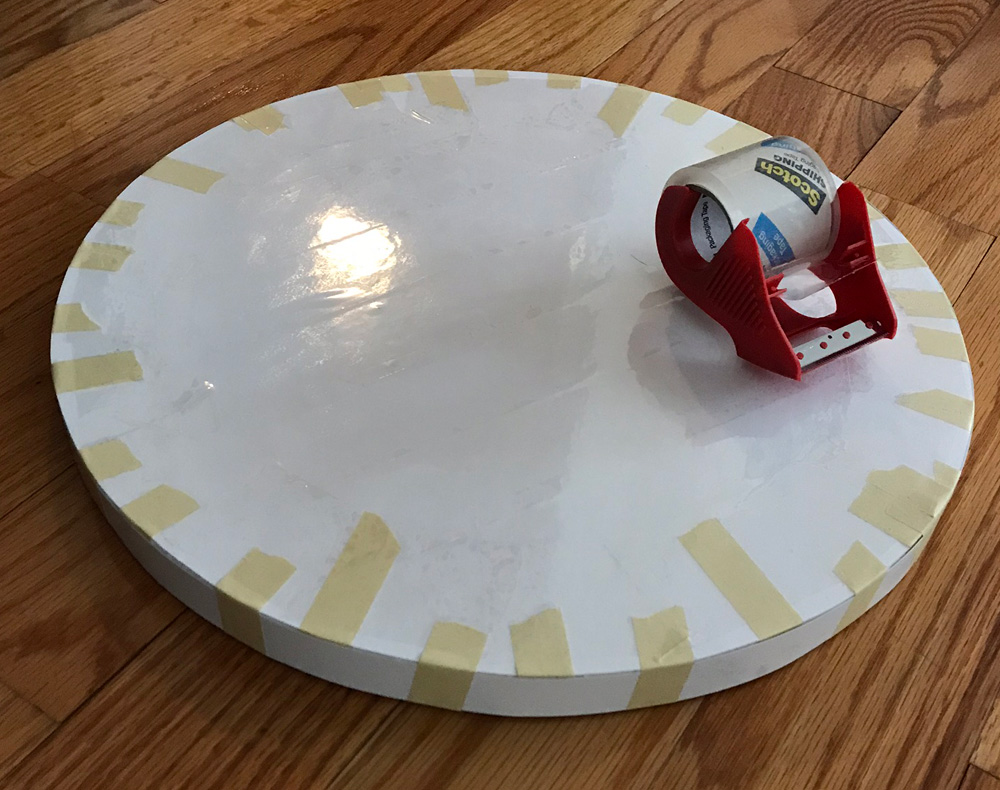
Before I slide the shapes into this corner, I put a couple long pieces of masking tape on the bottom surface, with the sticky side up. I slide this into the corner, lay the other circle on top, and bring the tape up to join the top surface to the bottom. I then carefully slide the whole shape out, turn it around, and add some more strips of tape on the other sides.
If you’re careful enough with all of this you get a shape that’s pretty stable and with everything at perfect 90-degree angles.
I then add a bunch more tape all the way around the shape to stabilize everything a bit more.
Now it’s time to build the walls around this shape. For most projects I use a strip of poster board for this. Sometimes I use a strip of foam board that I’ve curled up ahead of time. I’ll use poster board in this example.
I know my box shape is 1″ tall, but I actually measure and cut my strip of poster board to be 7/8″. I’ve found that making the strip the exact same height at the box can lead to some little raised edges here and there all the way around. Making the poster board walls slightly smaller helps avoid this.
I cut out the poster board strip with scissors, and before applying it to the box shape I first curl it around a wine bottle, to give the poster board a curl all the way along its length. If you don’t do this, you might find that the ends of the poster board don’t want to curl up very well and they stick out a bit from your box shape.
I then tape the poster board shape in place all the way around my box shape. Obviously for certain larger projects you might have to cut out multiple strips of poster board to make it all the way around. (For this particular project I also covered the whole thing in shipping tape to make it a bit stronger.)
Depending on the size of your project, the wall of poster board might feel pretty sturdy or it might feel kind of flimsy; the larger the project, the weaker the walls might feel. If they’re a little flimsy I might add a second wall of poster board around the first. Even a layer of shipping tape all the way around will make it feel a bit sturdier.
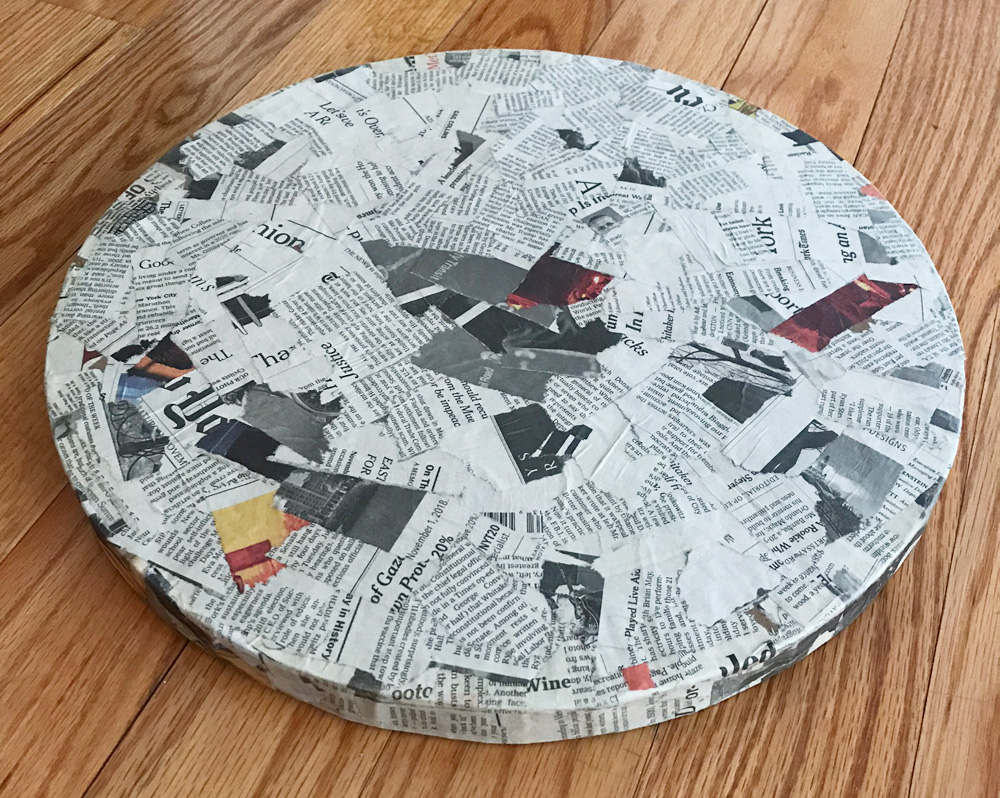
Once all of this is taped together, I usually cover my box shape with a few layers of paper maché — anywhere from two layers to eight, depending on what I’m making, how big it is, and how strong it needs to be. You can read about my paper maché process and materials here.
That’s pretty much it! So many of my projects are built on a foundation of this technique — often several box shapes made this way and put together.
Here are a couple other examples of projects I’ve made with this technique, to give you an idea of the range of the sizes and complexity of the shapes:
Paper maché gingerbread props:
Paper maché giant Pez dispenser:
I hope you find these techniques helpful! Good luck!
 About Manning Krull
 How to make a 4-foot paper maché alligator
 My violin skull mask, Mardi Gras 2015
 Three-headed paper maché dragon sculpture
Leave a comment