
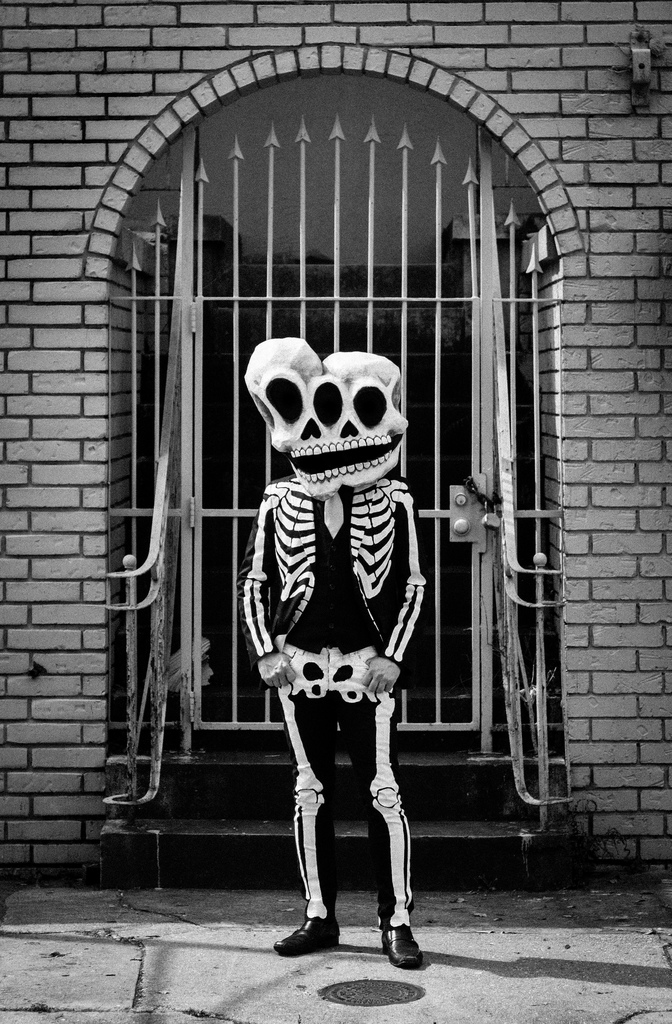
Paper maché conjoined twins skull mask, Mardi Gras 2014
Published by Manning on June 18th, 2015
This year I was determined to give chicken wire another go, after my failed attempt the previous year. I had already sketched out my idea for this conjoined twins (aka “siamese twins”) skull, and I knew I wanted them to be different heights and sort of distorted and curved-looking. So I decided to start out with two big tubes of chicken wire.
Note: Chicken wire is very sharp, and you’ll need heavy gloves for that part! You’ll also need wire cutters to cut your big pieces off the roll, of course.
Anyway, I don’t have any pics of my process with the chicken wire, but basically I made my two big tubes, at different heights, and connected them with a few pieces of strong, flexible wire. I then bent the tops of the tubes closed, and twisted some more little pieces of wire around those top pieces to keep them closed. Then I pulled and stretched the whole shape to make the top parts wider, and to define some rough cheekbone areas. That’s as much detail as I was able to get out of the chicken wire.
I then built up other big areas with wadded up paper towels and masking tape; the eyebrow ridges, the bridge of the nose, and some extra definition on the cheekbones.
I wrapped this entire shape in masking tape, so that when I do all my layers of paper maché, the tape won’t stick to it, and I’ll be able to remove the entire interior afterward. See my article about my paper maché method here.
After wrapping the whole thing in tape, but before starting the paper maché, I sculpted the teeth. I used air-drying modeling clay for this, and I basically had no idea what I was doing! I started with a long flat strip of clay, smoothed out onto the mouth area of the head(s). Then I made dents for where I wanted all the teeth to go. Then I sculped all the teeth individually with the clay and stuck them on. Then I let all the clay dry for 24 hours.
The next day, the clay was dry, but a lot of the teeth had fallen off! So I glued them into place with Elmer’s Wood Glue, and then I let that dry for another day.
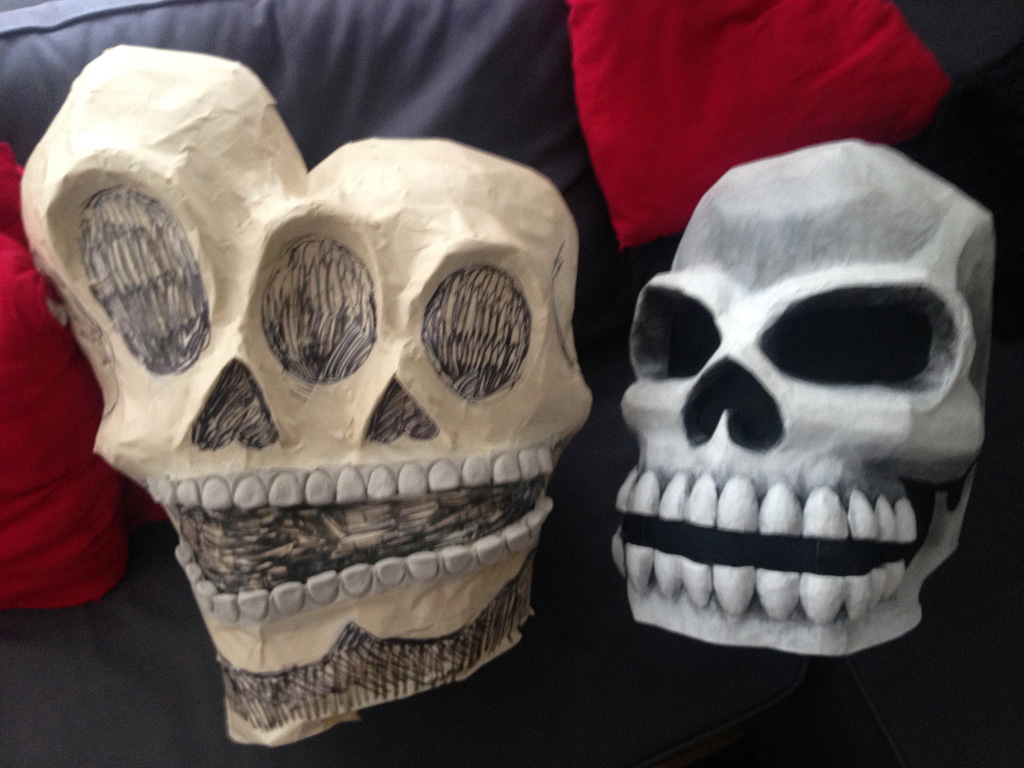
The picture above shows the whole head wrapped in masking tape, with the clay teeth exposed. I did some scribbling with a Sharpie marker to get a sense of how the finished mask would look. It’s sitting next to my 2013 mask for comparison.
Finally it was time to do the paper maché! See my article about my paper maché method here. The short version is: I use Roman PRO-543 universal wallpaper adhesive (paid link) and alternating layers of newspaper and brown wrapping paper.

I did eight layers on the entire head, but only two or three on the teeth. The reason for this was that after my first layer of paper on the teeth, I could see that I had lost of a lot of the definition that was visible in the clay; the paper didn’t want to get into the spaces between and above/below the teeth like I’d hoped it would. So I realized with eight layers of paper the teeth would probably become just a big smooth shape with subtle curves where all the teeth were. I wanted to keep them as clear and defined as possible so I decided to see if just two or three layers would do the trick. The risk here is that this part of the mask would be much thinner and weaker, and I definitely paid the price when it was time to remove the base from the finished paper maché. But more on that in a bit…
Once all the paper maché was finished and dry, I removed the base materials from inside. I started by going in through the bottom and snipping all the chicken wire parts into smaller pieces with wire cutters. You’ll need your gloves for this part too! Even with gloves, I scratched my arms open a million times working with the chicken wire. It’s not fun.
I pulled out all the chunks of chicken wire, all the paper towels, etc, and slowly, carefully stripped out all the masking tape. That left me with just the paper maché mask, and all those teeth! How the heck would I get the teeth out?
The long thin strip of clay that served as the base of the teeth was pretty easy to carefully break up and remove. But most of the individual teeth stayed rooted in the paper maché and didn’t wanna budge. I considered just leaving them in there, but they were pretty heavy and I was concerned they’d make the mask very unbalanaced. I needed to get them out. And this was complicated by a few things: The paper maché holding them in was just two or three layers; pretty thin and flimsy, and there was definitely a risk of ripping the paper while trying to pry the teeth out. On top of that, this was the only part of the mask base that wasn’t covered in masking tape. Masking tape is pretty easy to peel away from the paper maché, but the clay teeth were glued very firmly to the paper maché. All I could do was pry them out very slowly and carefully. I still tore a few holes in the paper here and there, which was kind of heartbreaking! I repaired the holes later with a little more paper maché.
Let’s see, what else? I reinforced the interior bottom edge of the mask with plastic zip ties; I paper maché’d them in place all the way around the opening of the mask.
I cut holes for the eyes, noses(!), and mouth with an X-acto knife, and then reinforced the edges of those with small strips of paper maché.
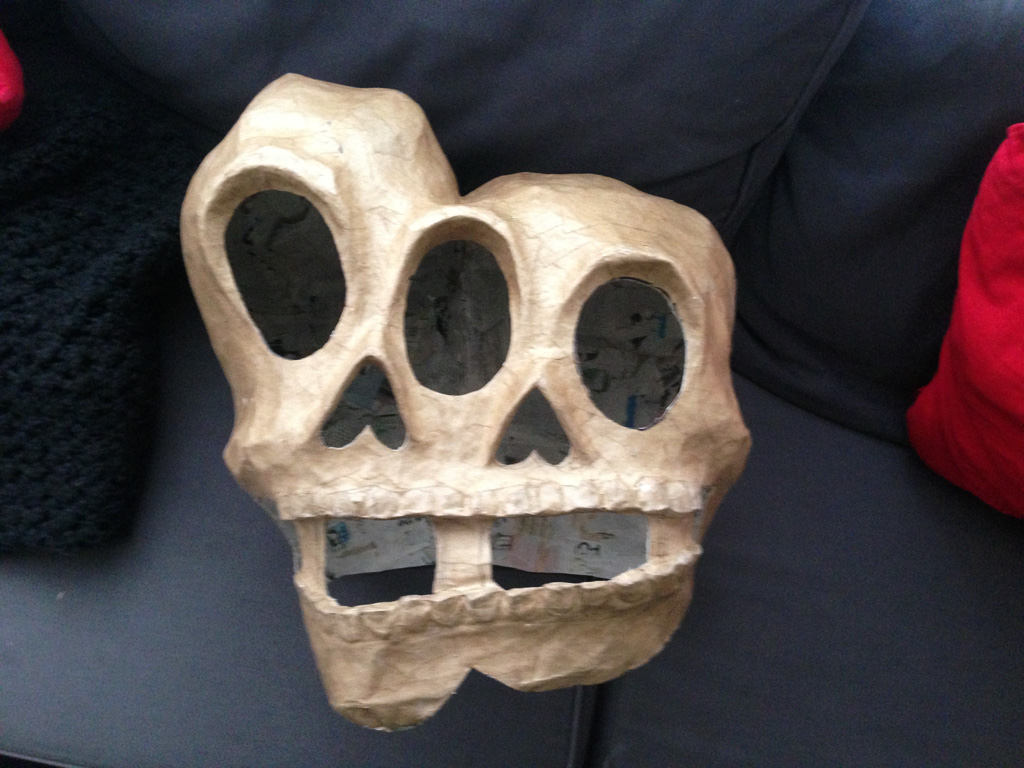
The picture above is the completed paper maché work, with all the guts pulled out. This is before painting; you’re looking at my last layer of brown wrapping paper.
I installed a hard hat inside the mask with lots of Gorilla Glue and some styrofoam blocks to hold the thing in place.
Then it’s time to paint! See my article about my painting method for my paper maché skull masks here.
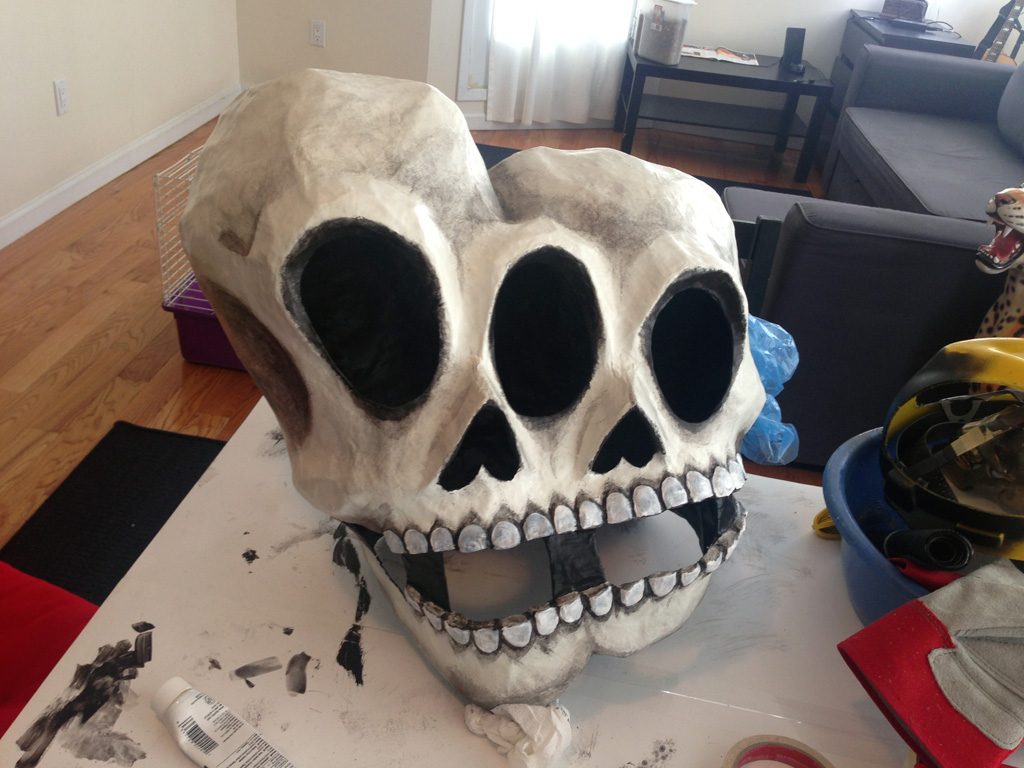
Last but not least, I installed black plastic mesh in the eyes, nose(s), and mouth holes with some Gorilla Glue and let it dry overnight.
That’s about it! I donned the mask along with my hand-painted skeleton suit that I’ve worn every Mardi Gras so far.
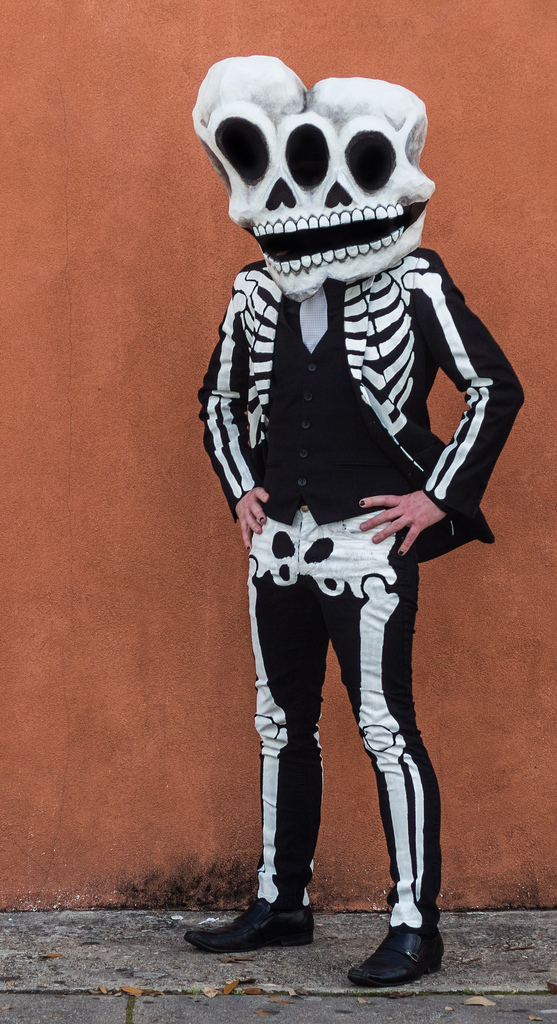
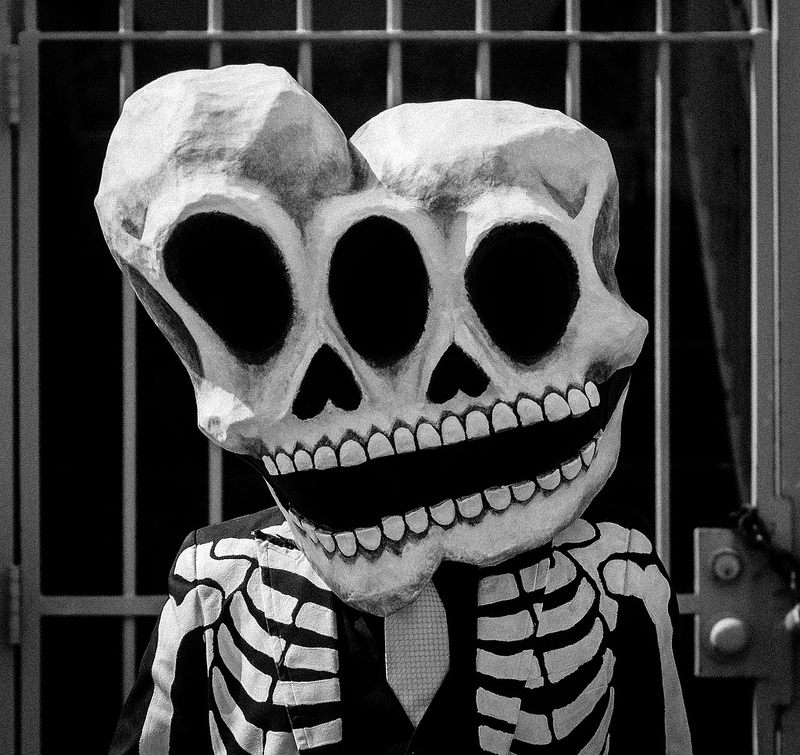
Work-in-progress photos by me. Pretty photos of the completed mask by Kevin O’Mara.
 About Manning Krull
 How to make a 4-foot paper maché alligator
 My violin skull mask, Mardi Gras 2015
 Three-headed paper maché dragon sculpture
January 19th, 2016 at 11:21 am
Cool, thank you for sharing your process, it came out great! Did you also paint the suit yourself? If so, what kind of paint did you use? Thanks for having such an informative website on paper mache for all of us neophytes.
January 19th, 2016 at 6:22 pm
Hi Karen! I used acrylic paint for the suit; I wrote an article about that here.
October 23rd, 2017 at 4:44 pm
Howdy! Will you be in New Orleans for Halloween? I’m curious to see one of your masks in real life. I’m following your instructions now (yes, I know I’m starting late, that’s just how I roll). I do have some paper mache experience but I really appreciate the detailed instructions and material list you’ve published here. A few Mardi Gras ago I had a big paper mache costume and did not remove any chicken wire. Good lord it was a work out to carry around. I’m excited to use the wallpaper glue and not have to mix flour and water, thank you for sharing your knowledge, it is certainly appreciated!
October 23rd, 2017 at 8:03 pm
Hey Katie! Thanks for your comment! I won’t be in New Orleans for Halloween but I’ll definitely be there for Mardi Gras! I’m a member of Skeleton Krewe; we march in Krewe d’Etat on Friday night and then we march at 6am on Mardi Gras morning. We end up in Jackson Square around 8:30am and then wander over to Frenchman Street and hang out around there for the rest of the day. Come say hi if you see us!