Creature from the Black Lagoon hands
Published by Manning on February 7th, 2023
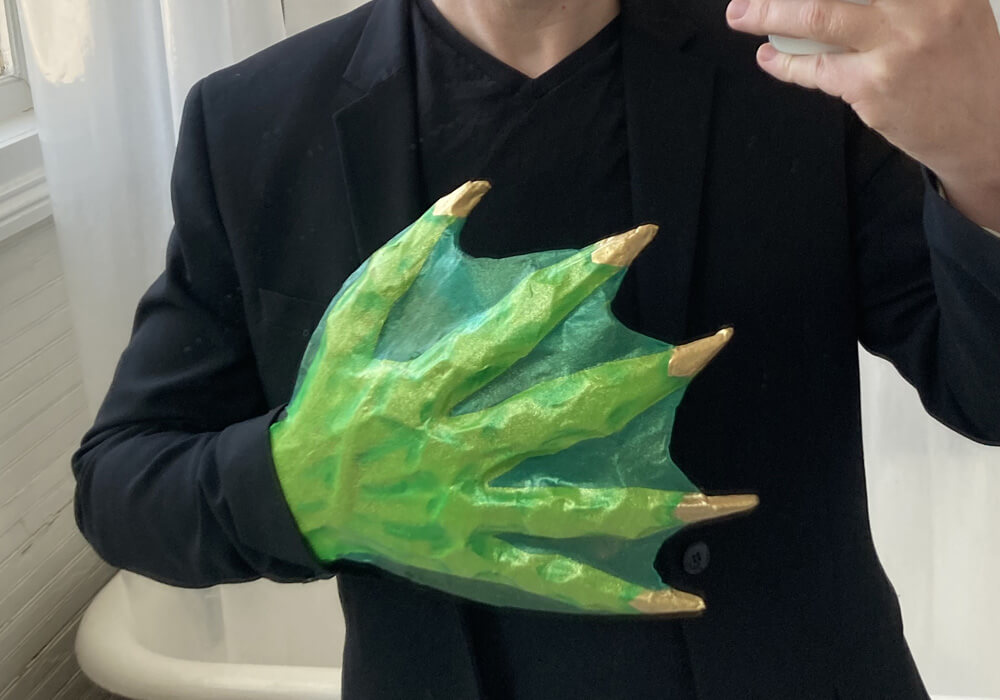
Making these hands was the easiest part of my whole Creature from the Black Lagoon (/Bayou) costume. Here’s how I made ’em!
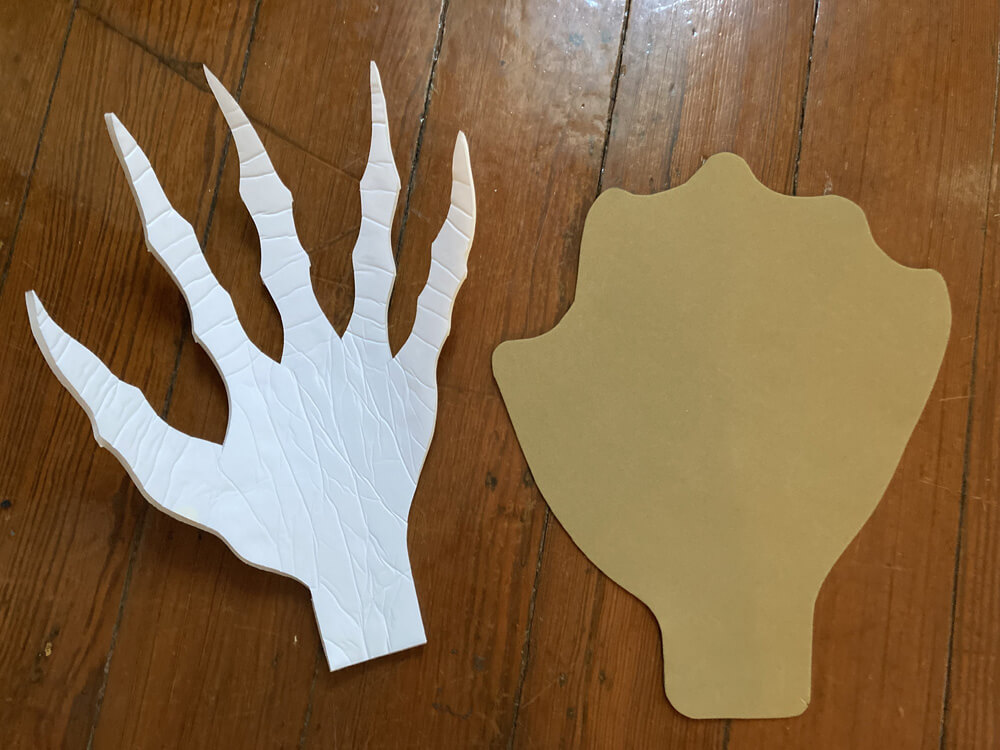
I started by tracing my own hand onto foam board, and then drawing a much bigger hand over that; I wanted to be sure that when I’m wearing these hands that my real hands are totally hidden. I drew the larger hand with knobby knuckles and long pointy claws, of course! I included about an inch and a half of wrist length as well; I wasn’t sure if I’d need this or not.
I cut out the hand with my X-acto knife and then traced it to make the other one; duh.
I traced the hand onto a sheet of craft foam — this soft, rubbery kind of foam that you can get at craft stores. I drew the webbed area around that, and then cut it out.
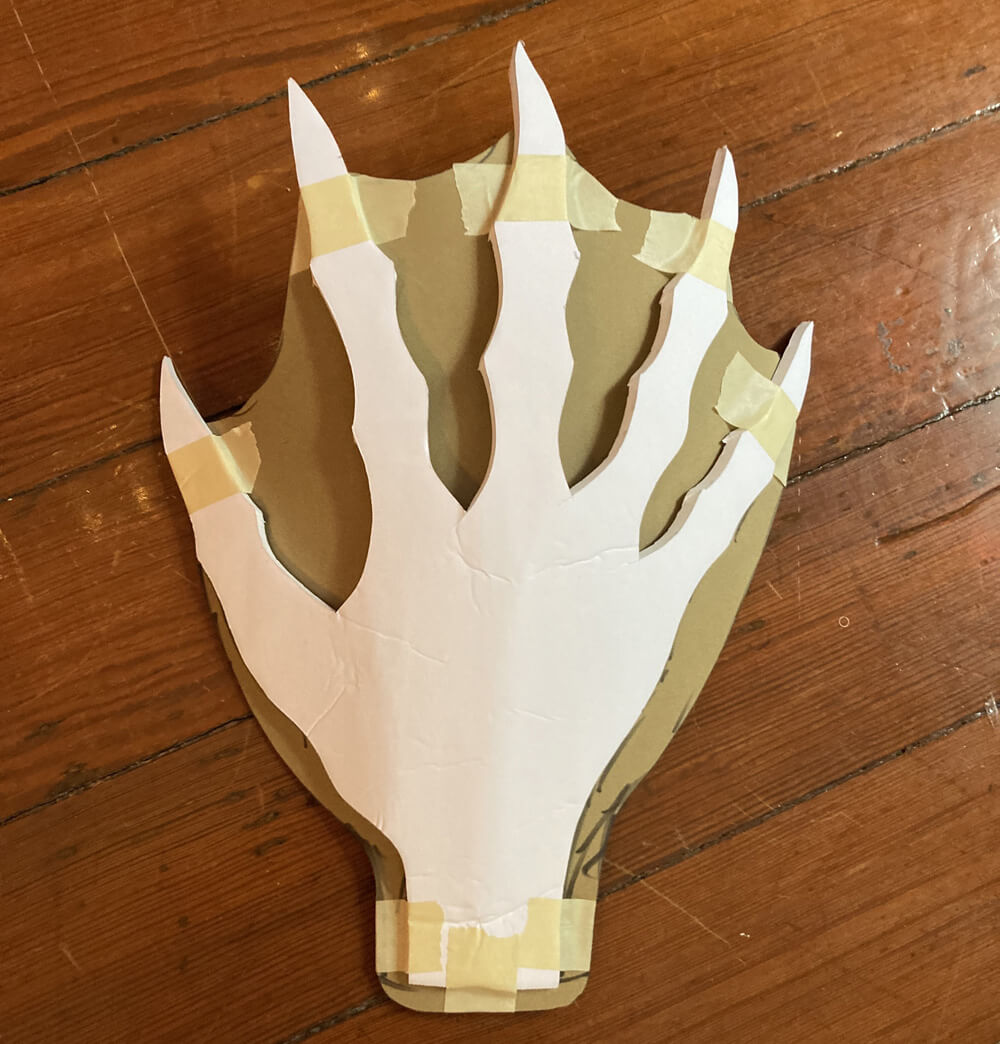
I took my foam board hand and crushed it and curved it so that it curls inward a bit; this is easy to do with the cheap foam board I buy at Dollar Tree; not so easy with good quality foam board you’d buy at an art store. Anyway, I then placed the craft foam webbed part into the interior of the curve, and taped it in place with masking tape.
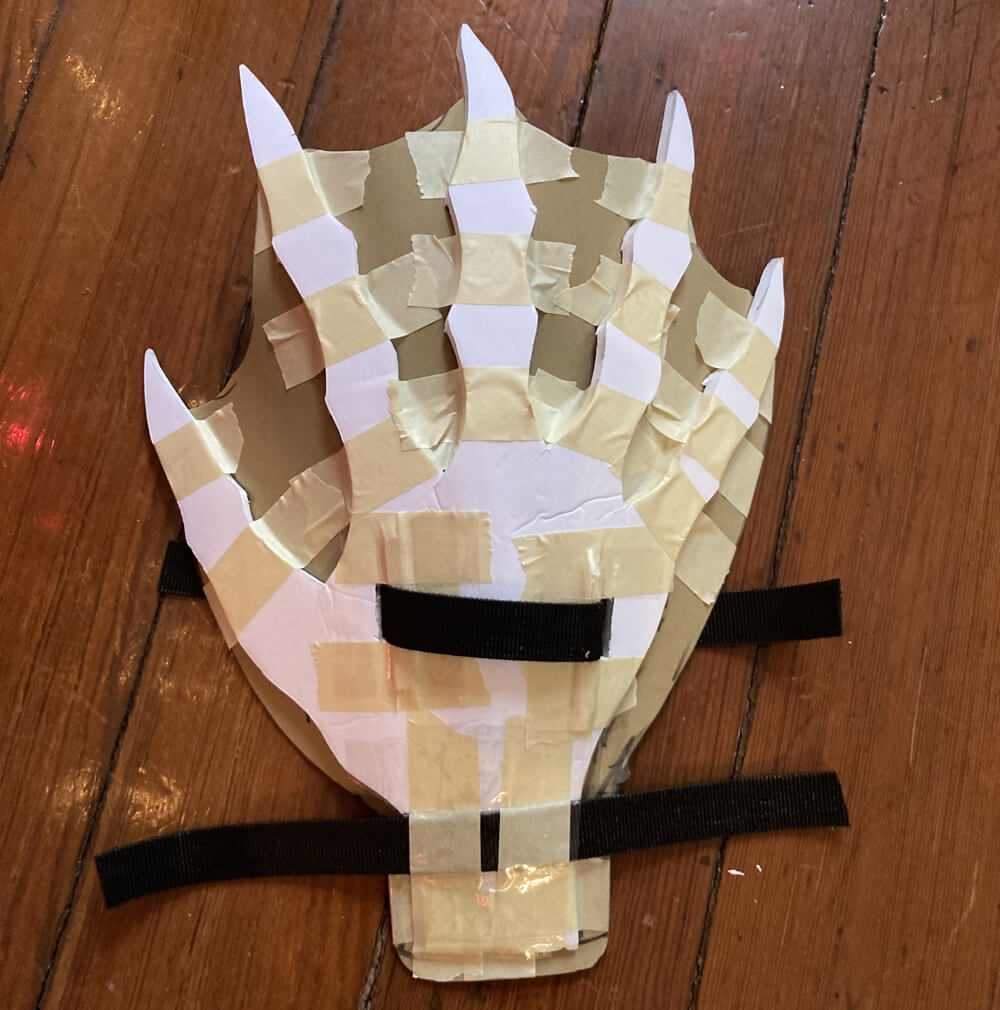
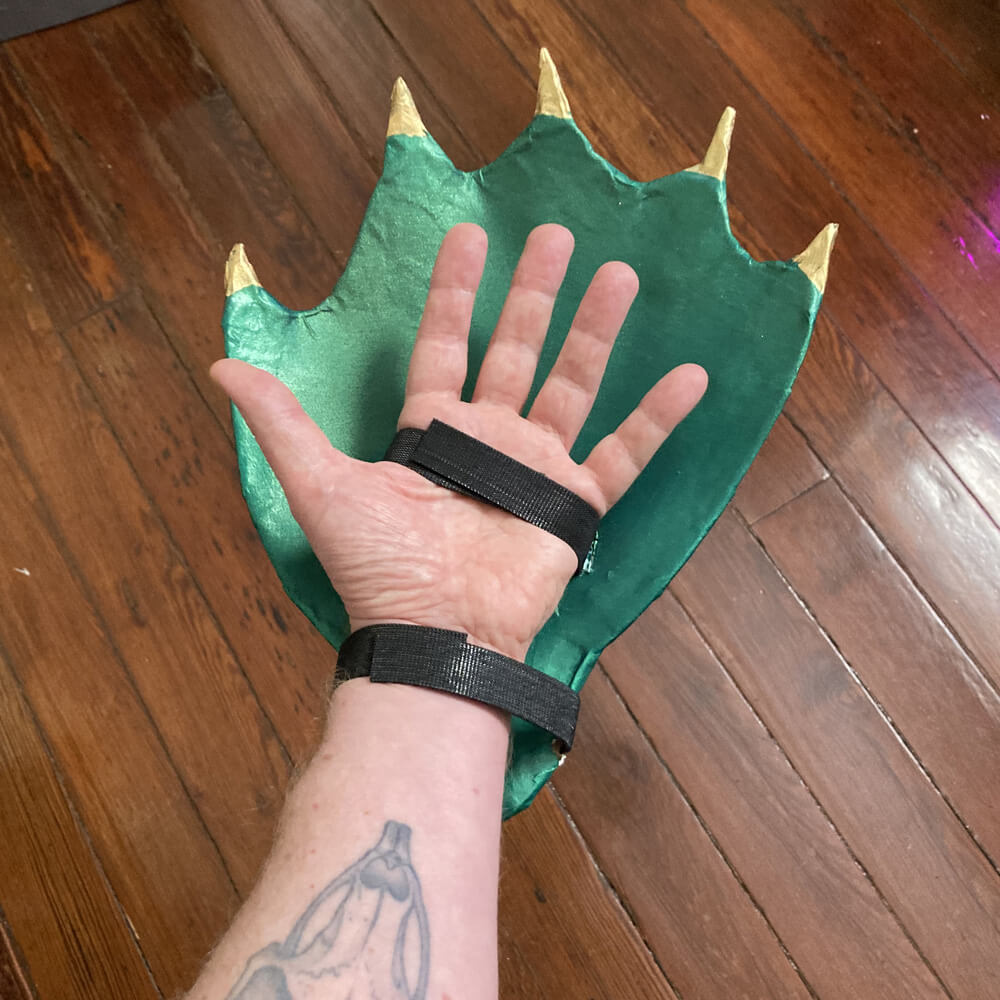
I used strips of double-sided velcro to make the straps for the wrist and palm. You can buy this stuff in a roll; it’s one long strip with the prickly part on one side and the softer part on the other side. I cut two strips; one for my wrist and one for my palm. For the one for my wrist I just taped it in place on the back of the foam board, and it wraps around. For the one for my palm I cut two slits in the back of the hand and inserted the strip through that. Important: you want to keep the prickly side of the velcro facing away from your skin!
For the velcro strip for my palm, I wanted to protect the foam board so it can’t tear through. So, I took small segments of a wooden coffee stirrer and taped them in place just to the inner side of the slits that I’d cut. That should do the trick.
The velcro strap and the coffee stirrers left this big weird bump on the back of the hand, so the next thing I did was cover that area with another piece of craft foam (not shown); I cut this basically in the shape of the hand minus the fingers. I taped that in place.
I also forgot to take a pic of the next step! I took some craft foam and cut a bunch of long thin strips and also a bunch of small squares. I taped the long strips in place on the fingers, all the way from the claws down to the wrist. I taped the little squares in place, diagonally, on all the knuckles. All this stuff, when covered with paper maché, creates the look of the ridges and bumps of the bones of the hand. I also added two diagonal strips on the back of the hand to sort of look like veins.
Paper maché
Next: paper maché! I forgot to take a pic of the hands with paper maché on ’em, pre-painting, but you can use your imagination! I put just two layers of paper on the hands. Making them lightweight was more important to me than making them sturdy — and unlike with all my masks, I would not be removing the foam and other base materials from the paper maché, so two layers was enough in this case.
I didn’t bother putting paper maché on the palm side of the hands; just enough to wrap around and create a sturdy edge all the way around.
Painting
For this Creature from the Black Lagoon costume, I tried an experiment with using Mod Podge as a base coat before painting, for both the mask and hands. So I painted both hands with Mod Podge and let that dry. I really like the smooth texture it gives ya.
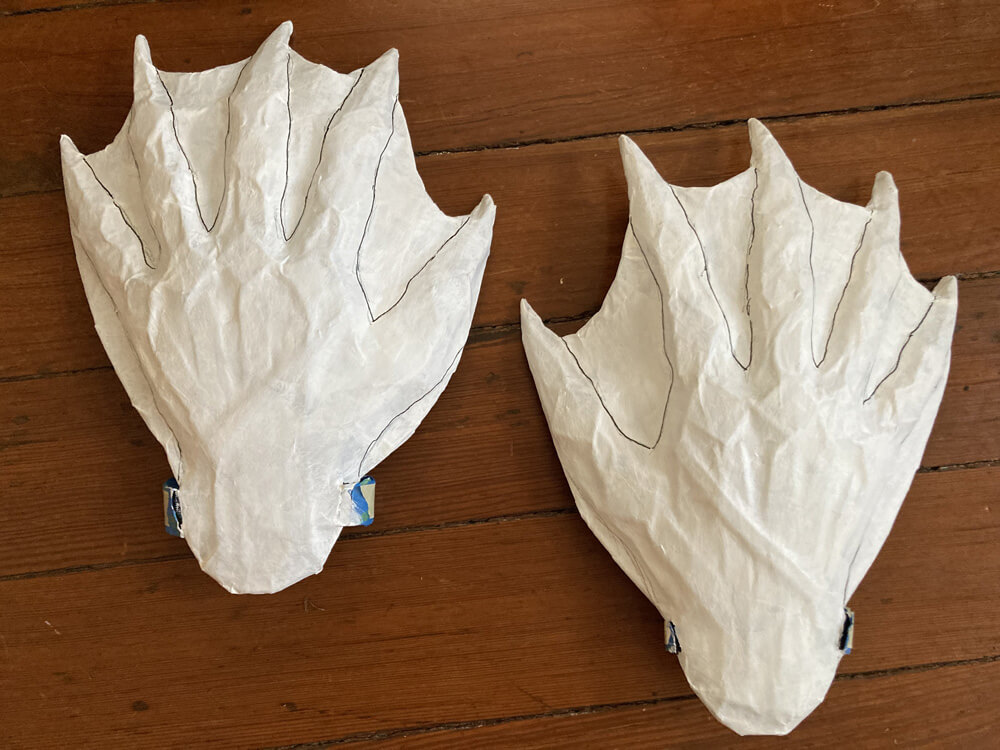
I then painted the hands white gesso; this white base will make the green color look nice and bright. You can see here I drew lines on ’em with a pen just to get an idea of how the fingers and webbed parts will look.
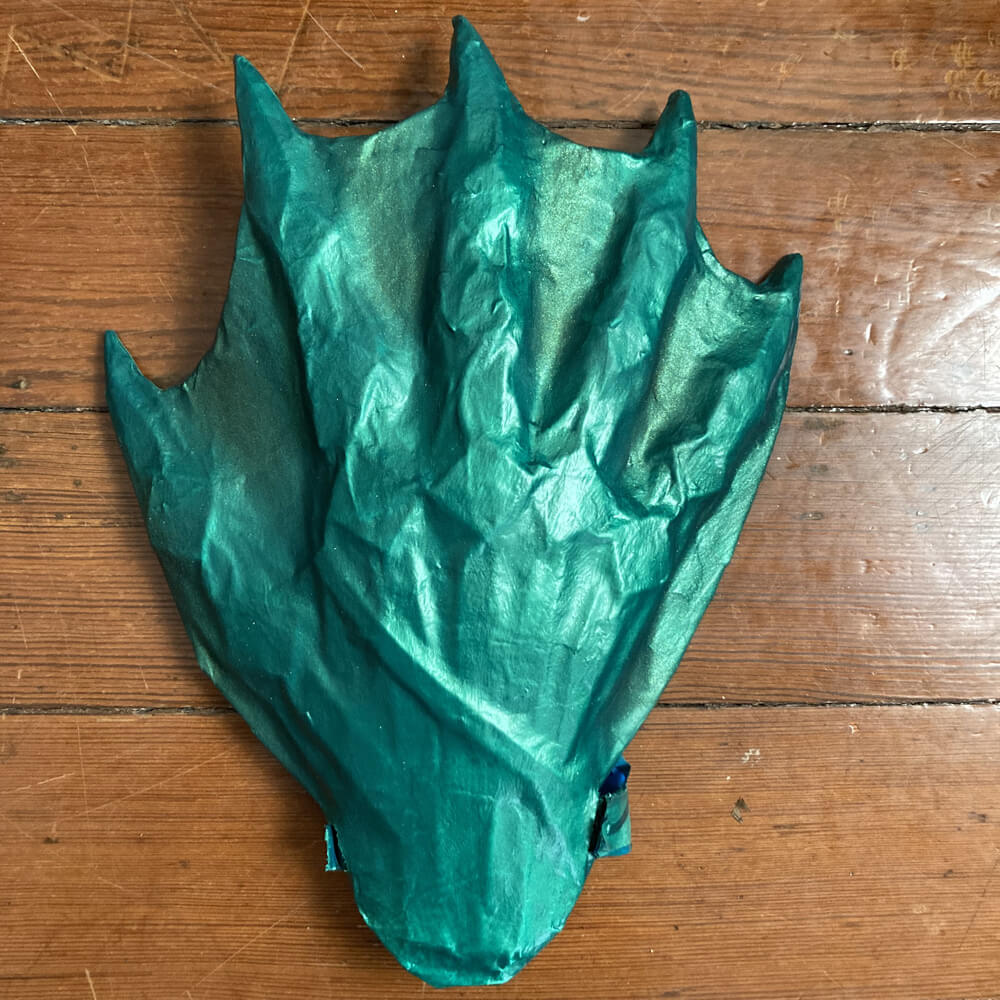
I then spray painted the hands with the darker of my two green colors that I used for the Creature mask. This color is for the webbing. When that was dry, I sprayed the webbing areas with dark green spray glitter, generally avoiding the non-web parts.
When that was dry, I sprayed the web areas with glitter sealer (paid link) to protect the glitter. The glitter sealer makes a huge difference; before using the sealer the glitter would come off onto my hands really easily, and after I applied the sealer it didn’t come off at all.
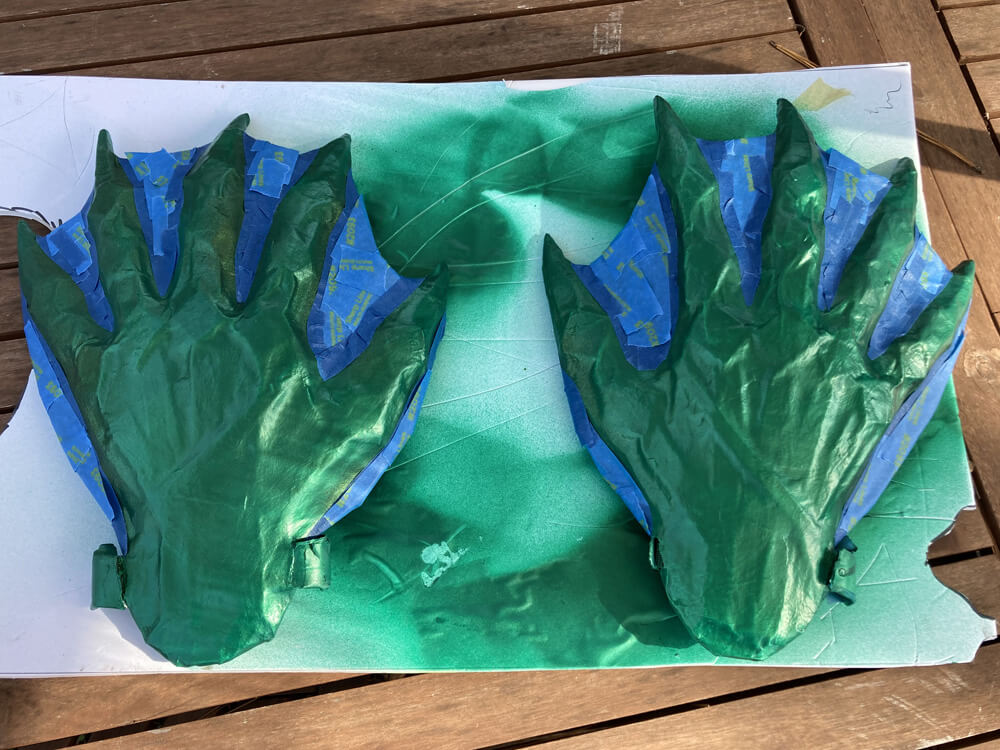
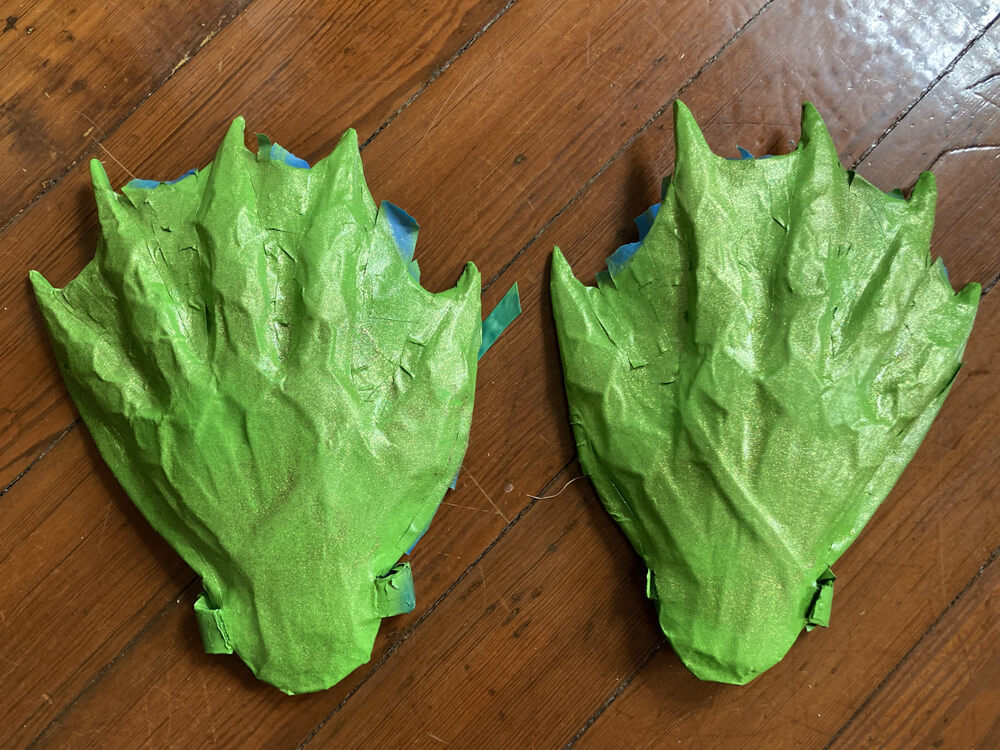
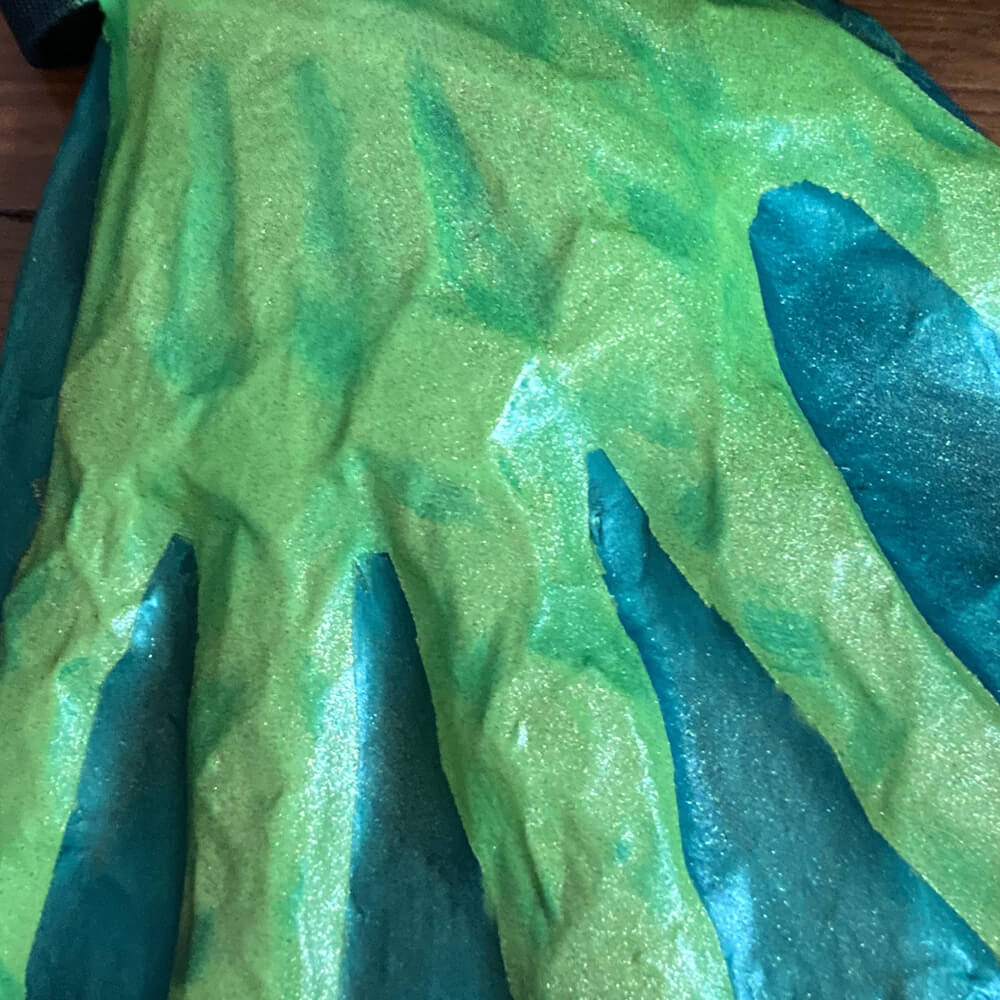
When that was all dry, I used blue painter’s tape to mask out the webbed areas, and then I sprayed the hands/fingers with my lighter green spray paint, let that dry, and then did the same area with lighter green/gold spray glitter. When that was dry, I sprayed all this with glitter sealer.
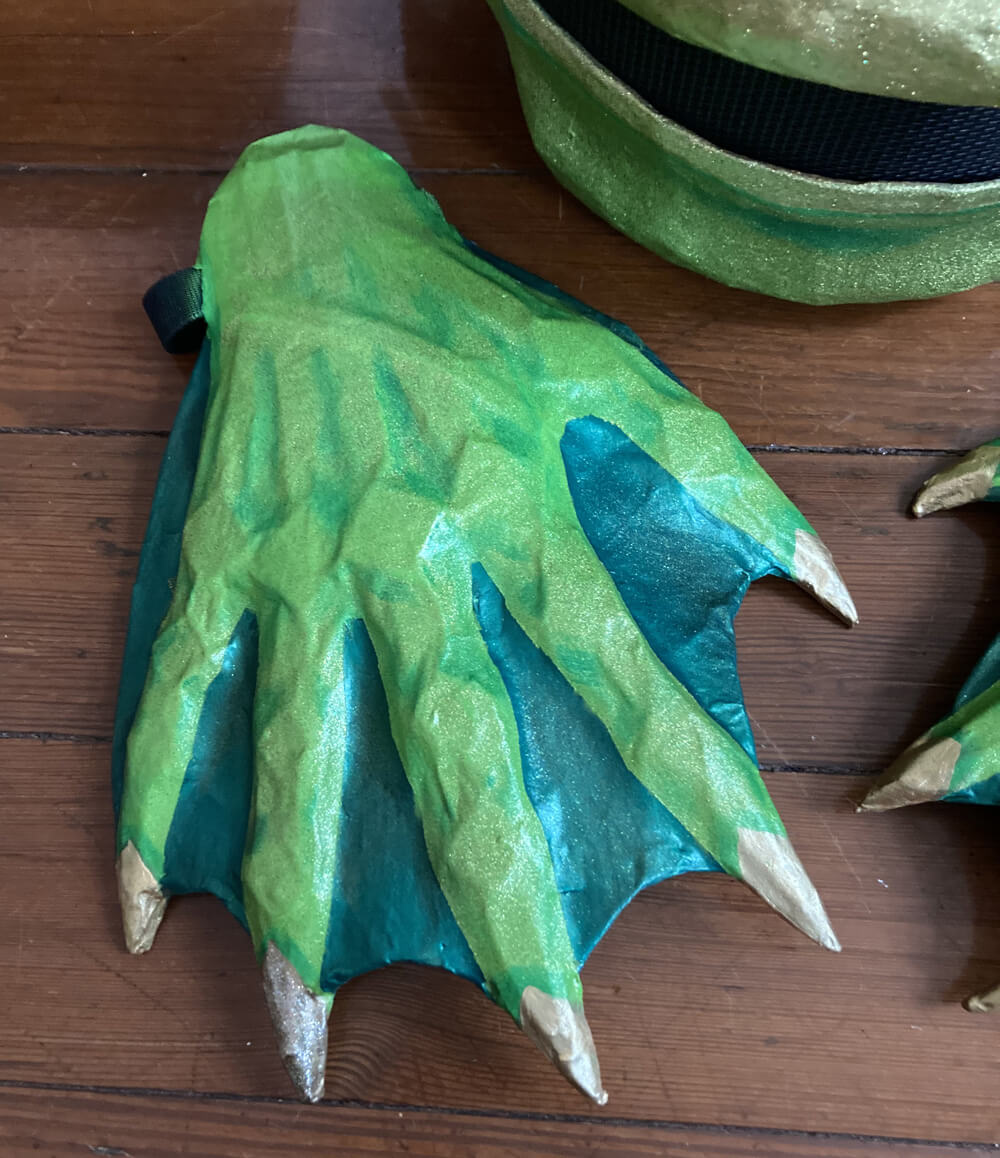
I used a darker green acrylic paint for the shadows all over the hands; my technique for this is to use a stiff brush, get very small amount of paint on it, then brush the paint onto a piece of cardboard to get 99% of it off, until there’s no liquid paint on the brush at all, and then I use the brush to smudge paint onto my surface, making nice soft shadows. If the paint going onto the surface is wet enough that it can be moved around, you’re doing this wrong. This technique is less like painting and more like dirtying up the surface.
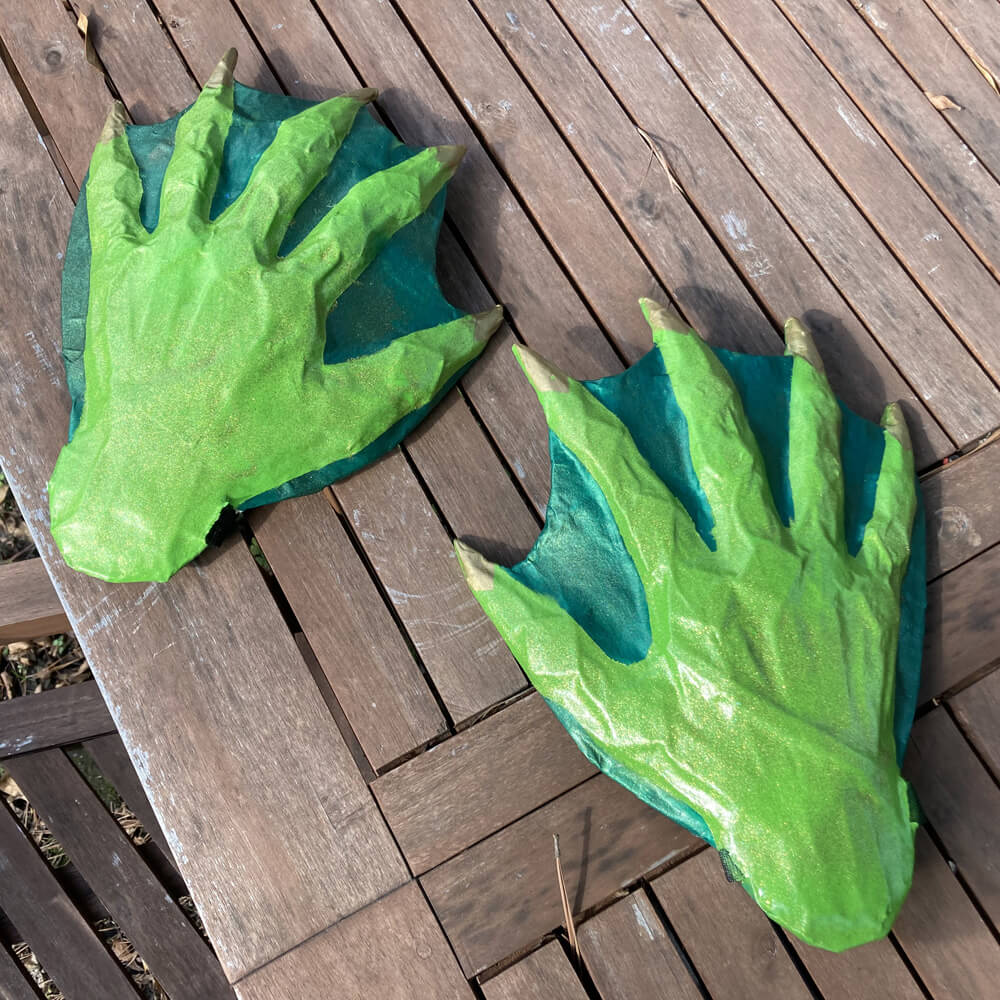
Oh yeah, I painted the claws by hand with gold acrylic paint.
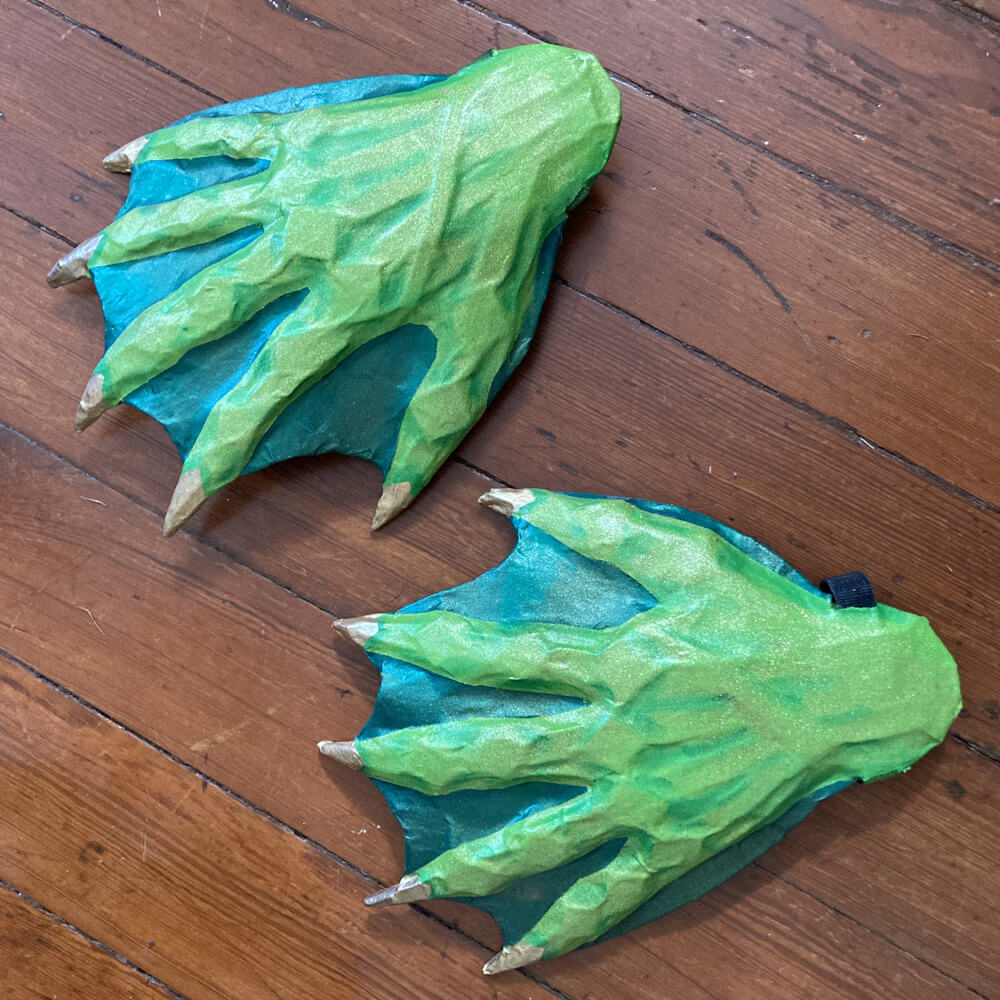
Here’s a close up of the glittery surface. Done! These hands ended up being surprisingly lightweight and comfortable.
Next up: making a scaly green suit!

 About Manning Krull
 How to make a 4-foot paper maché alligator
 My violin skull mask, Mardi Gras 2015
 Three-headed paper maché dragon sculpture
Leave a comment