
Making a scaly suit for my Creature from the Black Lagoon costume
Published by Manning on March 8th, 2023
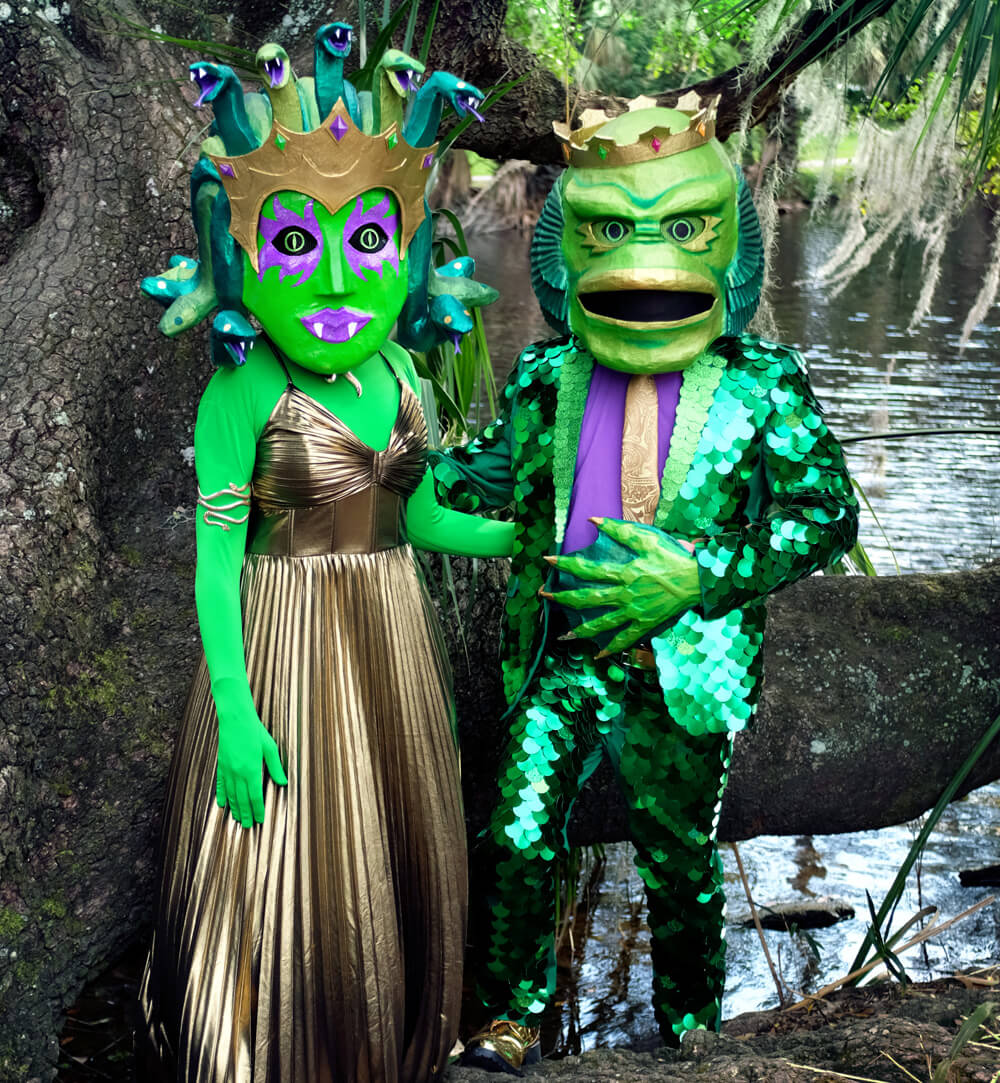
I made this shiny scaly men’s suit for Mardi Gras 2023 for my “Creature from the Black Bayou” costume!
I made the scaly suit with shiny metallic paper and hot glue, and I want to stress right away, this is not the best way of doing this! A much better way to make a suit like this would be with fabric or vinyl or some other kind of flexible plastic for the scales, and by sewing the scales onto the suit, either by hand or with a sewing machine. I chose this quick and dirty method for several reasons:
1) I don’t got a sewing machine and I wouldn’t know how to use it if I did.
2) I can sew by hand but I’m very bad at it and very, very slow.
3) Cutting out thousands of paper scales is way faster than cutting out thousands of fabric scales (you’ll see why coming up).
4) Paper is way cheaper than fabric.
5) Hot glue is way faster than sewing.
6) This is a costume I’ll probably only wear once or twice and it’s no big deal if it doesn’t last very long.
So I think my method is a good solution if you’re looking to save money and time and you don’t need a suit that will be very durable. Anyway, here’s how I made the thing!
I started by buying a cheap green suit (paid link), and I specifically made a point of buying one that’s a little larger than what I would normally wear, because I was concerned all the hot glue might make the fabric a little less elastic than it would normally be. I learned this lesson the hard way many years ago when I painted bones onto a pair of black pants with acrylic paint; the paint for the pelvis made the pants much less elastic and I couldn’t get into them! I had to cut the sides and sew panels in. Dumb.
I bought a few kinds of paper: a large quantity of thick metallic green paper, and a much smaller quantity of some other shades of green with glitter on them. The metallic green would be the main color/texture of the suit, and I wanted to use the sparkly paper for accents here and there. I found all these types of paper at Michael’s.
I ordered a hole punch (paid link) that makes circles that are 1.25 inches in diameter. I already had some smaller hole punches in various weird sizes which would prove to be useful too…
Note: the metallic paper I’m using is kind of thick but it’s pretty easy to use the hole punch on. The sparkly paper, on the other hand, is a lot harder to punch through.
I tried to figure out how I could get the most scales out of one piece of paper. To do this, I actually didn’t punch out full circles for the scales; I left the hole punch a tiny bit off the edge of the paper each time, so each scale is a circle with a little missing piece on one side. This allowed me to get a full extra row of scales out of each sheet of paper. The missing piece in each scale would be hidden behind the row of scales above it, so this worked out fine and I saved a few sheets of paper.
Anyway, I was able to cut 56 scales out of each sheet of paper — seven rows of eight scales.
I started with the back of the jacket, since it was the biggest and flattest and most square shape. I laid the jacket down flat on my craft table. In order to keep the rows of scales nice and straight, I used some very skinny 3/8″ blue painter’s tape (paid link) to lay out horizontal lines across the back of the jacket. These lines weren’t meant to be the actual lines where the scales would get glued; they were just a visual reference to help keep me going in nice straight lines. I placed the lines of blue tape about three inches apart.
Gluing the scales onto the jacket
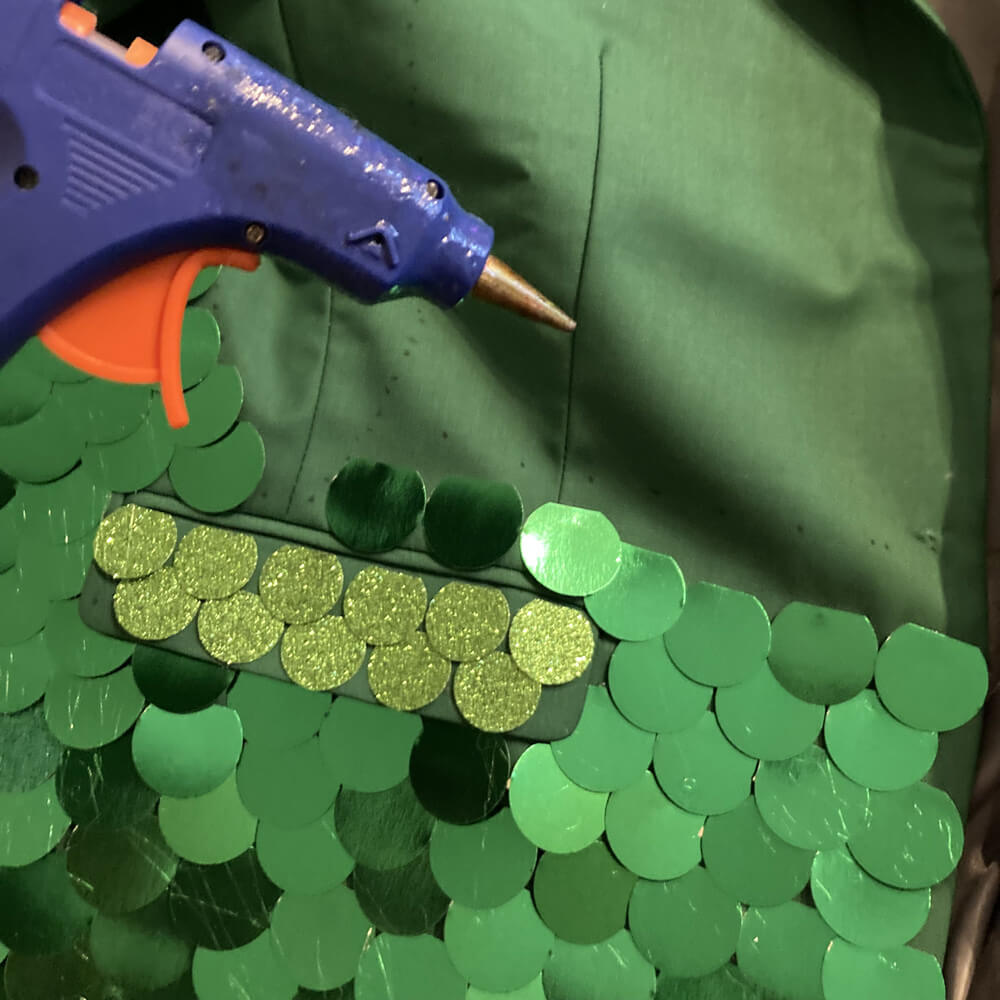
I started at the bottom edge of the jacket, since scales overlap each other, with each row overlapping the row below it. I hot-glued a row of scales in place, and for this job I used Gorilla Glue hot glue sticks (paid link) because I wanted these connections to be as strong as possible. I usually buy very cheap hot glue sticks in bulk and they’re fine for most projects where I’m attaching things like paper to paper. For this project I was happy to spend the extra money on Gorilla Glue sticks and have the peace of mind that the scales will probably/hopefully not fall off — or not too many of them will fall off — while I’m out parading in this suit.
So of course after gluing the first row of scales in place, I did another, and another, working my way up. Whenever a new row got close to a line of tape on the jacket, I’d simply peel that tape off and discard it. The tape really did help me keep my lines straight and even.
I made up a system for myself of using the sparkly scales here and there. For the back of the jacket, I used one sparkly scale per row, placed in random places.
I started with the back of the jacket since it’s the biggest flattest surface of the suit. Covering this area was pretty easy, and I learned some lessons that would come in handy for the rest of the suit.
Once the back was done I worked on the arms, which were much, much more complicated. I stuffed a bunch of foam tubes in the arms to try to stretch them out and give me a somewhat sturdy surface to work on, but it was still really complicated. Oh yeah, and I decided to cut the buttons off the cuffs of the sleeves; easier than working around them.
I then worked on the front and sides of the jacket; this wasn’t too bad. At this point I realized the one big button that closes the jacket would also get in the way, so I simply cut it off; I just wouldn’t be able to close the jacket, and that’s fine.
I figured I needed to leave a couple parts of the jacket un-scaled, like the parts that are likely to rub against each other when I walk around and do other normal stuff. So, basically the interior surface of the arms, and the sides of the jacket where the arms hang. I marked these areas with the same blue painter’s tape and worked around them.
Lapels
I decided for the lapels it would be cool to use the slightly lighter sparkly green paper. I already had some smaller hole punches — 3/8″, 1/2″, 3/4″, and 1″, and I strategically used these to make smaller scales to fill up the more narrow/pointy parts of the lapels.
Jacket pockets
I wanted to make sure the front pockets of the jacket remained opened and usable, so I covered the flaps with scales in such a way that the flaps can still flip upward.
Pants
For the pant legs I simply worked my way up from the bottom, using the same technique with the blue painter’s tape to keep my rows of scales nice and even.
I thought about what parts of the pants would need to remain un-scaled: basically the interior of the upper legs, so the scales down’t rub against each other when I’m walking, and I also decided to just leave the backs of the legs un-scaled, so I can sit down periodically (concluding with a car ride to get my drunk ass home).
I made sure to work around the side pockets of the pants so they’d still be open and usable.
I decided I’d be wearing a belt, so for the whole area where the belt would cover I just didn’t add any scales at all.
Math
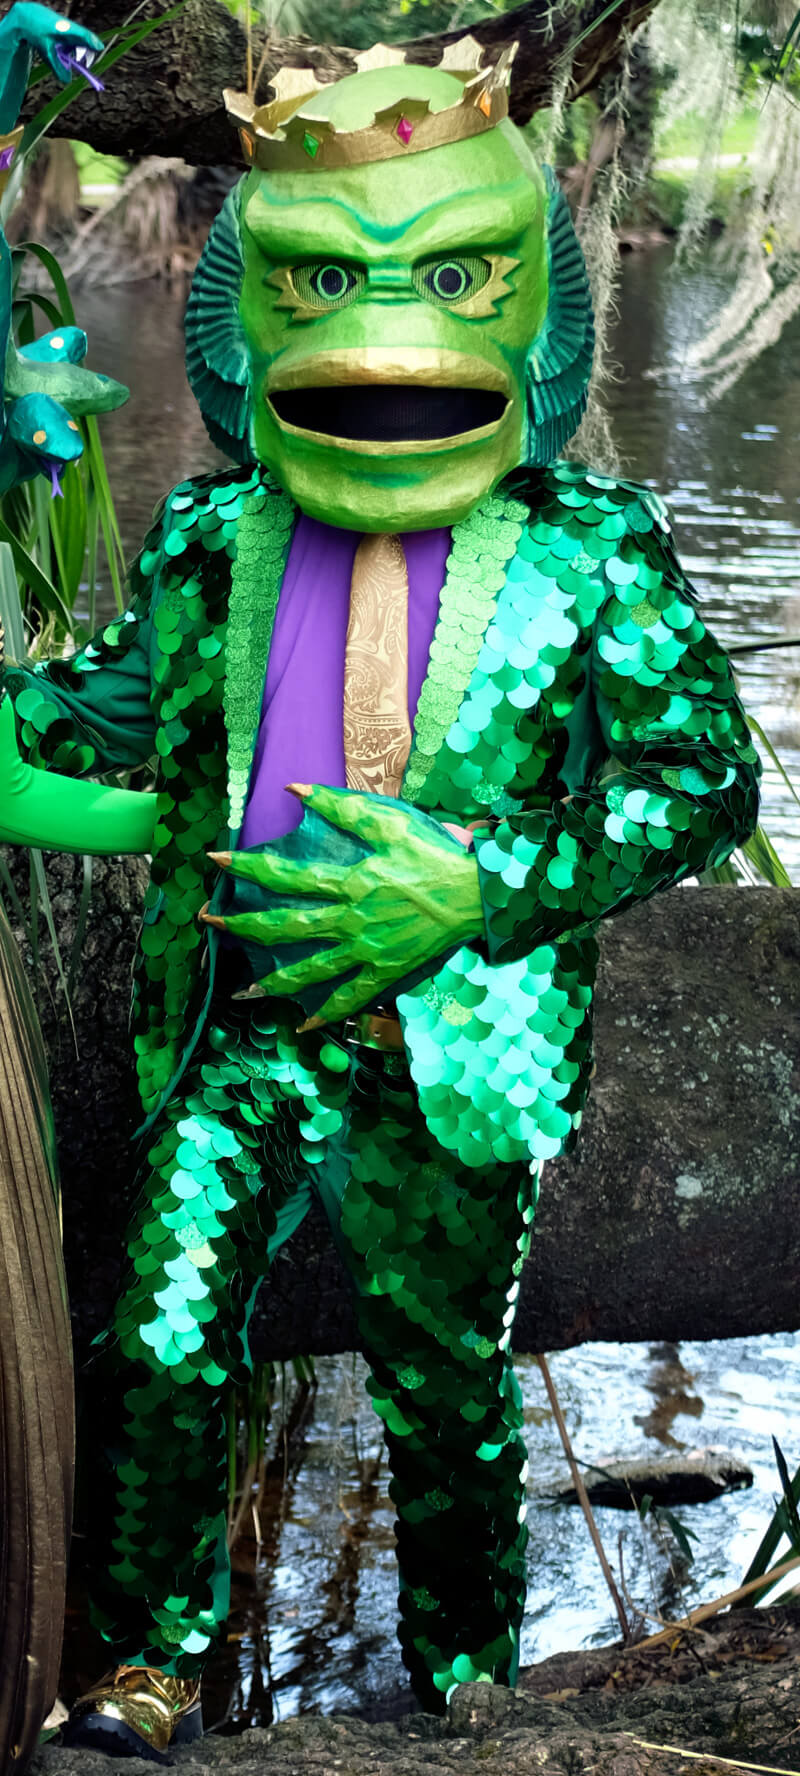
I did some rough estimates based on how much paper I went through, and I believe I used about 1,400 scales on the jacket, and 600 on the pants!
I was pleased to see that no scales fell off the suit during the course of my long Mardi Gras day, even with so much movement and activity. Wearing the suit was really fun and it got great reactions from a lot of people.
Next: making a crown for my Creature mask!
 About Manning Krull
 How to make a 4-foot paper maché alligator
 My violin skull mask, Mardi Gras 2015
 Three-headed paper maché dragon sculpture
Leave a comment