
Making a paper maché rifle and gun rack prop
Published by Manning on September 30th, 2019
I made this paper maché hunting rifle and gun rack as a wall decoration for my summer camp slasher movie Halloween party. It was easy!
I started by doing some image searches for old hunting rifles, to get an idea of the shape and size. I found an image I wanted to use, scaled it up in Photoshop and printed it out as several pages, then taped the pages together and cut the rifle shape out.
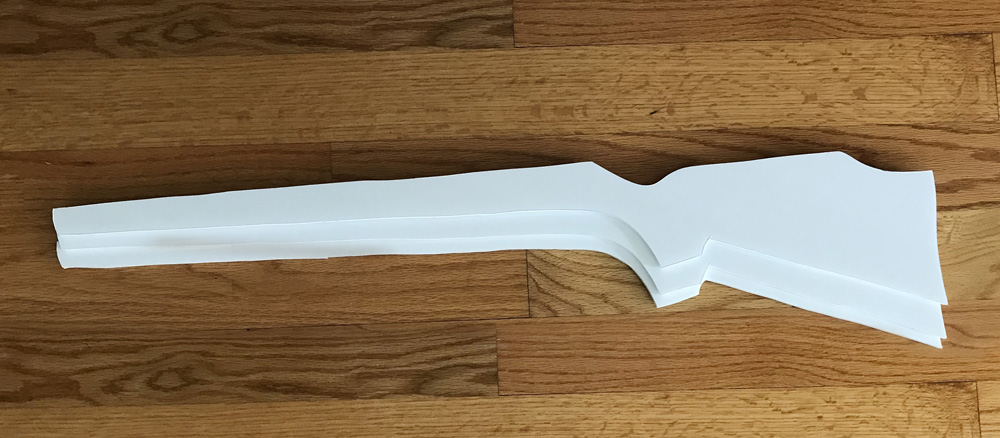
I traced the rifle onto foam board, minus the long barrel shape, and I left some negative space where the barrel will sit on top. I cut this shape out with an X-acto knife, and then I traced and cut out two more copies; you can see all three above.

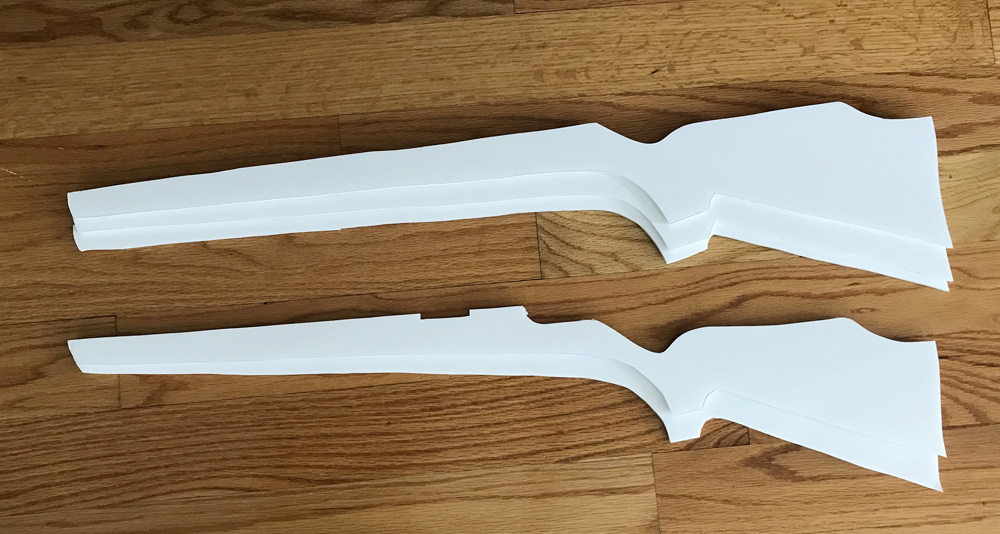
Next, I traced the shape again, but this time I drew a new, smaller outline about a quarter-inch inside the first one, and then I added an extra piece along the top; this extra piece is sort of a wall that will go on either side of the barrel. I cut this shape out, and then traced it cut out a second copy. These five shapes (below) make up the base for the rifle. The first three go in the middle, and the other two are the outer walls.
Barrel
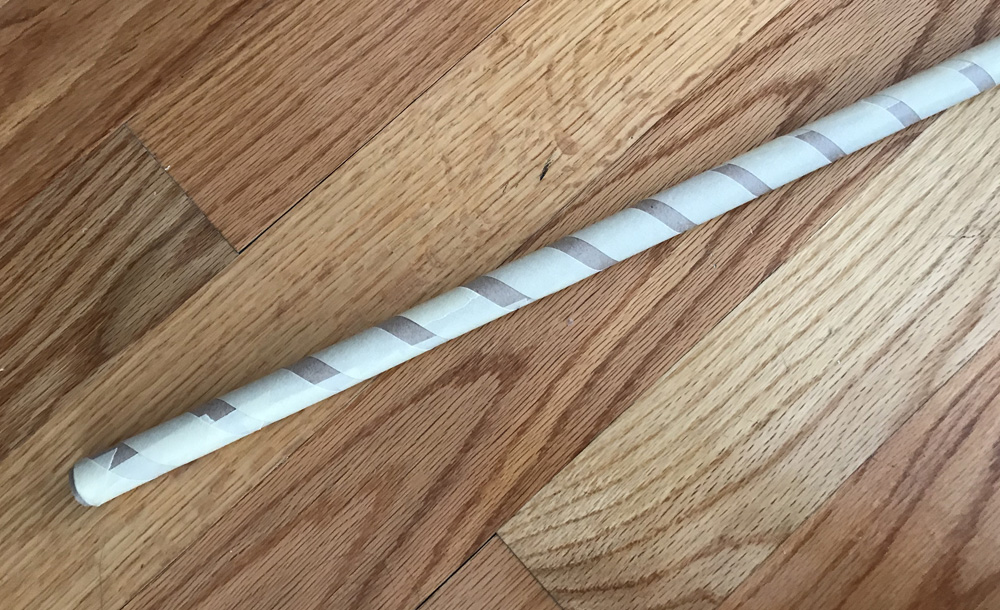
Switching gears here… I made the barrel out of the same brown wrapping paper that I use for paper maché; it comes in a big 30″ roll so I just cut off about a 12″ piece and rolled it up into a 30″ tube. I closed the tube up with masking tape and then I wrapped the whole tube with masking tape to make it a little more sturdy.
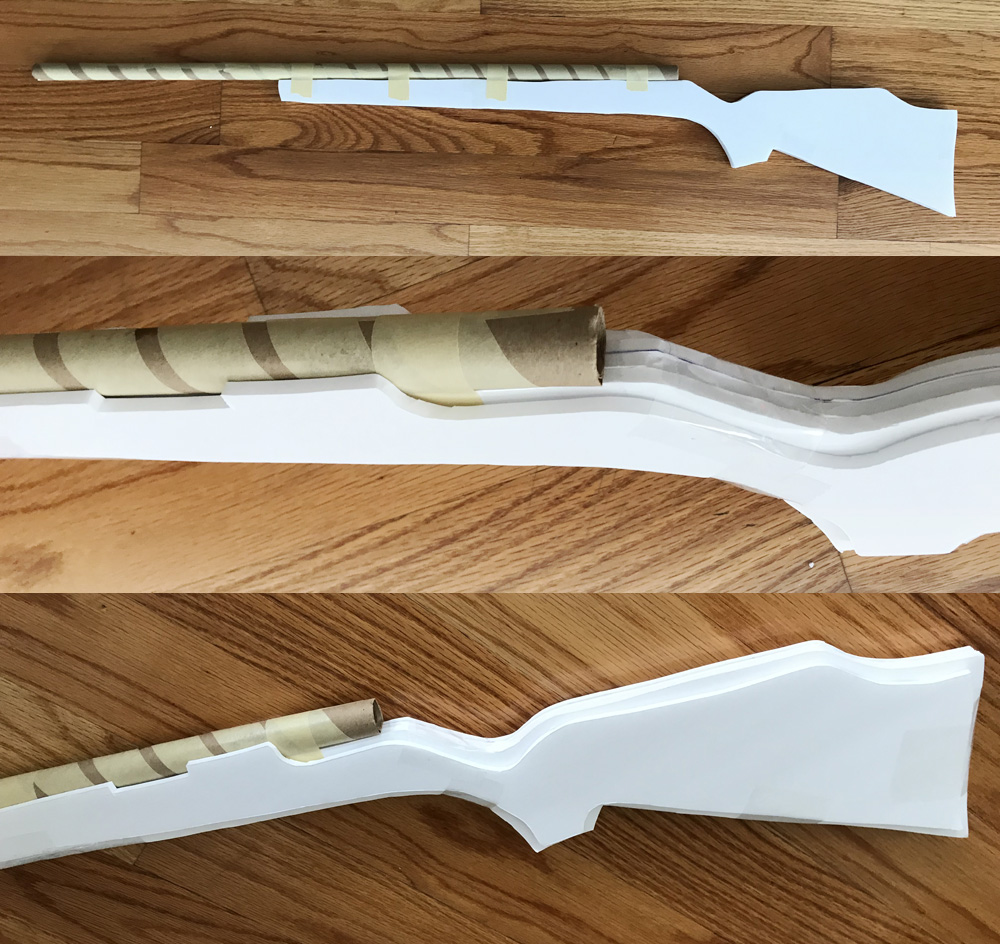
Going back to the foam board rifle shapes: I taped the first three together, and then I set the barrel on top of this and taped it in place. Then, I took the remaining two foam board pieces taped them in place along the sides.
I added a piece of craft foam at the back of the barrel to make that thicker part there. (The… uh… chamber? Can you tell I have no idea what any of these parts are called?) I added a couple little pieces of foam board on the top and bottom for some other details I saw in my reference pic; no idea what they’re for.
I cut out a notch from the side of the stock for where the bolt thing goes, and I made the bolt part itself out of foam board and tape, with a ball of aluminum foil for the round part on top. I didn’t attach this; I just set it aside for now.

I also made the trigger and the guard that goes around the trigger out of foam board wrapped in masking tape. I also set these aside.
(By the way, I don’t know anything about actual rifles so I’m sure I’ve got some of these shapes/parts a bit wrong; no big deal!)
Not shown: I covered the edges of the wooden parts of the rifle with two layers of masking tape. This helps smooth out those ridges where the layers of foam board are.
Paper maché
Time for paper maché! I covered this whole rifle in just two layers of paper maché; here’s some info about my paper maché process and materials. The short version is: I use Roman PRO-543 universal wallpaper adhesive (paid link) and alternating layers of newspaper and brown wrapping paper.

Separately, I covered the trigger, trigger guard, and bolt with one layer of paper maché using really tiny strips of paper. When these were dry I hot-glued them in place on the rifle, and added more paper maché to cover the connection points.
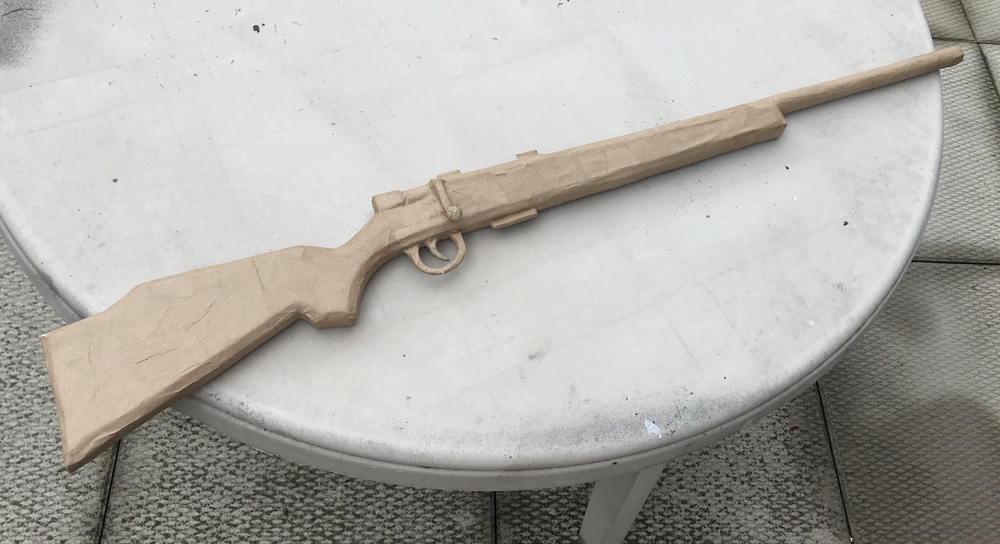
This rifle is just going to be a decoration hanging on a wall, so I only gave it two layers of paper maché. If this were going to be a costume accessory that someone would be carrying, I’d do more like six or eight layers to make it a lot more durable.
Painting
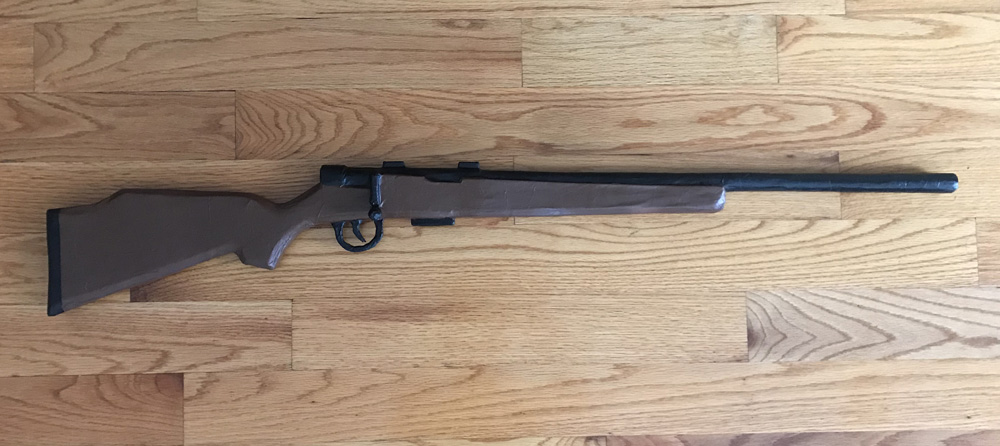
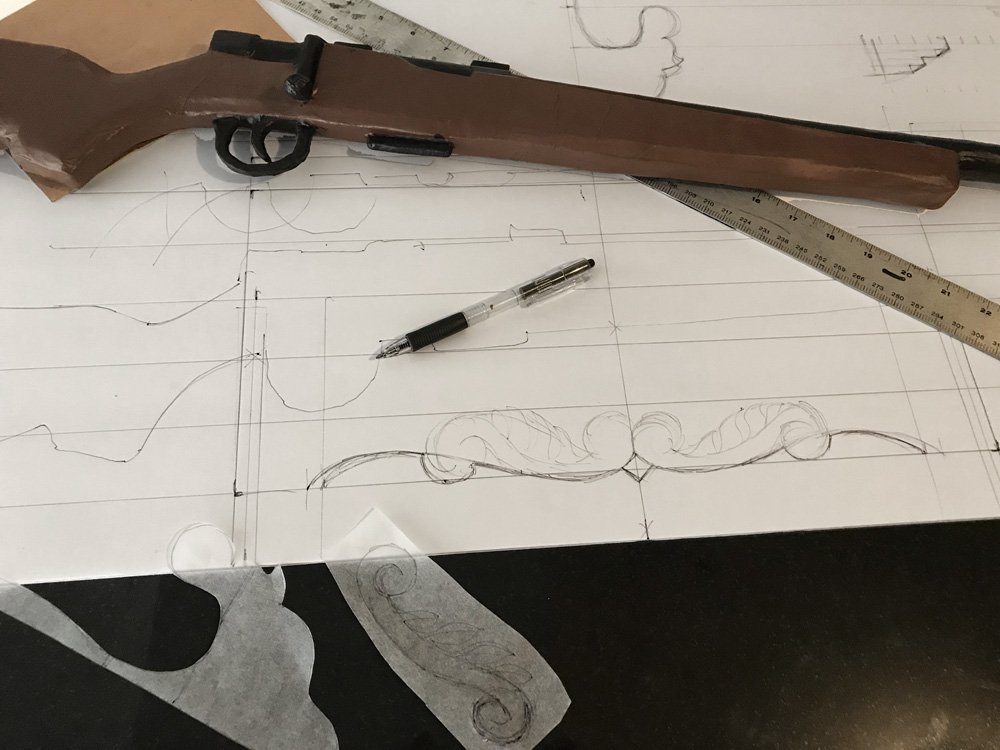
I spray-painted the rifle brown, and then I painted the metal parts by hand with black acrylic paint and a brush. Easiest paint job ever. And with that, this thing was done! This was a really easy two-day project; constructing the base and doing the paper maché one day, and painting the next.
This thing came out pretty good! I guess, if you ever wanna bust outta prison, just make sure you’re in art class with me! (And that I am in prison for some reason.)
Update: rack
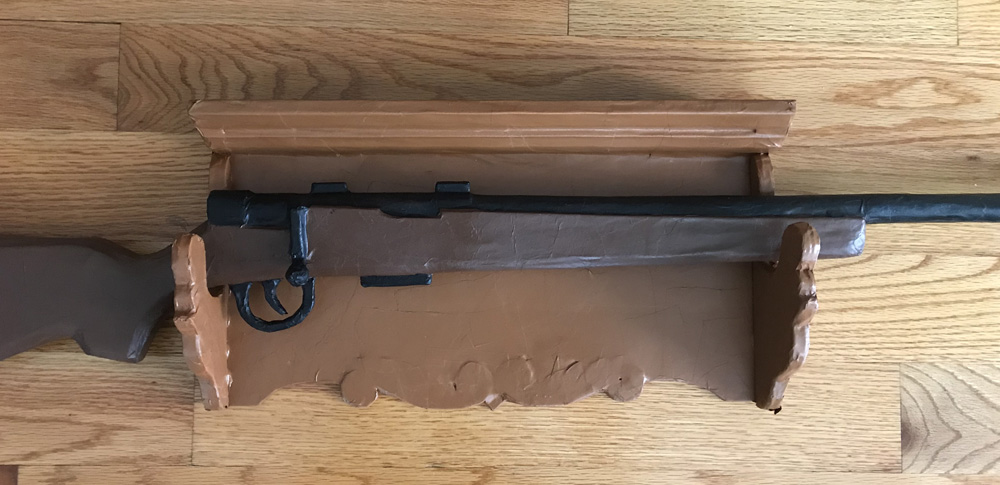
I also whipped up this rack to hang the rifle prop on the wall; it’s just foam board, tape, and paper maché. I went a little overboard with designing it…
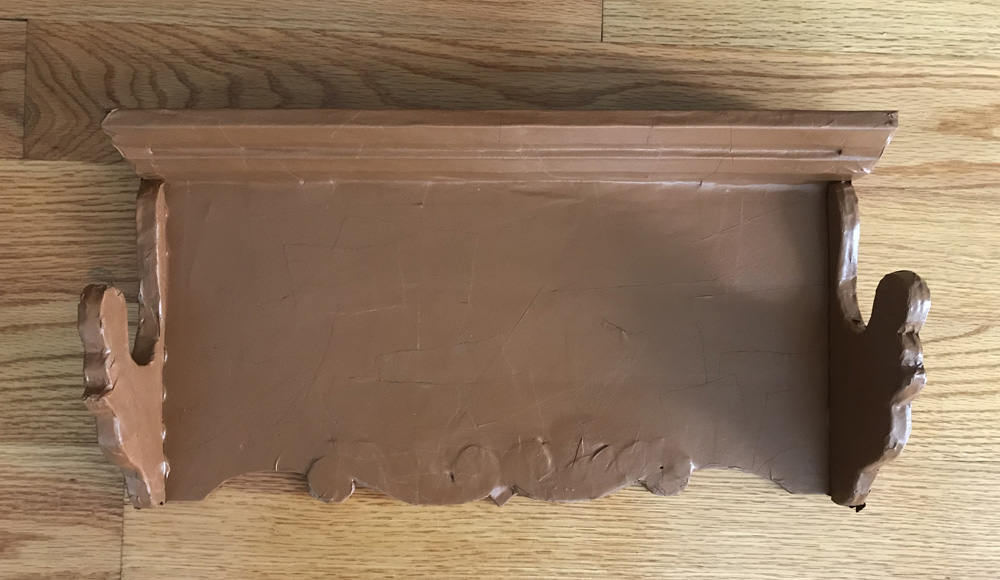
The plan is to hang this thing on the wall with thumbtacks, but it’s so lightweight I probably could even hang it with just lots of masking tape.
On to the next project!
 About Manning Krull
 How to make a 4-foot paper maché alligator
 My violin skull mask, Mardi Gras 2015
 Three-headed paper maché dragon sculpture
Leave a comment