
Ouija board wall decoration
Published by Manning on November 11th, 2016
For all my Halloween parties, I try to have at least one big decorated area that makes for a good backdrop for photos. This time our main photo area was this big ouija board wall decoration. It was really easy to do and ended up in a ton of our guests’ photos.
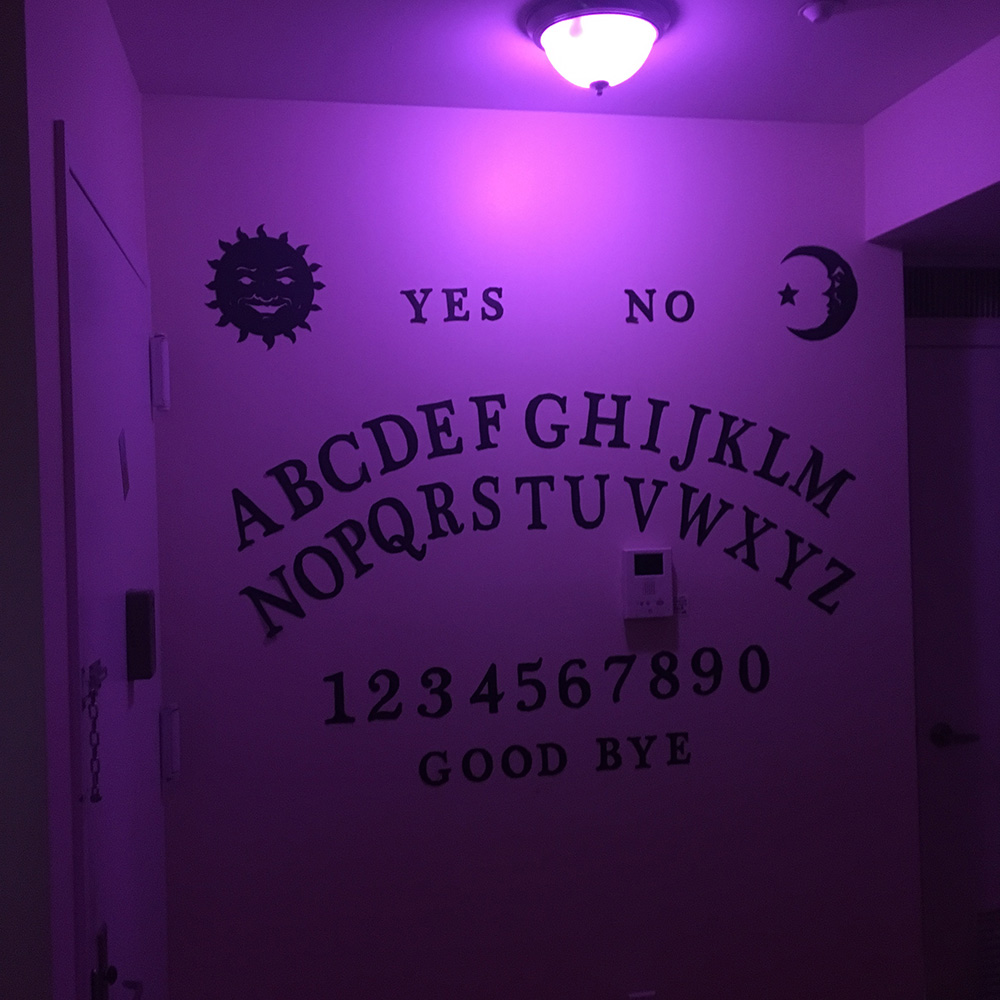
The letters and shapes are all cut out from black poster board. I photographed and measured the wall, and designed the arrangement of the letters in Photoshop to fill up the space nicely. Here’s what that looked like:
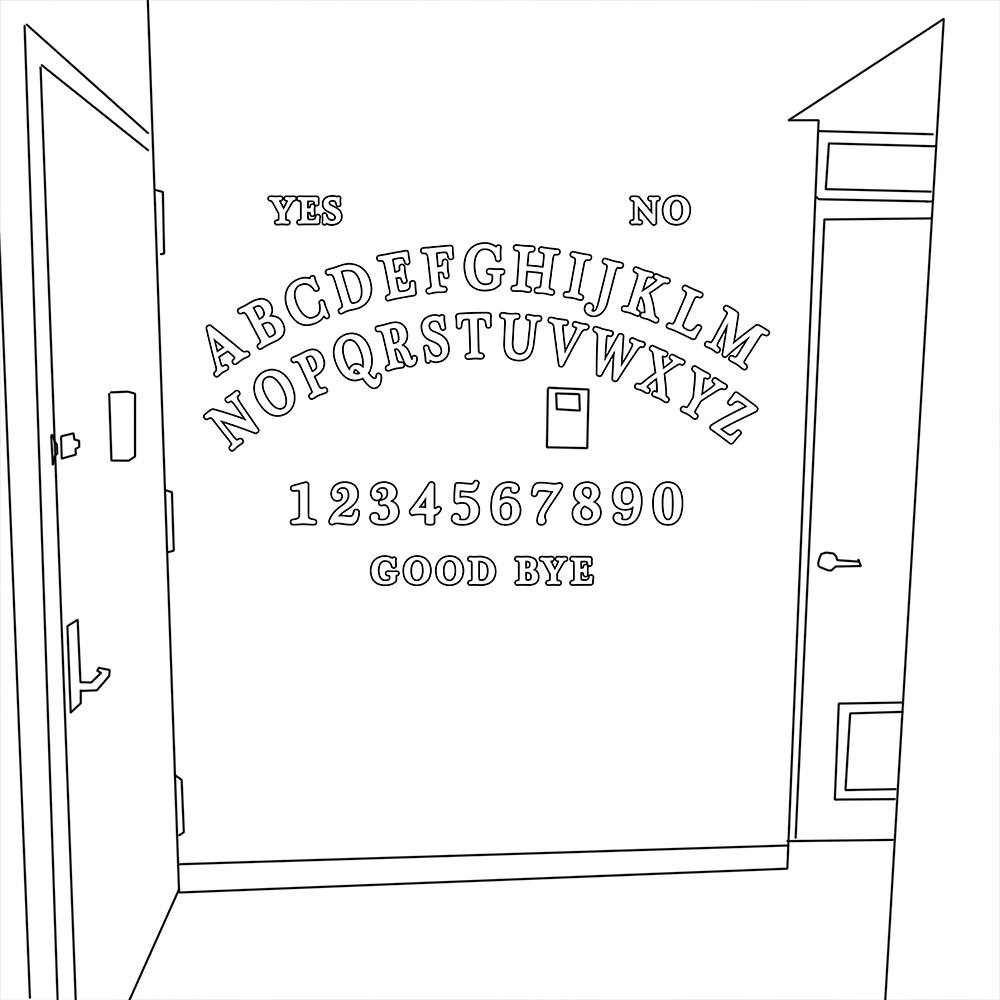
(It sucks that the little door monitor is right in the center of the wall, but no big deal.)
I then arranged all the letters into 8.5″x11″ pages and printed them out to use as a guide for cutting out the poster board. I made a pdf of that, which you can download here if you want. I didn’t include the sun and moon in this pdf; I drew those by hand right on the poster board.
To cut out the letter shapes on the poster board, I put down two sheets of foam board to protect my dining room table, laid down the poster board on that, and then laid the printed out pages over that. I held the printout down with one hand and carefully cut out the letters with an X-acto knife, making sure to go all the way through the poster board into the foam board; if you don’t press hard enough the shapes don’t get cut out completely and you end up tearing them when you try to punch them out. All of this was physically pretty demanding and really wore out my arms! But eventually I had all the letters cut out.
I marked the back of the letters with a white grease pencil as I cut them out, to keep track of which side was the front and which end was up. I simply marked a small white arrow at the top of each letter, pointing up. If you don’t do this, it’s easy to start getting confused about which way things go. A few letters are easy to accidentally get backwards or upside down, and in some cases you can’t tell, but in some cases they look a little off. So marking them helps avoid that.
Once all the shapes were cut out, my fiancee and I attached them to the wall with masking tape, using my sketch as a guide for where everything should be, relative to the walls.
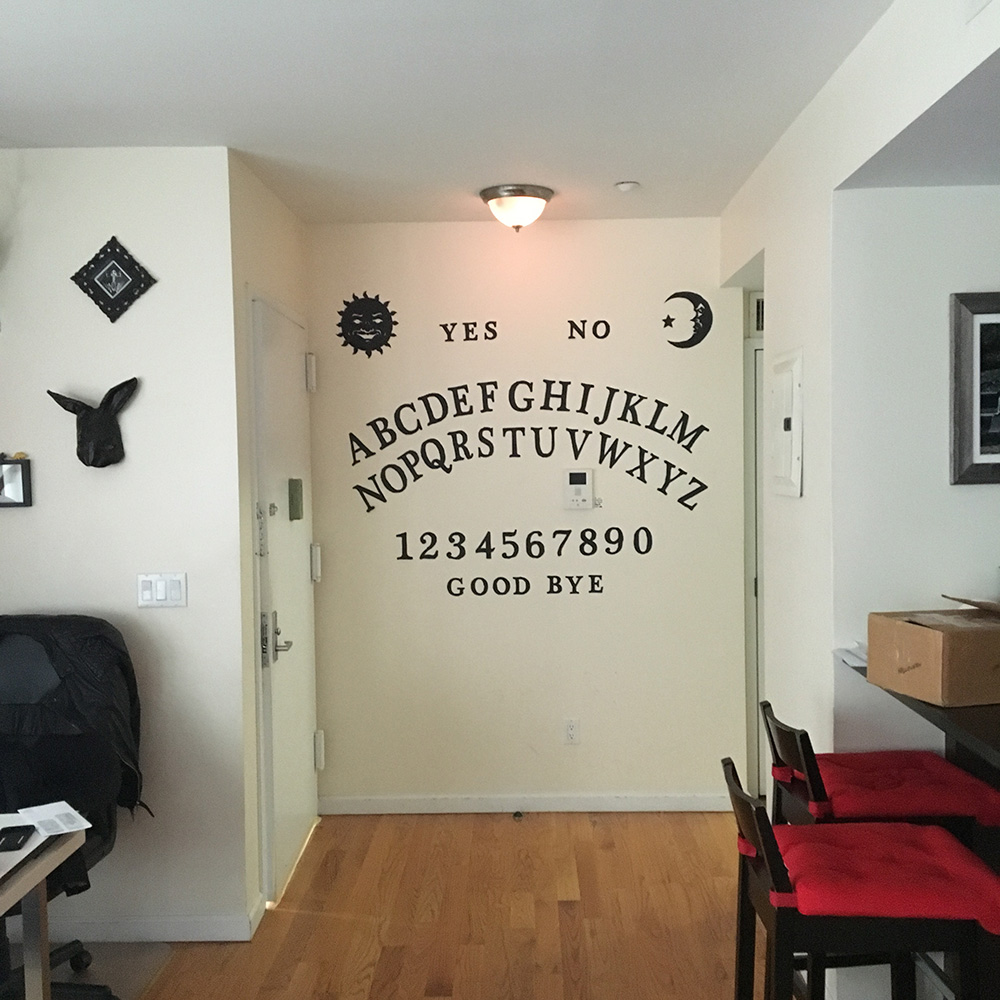
The easiest way to evenly space out a bunch of things like this is to start with the middle letter, then do the far left and far right letters, then carefully fill up the empty space with all the letters in between. We didn’t need it to be perfect, but we got it pretty close! Good enough for a haunted apartment.
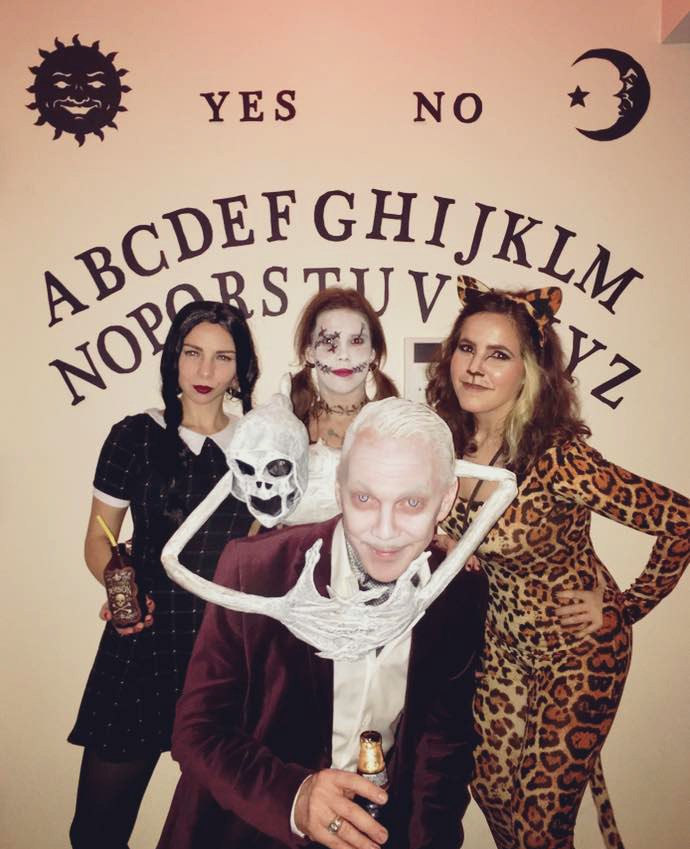
Fun!
We liked how this thing looked and we were tempted to keep it up all the time. But I’ve learned that the longer you leave masking tape on your walls the more likely it is to peel off the paint when you remove it, so we took all of this down about a week after the party. On to next year!
 About Manning Krull
 How to make a 4-foot paper maché alligator
 My violin skull mask, Mardi Gras 2015
 Three-headed paper maché dragon sculpture
May 10th, 2020 at 6:06 pm
Can I pay u too make this for me I don’t have photoshop
May 11th, 2020 at 9:54 am
Hi S! Sorry, I’m in quarantine with no printer! :(