
My process for writing and drawing comics
Published by Manning on January 2nd, 2017
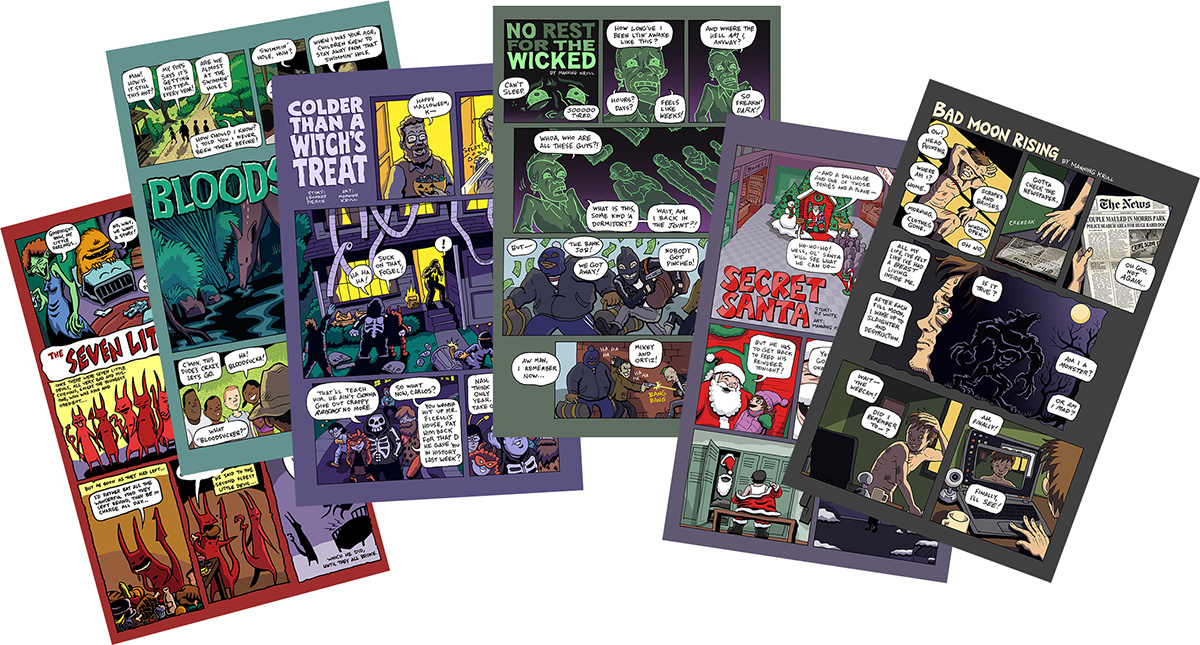
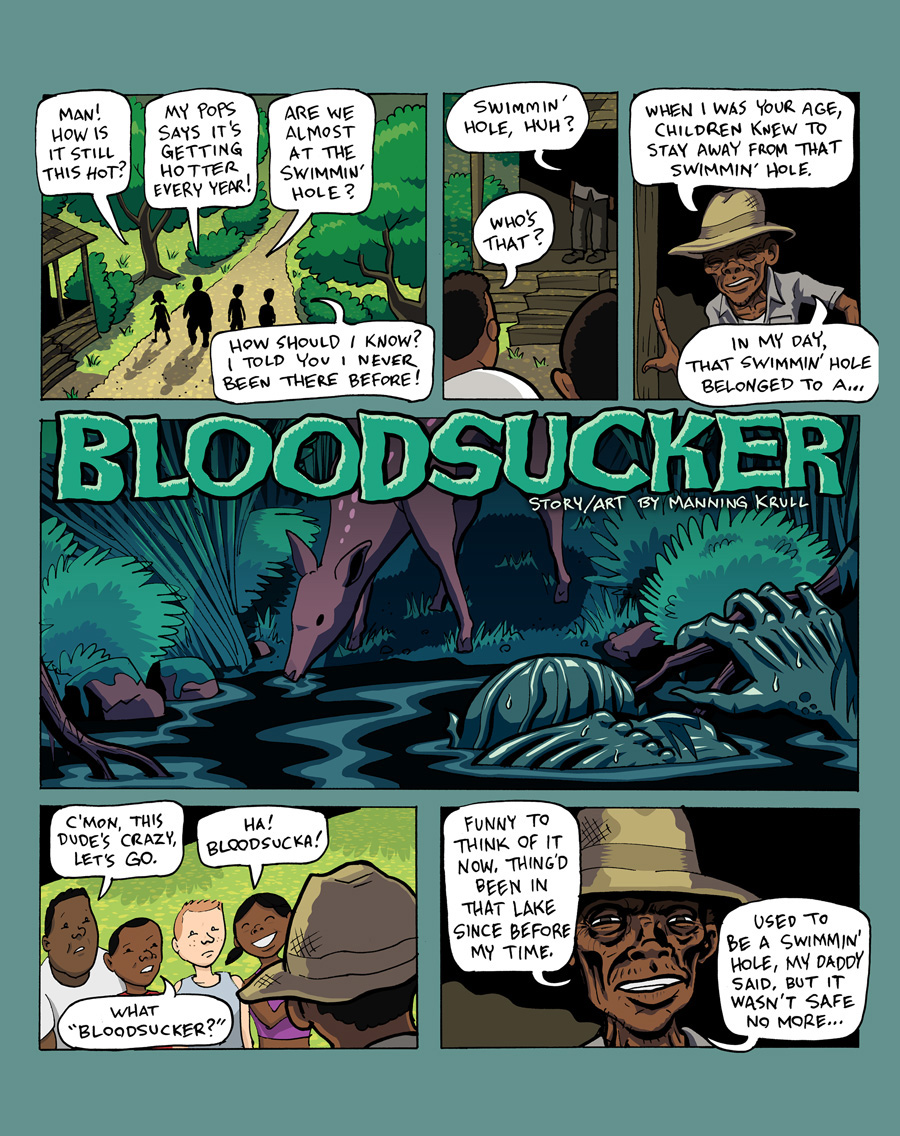
Okay, a change of pace today! Instead of paper maché and stuff, I’m going to write about my process for writing and drawing and coloring comics, since it’s something I get asked about a lot, and this is the place where I write about my processes for various art things. For reference, you can see a bunch of my comics in my illustration portfolio.
Of course there are other ways of organizing a comic project, but this is the rhythm I fell into many years ago and I’ve basically worked this way on all the comics I’ve ever done.
Concept and script
I get my ideas for comics when I’m doing anything other than trying to make comics — particularly when I’m out on a long early-morning run; all kinds of weird ideas pop into my head, and I’ll actually workshop and refine a comic idea over many runs over many days. It really helps pass the time and my brain is in some kind of perfect state for exploring different ideas and trying different ways to solve different problems in a story.
Once I’ve got my basic concept and storyline figured out, I’ll sit down and actually turn it into a script. I type up my scripts in Word or whatever, and go through several rounds of tweaks.
Basically I start out writing my script as a long stream of dialogue and narration, with every sentence broken onto its own line. I then group those lines into panels — does person A say her line in panel 1, and person B says her line in panel 2, or do they both say their lines in panel 1? I think through these situations and figure out what makes the most sense, and group the lines accordingly. I may also include little bracketed descriptions of the panels, just for my own reference, so I can picture what’s happening.
I arrange these groupings into a numbered list in Word, so all the panel are numbered. That way I can figure out how many total panels are in the story, and I can figure out where I want to break up the pages. Using a numbered list (you know, like a bulleted list in Word but with numbers) is better than just typing numbers in front of the panels, because if you add or remove a panel, all the numbers all adjust accordingly.
In refining the script I actually try to remove as much as possible from my first draft. I believe less is more for almost all situations in comics. The more efficient you can be with fewer lines and fewer panels, the better. Keep things moving, and get to the point.
Once my dialogue is pretty much locked into a list of panels, I figure out where the page breaks are. I try to keep each page from about four to six panels long. Of course, you might want a giant panel for something really important, so you end up with just two or three panels on a page. You might want to show a lot of tiny scenes of simple action happening, and you might want to do that in eight or ten small panels on a page. Four to six is just my rule of thumb.
It’s also important to consider where your page breaks are, story-wise. It’d be weird to start a brand new scene halfway down a page; better to start it on a new page. It’s weird to have a big reveal happen mid-page; better to throw that on a new page too. Back when I was doing comics for print, I’d pay very careful attention to not just where the page breaks were but where the actual page turns were. If you’ve got a big reveal, you don’t want it at the top of the right-hand page; the reader will see it as they’re reading the build-up on the left-hand page. Better to arrange to have the reveal happen when the reader turns the page, i.e. keep it at the top of a left-hand page. Anyway, nowadays all my comics are digital so this is no longer really a consideration.
So, finally, I’ll arrive at a finished script with all the dialogue, narration, and panel descriptions all locked into panel numbers, and I know exactly where all the page breaks are and how many panels are on each page. Time to start drawing!
Storyboard
I sketch an extremely rough storyboard with just stick figures and boxes, and blobs for where the dialogue will go. If a story is, let’s say, eight pages, I’ll sketch all eight pages on one page of a sketchbook; tiny! You don’t need room for any details and it’s helpful to see all the pages roughly laid out together.
So let’s stick with the example of eight pages; that’s eight rectangles on the sketchbook page, one for each page.
I’ll look at my script and see how many panels are on page one; let’s say it’s five.
So now I have to figure out how those five panels are arranged on the page; are they in three rows, with two panels and then one and then two? Or two rows with two vertical panels on top and three smaller ones below? It all depends on what’s happening in the script. It’s fun to find the right balance of panel size to go along with how important or complicated in the action is in each of the panels. It’s important to keep in mind that the text takes up a lot of space on the page, so if a panel has a ton of text, you’ll need to make it a large panel.
Often it’s necessary to make the first panel of any scene a big one, to give it plenty of room to establish the location and background and other details; then the subsequent panels don’t need much background (and can be smaller) because we know where the characters are. Make sense?
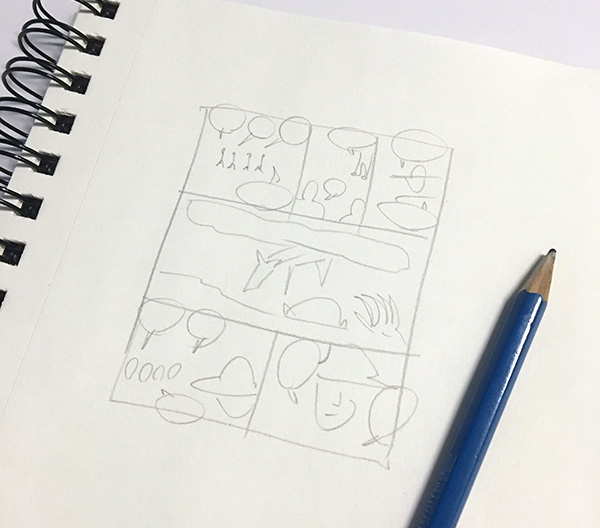
So, page by page, box by box, I figure out how all of the panels will be arranged and what their relative sizes will be on the pages. Just stick figures and boxes and blobs.
(By the way, if you’ve never heard of Wally Wood’s 22 Panels That Always Work, do yourself a favor and go check that out NOW!)
Setting up the real pages
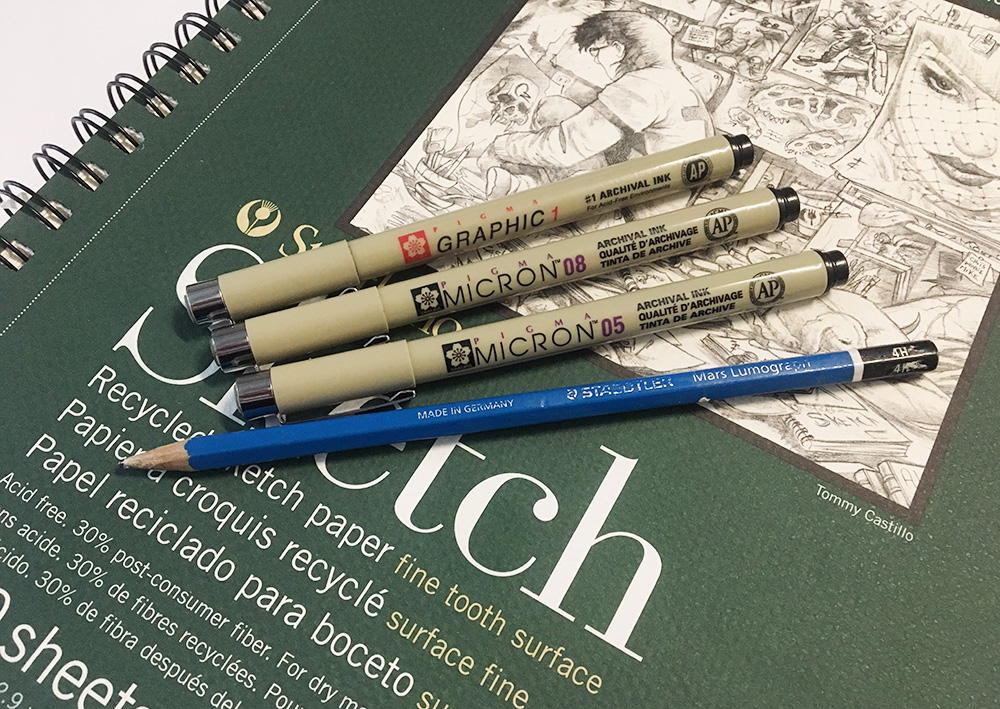
Let’s talk about art supplies real quick. I draw my comics on 11″x17″ bristol board. (I usually have to buy 14″x”18″ and cut it to size.) I use very hard pencils that leave very light lines — usually 4H or so. I use Pigma Micron pens (mostly 08, sometimes 05 and 03) and Pigma Graphic Pens (1) for inking. I use a kneaded rubber eraser to remove my pencil lines. Other than a ruler, and a piece of sketchbook paper to protect my page from my hands sweating, that’s about all I use!
Here are my basic steps for setting up a page:
With a ruler and pencil, I draw the overall page border: a 10″x15″ box, which leaves a one-inch margin on the top and bottom and a half-inch margin on the left and right.
Then with a ruler I pencil in the panel borders. I don’t usually measure these, but I base the relative sizes on my rough sketches from the storyboard.
I then sketch in blobs for where the word balloons and narration boxes will go. I often allow these to break out of the panel borders a bit and stick out into the gutters. I’ll sketch in stick figures for the characters as well, to make sure everything fits and looks pretty balanced.
Lettering
Then I move on to the lettering. I’ll lightly sketch in all the text with a pencil, just to figure out where to break up the lines, and then I do the real lettering with a size 08 Pigma Micron pen. I’m a big believer in hand-drawn rather than digital lettering. After the text is done, I’ll draw my word balloon around it with the same size pen.
Inking the panel borders
When all the lettering is done, I grab my ruler and ink in the panel borders with a size 08 Pigma Micron, being careful to skip over the areas where the word balloons flow outside the panels.
Drawing the action
Now that the panel borders and all the text and word balloons are finalized, I can fill in the remaining space with the characters and background and action. I use my hard-lead pencil for this and sketch everything in, this time with a lot of detail.
After penciling the whole page, I ink all the panels with my Pigma Microns and Graphic Pens.
I let the ink dry for a good 15 minutes or so, and then erase all my pencil lines with a kneaded rubber eraser.
Scanning the page
I scan my finished inked page with a flatbed scanner. My scanner isn’t big enough to scan a whole 11″x17″ page at once, so I carefully scan each page in two pieces.
I scan my artwork at 600 dpi, as black and white art (not grayscale). You want the scan to be just black and white pixels, with no gray tones. This is important for coloring in Photoshop.
I merge the half-pages in Photoshop and clean them up — removing any little specks of dirt that got scanned, fixing any little jagged lines that I screwed up when inking, etc. I save the pages as psds.
Coloring in Photoshop
I do all of my coloring in Photoshop. I just use a mouse rather than a Wacom tablet.
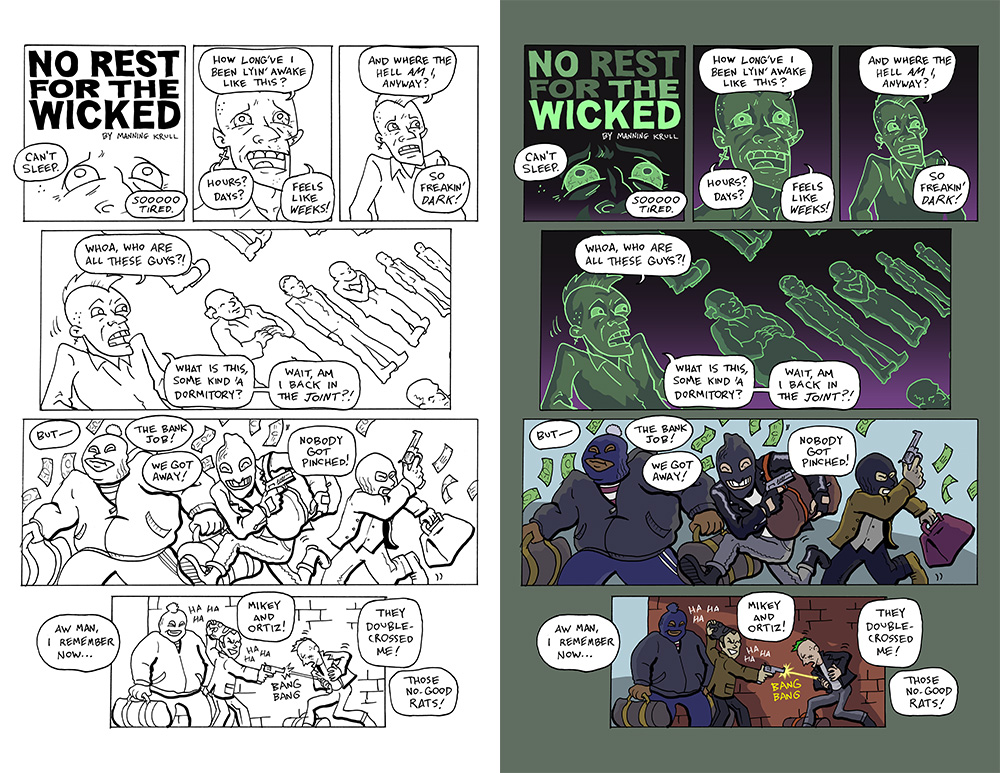
It’s important to note that all of the tools I use for coloring are set to be non-anti-aliased and have a tolerance of zero. You want to retain the perfect black pixels of your line work, rather than have the edges get blended as you color. When you resize everything at the very end, then all of the edges can get blended and look a lot smoother.
My basic steps for coloring are:
- Fill in all shapes with the paint bucket tool (set to 0 tolerance, and anti-aliasing turned off).
- Draw shadows and highlights with the lasso tool (anti-aliasing turned off) and fill them in with the paint bucket.
- I might add a few gradients here and there. I do these on a separate layer so I can easily change or remove them if needed.
And that’s about it! When the page is 100% done, I save the psd, then flatten it and resize it. If it’s for print, I’ll resize it down to 300 dpi and save it as a tiff file. If it’s for the web, I’ll shrink it down to about 1000 pixels wide and save it as a jpg.
That’s pretty much it! You can take a look at my illustration portfolio to see a ton of comics I’ve created with this process. Good luck and let me know if you have any questions!
 About Manning Krull
 How to make a 4-foot paper maché alligator
 My violin skull mask, Mardi Gras 2015
 Three-headed paper maché dragon sculpture
Leave a comment