
Repainting a miniature Halloween gazebo
Published by Manning on August 27th, 2017
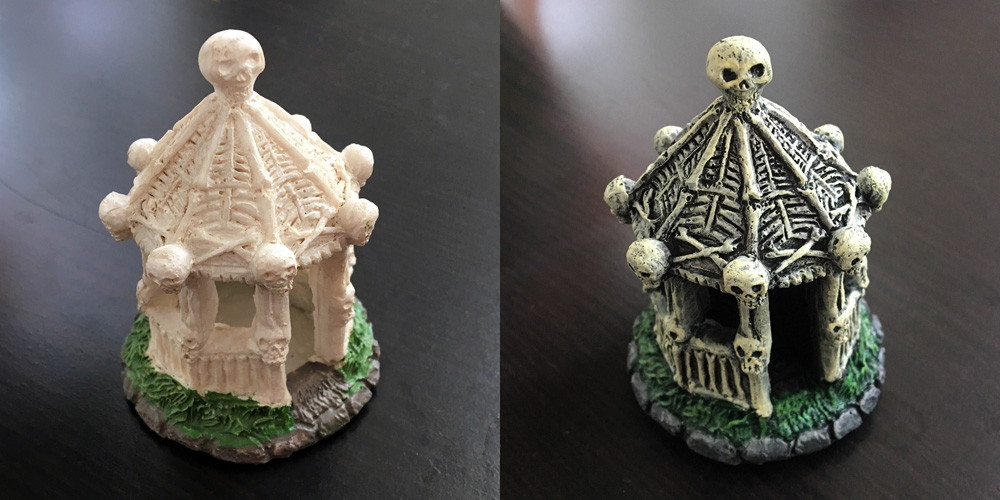
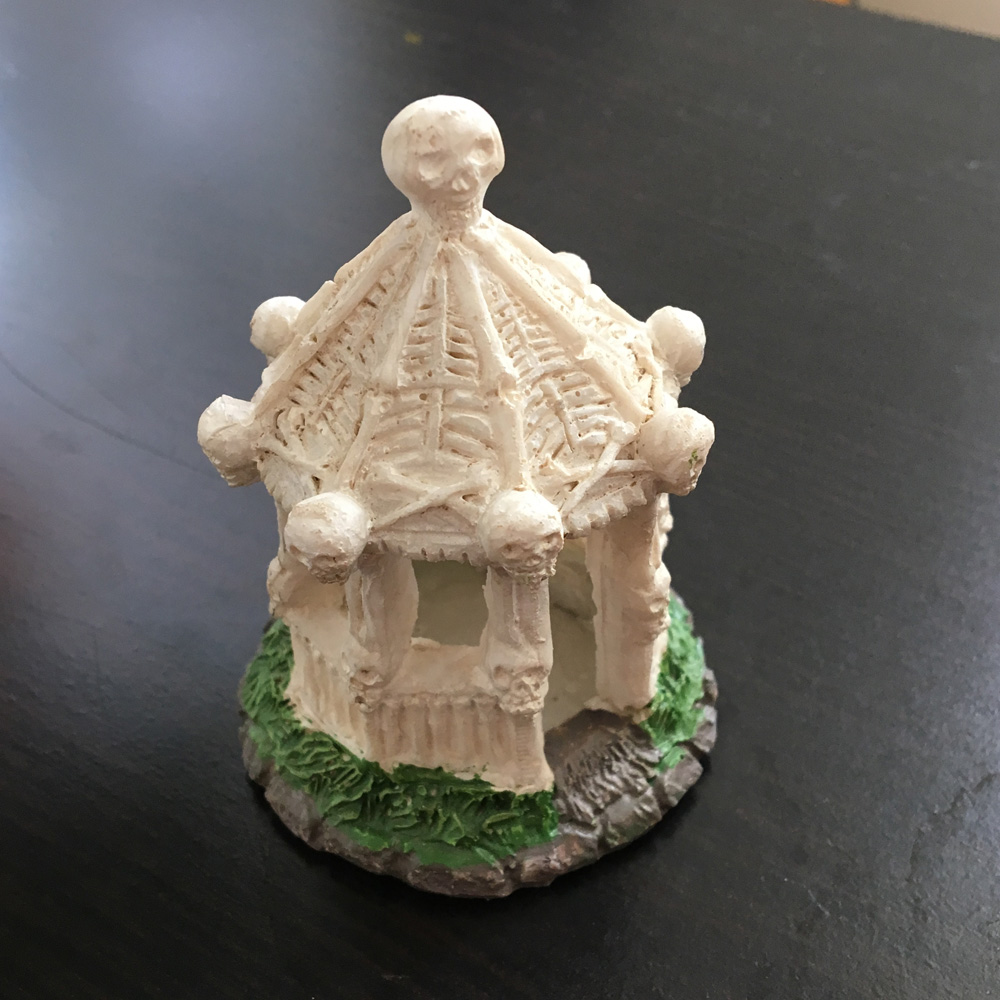
I was at the dollar store looking at Halloween decorations with a friend of mine when she noticed an item I would normally skip over — a 3″ miniature gazebo molded out of plaster or something, like the kind of thing you’d put in a little Halloween village set-up in your living room. Not the kind of Halloween decorating I normally do! My eyes usually skip right over this kind of thing. However, she thought it was cute, and upon closer inspection I agreed; the sculpture itself was really neat, with lots of detail in the skulls and bones, but the whole thing was kind of ruined by a bad factory paint job; hey, whaddaya want for a buck? So I decided to buy it and repaint it and send it to her as a gift.
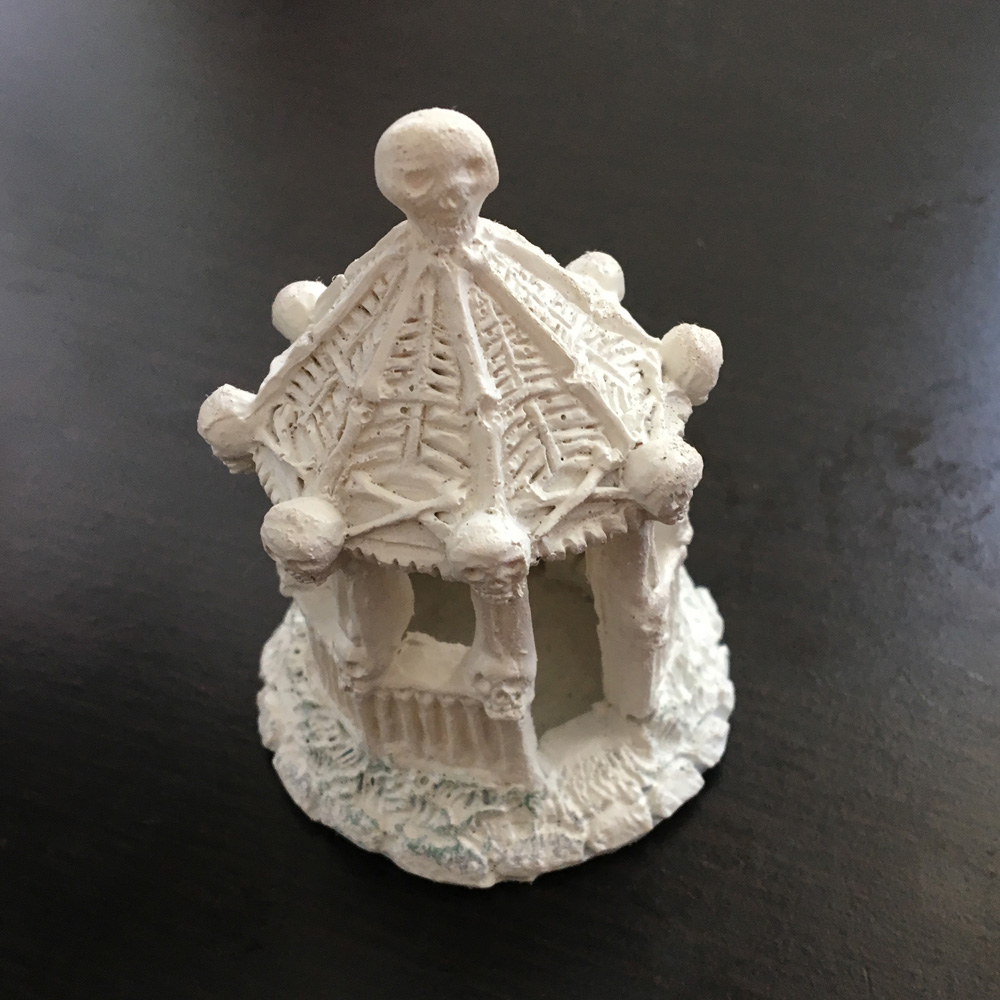
I started by taking the gazebo outside and spray painting it white, and trying to keep the paint as thin as possible so as to not fill in the details with globs of paint. This meant spraying it from kind of far away (8″ or so) with a light mist and letting it slowly get covered, rather than blasting it up close. You can see some of the green from the grass through the white spray paint, and that’s fine; that’ll all get covered up in the next steps.
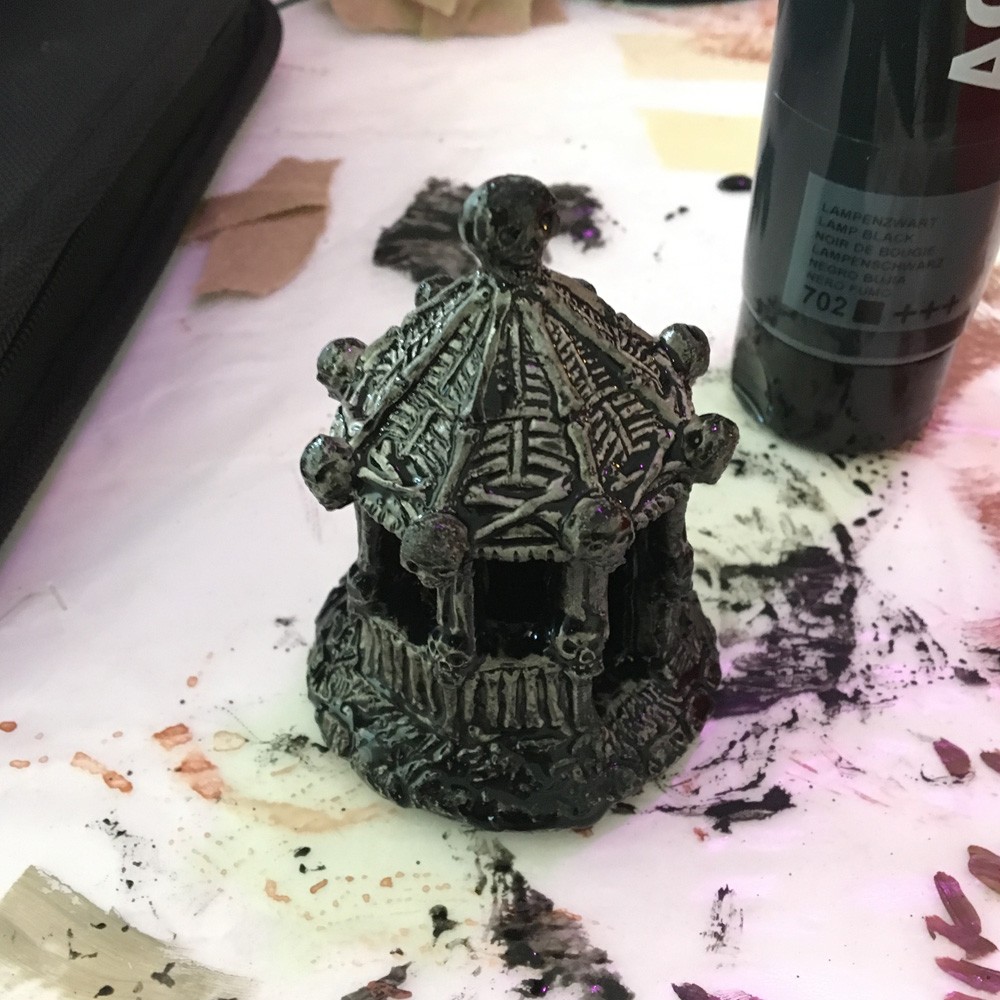
When it was dry, I brought it inside and did a wash of black acrylic paint mixed with a little bit of water. My first pass at this ended up lighter than I wanted, so I let it dry and then did a second round of the same thing (pictured above), and that worked perfectly. Again, you want to be careful to not let the paint fill in the details.
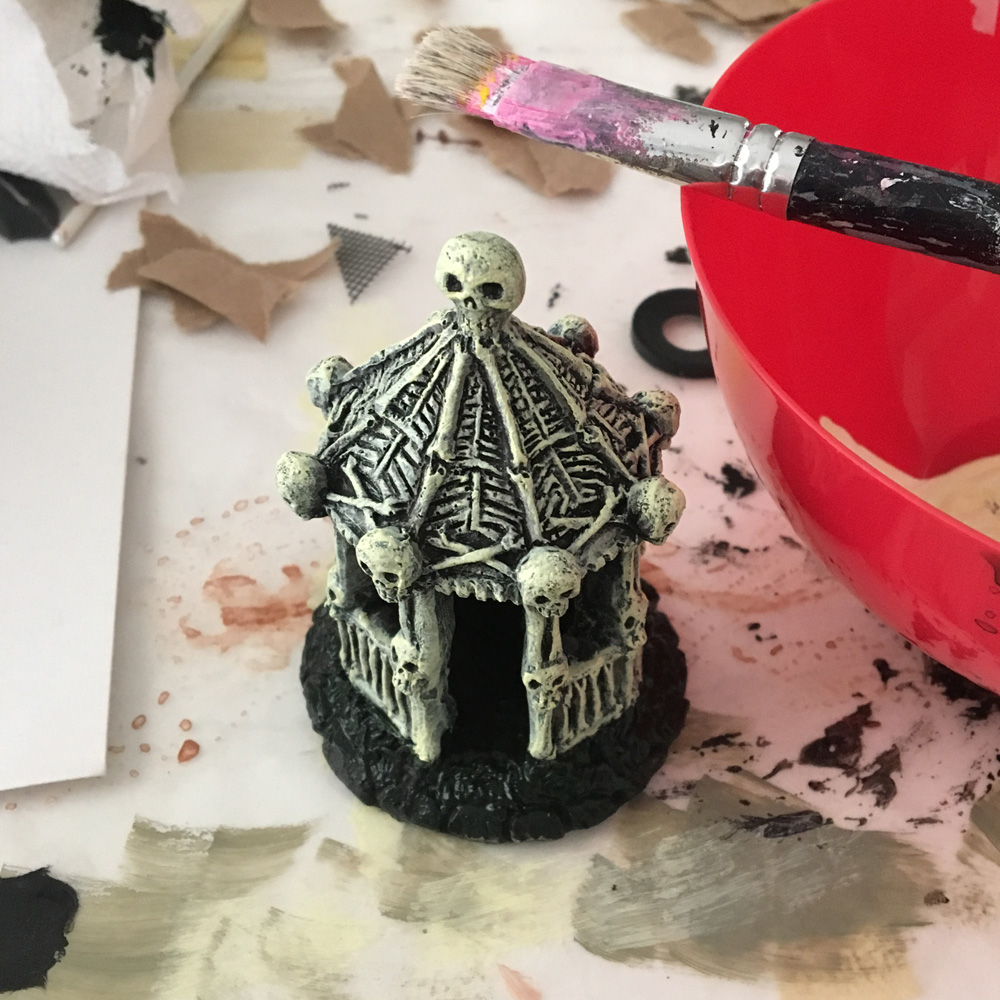
After that was dry, I did some careful dry-brushing with acrylic paint on all of the bones — a combination of white with a little yellow and just a tiny speck of black mixed in.
I accidentally got some of the bone color on the grass, so I covered that part with black again and let it dry. Then I applied some very dark green acrylic over the grass, covering most of it but not getting all the way into the cracks, and then a little while later I dry-brushed a mixture of a lighter green onto the edges of the grass.

I loosely painted the stones a very dark gray (leaving black in the cracks) and then dry-brushed some lighter gray onto the outer edges of them.
Couple last touches — I used the tiniest brush I have to dab some black paint into the eye holes of the skulls, to make the shapes nice and crisp. I used the same brush and the bone color I mixed up to fix and accentuate some little details of the skulls and bones here and there, particularly around the eye sockets and cheek bones.
I should mention, I used to paint fantasy miniatures (badly) when I was a teenager — you know, orcs and stuff — and these are basically all the same techniques I used to use back then. It was fun to dust off those old skills! Normally I try to avoid working on anything this small, because I don’t have a super steady hand and it’s just more fun to make big in-your-face stuff.
I applied a coat of matte spray to protect the paint job, and this thing was done! Time to throw it in the mail. I hope this ends up being the first piece in a whole Halloween village at my friend’s house.
By the way, I got this thing at Dollar Tree, and they had a few other similar pieces that go along with it — some cemetery walls with skulls on them and stuff, all in the same style. You could start there, spend a couple bucks, put in a long afternoon of painting, and make a really neat cemetery. One piece was enough for me!
 About Manning Krull
 How to make a 4-foot paper maché alligator
 My violin skull mask, Mardi Gras 2015
 Three-headed paper maché dragon sculpture
Leave a comment