
Stabby ghost costume!
Published by Manning on November 1st, 2016
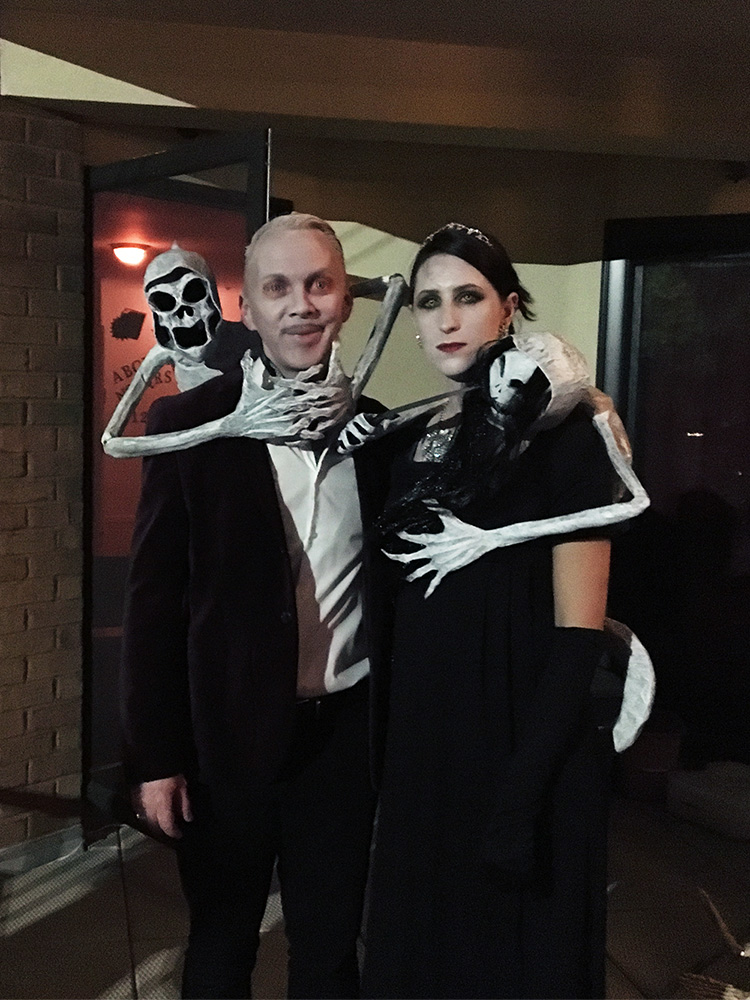
This was the second of the two “person getting killed by a ghost” costumes that I designed. Read about mine here for most of the basic info. I made my fiancée’s ghost second, using most of the same steps and materials, with a few important differences. I’ll cover those below…
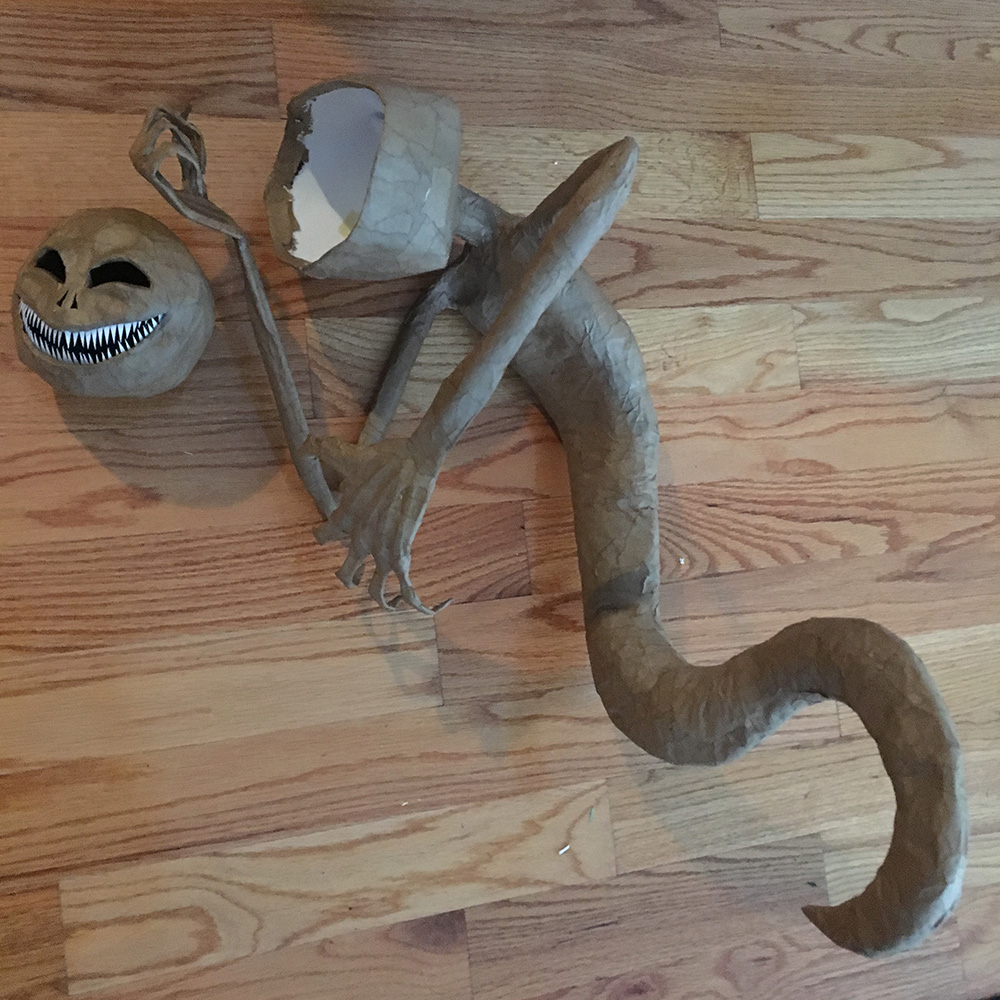
Like with my own ghost prop, I started with the hands for this one; I traced my fiancée’s hands for the craft foam.

I used a different approach for the body and tail: I started with a skeleton for the arms and spine made from wire hangers, mounted that onto a foam board base that I drew and cut out, and then added a few long pieces of foam pipe insulation, which I sliced open and positioned onto the base. I wrapped all of this with long strips of bubble wrap and then masking tape, and then later covered everything with paper maché.
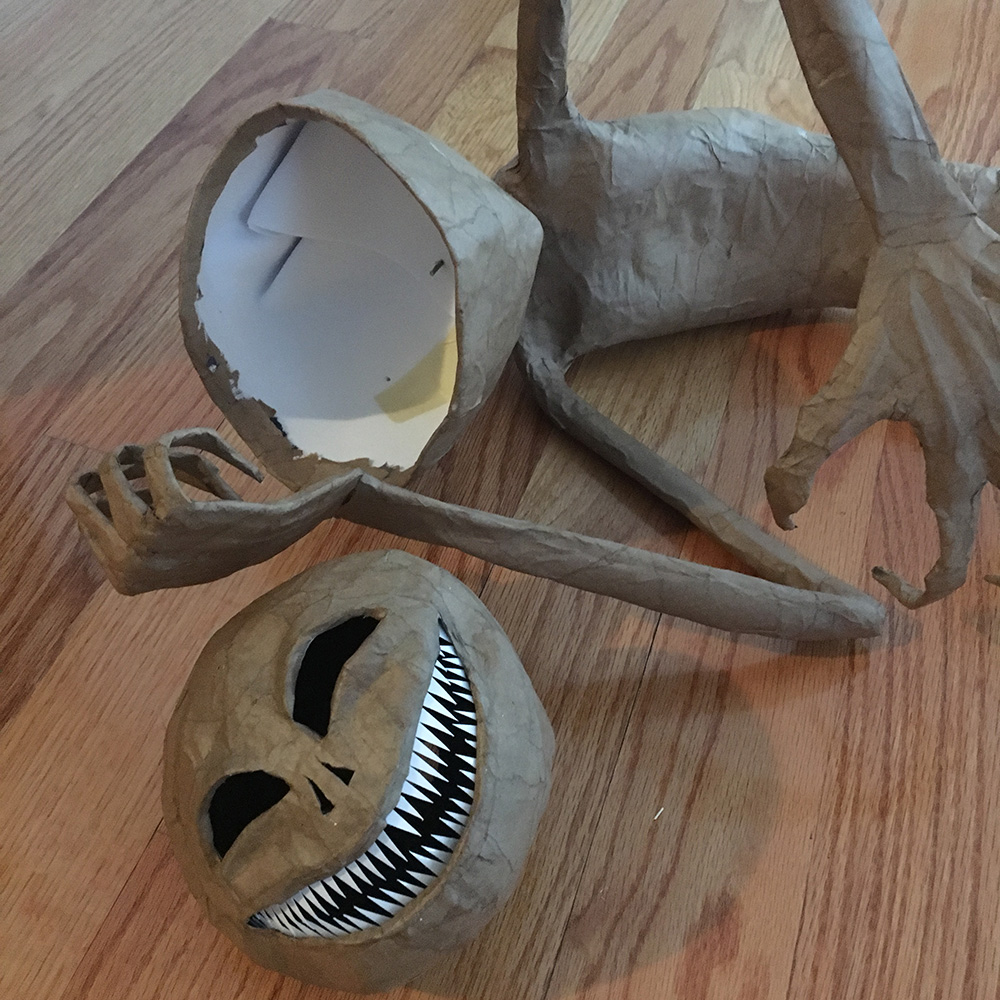
Unlike for my ghost, I did not remove any of the interior base materials for this ghost when the paper maché was dry. It was much lighter than mine so there was no need.

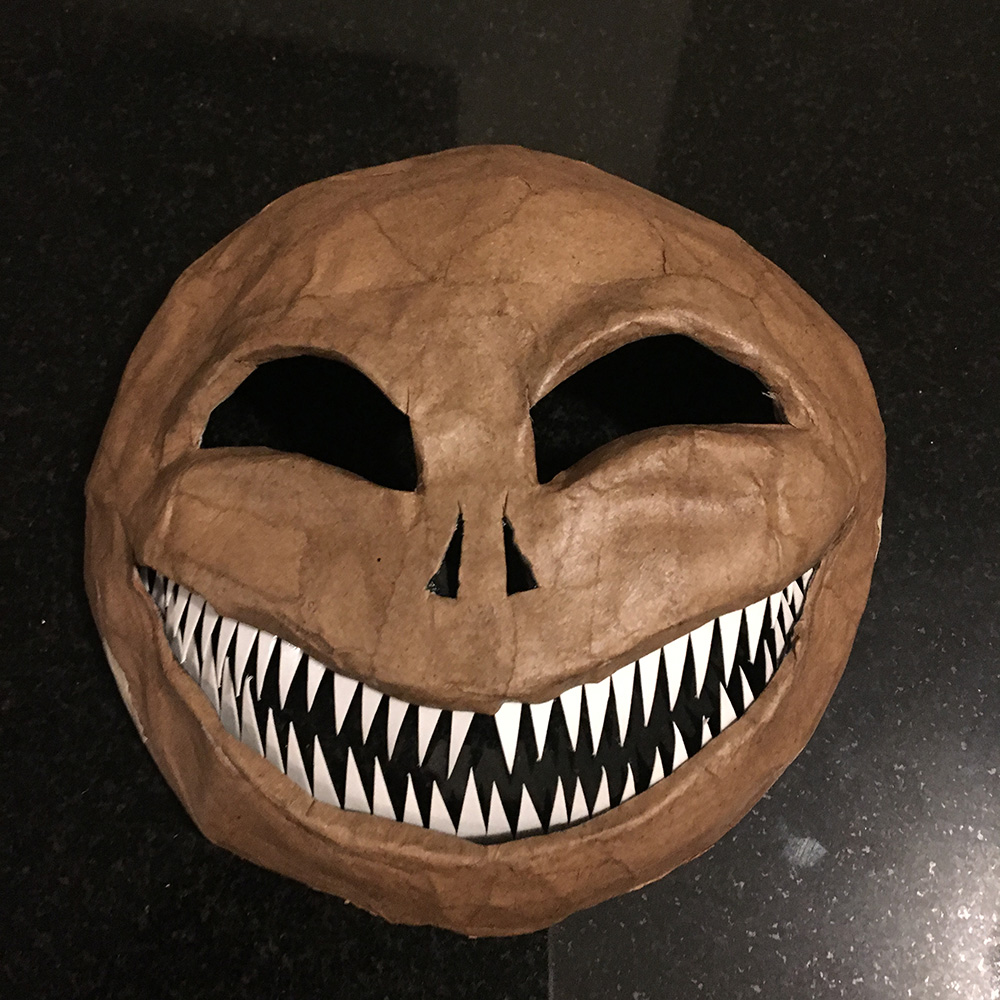
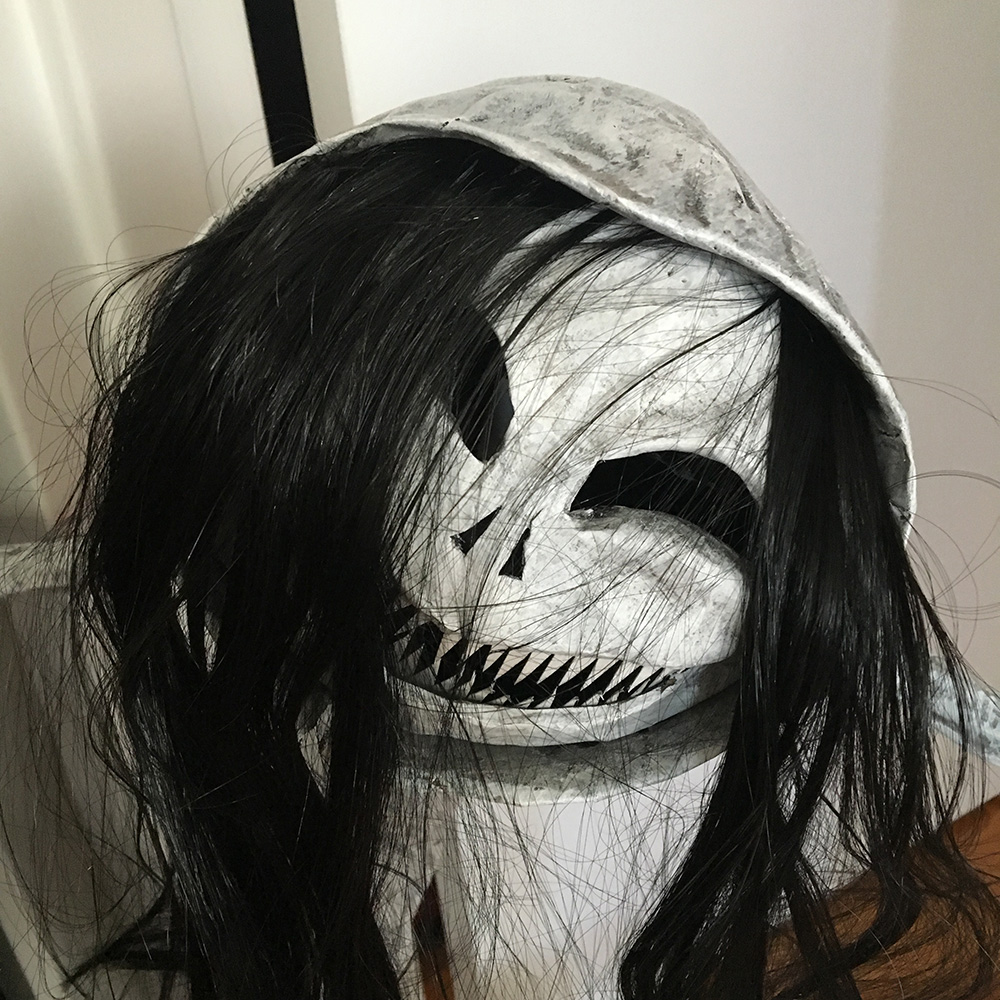
I made the face the same way as with mine; with a clay sculpture covered with cling wrap and paper maché, which I later mounted on a head shape made of newspaper. Before mounting the face onto the head, I added the teeth. To make these I started with two strips of white poster board, which I covered with a layer of packing tape to make them stronger, as well as nice and shiny. Then I just cut out the teeth shapes with scissors, and taped these strips of teeth inside the mask. Easy!
One big difference with this ghost design was that I needed to keep the head and hood separate ’til much later, so I could add the ghost’s hair after painting. Basically, I finished the head sculpture, then designed a hood around it with craft foam and masking tape. I removed the head shape and then applied paper maché to the hood, then attached the hood to the neck/body, and added even more paper maché to strengthen everything.
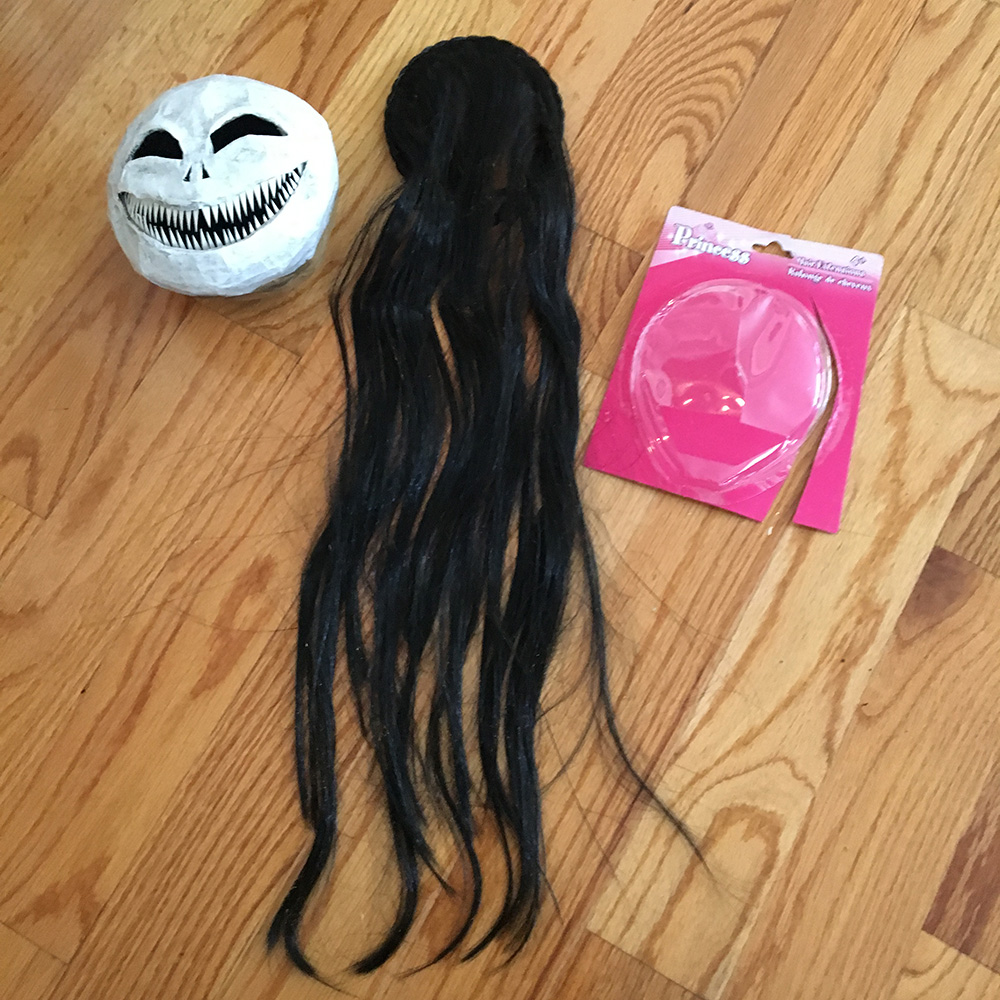
Now, the hair! I bought this princess hair extension thing at the dollar store; it’s basically doll hair mounted on a little plastic headband so a kid can wear it. After painting the ghost body and the head, I cut a long slit across the top of the head, and inserted the base of the hair into that. Then I just popped the head shape into the hood. It was a very tight fit and didn’t require any glue or anything; I had a feeling this would be the case, because paper maché tends to shrink as it dries, so the finished hood actually became tighter on the head than when I’d initially positioned the craft foam on there a few steps back.
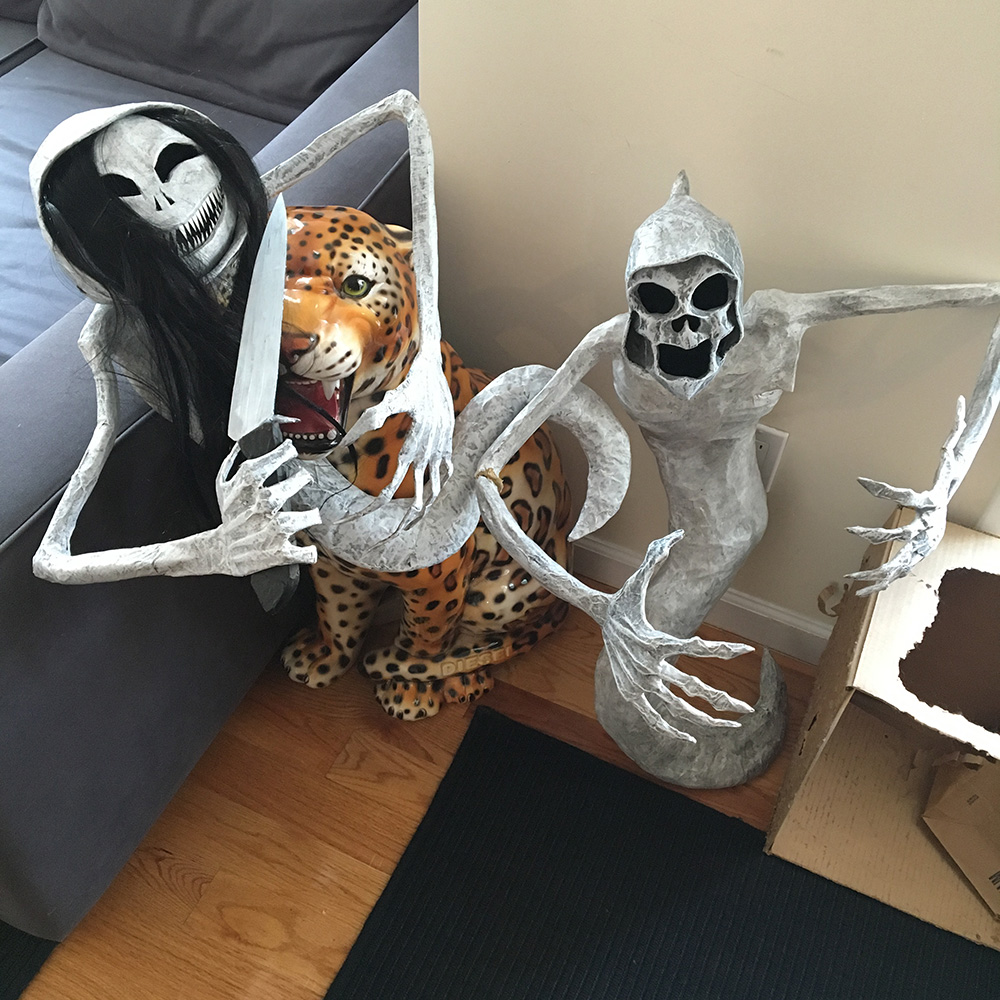
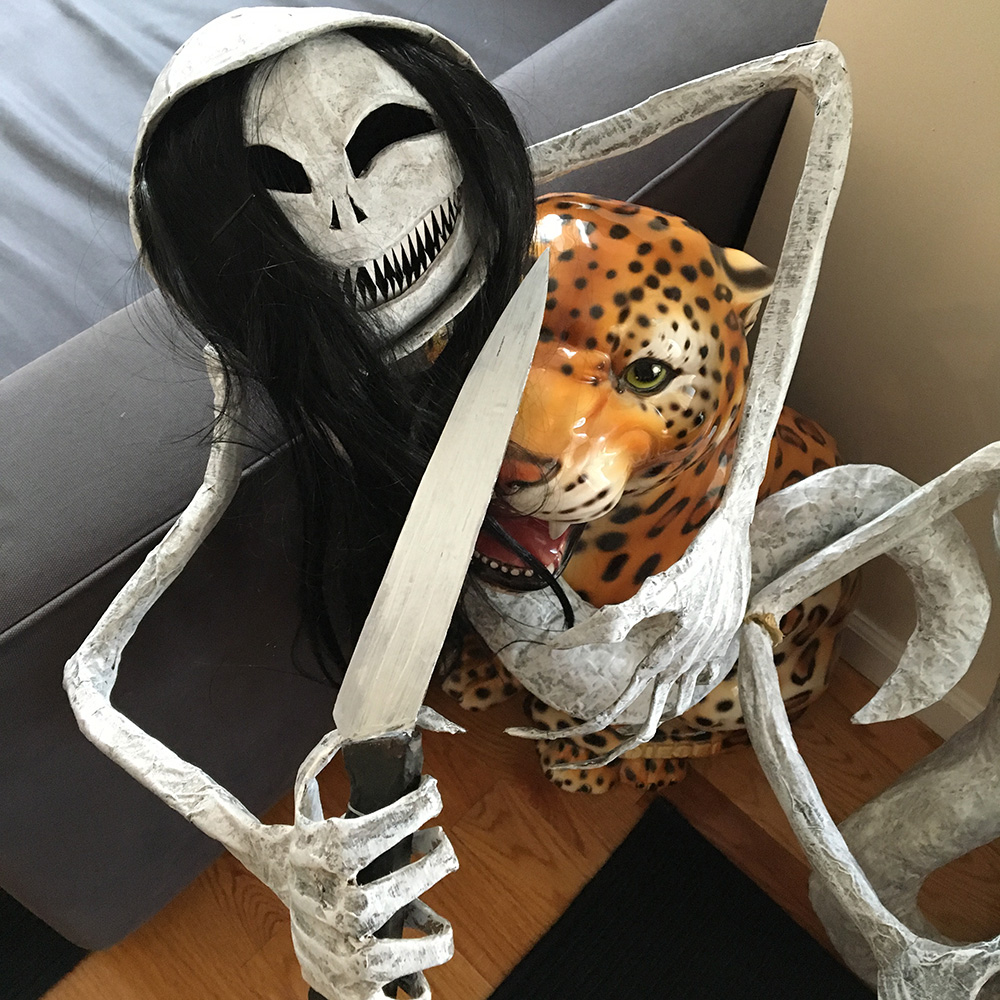
I made a knife for the ghost’s hand, using the tecnhique I wrote about here.

I didn’t make a harness for this ghost, as it was very lightweight and held on pretty well with just the arms.
And that’s it! Here are the two ghost together for comparison.
 About Manning Krull
 How to make a 4-foot paper maché alligator
 My violin skull mask, Mardi Gras 2015
 Three-headed paper maché dragon sculpture
Leave a comment