
Giant spider Halloween party decoration
Published by Manning on June 21st, 2015
This is by far the biggest paper maché project I’ve ever undertaken! I was working on decorations for my nightmare-themed Halloween party in 2013 when the idea hit me: could I make a spider decoration so big that the legs span all the way out to the walls, so the whole party takes place inside the spider’s grasp?
I started sketching concepts for a gigantic paper maché spider to go on my living room ceiling. It occurred to me that I already had an unused gigantic paper maché skull sitting around that I’d made a year or two earlier and never used for anything (more about that here) so I decided to save myself some work and use that as the spider’s head.
I designed the spider to be three main pieces — head, middle section, and big tail section — and then the eight legs spanning outward. For big projects like this I do a lot of sketching and measuring and even a little bit of math here and there. I knew I wanted to build a foam board base for the middle part and tail part, and add a few layers of paper maché on them. You can see the kind of shapes I’m talking about in this pic:
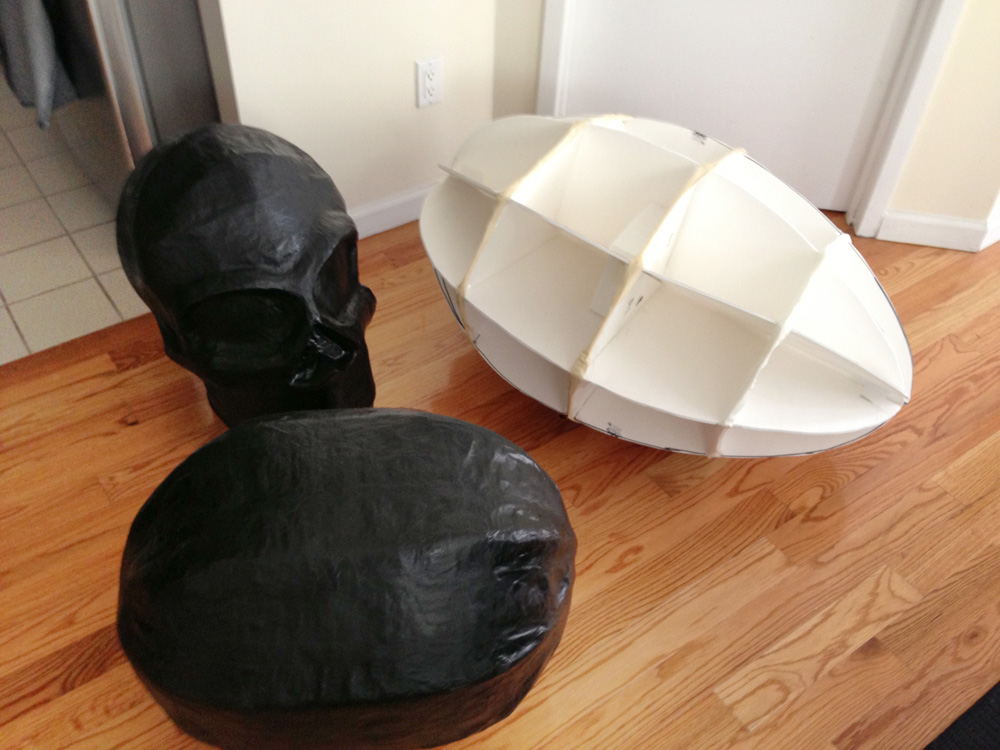
The middle part was already paper maché’d by this time, but the inside of that part was basically the same as what you’re seeing for the tail part. The whole thing together was about six feet long!
Once these foam board bases were done, I wrapped them in a couple layers of bubble wrap, to de-emphasize the edges of the foam board base. Then I did six layers of paper maché over them. See my post about my paper maché process here. The short version is: I use Roman PRO-543 universal wallpaper adhesive (paid link) and alternating layers of newspaper and brown wrapping paper.

Once the paper mache was dry, I cut the pieces open and removed all the bubble wrap, foam board, etc. The areas I cut open were the parts that would later be hidden against the ceiling.
I brought all three big pieces outside and spray painted them black. See my post about my painting process here. I didn’t do any fancy drybrushing this time; I just wanted the whole thing solid black. Oh, and I forgot to mention, I made teeth out of foam board for the skull; I did that pre-painting.
The finished hollowed-out pieces were surprisingly lightweight! I hung them each on the ceiling separately. The skull and middle section were so light I just used one thumbtack for each of them. The tail section was much larger and a bit heavier, so I was a little concerned about how to best hang it from my flimsy drywall ceiling. I did a little research and settled on using a toggle bolt, and that worked like a charm (and I hope I’ve saved you some trouble by telling you the name of the thing; it was very hard to search for, not knowing what it was called!). I bought the thinnest toggle bolt I could find at the hardware store. Then I drilled a narrow hole in the ceiling. I put a wide, flat washer over the toggle bolt, ran the toggle bolt up into the hole in the ceiling, and opened up the t-shape to lock it in place. That left me with just the exposed washer and the head of the screw sticking out of the ceiling. This turned out to be such an effective and strong way to hang something from the drywall ceiling, I’ve left those pieces in there so I can use them every year to hang up a different decoration on the ceiling.
Anyway, for the skull and middle section, I used some heavy duty packing tape to reinforce the areas that would be punctured by the thumbtacks. For the big tail section, I used packing tape to reinforce the top area, then ran some flexible wire through it and fashioned a loop that could be easily hung on the washer of the toggle bolt.
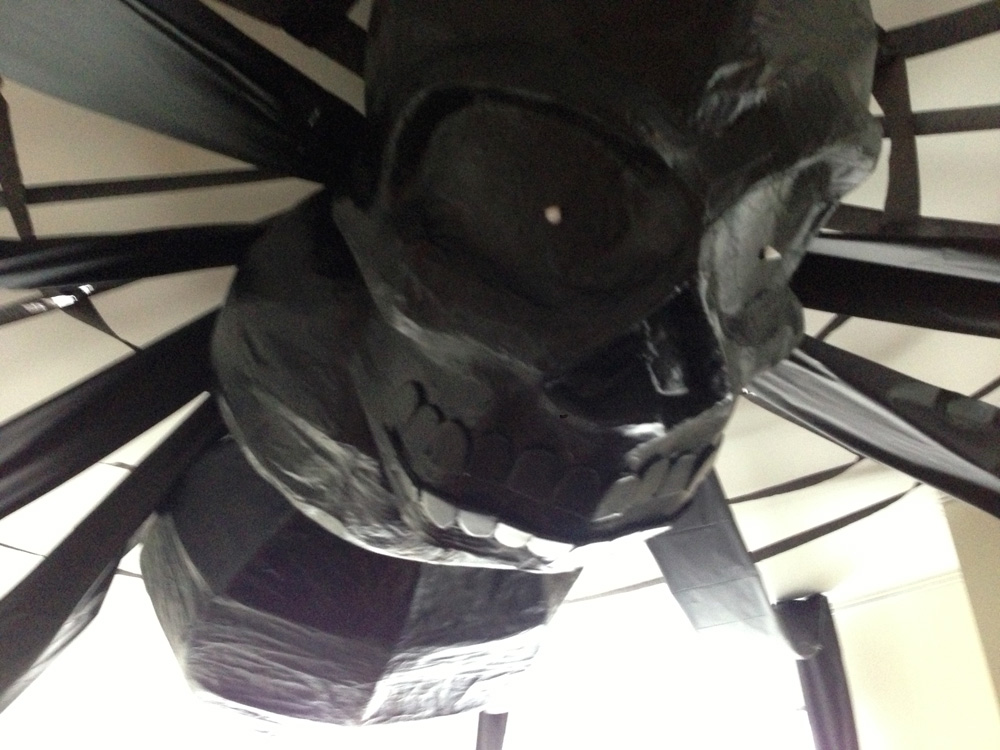
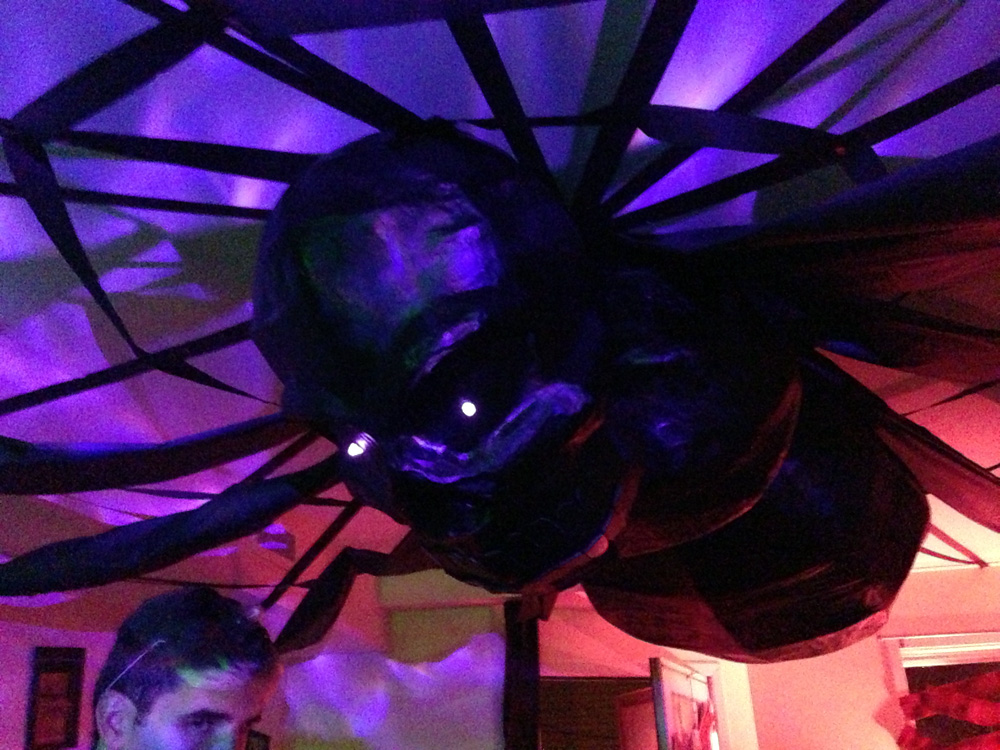
Before I hung up the giant skull head, I punched two small holes in the eye sockets and inserted battery-powered tealight candles in them. The flames of the fake candles poke out of the eyeholes and provide a spooky flickering effect.
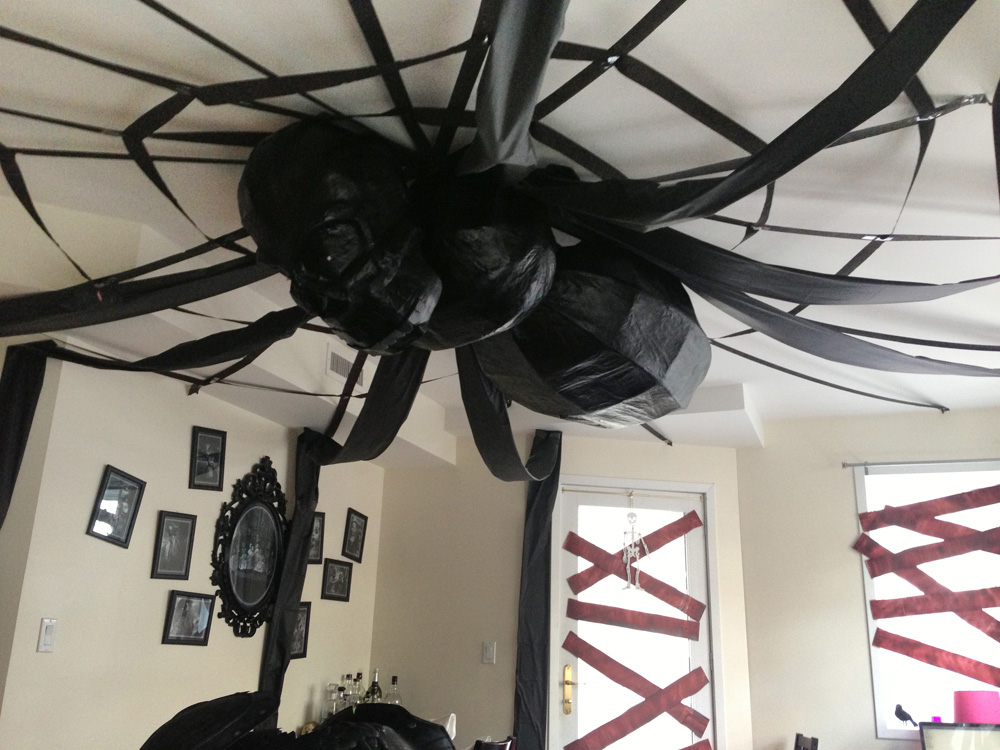
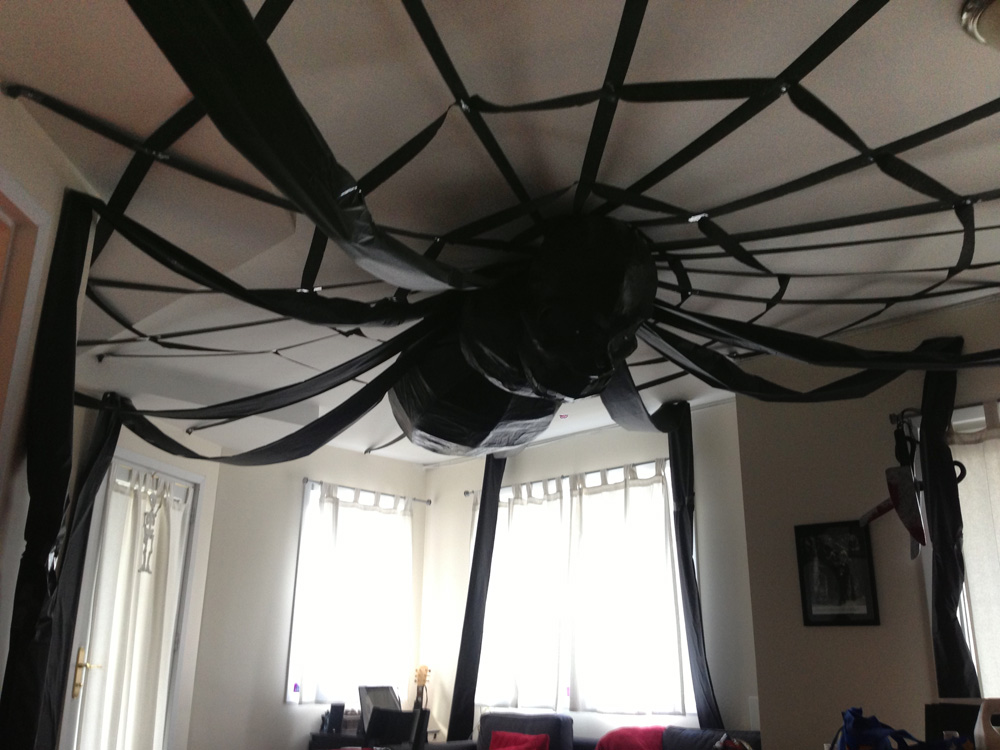
Wait, I’m going out of order here! Before I hung up the spider, I made a giant web on the ceiling! This was easy; I just used a few rolls of that cheap crepe paper ribbon stuff you can buy in the party section of any dollar store. I attached that to the ceiling with tape. Then I hung up the spider parts. If I had it all to do over again I’d make the web out of something narrower and lighter in color so the legs don’t blend into it so well.
Once the web and spider body were in place, I made the legs. For these I used a bunch of disposable plastic table cloths from the dollar store. At a dollar a piece, they’re just about the cheapest large piece of material you can buy and they’re great for a lot of Halloween projects — for example, I’ve used them to cover walls a bunch of times. Super lightweight and way cheaper than paper, but they’re very flimsy so you have to be careful not to rip them. Anyway, to make the legs, I took a black plastic table cloth, cut it in half, rolled up the halves and taped them together at the ends, and attached them to the ceiling and walls with thumbtacks. Repeat eight times, and voilà!
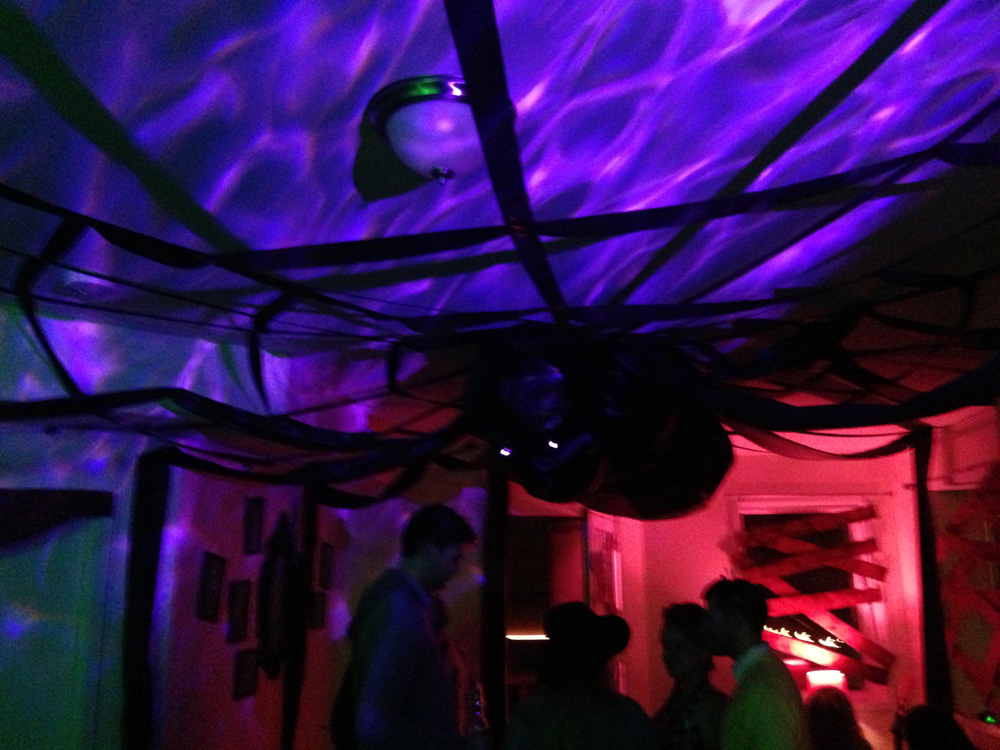
The thing was so huge and my apartment is so small, it was impossible to get far enough away from the spider to get a full picture of it! But I think you can get the idea from these. These are a few pictures from the day of the party in normal daylight, and then a few during the party with the weird lighting we had going on. The spider was a big hit, and it killed me to throw it away after the party. I still have the head though; it sits on top of my refrigerator, waiting to be needed again for another project someday.
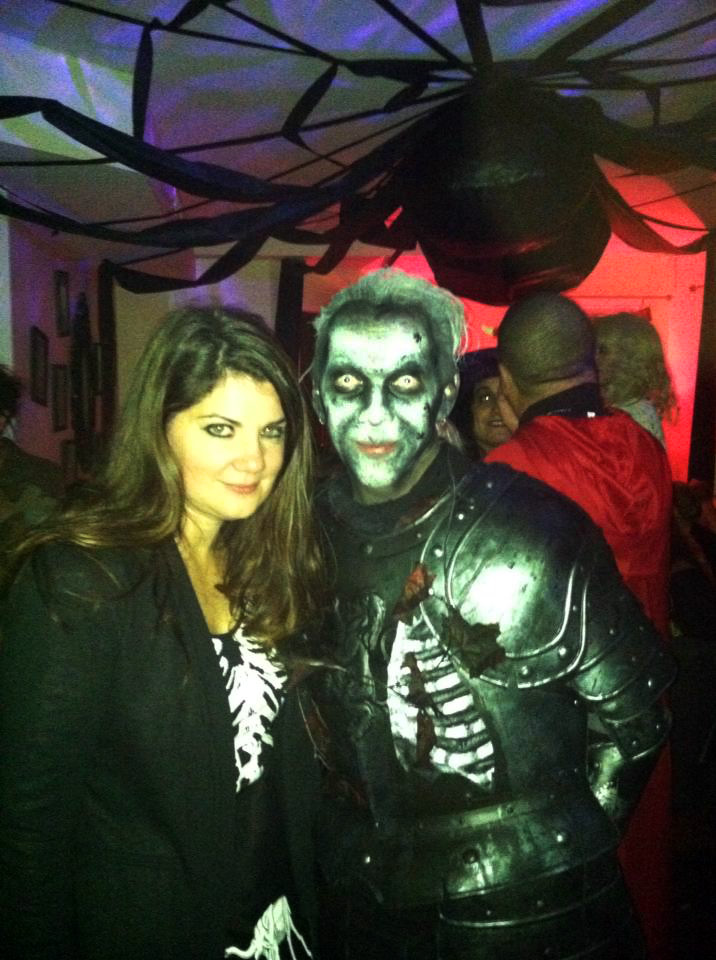
Here’s one last pic, of me and friend Collie; it’s not the best photo but you can get a good look at the size of the spider in relation to the guests!
 About Manning Krull
 How to make a 4-foot paper maché alligator
 My violin skull mask, Mardi Gras 2015
 Three-headed paper maché dragon sculpture
October 24th, 2018 at 8:42 pm
Can I just buy one from you please? Do you have any for sale? Lol
October 25th, 2018 at 12:36 am
Ha! I don’t have any for sale, but I do make and sell custom pieces — but with a week left I hope you’re not looking for something for this Halloween! :)
October 7th, 2022 at 11:55 pm
I love it
Looks amazing- well done