
Making an oversized medieval key prop
Published by Manning on August 29th, 2018
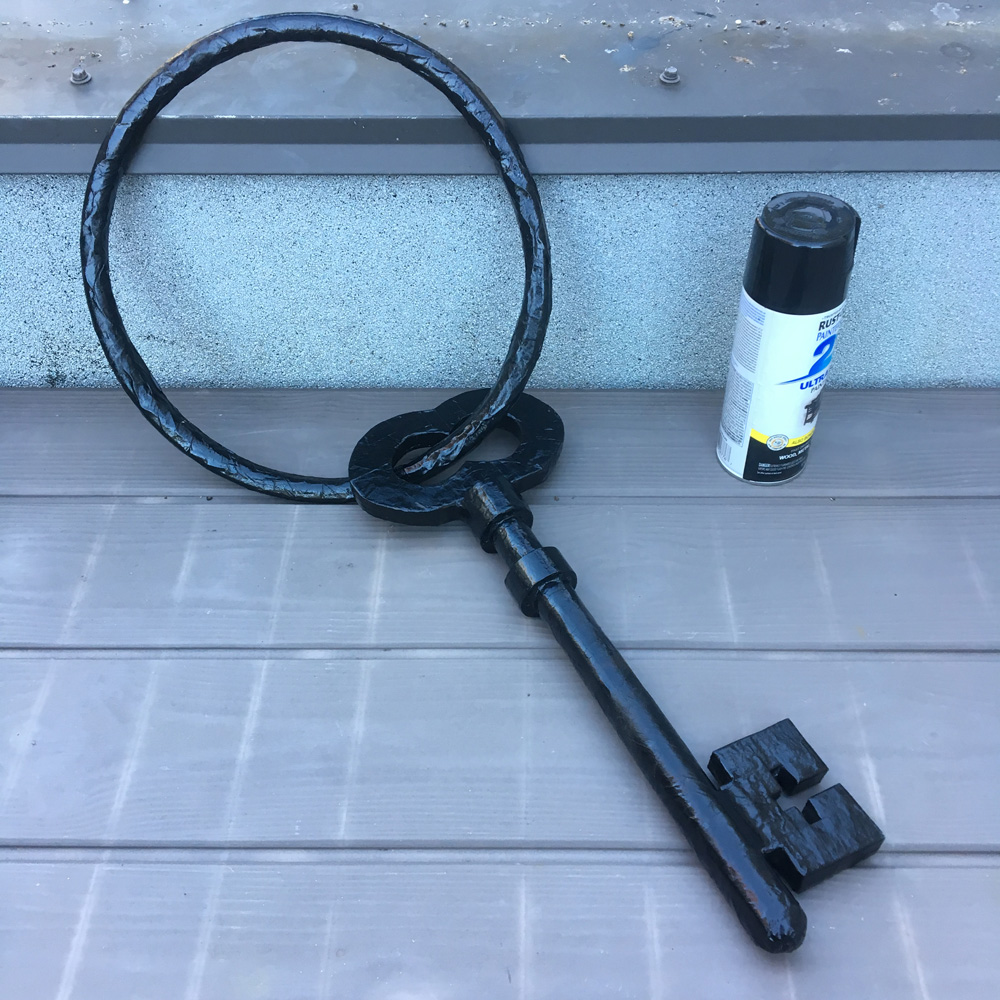
Check out my giant medieval key! I made this for our spooky gingerbread house themed Halloween party, to hang on our bathroom wall across from the bathtub-converted-into-a-cage-full-of-bones. This thing was so easy to make, and it only took one day (besides painting).
I started out by doing a Google image search for medieval keys. There are so many cool styles to choose from; I sort of mixed and matched some elements from a few keys, with the goal of keeping the design simple and iconic.
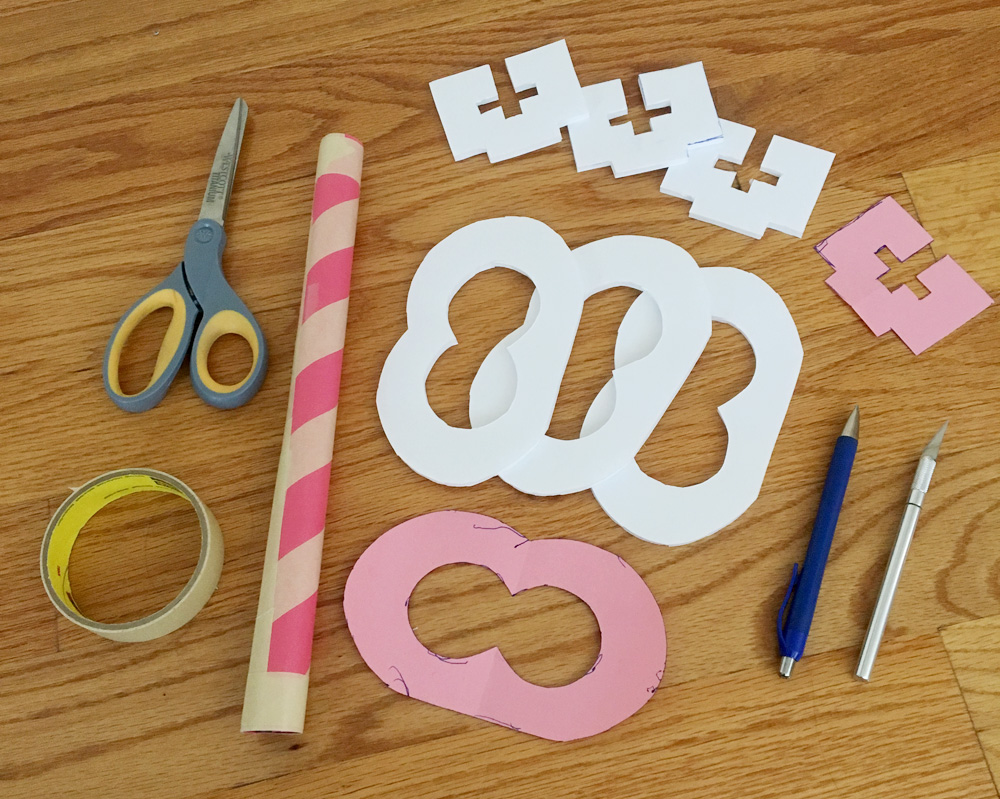
I starting building the shape for the key by rolling up a tube of construction paper for the shaft part. I drew the flat parts of the key — the rectangular part at the front and the rounded handle at the back — on construction paper, cut them out, and traced them onto foam board and cut them out with an X-acto knife; I did three layers for each part.
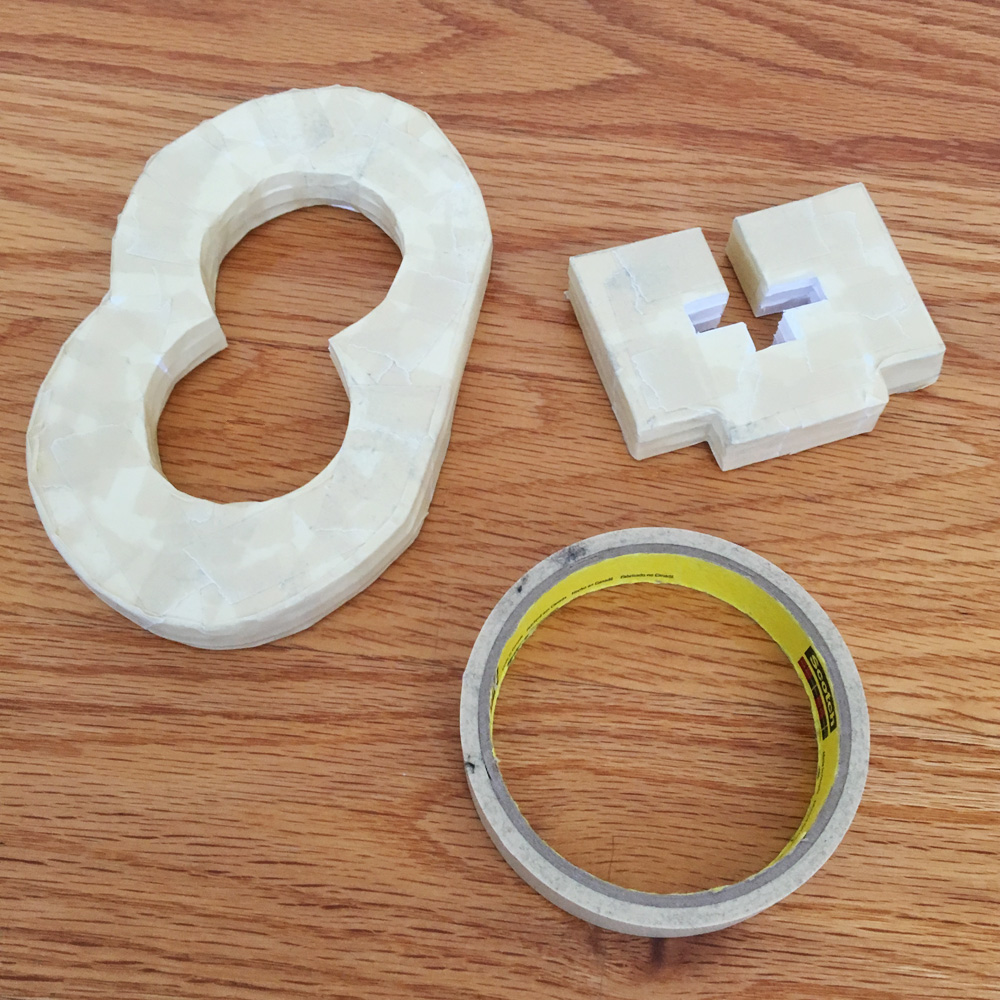
I used lots of masking tape to connect the foam board pieces and smooth out their edges.
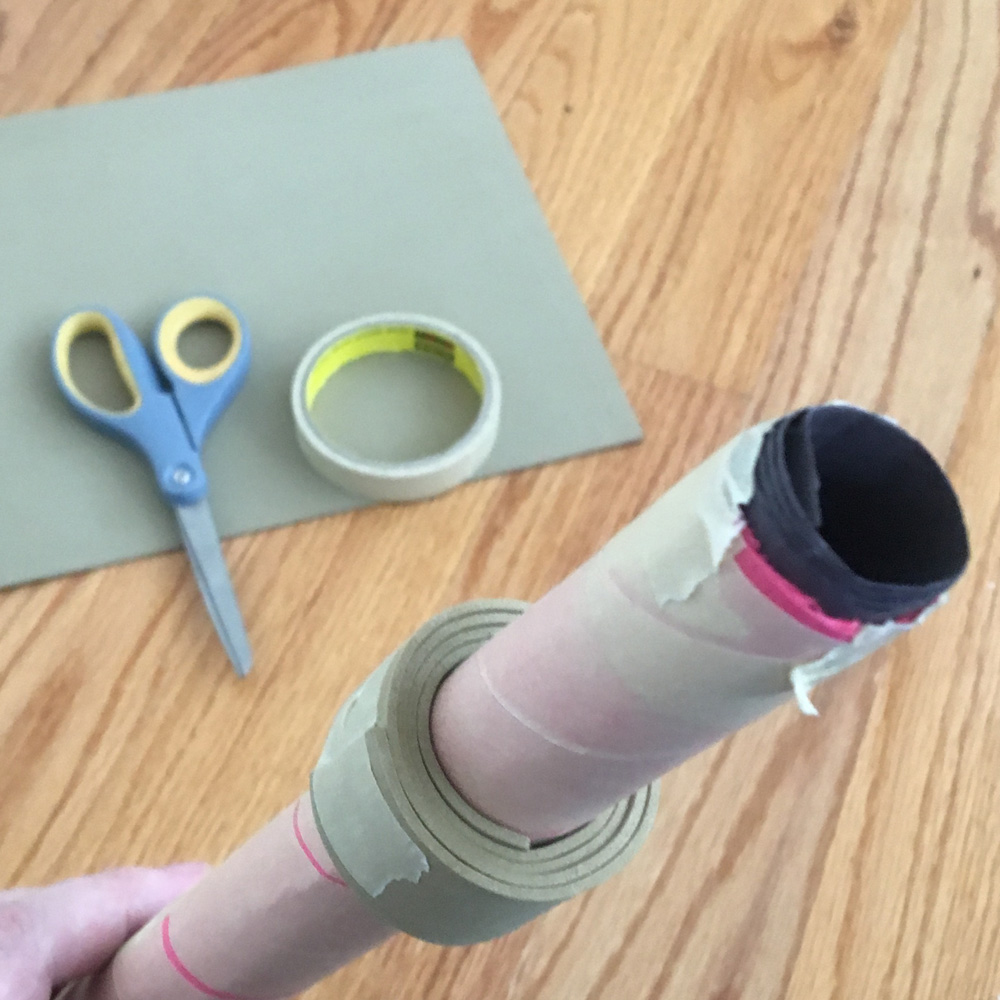
I made the little raised ring parts by cutting long strips of craft foam and rolling them onto the tube part. You can see there’s a raised edge where I taped the loop closed; I covered this with a piece of construction paper and more tape to smooth it out (not shown).
I made the little rounded shape at the end of the key with some wadded up aluminum foil (not shown), which I stuffed in the tube and covered over with thin strips of tape.
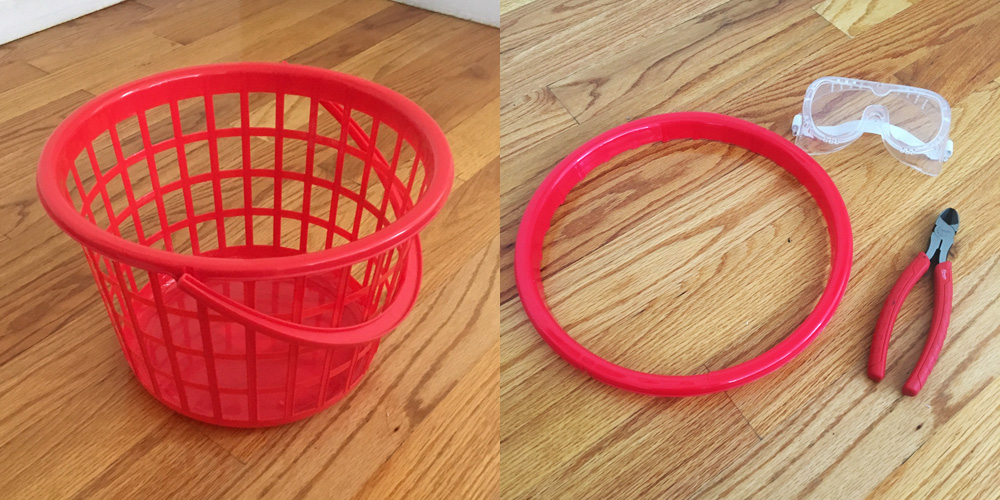
I made the key ring from a plastic basket from the dollar store; I just snipped the top ring off with pliers. (I needed the rest of the basket for another project; otherwise I would’ve found a less wasteful source for the ring.) Make sure to wear eye protection when cutting cheap plastic! Those pieces can really go flying.
I wrapped the plastic ring in masking tape (not shown) to create a flat wall on the reverse side, which was open and concave. The ring ends up being flat on one side, but this decoration would be hanging on a wall so I didn’t care about that; I just planned to hang it with the rounded side facing outward. In the pic below the flat side is facing up.
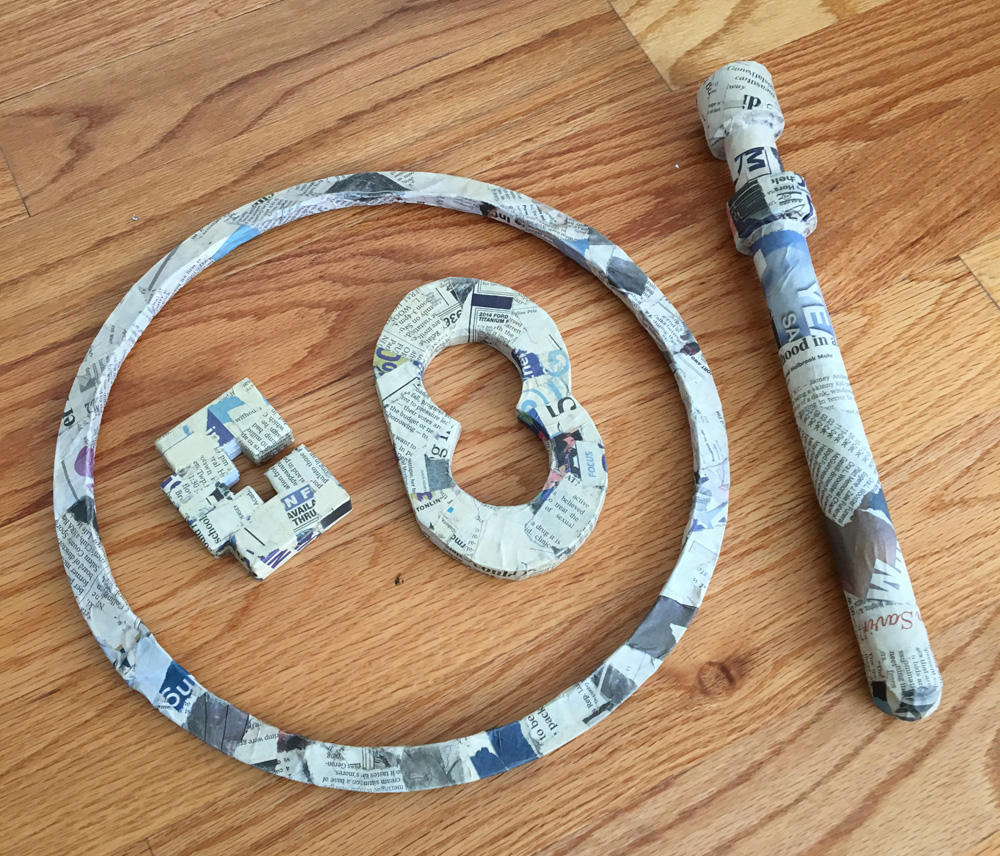
Once all the separate parts of the key were built, I covered each piece with two layers of paper maché, to cover all the tape and unify the texture of the surface across all these different materials. You can ready about my paper maché process and materials here; the short version is: I use Roman PRO-543 universal wallpaper adhesive (paid link) and alternating layers of newspaper and brown wrapping paper.

I skipped the hard-to-reach areas inside the rectangular part of the key (what the heck do you even call that?); there was no way to get my fingers in there to apply paper maché. Painting all of this stuff black later on will help conceal those edges.
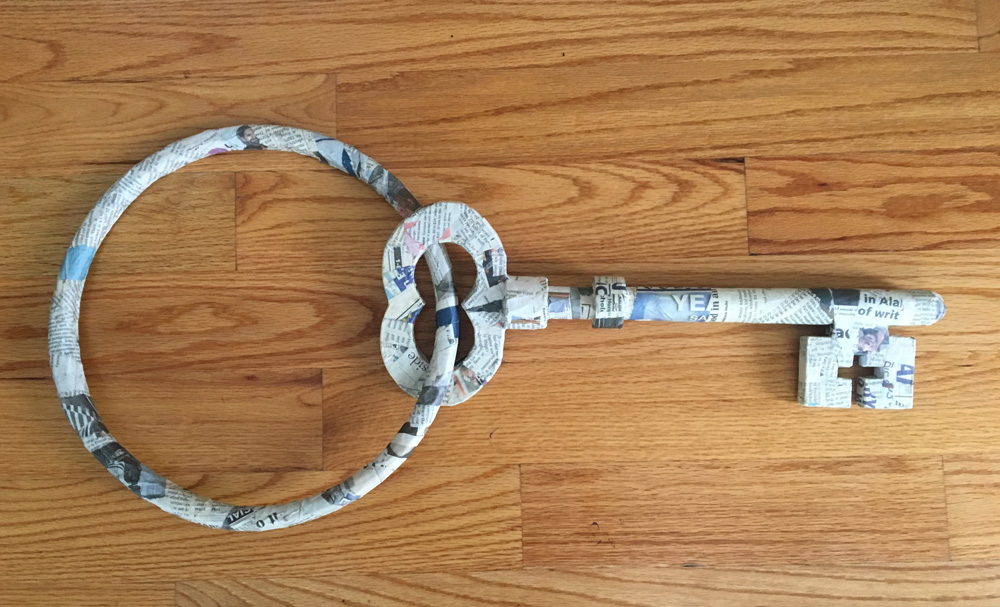
When the paper maché was dry, I assembled the key parts with masking tape and then covered over the connections with another couple layers of paper maché.
I cut the key ring so I could insert it through the key, and then I taped it back together and covered that connection with a layer of paper maché.
When all the paper maché was done and dry, I took the key and ring outside and spray painted them black. I decided not to add any silver dry-brushing because I want the key to look like it’s been hanging there for centuries. This key will go along with another old corroded metal decoration that’ll also be painted plain black; that one’s coming up.
And that’s it! Easy! I love working with simple geometric shapes like this, and the bigger you go the easier it is to work with all the shapes. On to the next project!
 About Manning Krull
 How to make a 4-foot paper maché alligator
 My violin skull mask, Mardi Gras 2015
 Three-headed paper maché dragon sculpture
Leave a comment