
Paper maché alligator, part 2
Published by Manning on July 16th, 2015
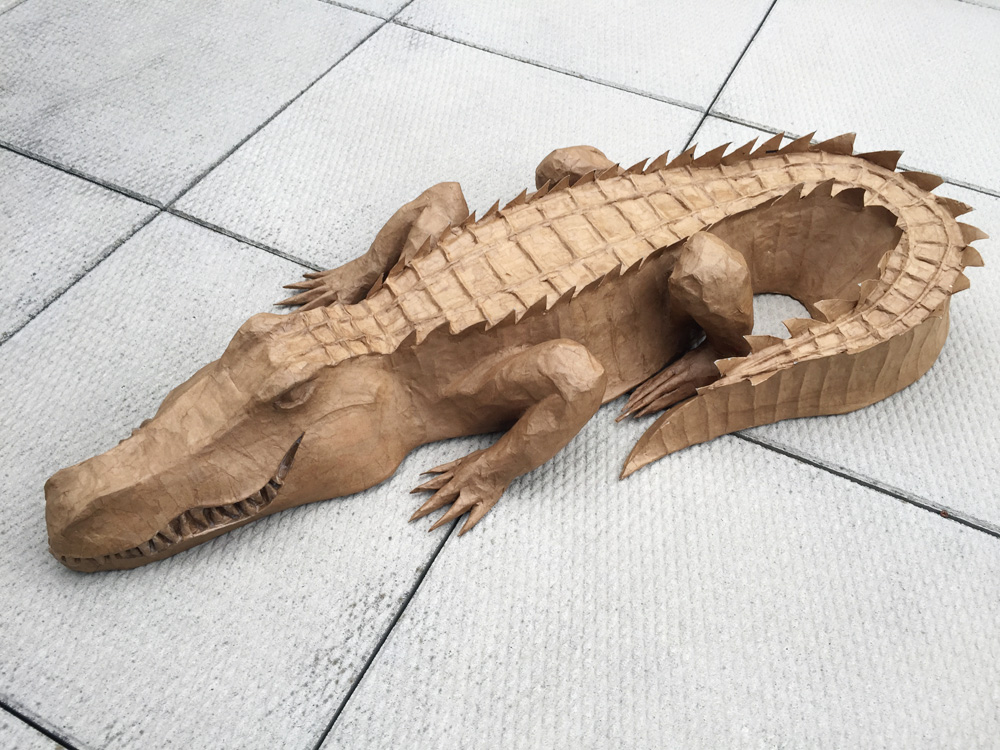
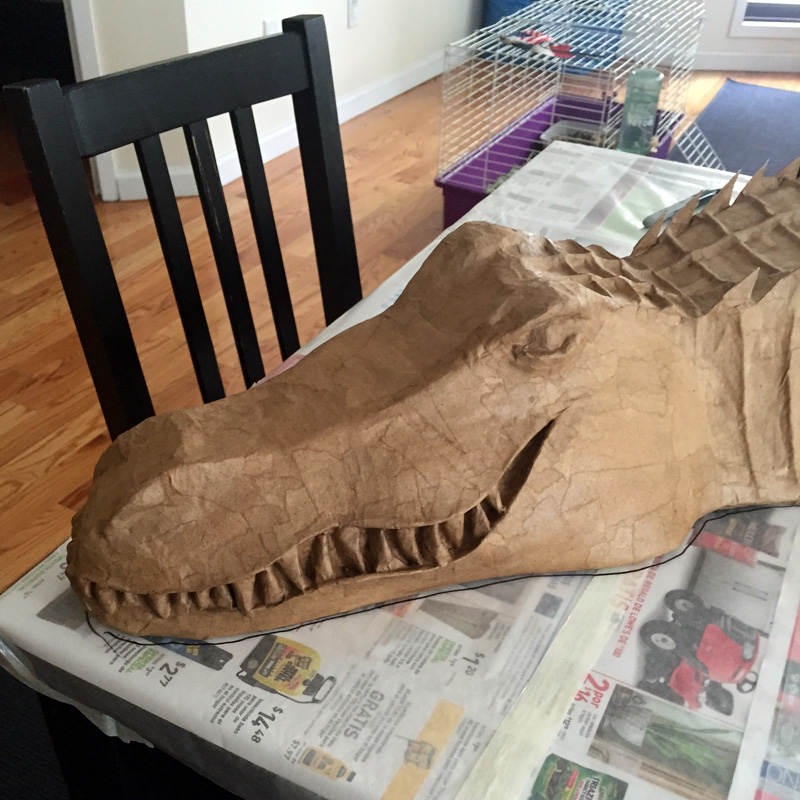
This is part two of my paper maché alligator project for Halloween. Part one can be found here. When I last left off, I had just applied Activa Plus clay to the alligator’s head in order to create the teeth, eyes and eyebrow ridges, and nostrils. So my next step was to paper maché over those bits; easy. See my article about my paper maché method here. The short version is: I use Roman PRO-543 universal wallpaper adhesive (paid link) and alternating layers of newspaper and brown wrapping paper.

Next was tackling the legs! These proved to be the most challenging part of this whole project! I ran into an interesting problem and made up a new solution that I suspect will be very helpful with lots of future projects.
I started the legs by wadding up lots of newspaper and wrapping it in masking tape. I ended up doing the feet several steps later, so we’re just talking about the legs for now; eight oblong blobs of newspaper for the upper parts and lower parts of all four legs. I knew I needed the legs to be folded up pretty tightly and close to the body in order for the alligator to sit perfectly in the tub, and this is where things got difficult. I taped the legs to the body with heavy duty Scotch packing tape, but they just wouldn’t sit close to the body the way I wanted. Even with tons of packing tape and masking tape wrapped around the pieces and holding them together, the leg pieces remained very flexible and they tended to splay out a lot more than I wanted. No amount of tape would squish them up as firmly as I wanted; the wadded up newspaper was too elastic and it would push back out when I let go with my hands. I wanted the legs to look tensed up and alive; not splayed out and dead!
So I had a neat idea. My table was already covered with newspaper and wax paper, all firmly taped down, and I decided to tape the legs to the table at each of the wrists/ankles. Remember, there were no feet yet; just legs with stumps. So my goal was to lock the legs firmly in place by taping them to the table, then apply lots of paper maché, with the hope that when the paper maché dried and hardened the legs would stay folded up and close to the body like I wanted. And it actually worked! I used tons of masking tape to attach those ankle/wrist areas to the table, applied two layers of paper maché all around the tensed-up legs, and when it dried overnight and I removed the tape attaching the ankles/wrists to the table, the legs kept their shape! Beforehand I was worried that when I removed the tape the tension in the wadded-up paper would be stronger than the hardened paper maché and they’d just bounce back to the splayed out shape, but no, it totally worked. Still, I added a couple more layers of paper maché to be sure.
So from now on if a shape won’t stay put the way I want it to, I’ll just try to tape it down on the table, paper maché whatever parts I can reach, and hope that it will dry and harden and completely keep the shape intact. I’m really pleased to have figured this out.

Okay, then it was time for the feet. I cut out shapes for the feet with craft foam, put a little bit of wallpaper paste (I use GH-57 Universal Wallpaper Adhesive) on the top surface, and set them under the stumps of the ankles/wrists. Because my work space was covered with wax paper, I was optimistic they wouldn’t get glued down too bad, and this worked out fine. I fashioned the toes out of paper towels, rolled and wadded with lots of wallpaper paste squished into them, to turn them into a nice gooey workable consistency. I laid these onto the craft foam base, and built up a little more of a top surface for the feet with more paper towels and paste. Note: this method takes much longer to dry than regular paper mache, ’cause it’s so much thicker and there’s so much more paste in there.
Once the sculpted feet were totally dry, I applied two layers of paper maché to the top surface, let that dry, and then flipped the whole alligator over and applied paper maché to the bottom surfaces of the feet, as well as the areas underneath the legs that I couldn’t reach when the alligator was right-side-up.
Finally, all done with paper maché! Wow, this guy was a lot of work. Next it’s time for the easy/fun parts: painting and waterproofing! Remember, this thing has to sit submerged in water in my bathtub for about eight hours during my Halloween party. I hope to start on the painting and waterproofing this weekend…
Next: Part 3 is up! Painting, waterproofing, and more.
 About Manning Krull
 How to make a 4-foot paper maché alligator
 My violin skull mask, Mardi Gras 2015
 Three-headed paper maché dragon sculpture
May 31st, 2019 at 10:12 pm
Hello:
Is this unfinished paper-mache alligator for sale ?
Thank you
Bassie
June 2nd, 2019 at 4:13 pm
Hello Bassie! This guy is long gone, unfortunately! You can check out my page about custom orders if you’re interested in ordering a new one!