
Paper maché archery target decoration
Published by Manning on October 28th, 2019
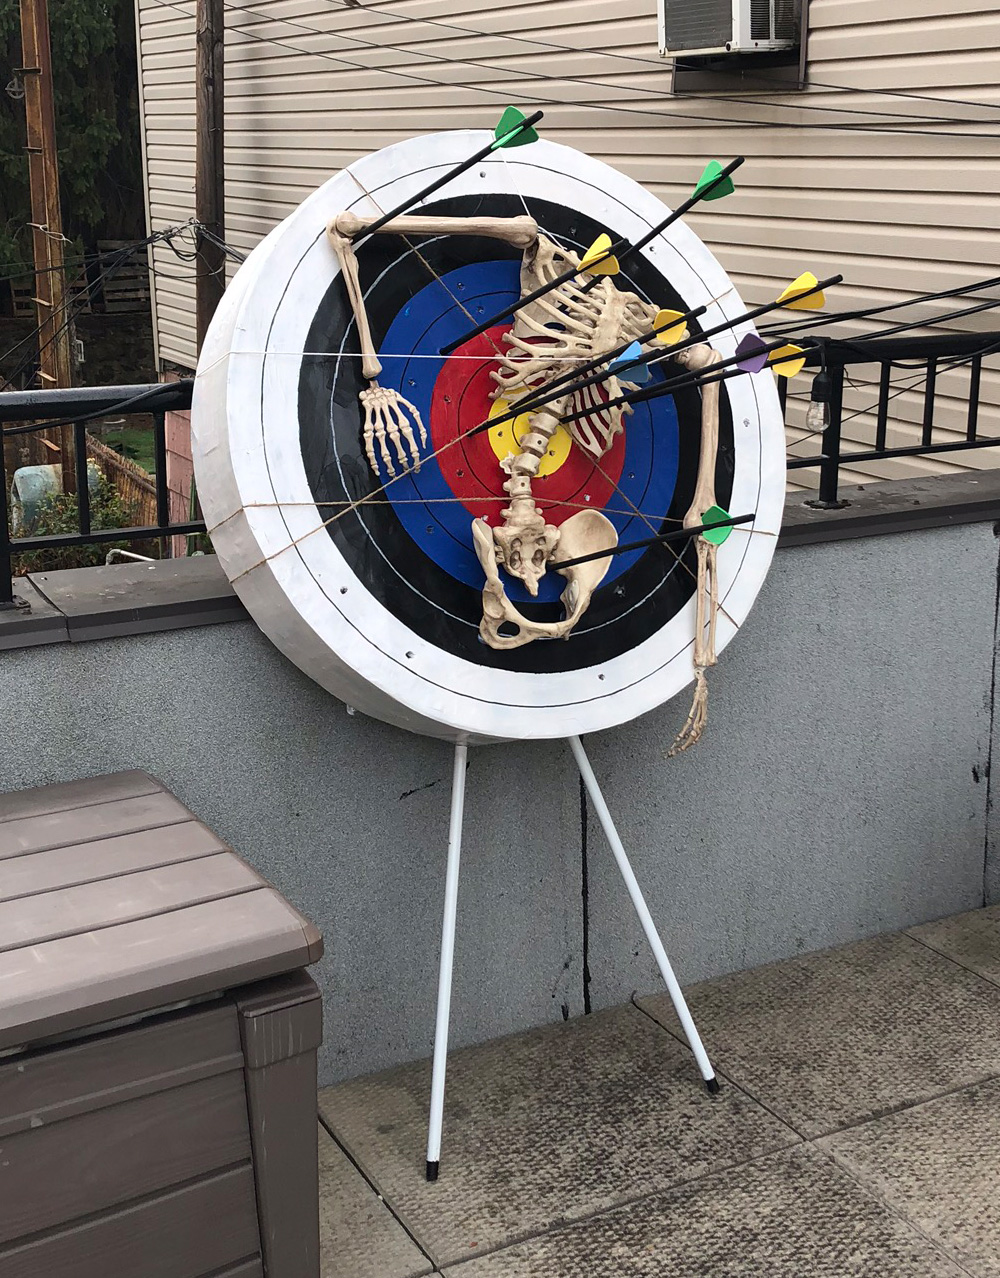
I made this paper maché archery target decoration for my 2019 summer-camp-slasher-movie-themed Halloween party! Here’s how I did it…
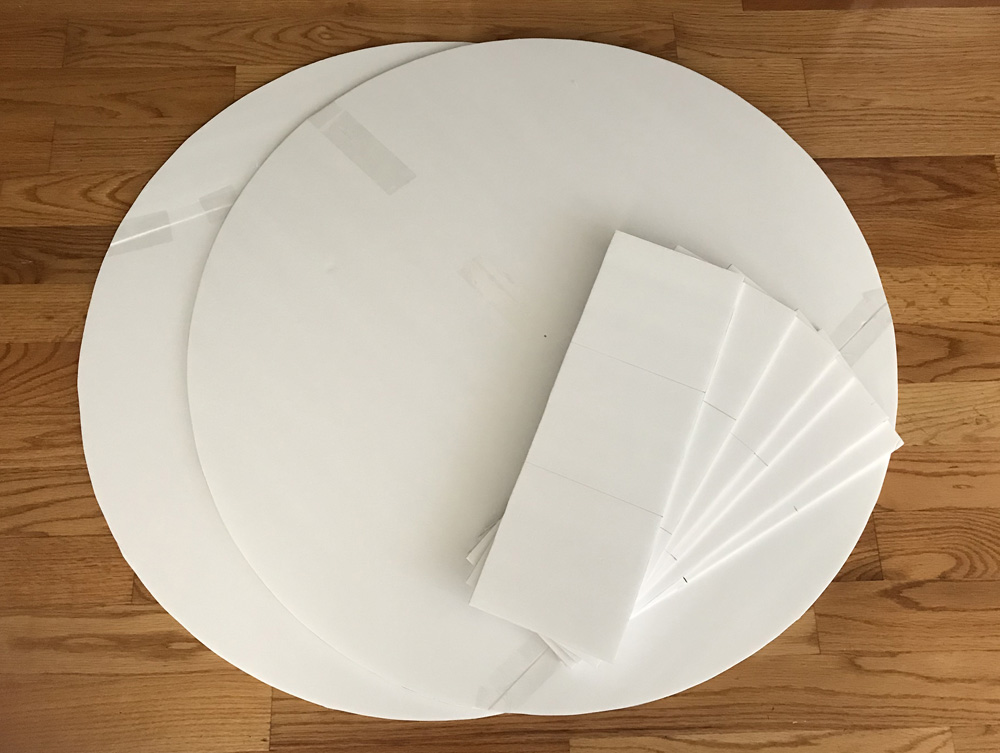
I started by deciding on a size for my target — 36″ in diameter. I taped two 30″ x 20″ sheets of foam board together with heavy duty shipping tape, and drew a 36″ circle on ’em. (See my article about drawing precise circles here.) I cut out this circle with an X-acto knife. I then made a second copy of the same thing.

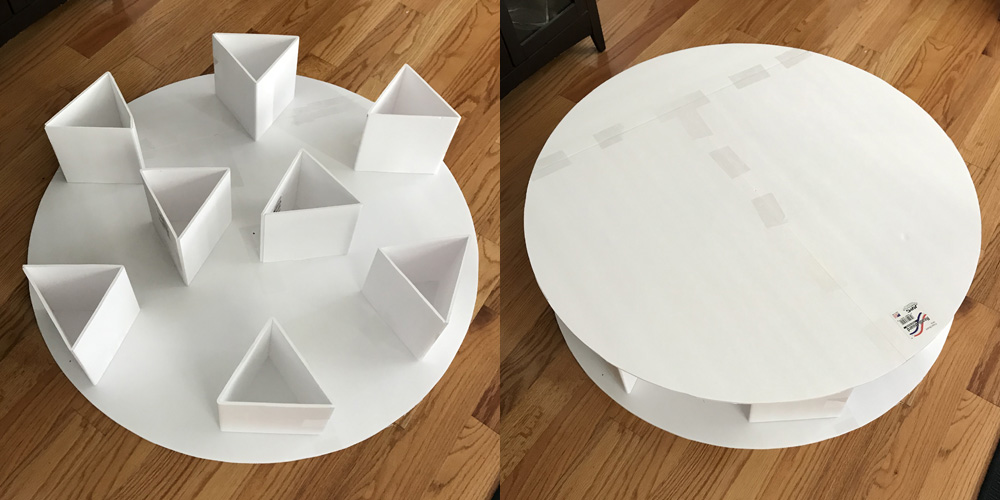
I turned these circles into a 7″ wide disk with foam board walls and foam board supports inside; see my article about building box shapes with foam board. I used heavy duty shipping tape to connect all this stuff together.
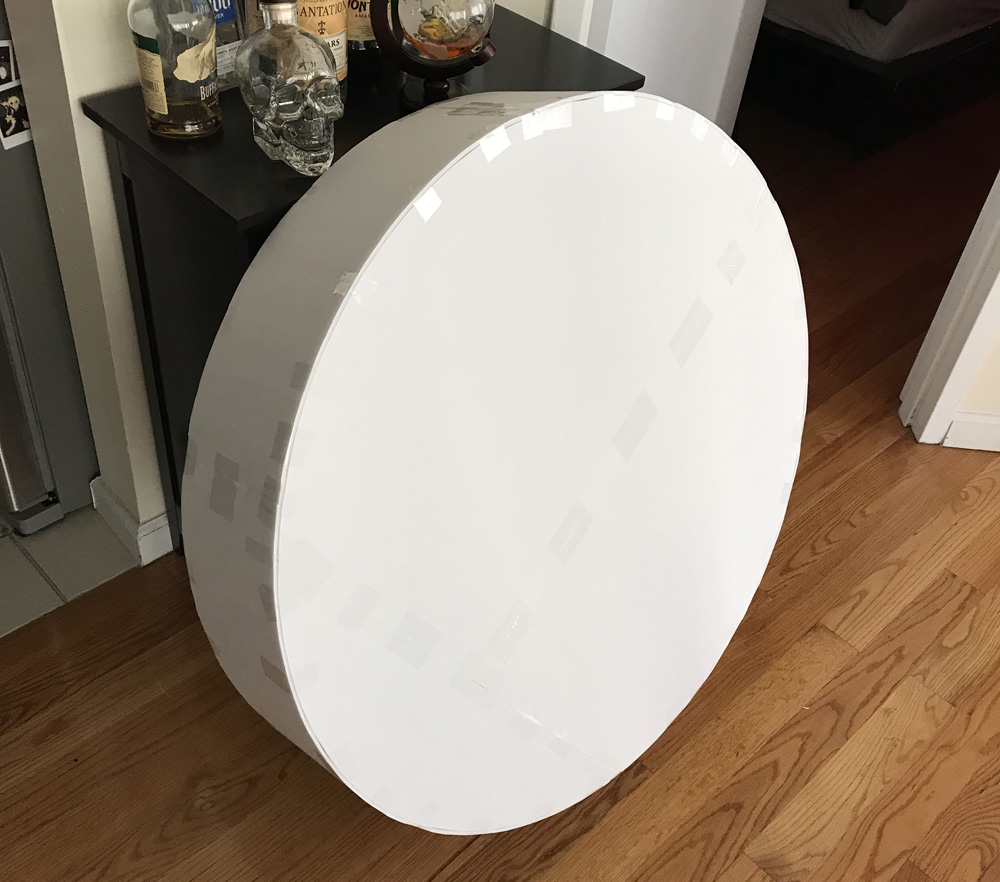
I then covered the target with one very quick layer of paper maché (not shown); here’s some info about my paper maché process and materials. The short version is: I use Roman PRO-543 universal wallpaper adhesive (paid link) and alternating layers of newspaper and brown wrapping paper.

Painting
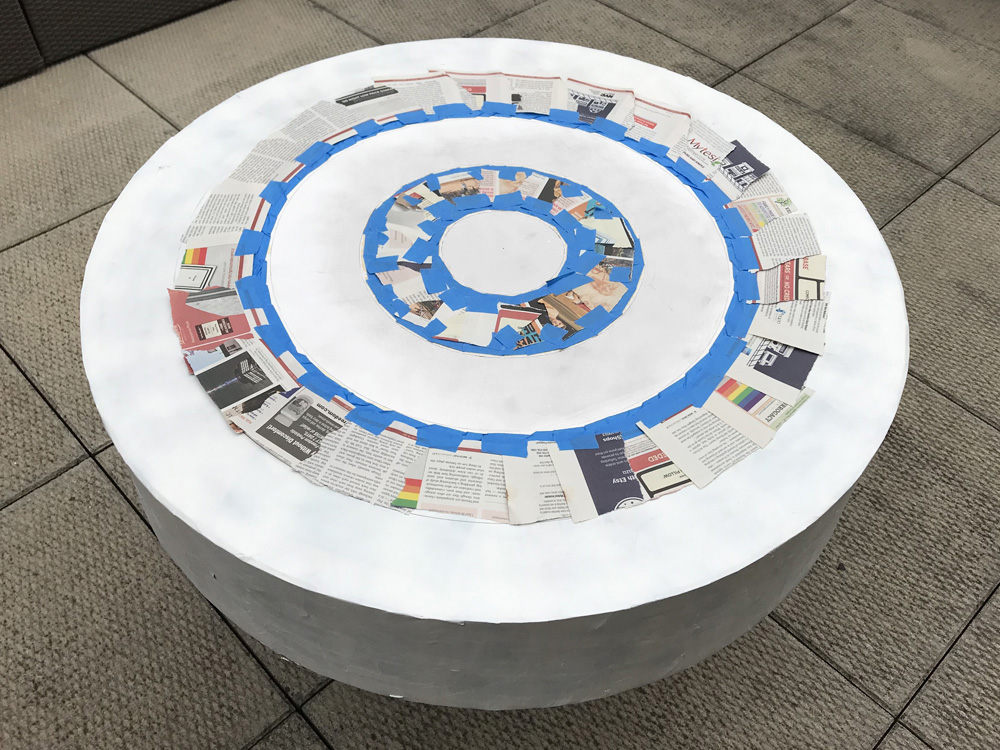
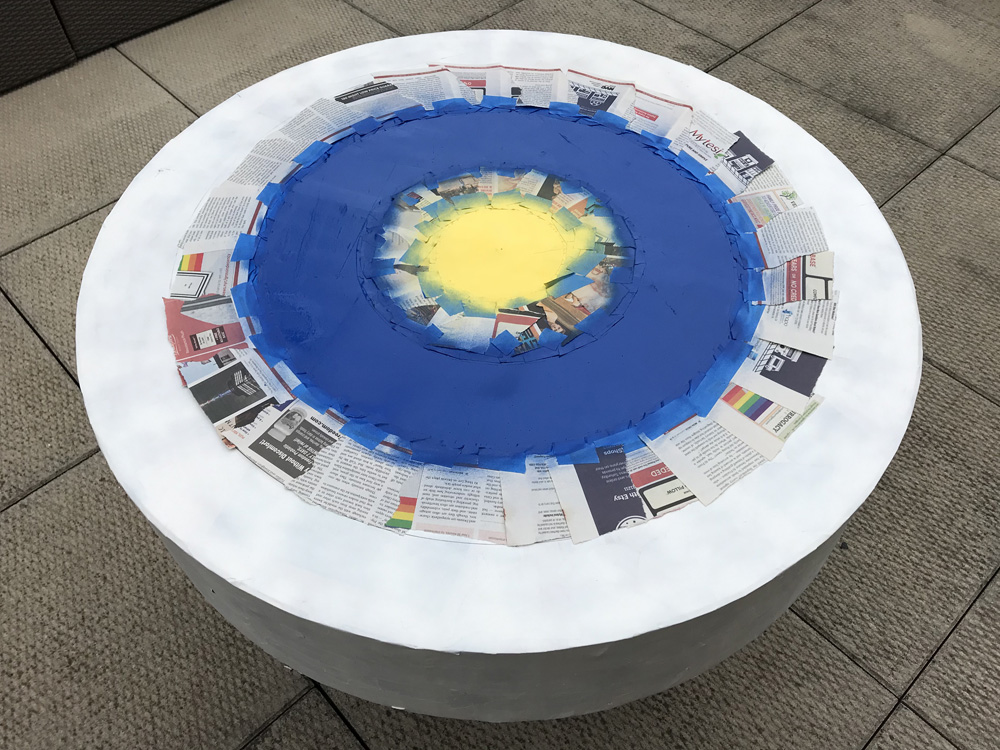
When the paper maché was dry, I spray painted the target white. When that was dry, I used my same circle-drawing method to draw four circles at regular intervals to outline all the colored rings on the target — and believe me, figuring that out was the limit of my math abilities!
Then I used painter’s tape and masking tape and newspaper to mask out these sections for spray painting, one or two at a time. It’s important to wait at least a full day before putting tape on spray paint; sooner than that and you’re really risking peeling a lot of the paint off!
I then used my circle-drawing method again to draw a new set of circles, this time to define the rings inside the colored areas — more math! I initially drew these lightly with a pencil, but then I went over them by hand; with a black paint marker for most of ’em and a white china marker for the ring inside the black section.
I used an awl to punch a million holes in the target, to make it look like it’s gotten a lot of use. After making all these tiny holes with the awl, I poked through them again with a tapered paintbrush handle to make them bigger.
I made the stand for the target out of some hollow metal mop handles I had left over from another project; I bought a bunch of crappy mops at the dollar store and just discarded the heads. I simply taped these together at the top with tons and tons of heavy duty shipping tape, and then I used a ton more tape to attach them to the back of the target. Pretty sloppy, all of this, but who cares?!
The legs weren’t meant to make the target stand up on its own; I leaned it against the wall and used some more string to tie it in place on the metal railing.
For arrows, I got some wooden dowels at the art store and just painted ’em black. I didn’t need to make any arrow heads, since they’re stuck into the target. I made the feathery bits (I learned these are called the fletching) out of craft foam, which I hot-glued in place.
To set up the target, I laid my skeleton prop in place and tied some rope around him to hold him onto the target the way I wanted. Then I jabbed the arrows through the skeleton so that they went all the through the target. They stayed in fine on their own; no need for glue or anything.
I then picked up the target and hung it on the stand. Done! Looks pretty cool! On to the next project…
 About Manning Krull
 How to make a 4-foot paper maché alligator
 My violin skull mask, Mardi Gras 2015
 Three-headed paper maché dragon sculpture
Leave a comment