
Paper maché fireplace prop
Published by Manning on October 14th, 2019
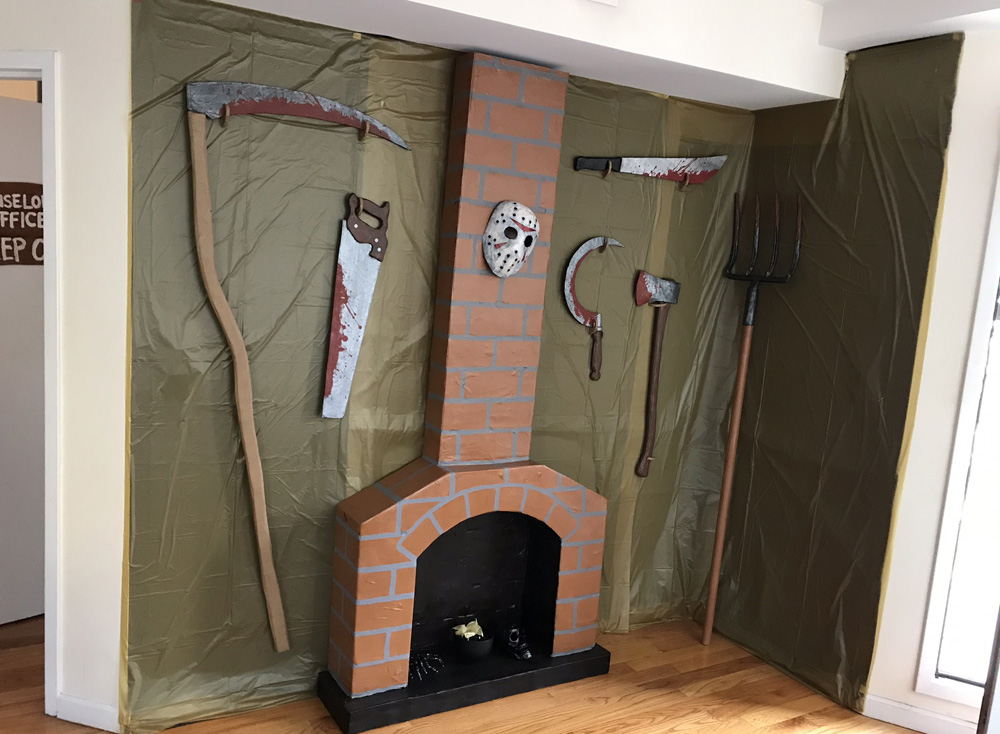
I made this paper maché fireplace for my 2019 Halloween party — Summer Camp Slasher!
Of course I started by measuring and sketching the fireplace to make sure it would be the right size for our wall and tall enough to reach our ceiling. I built the basic big shapes using my usual method for building box shapes out of foam board. The fireplace consists of three basic shapes: the big open fireplace shape, the chimney on top, and a wide base. When these were all done I taped them together with shipping tape.
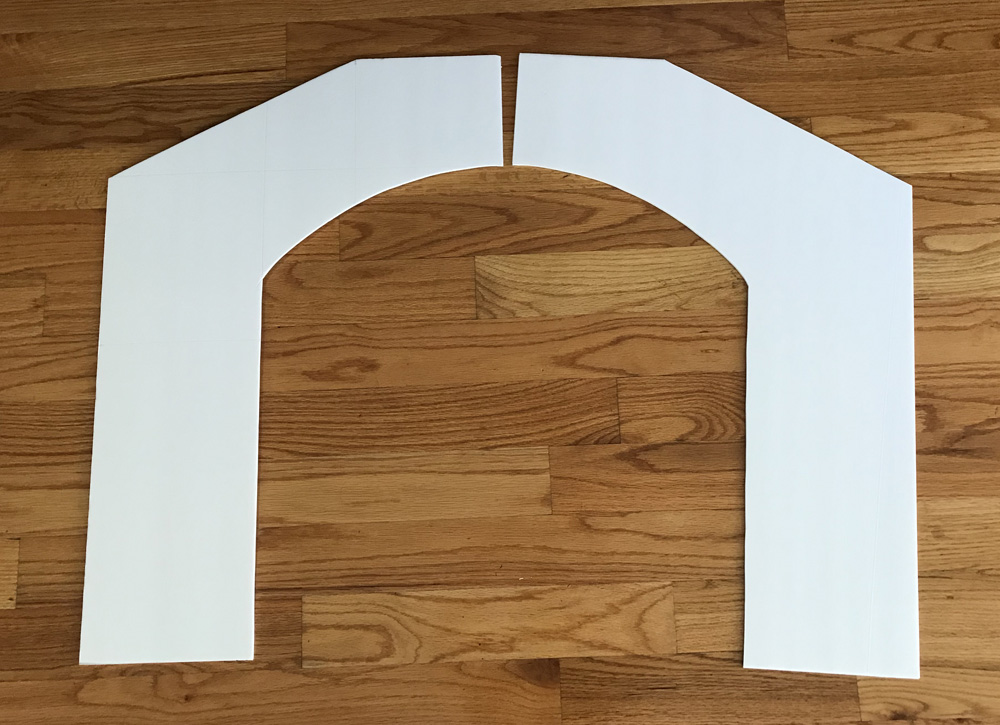
I designed the fireplace so that the main big open part would span across two 20″ x 30″ pieces of foam board, making this part 40″ wide. I based the rest of my measurements on that; the chimney part is 15″ wide, and the main open part is 9″ deep — I based the depth on the size of the fake fire I’d be adding later; more on that coming up.
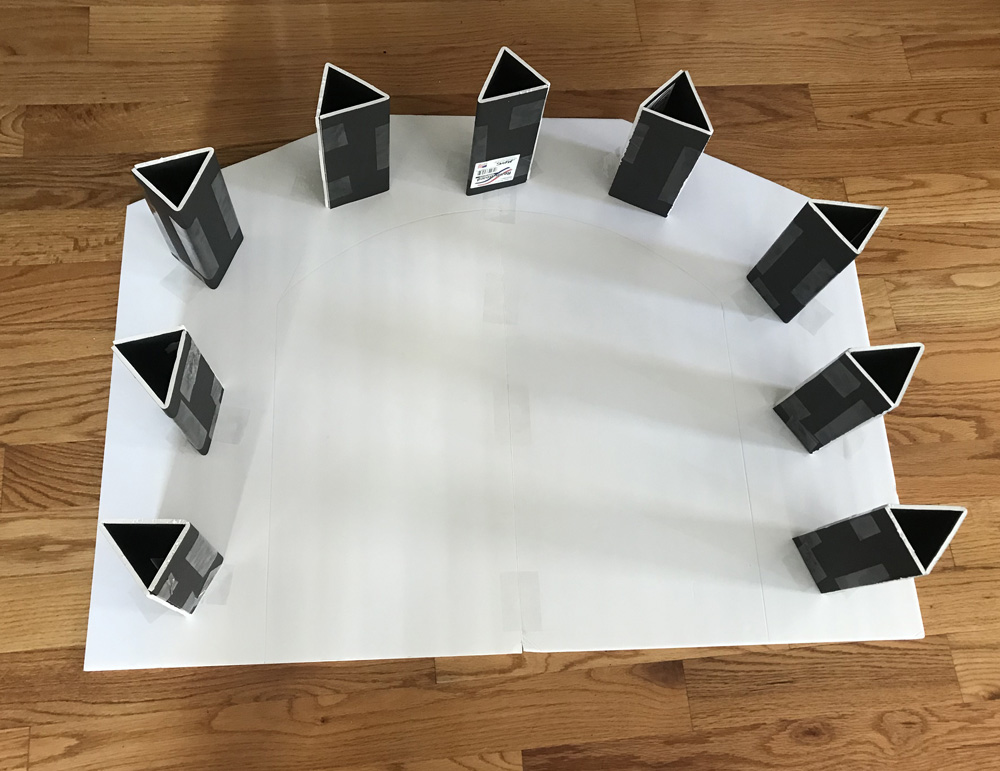
Here are the inner supports for the main box shape; see my article about building box shapes out of foam board. (I happened to have a bunch of black foam board laying around so I used some of it here; I don’t prefer working with this stuff because you can’t easily see any lines you draw on it with a pen or marker.)

I use this corner where my kitchen counter meets the floor for a lot of projects; it helps me line up pieces at perfect right angles before connecting everything.
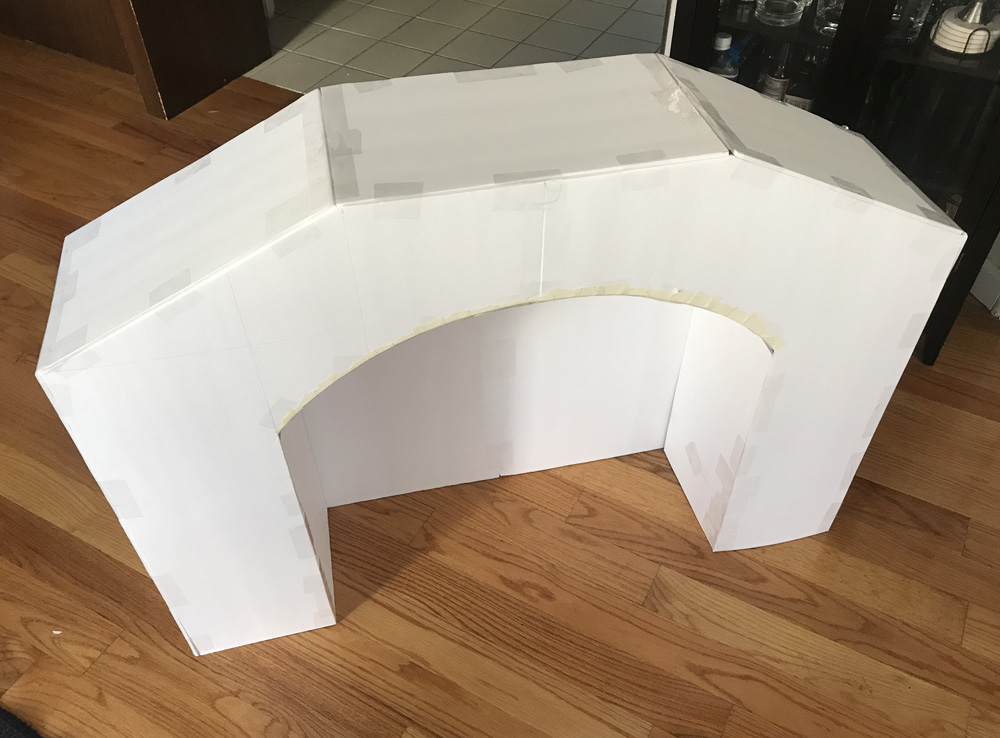
Here’s the main fireplace shape all built and ready for bricks and paper maché. There’s a curved wall you can’t see here, under the arch shape; I used my usual trick for curving foam board there — I measured and cut that panel of foam board and then carefully rolled it around a wine bottle, first one way then the other. This helps crunch up the foam inside and make it somewhat pliable.
Bricks
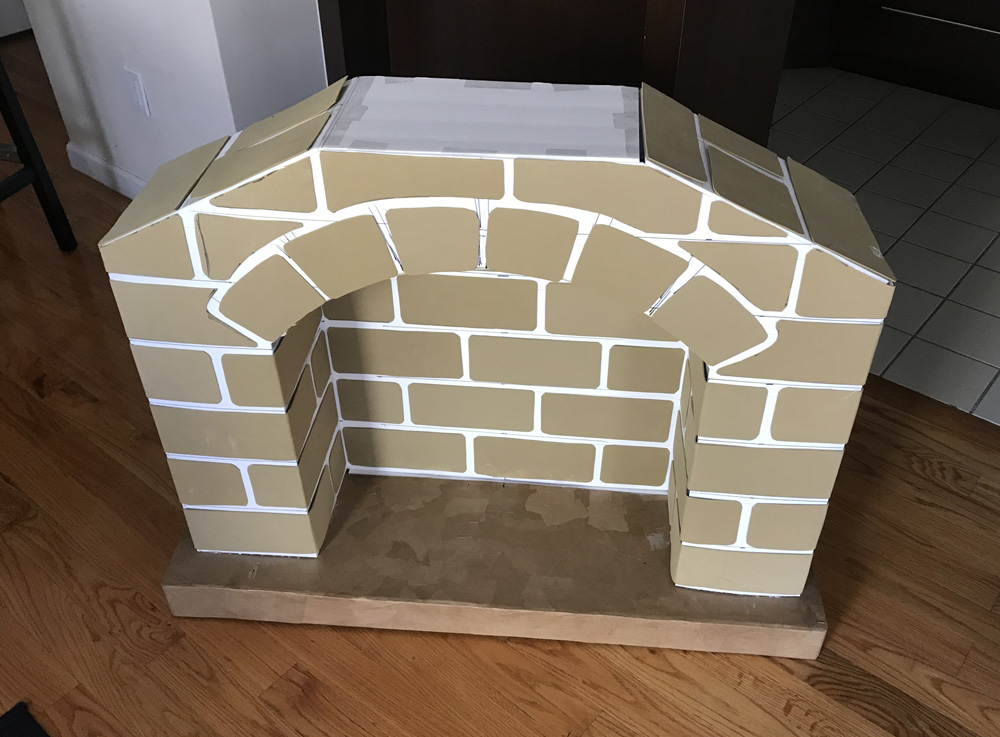
I used craft foam to make the brick texture. I measured and cut out tons of brick shapes, and I also measured and drew lines on the fireplace shape to use as guides for attaching them. I hot-glued all the bricks in place with tiny drops of glue, just to quickly set them in place; they’ll get glued on way better when I add paper maché.
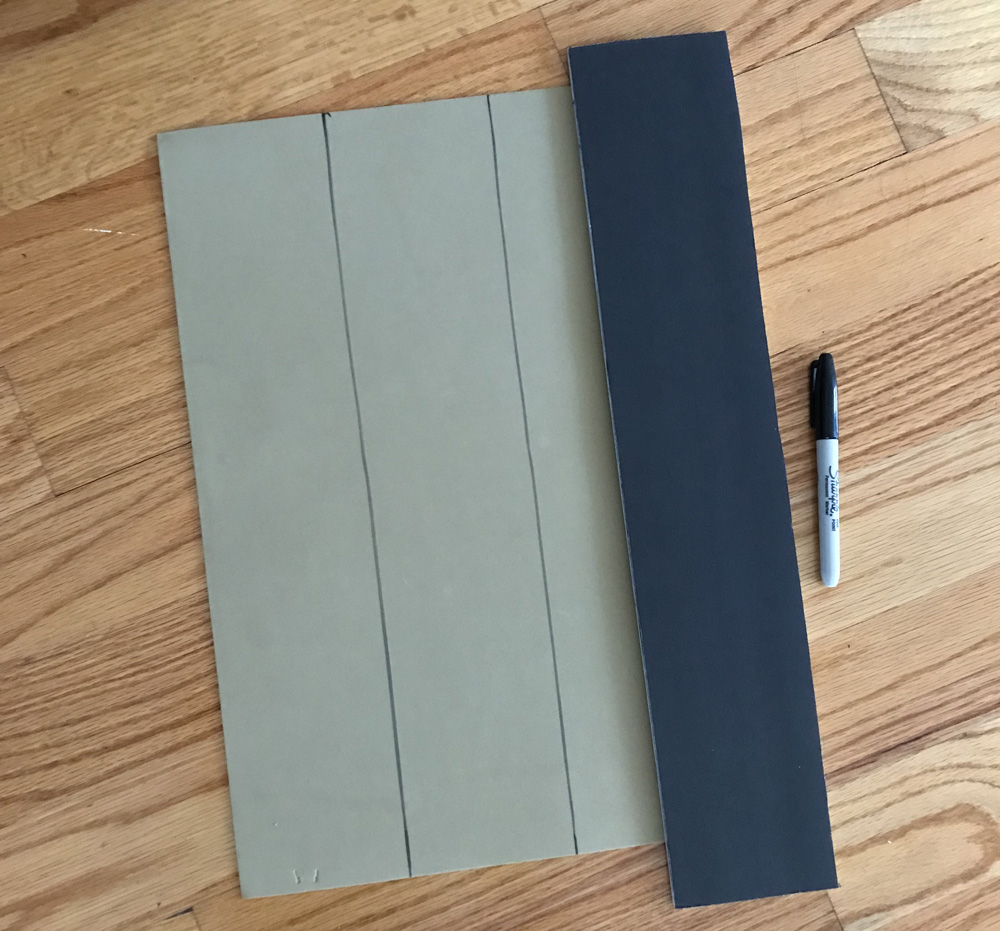
Rather than measure out the same lines on every sheet of craft foam to make all these bricks, I used a simple trick I made up for projects like this: I first cut out a long strip of foam board at the size I wanted all the bricks to be, and I simply traced that shape onto the craft foam over and over again to make many perfectly even rows of bricks. This is much faster than measuring lines with a ruler every single time. From there, I could just cut out these rows with scissors, and then trim each brick to the width I needed for each part of the fireplace.

I forgot take any pics of the chimney segment up to this point! Here it is; you can see I’m still trying to use up all this black foam board.
Paper maché
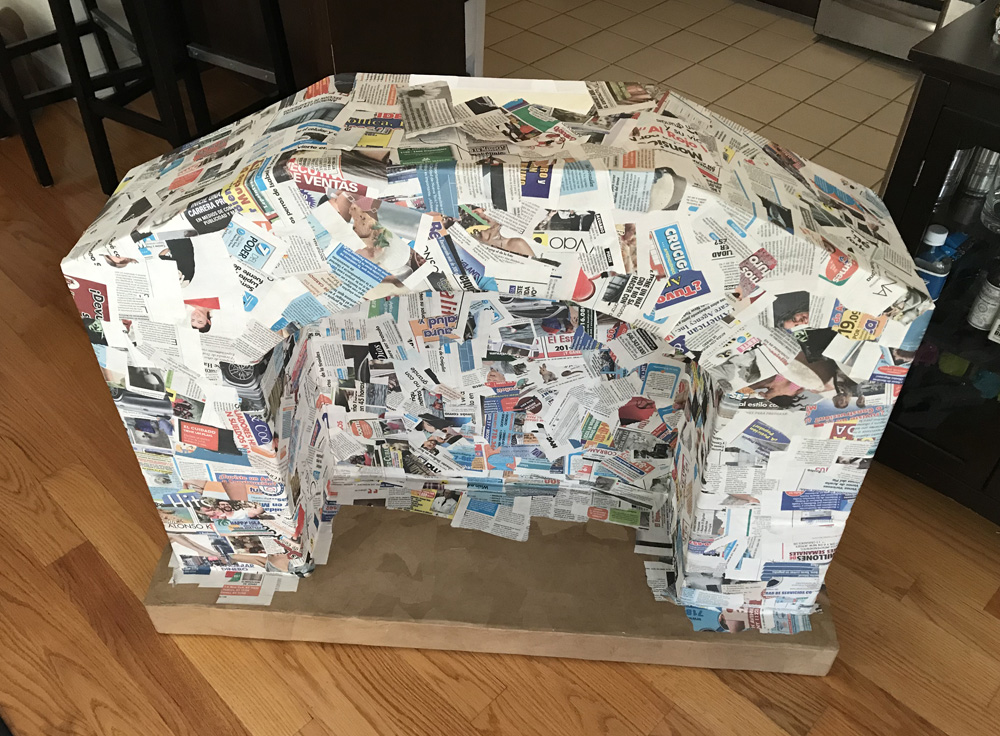
I then covered the whole fireplace with one layer of paper maché; here’s some info about my paper maché process and materials. The short version is: I use Roman PRO-543 universal wallpaper adhesive (paid link) and in this case just one layer of newspaper.

The purpose of the paper maché in this case is just to hide the texture of the craft foam, foam board, and tape, and to give me a nice porous surface for painting.
Like I mentioned, I built the flat base, the main fireplace shape, and the chimney all separately. I connected the main fireplace shape to the base and then added bricks and paper maché to this part. Separately, I put the bricks and paper maché on the chimney. When all that was done, it was time to put these pieces together…
Assembling everything
Note: Most floors tend to curve upward slightly where they meet the wall, and that means if you stand something tall against the wall it will lean away from the wall a little bit — the taller it is, the more you notice how much it leans. In order to make sure the fireplace is right up against the wall, I added a strip of foam board under the front edge, to make it lean back a very small amount. This strip isn’t visible; I slid it back about an inch behind the front edge of the fireplace and just taped it in place.
So, once the main fireplace shape was positioned nicely against the wall, I could then stick the chimney on top and make sure it was also flat against the wall. I could see the tall chimney also wanted to lean forward away from the wall quite a bit, so I added a very narrow strip of foam board at the bottom front edge of the chimney to help lean it back a bit. When I got the correct angle worked out so that the whole chimney touched the wall, I then permanently attached the chimney to the top of the fireplace. I first used a ton of hot glue on the front and sides to hold it in place, and then I added several layers of paper maché over that. When that was 100% dry, it was then safe to slide the whole big fireplace prop away from the wall and secure the back of the chimney with lots of shipping tape — ugly, but no one will see it! And way faster than paper maché. Finally, the whole big prop was nice and solid, and I could move it outside for painting.
Painting
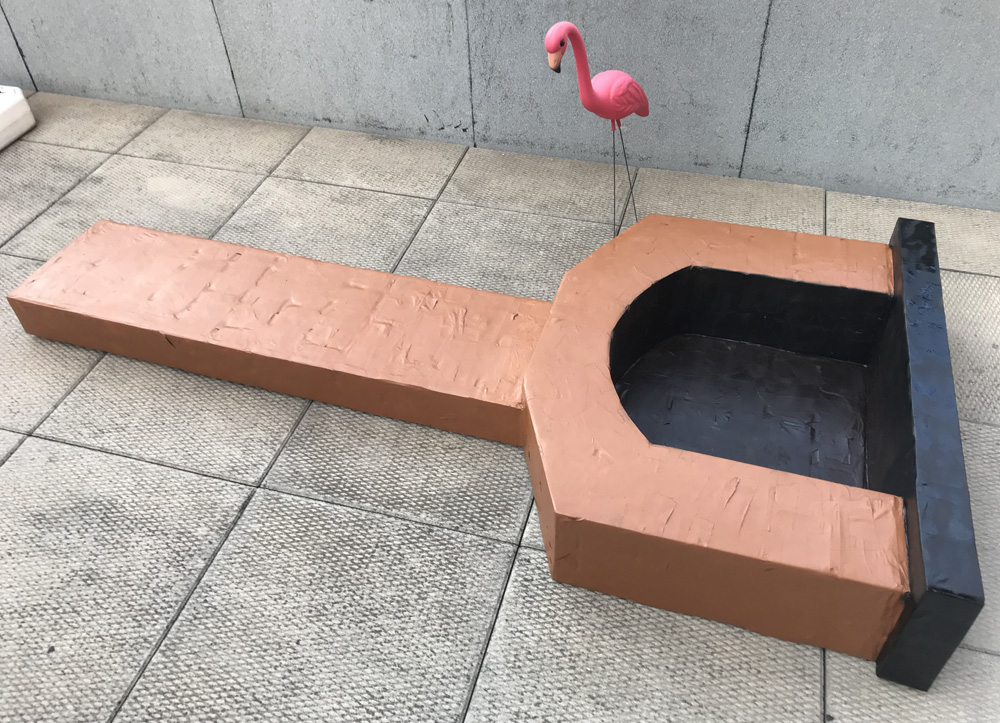
I spray painted the outside of the fireplace and chimney with this brown-ish brick color, and I spray painted the interior and the base black.
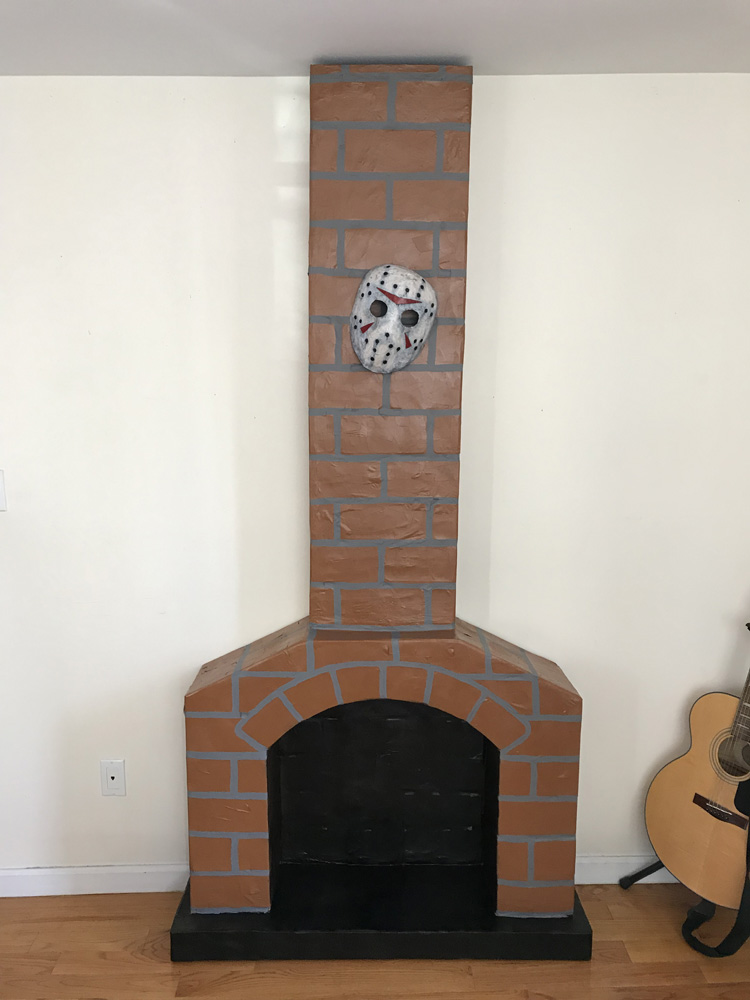
When all that was dry I painted all the lines of cement by hand with gray acrylic paint and a stiff brush. The 3d texture of the foam bricks under the paper maché gave me a perfect guide for painting all these lines; all the lines took me no time at all, like maybe 20 minutes.
Fire!
I’ve created my own fire effects in the past using different methods with lights and fans and stuff. This year I kept it simple by using this really neat battery-powered torch prop (paid link) that I had left over from our Egyptian tomb party — this thing:
The handle of the torch is removable, and the base of the torch is basically a bowl shape with these little retractable legs. I wanted to make some fake logs and branches to fit around this torch base but I ended up not having time. I wish I got a pic of the fireplace with the fire lit!

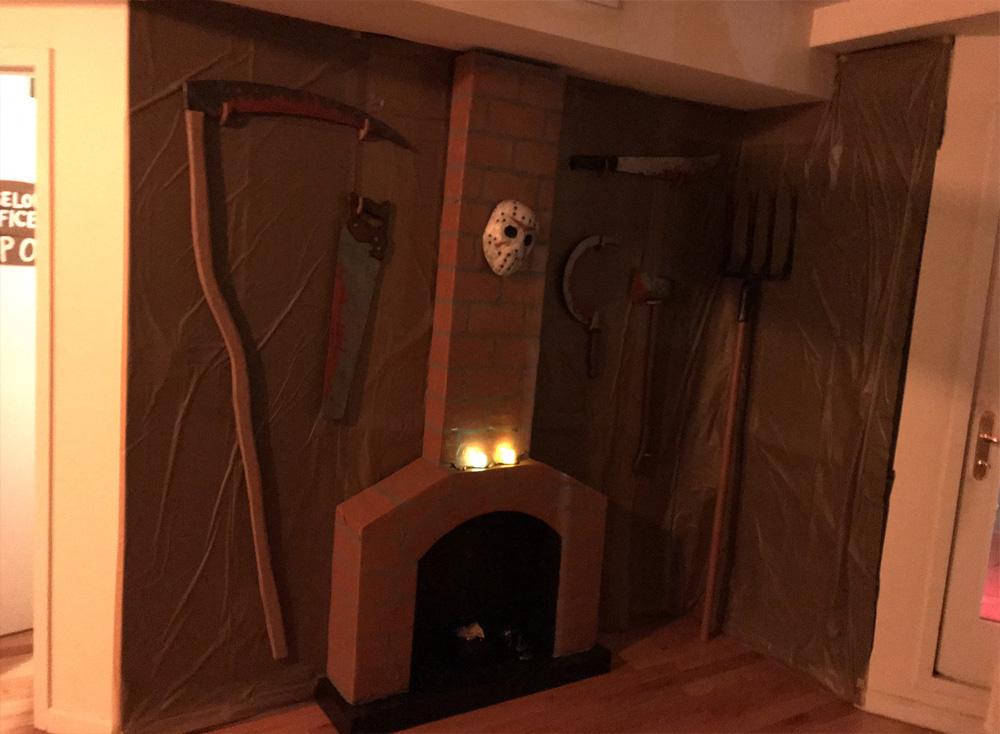
Anyway, this thing was really easy and came out great! On to the next project…
 About Manning Krull
 How to make a 4-foot paper maché alligator
 My violin skull mask, Mardi Gras 2015
 Three-headed paper maché dragon sculpture
Leave a comment