Paper maché peppermint decorations for Halloween
Published by Manning on October 11th, 2018
I made these oversized paper maché peppermint decorations as part of a set of giant candy props for Halloween 2018. Here’s how I made ’em…
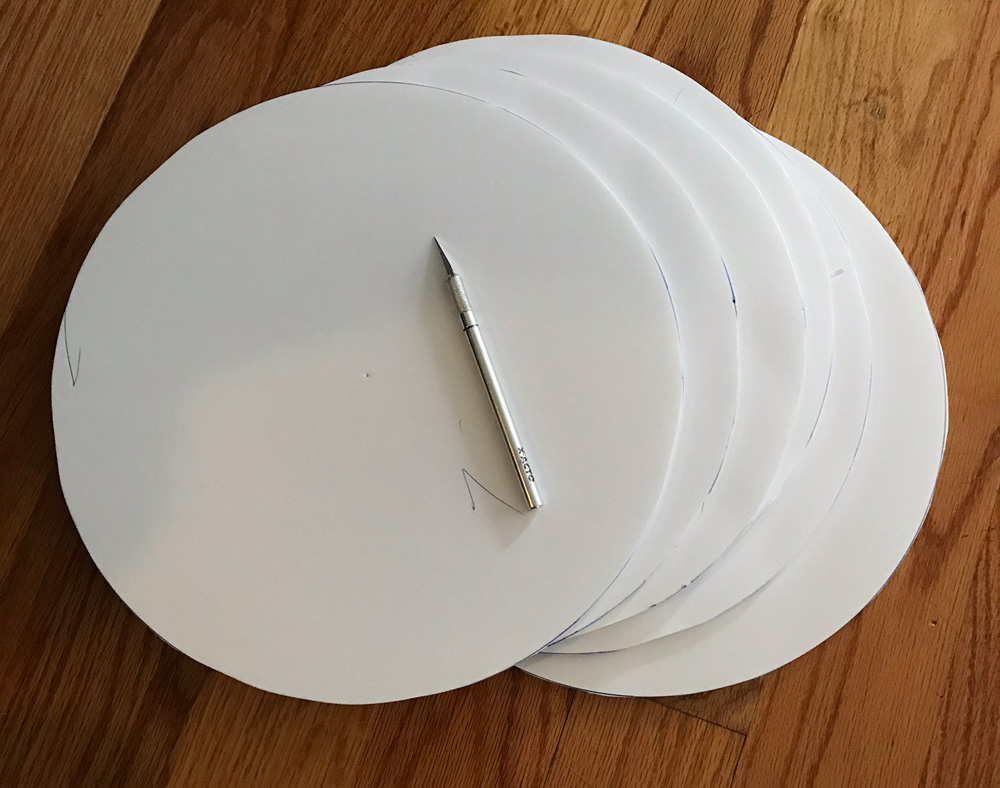
I gathered materials to make three peppermint candies at the same time. I cut out six 12″ circles, two for each candy. See my article about drawing precise circles! I cut the circles out with an X-acto knife.
I made a bunch of little triangular supports from strips of foam board, bent and taped closed. I forgot to take a picture of this step but you can see the same thing in my article about my evil gingerbread men; third photo from the top. I taped these supports in place.
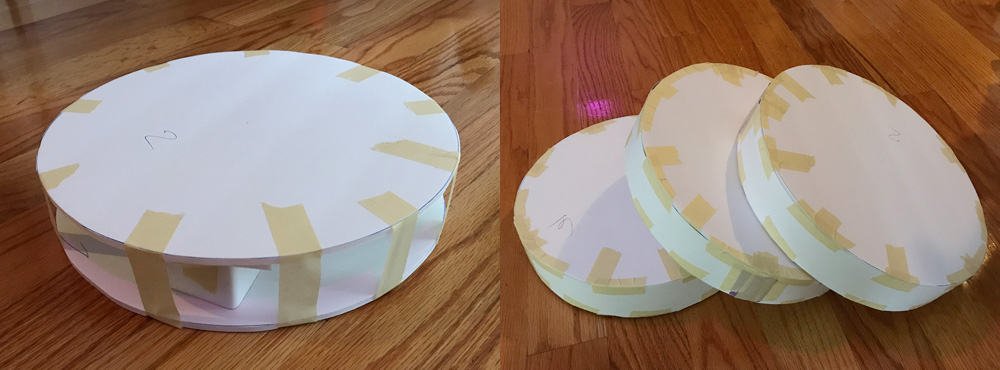
I laid the other foam board circle on top of the one with the supports, and connected them with a few pieces of masking tape.
I cut strips of poster board to serve as the walls around the edges of the peppermint candies. I taped these in place.
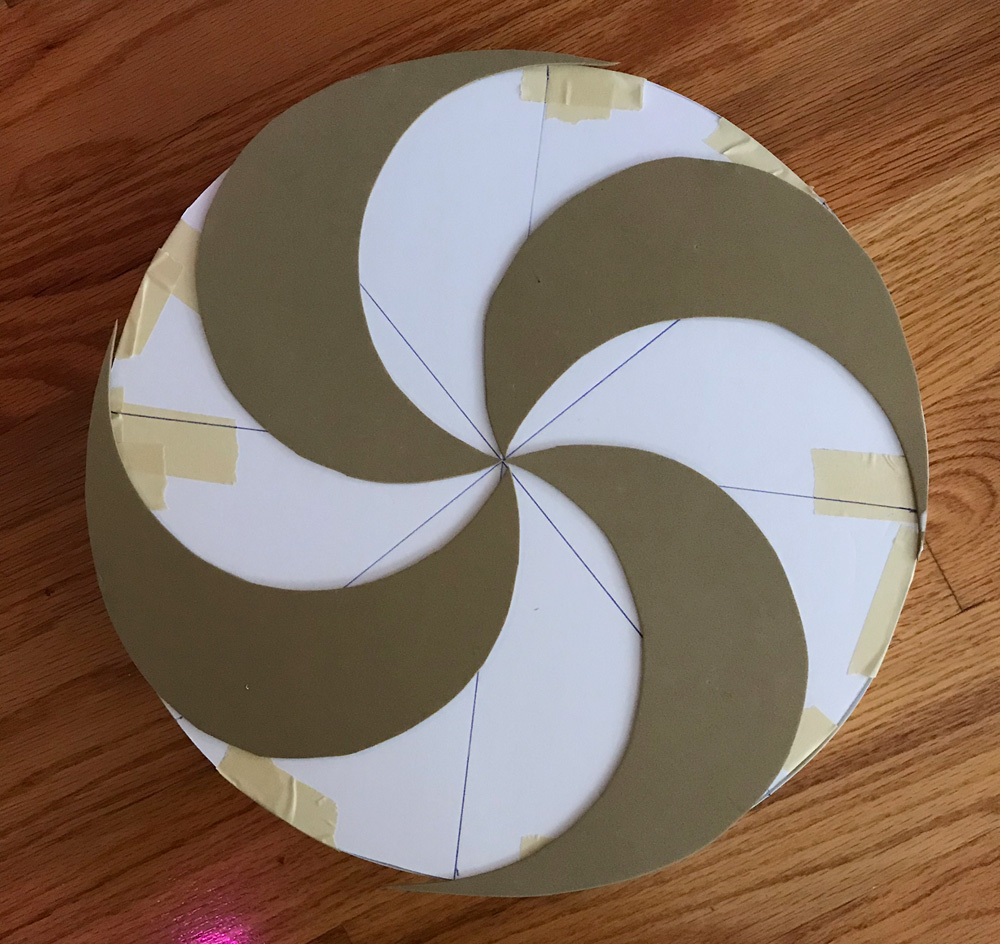
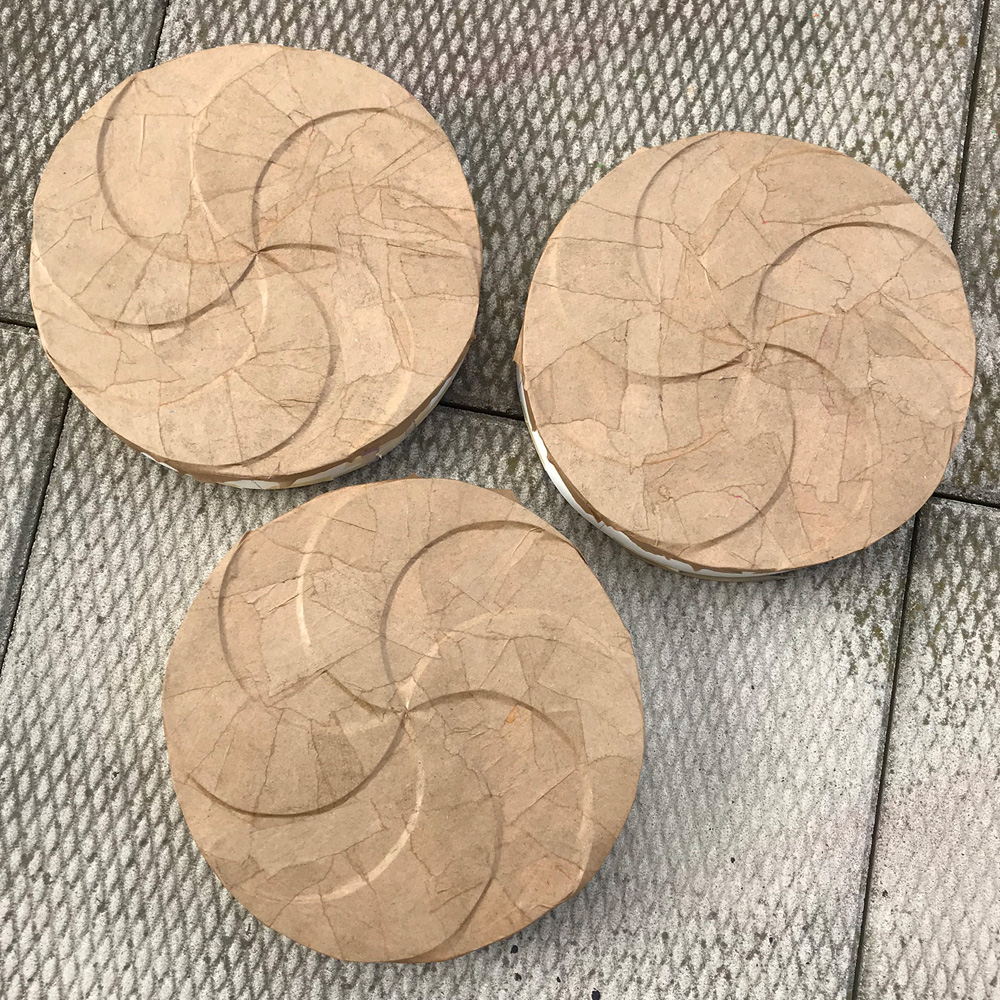
I designed the swirly motif for the peppermints in Photoshop and printed it out — all I needed to print was just one of these swoosh shapes. I taped the swoosh onto poster board and cut it out, to give me a nice sturdy shape that I could trace many times. I traced this swoosh shape onto craft foam 24 times — that’s four for each side of the peppermint, so eight swooshes per peppermint, and 24 total ’cause I’m making three candies.
I glued the swooshes in place on the bases for the peppermints with tiny dots of Tacky Glue.
I then covered the peppermints with two layers of paper maché each. You can read about my paper maché process and materials here. The short version is: I use Roman PRO-543 universal wallpaper adhesive (paid link) and alternating layers of newspaper and brown wrapping paper.
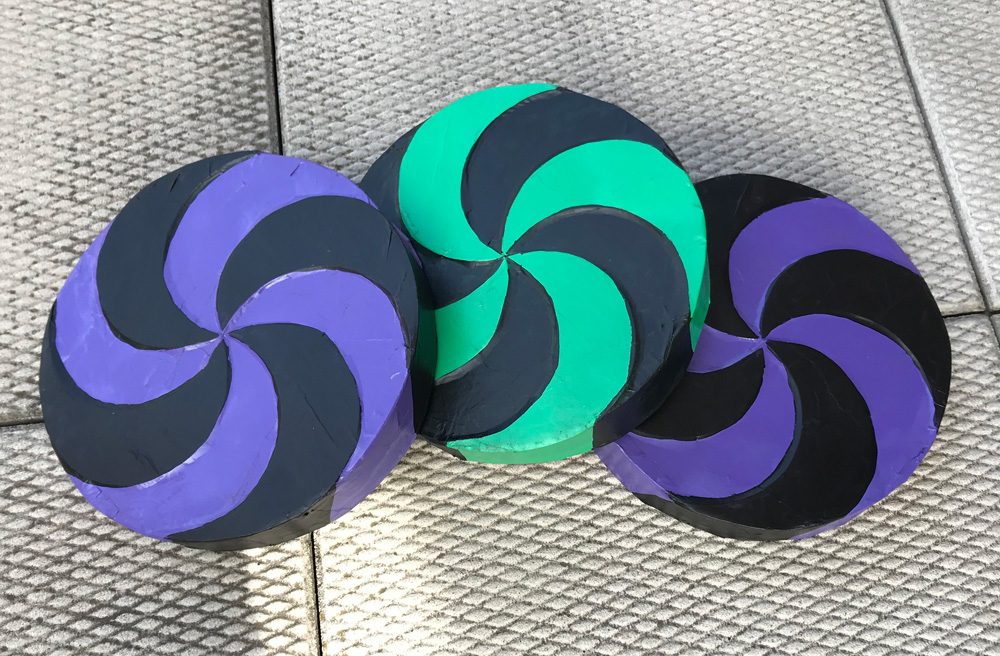
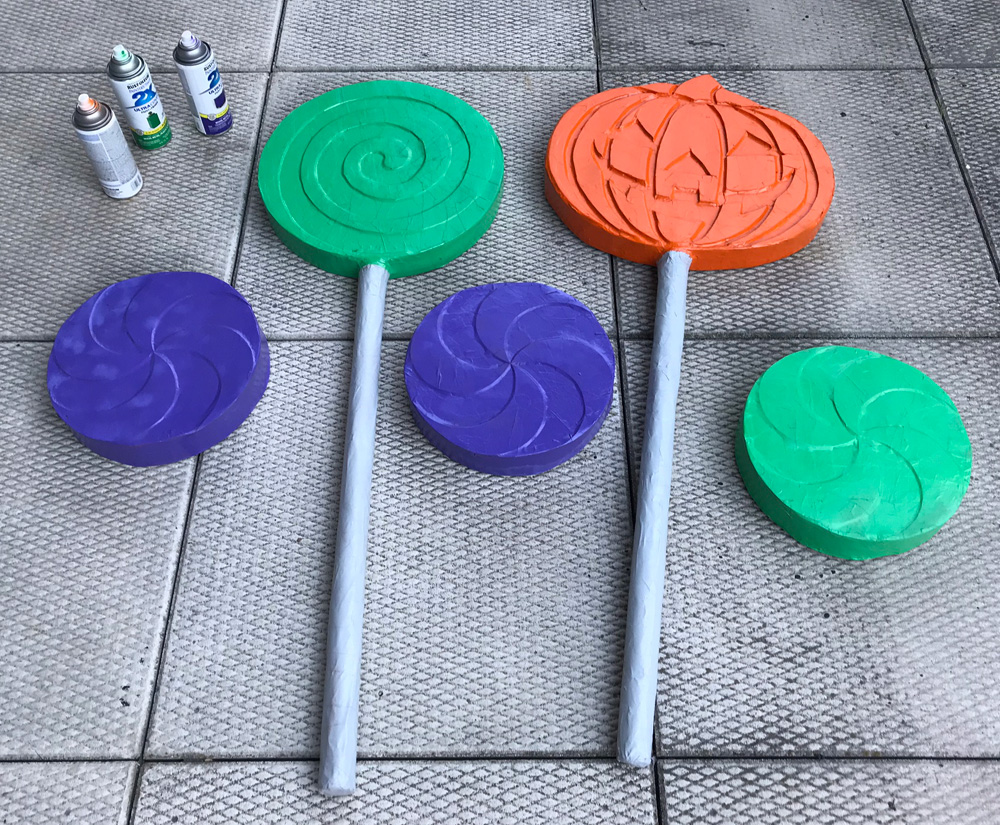
When the paper maché was dry, I spray painted the peppermints purple and green; here they are along with two lollipops.
I then used acrylic paint and a brush to hand-paint the swirl pattern on each one. Easy! These are all done; on to the next project…


 About Manning Krull
 How to make a 4-foot paper maché alligator
 My violin skull mask, Mardi Gras 2015
 Three-headed paper maché dragon sculpture
Leave a comment