
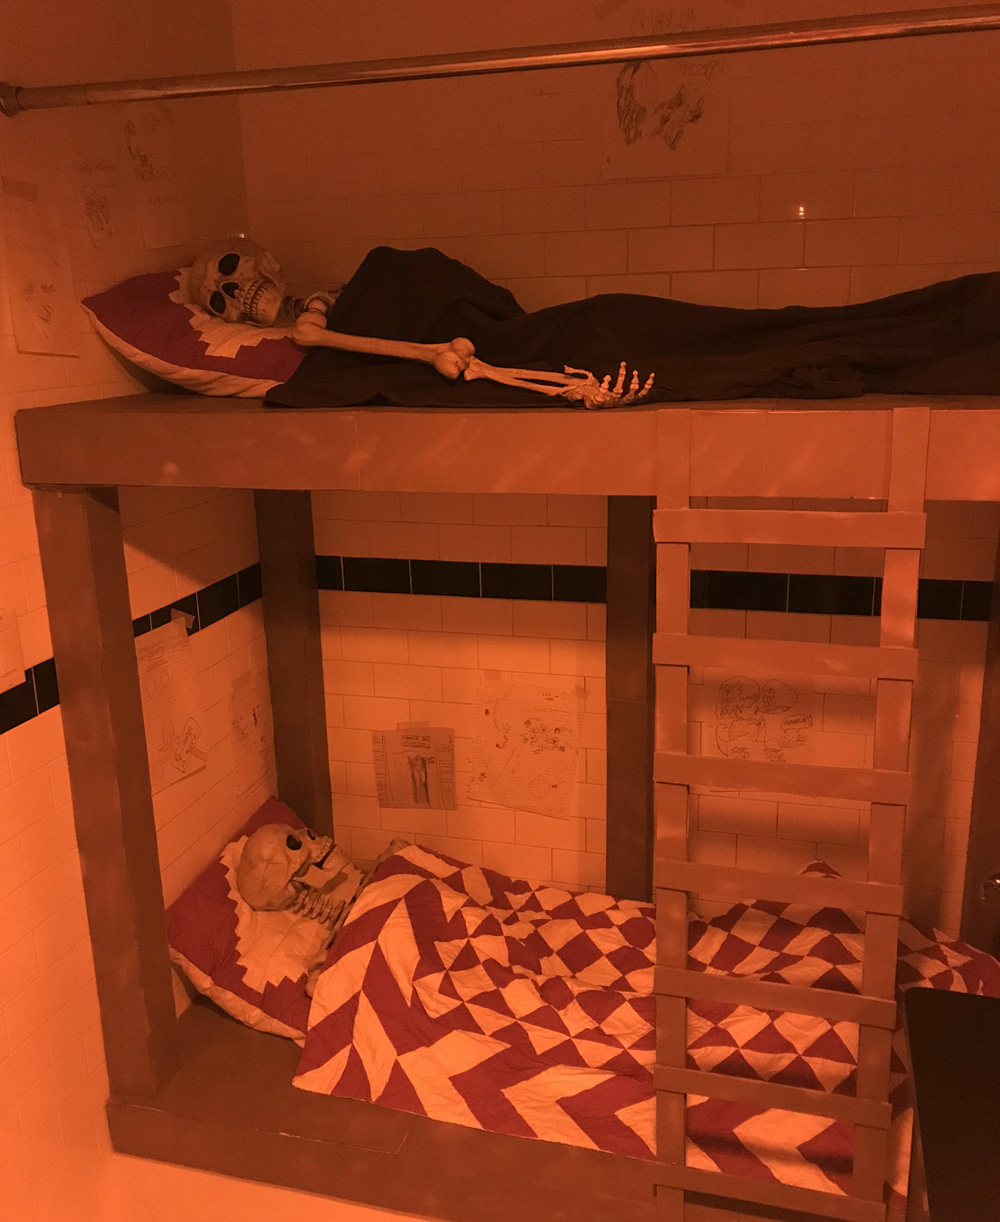
Skeleton bunkbeds!
Published by Manning on October 28th, 2019
I made these skeleton bunkbeds to transform my apartment’s bathroom into a summer camp dormitory for my 1970s-summer-camp-slasher-movie-themed Halloween party. They were easy!
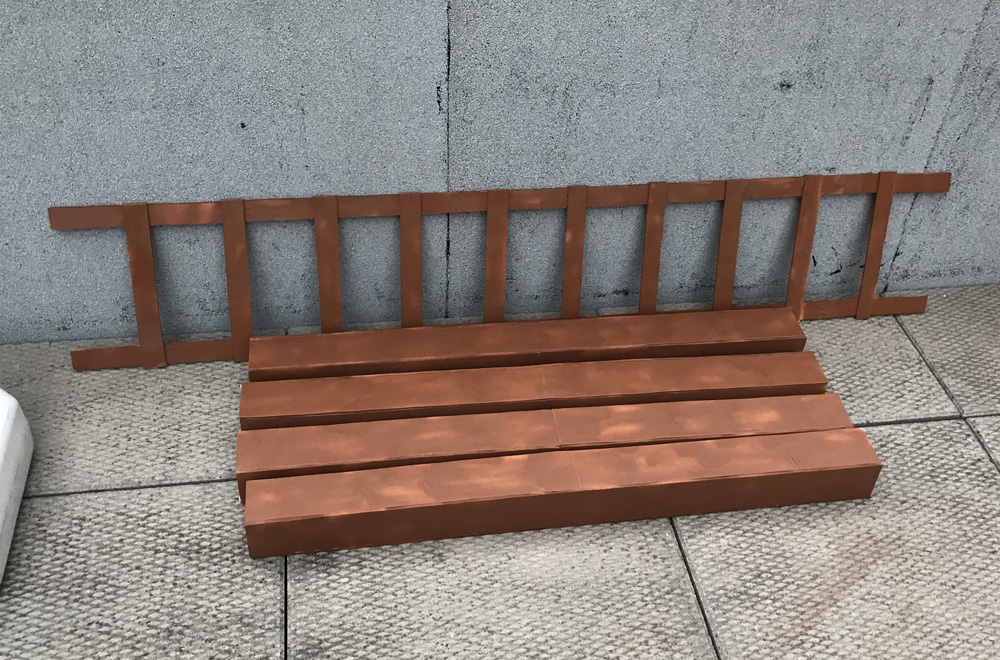
The bunkbeds consist of a few main parts: the beds themselves, the ladder, and the vertical supports holding up the top bunk. I made all of these out of just foam board, tape, and hot glue, using my usual techniques for making box shapes out of foam board.
I usually use heavy duty shipping tape to create really strong connections between pieces of foam board, but I wanted to avoid that for this project wherever I could. For most of my projects, I use tons of tape everywhere, but then I cover everything over with paper maché to conceal the shiny texture of the tape and give me a nice paint-able surface. I didn’t plan on using any paper maché on this project, so I did whatever I could to hide the tape. I wanted to avoid having visible tape anywhere when these things were done.
I also wanted to strategize ahead of time for only painting the surfaces of these pieces that will be visible to people, in order to save a lot of money on paint. So I marked a lot of these pieces along the way to remind me which surfaces would be facing the walls.
So for this project I tried using hot glue in place of shipping tape for a lot of the connections — basically I planned out all of this so I could use tape in the places that wouldn’t be visible to the viewer, and hot glue in the places that would.
In using the hot glue everywhere, I tried to hide it as much as possible between the pieces of foam board, where the edges touched. This worked out fine! In the end I was able to make all these big shapes and for the most part you could only see the foam board surfaces everywhere. Perfect for painting.
Anyway, back to making this stuff. Of course I first measured all the dimensions of my bath tub, where this decoration would live.
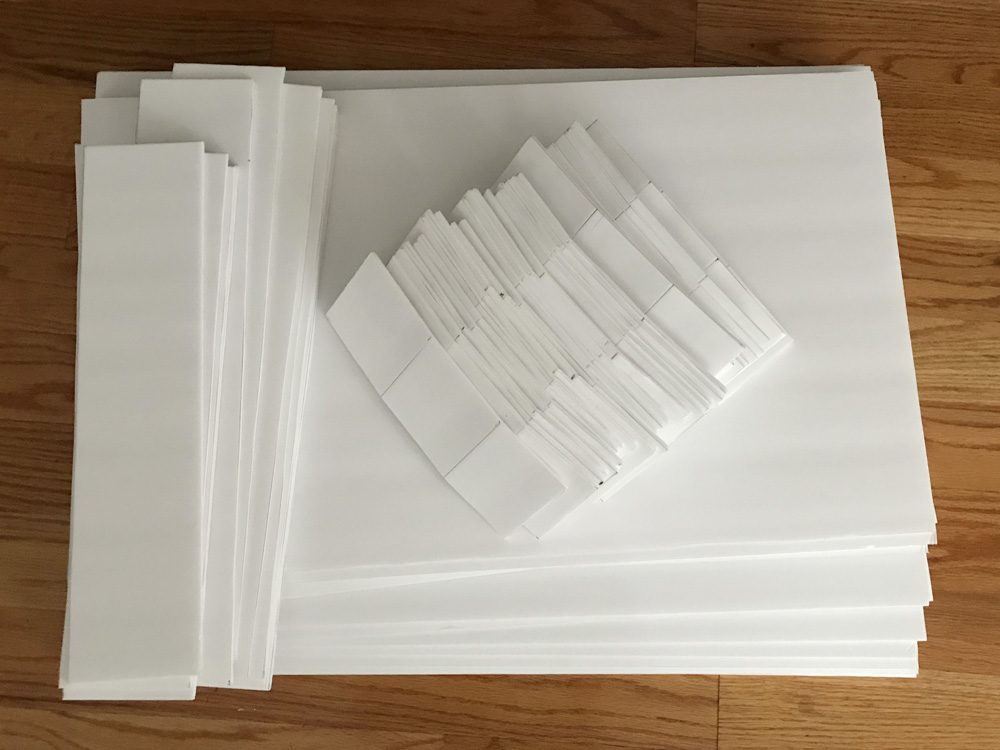
For the biggest panels of the bed, I had to use multiple pieces of foam board. For these pieces I did use some shipping tape on the interior surfaces (like, inside the actual box shape of the beds) to create a really strong connection between the pieces. Normally I’d put tape on both sides, but I skipped that for these pieces — again, aiming to have as little visible tape as possible on these things.
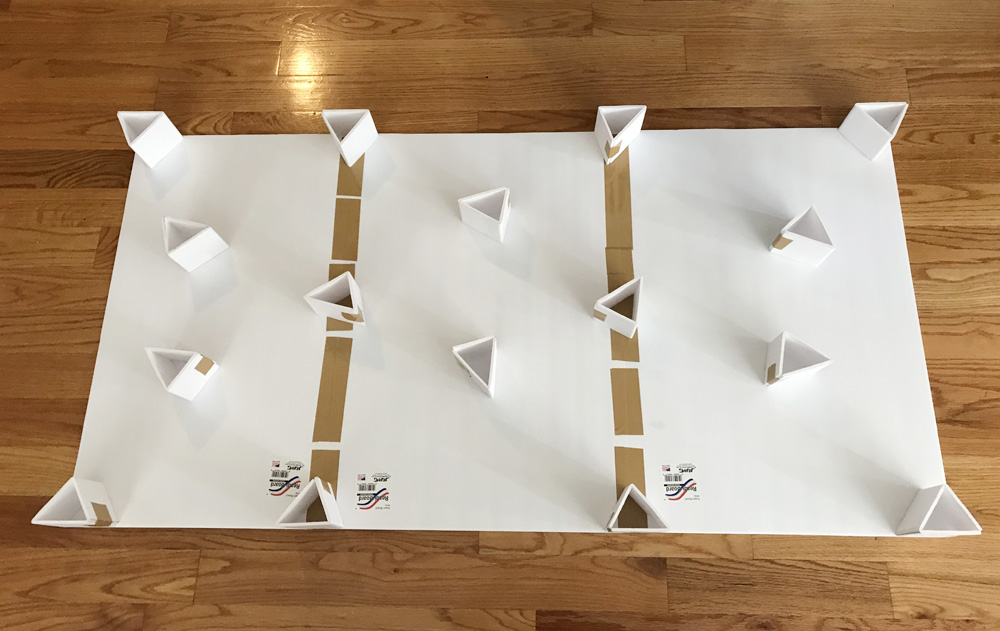
I built some triangular structures to use as interior supports make this box shape nice and sturdy; see my article on making box shapes out of foam board.
I laid the top panel in place and secured it along one side (the side that will be against the bathroom wall) with tape. From there, I started connecting the “walls” of these boxes on either side with my hot glue gun. I only put walls on the two long edges of each bed; the narrow edges won’t be visible so there’s no need to waste any foam board there.
When I was done, the bed shape felt pretty sturdy — strong enough for a plastic skeleton, anyway! Then of course I repeated all these steps to make the second bunk.
I made the vertical supports for the top bunk more or less the same way I did the beds: I cut out all the long panels, then put some triangular supports inside, and connected all the pieces — again, using shipping tape on the sides that will face the walls, and hot-glue on the sides that will be visible to people.
I made the ladder out of strips of foam board; I didn’t bother to go too 3-D on this part. I just hot-glued all these flat panels in place, and that was good enough for this thing.
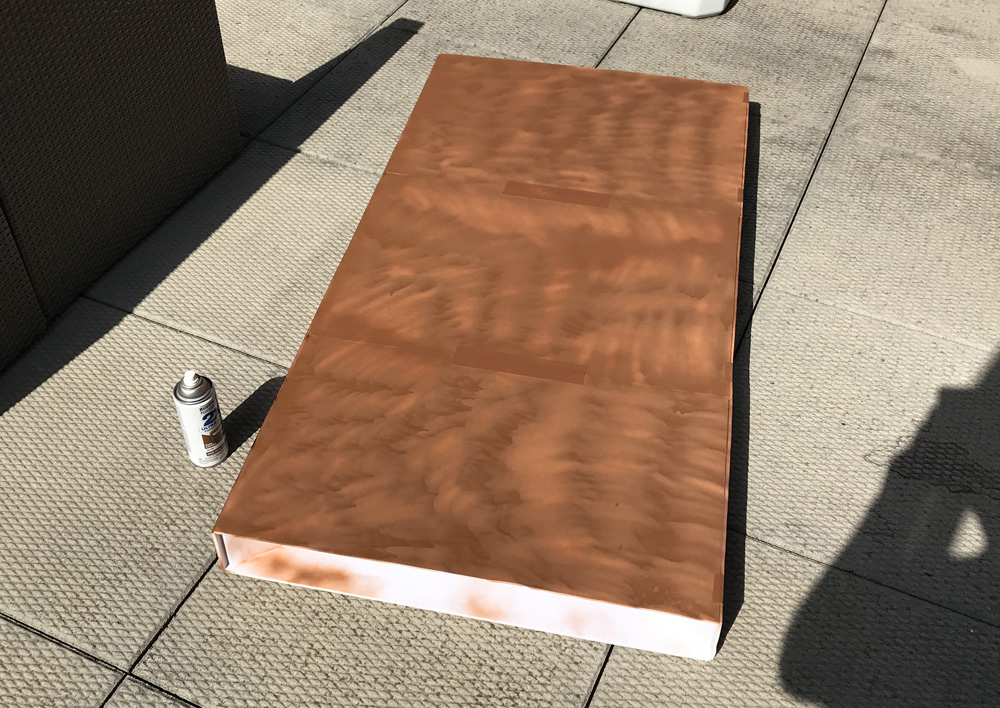
I decided to paint all these pieces before connecting them; not my usual process. I bought the cheapest tan spray paint I could find and used a couple cans to cover all these pieces. Like I mentioned above, I saved a lot of paint by strategically avoiding all the surfaces that will be facing the walls, as well as the bottom surface that’s facing the tub. So only about two-thirds of this whole decoration needed paint. When you’re making as much Halloween crap as I do every year, every little bit counts!
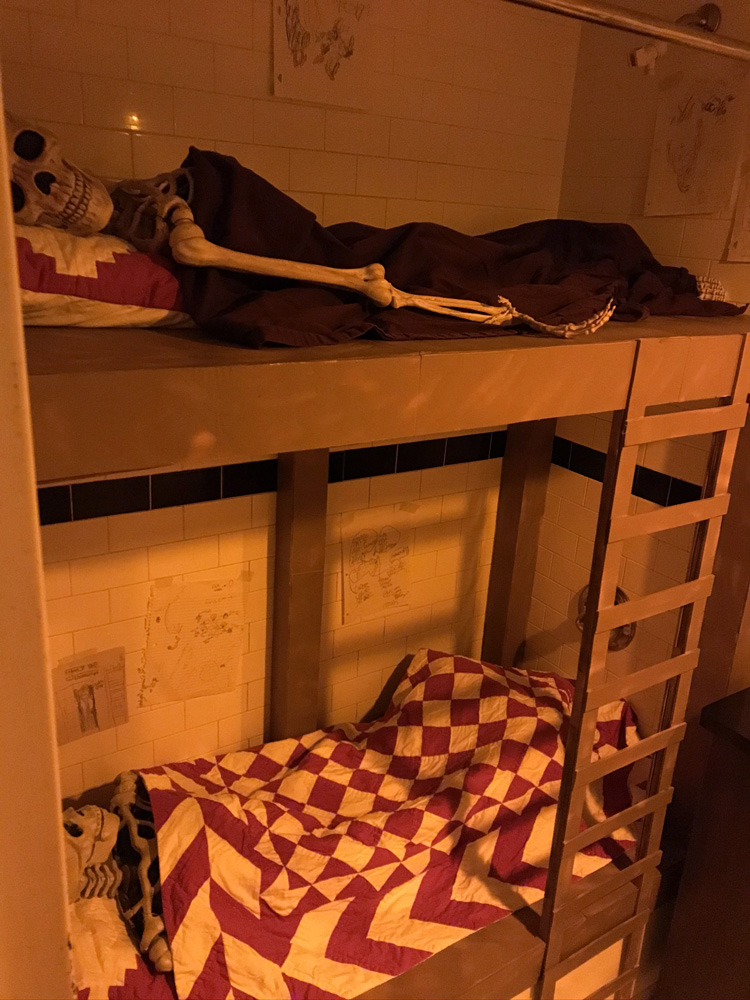
Time to assemble the bunk beds. First, I laid the lower bunk in place over top of my bath tub; luckily it fit just as I intended. Then, I set the top bunk on top of it. I grabbed one of the vertical supports, lifted the top bunk, and set the support in place, then I quickly grabbed another support and stuck that in the opposite corner. The pieces stayed in place more or less as I grabbed two more supports and set them in the other corners. I grabbed my heavy duty hot glue gun and glued all the supports in place. Last, I hot-glued the ladder in place.
Of course the skeletons are just store-bought Halloween props, and we used real sheets to make the beds, along with cushions from our couch as pillows.
This was such a quick project; I wish they were all this easy!
 About Manning Krull
 How to make a 4-foot paper maché alligator
 My violin skull mask, Mardi Gras 2015
 Three-headed paper maché dragon sculpture
Leave a comment