
Another giant paper maché lollipop
Published by Manning on October 13th, 2018
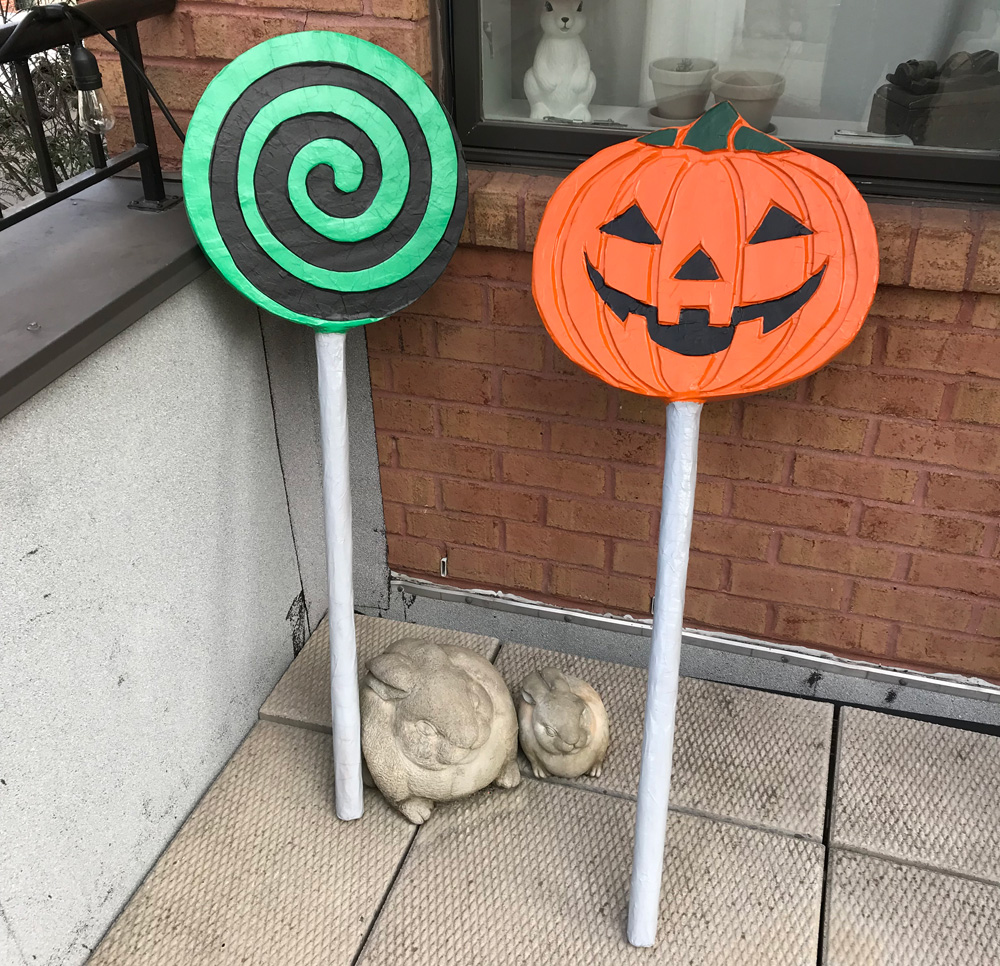
I made this giant paper maché lollipop with a spiral design (the one on the left, duh) as part of a group of giant candy decorations for my gingerbread house Halloween party. Here’s how I did it…
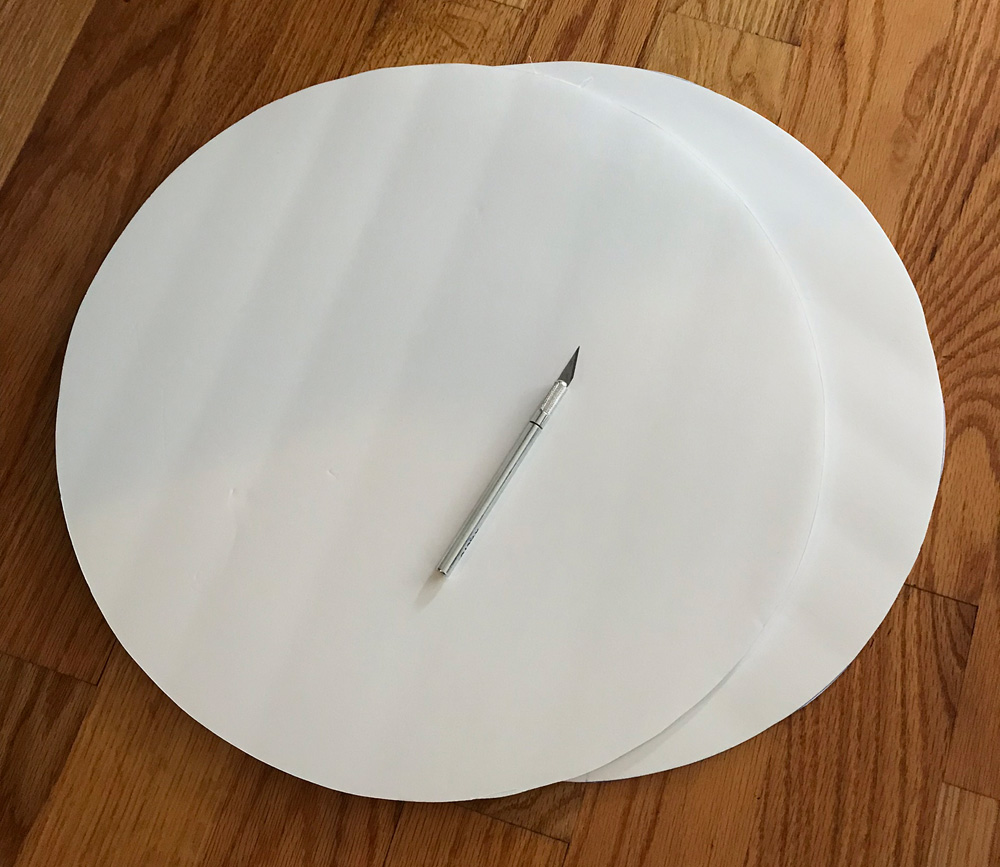
I started by drawing a 16″ circle on foam board, twice, and cut ’em out with an X-acto knife. See my article about drawing precise circles!
I designed a 16″ spiral shape in Photoshop and printed it out. I cut out this shape and laid it on a sheet of craft foam (a soft rubbery foam you can buy at any arts and crafts store). I covered the whole printout with a layer of heavy duty shipping tape. I then flipped over the craft foam and covered the back side with shipping tape as well. Then I flipped it back over and cut out the spiral with scissors. The layers of tape were a quick and easy way to add a little more thickness to the spiral; I want it to have a nice raised effect on the lollipop.
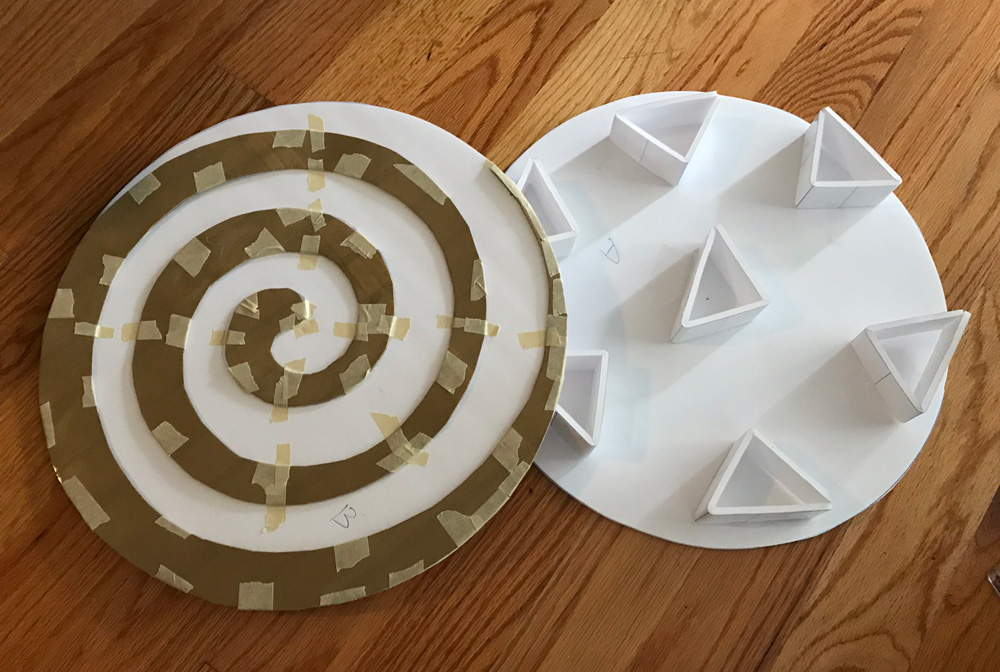
I taped the spiral in place on one of my foam circles.
I then made a bunch of little triangular supports out of strips of foam board, bent and taped closed. I taped these supports on the other foam board circle.
I then laid the foam circle with the spiral on top of the one with the supports, and used a few pieces of masking tape to attach them all the way around.
I cut out a long strip of poster board and taped it in place around the edges of the circle to create a sort of wall. (I forgot to take a picture of that step! You can see this same step in my article about my paper maché peppermint candies, third photo down.)
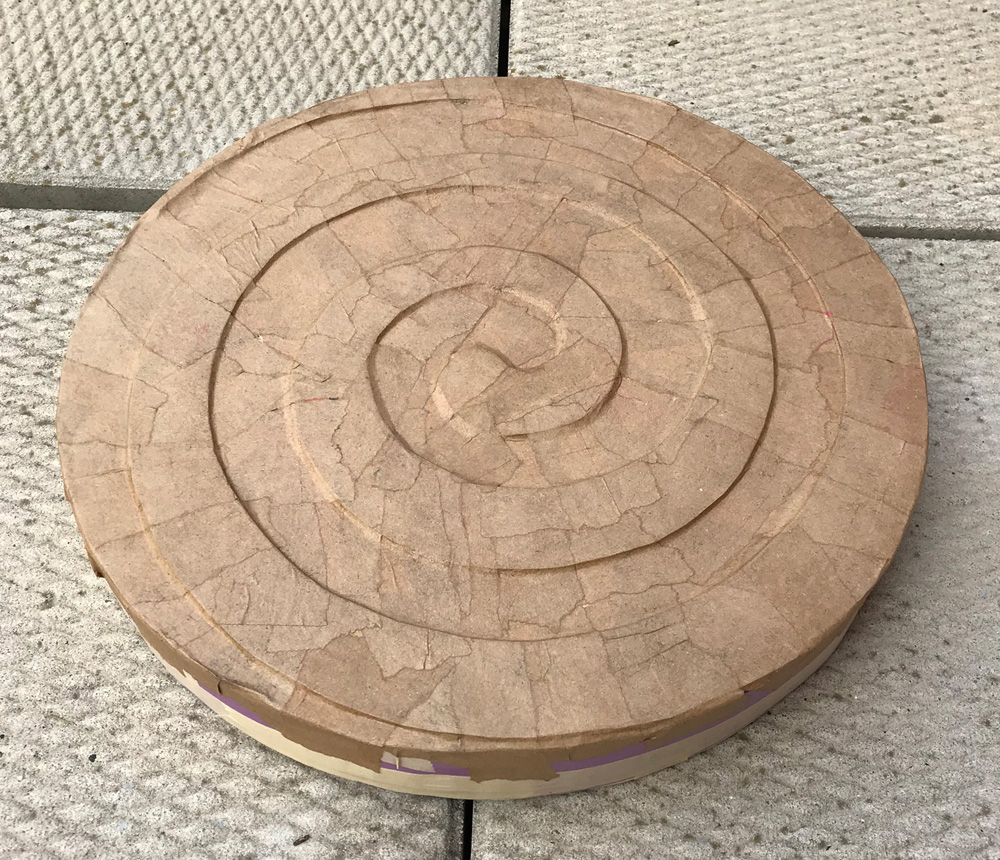
Now that the base for the candy part of the lollipop was done, I applied two layers of paper maché over the whole thing; it’s outside drying in the pic above. You can read about my paper maché process and materials here. The short version is: I use Roman PRO-543 universal wallpaper adhesive (paid link) and alternating layers of newspaper and brown wrapping paper.

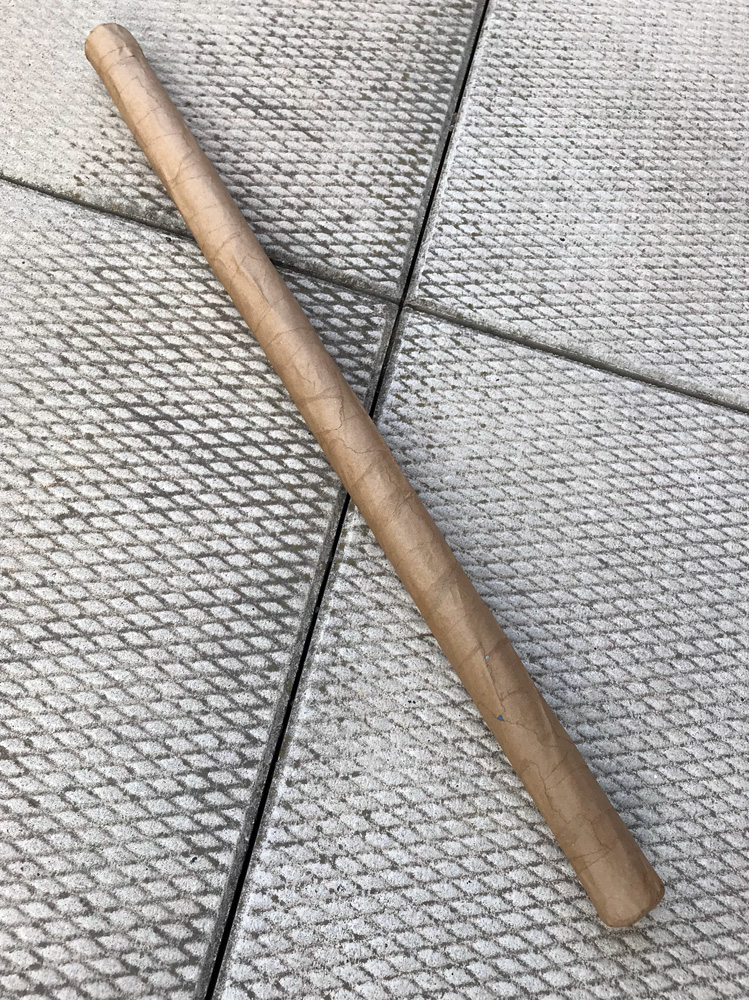
I made the stick out of brown wrapping paper that I rolled up into a tube and taped closed. I stuffed this tube with crumpled up newspaper to help it be more sturdy, using small pieces of newspaper and packing them in with a broom handle.
I covered the stick with three layers of paper maché. It’s easier to work on the stick and the candy part of the lollipop separately and attach them later.
I attached the stick and the candy part with lots of masking tape, and I added a little ridge around the connection point with a strip of craft foam. I covered this whole connection area with five layers of paper maché.
Painting
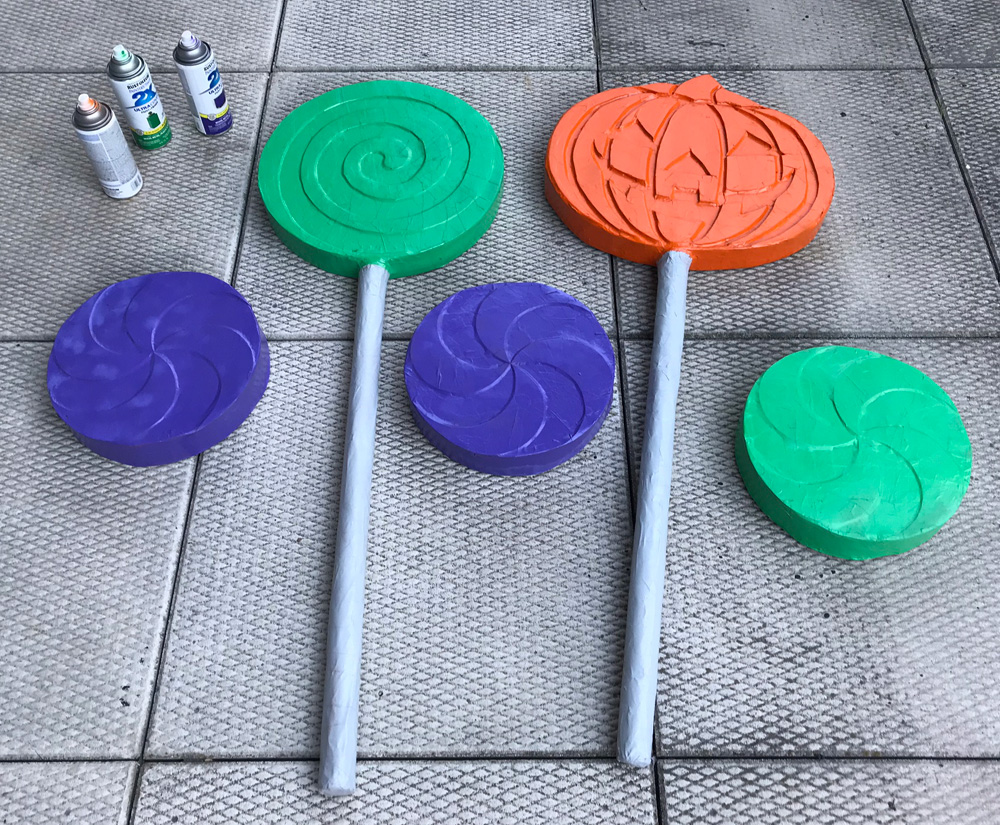
I spray painted the lollipop with a light gray primer coat, let that set, and then I used masking tape and newspaper to protect the stick part so I could spray paint the candy part green. Here it is drying along with a jack ‘o lantern lollipop and three peppermints.
I hand-painted the spiral pattern with acrylic paint and a brush. Done! Whew! Here’s the finished lollipop along with my jack o’ lantern lollipop. On to the next project…
 About Manning Krull
 How to make a 4-foot paper maché alligator
 My violin skull mask, Mardi Gras 2015
 Three-headed paper maché dragon sculpture
Leave a comment