Making a giant paper maché lollipop
Published by Manning on October 5th, 2018
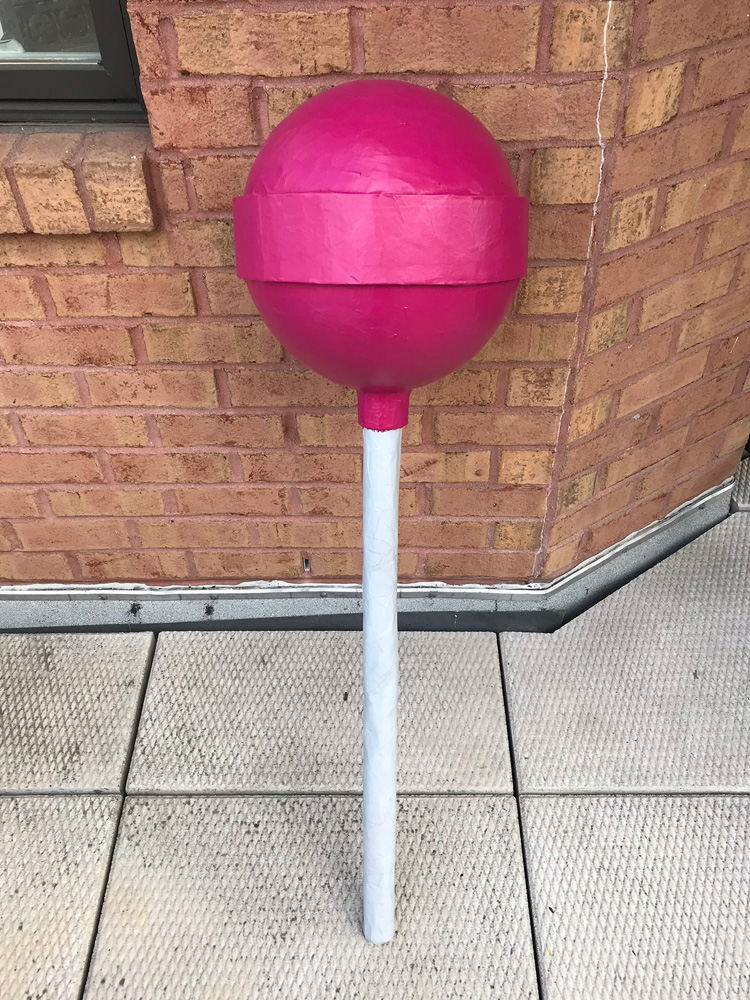
This giant paper maché lollipop was the easiest project in the world! I made this along with a bunch of other types of giant candy for my gingerbread house Halloween party. Here’s how I did it…
I started by searching Amazon for “inflatable ball” and bought the cheapest one I could find in the 15″ – 18″ range; it turned out to be a globe, which is kind of funny because the last time I ordered inflatable balls it was to make two paper maché globes!
Anyway, this globe was only four bucks and it was a real piece of junk! :) I inflated it to be as firm as I could get it, and it ended up way smaller than the 16″ it was supposed to be — maybe 13″ max, and it was somewhat squished-looking and lop-sided even when fully inflated! No big deal.
I covered the inflatable globe with three layers of paper maché. You can read about my paper maché process and materials here. The short version is: I use Roman PRO-543 universal wallpaper adhesive (paid link) and alternating layers of newspaper and brown wrapping paper.
If this were going to be a more permanent decoration, I’d do about seven or eight layers, and then pop the inflatable ball and remove it. For this short-lived decoration, three layers is fine, and there’s no need to remove the ball.
(Oh yeah, I should mention, I neglected to take pictures of basically all these steps leading up to right before painting! But seriously it was so easy; you don’t need pics!)
The ball shrank a tiny bit as I paper maché’d it, resulting in some ugly wrinkles all over the surface that were created as the ball shrank away from the paper. So, when the three layers of paper maché were dry, I then covered the whole thing in a layer of masking tape to smooth it back out. This helped a ton!
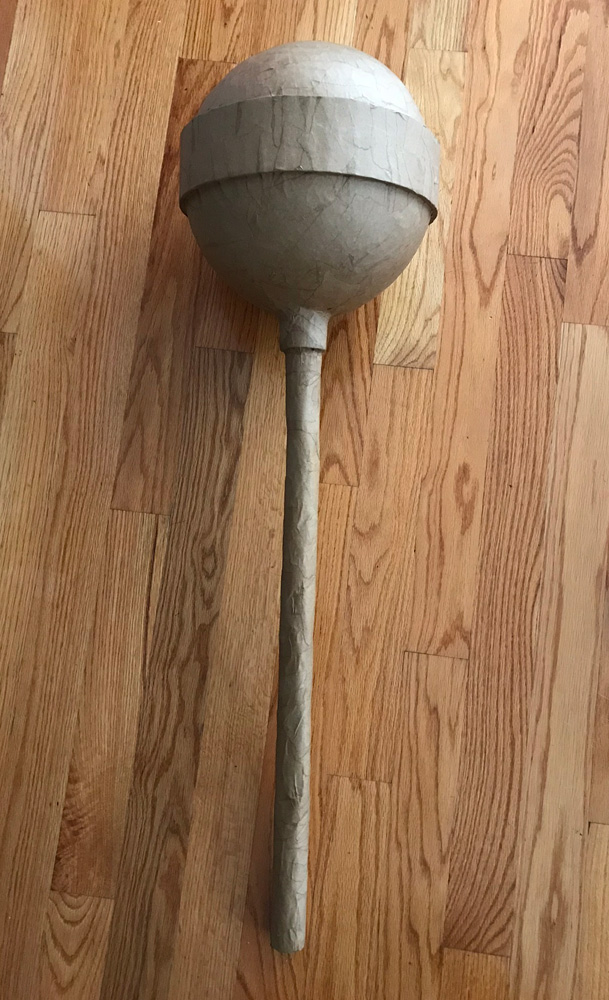
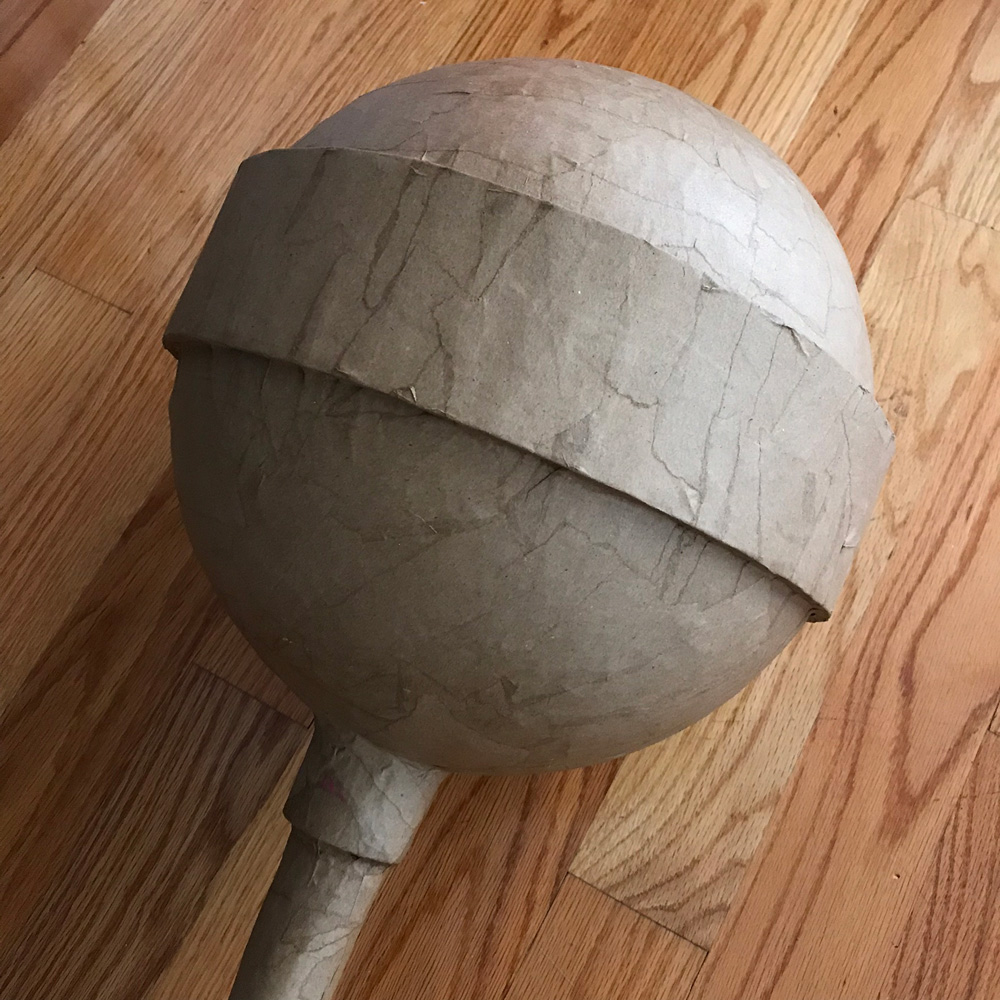
I then added the ridge around the lollipop; I measured and cut a long strip of foam board, rolled it up on my kitchen counter to give it a permanent curve, and taped it in place on the sphere.
(A weird note here: I thought I was making a Tootsie Pop, but it turned out I had the wrong picture in my head! When you think of a Tootsie Pop, do you picture the ridge going around the sphere left/right like a latitude line, i.e. like the equator, or up/down like a longitude line? I thought it was left/right, but it turns out on Tootsie Pops it’s up/down! Take a look. I must have been thinking of dum-dums; they’ve got the ridge around the center.)
Anyway, I covered all this with one layer of paper maché!
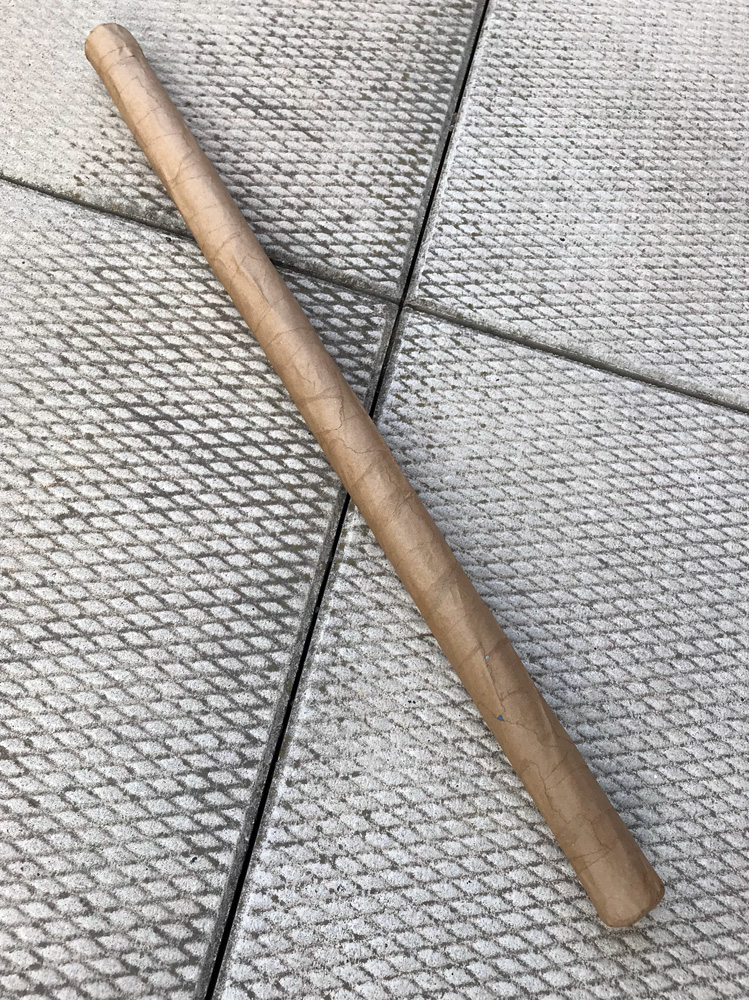
I made the stick out of rolled up brown wrapping paper, which I secured in a few places with masking tape. I stuffed crumpled up newspaper inside to help the stick be more sturdy; I used small pieces of newspaper and packed them in with a broom handle.
I taped two little circles of paper on the ends of the stick to close them up and make the shape a little more sturdy.
I covered this stick with three layers of paper maché. It was way easier to work on the stick and the sphere separately and attach them later.
When everything was dry, I attached the stick to the candy part of the lollipop with hot glue and then lots of masking tape. I added a little ridge around the connection point with a strip of craft foam, and then I covered this whole connection area between the sphere and the stick with five or six layers of paper maché, all in one shot.
Setting the lollipop up to dry was a bit of a challenge! I couldn’t lean it in any direction with any pressure on the stick, or it would’ve dried crooked. So I set a foam ring on top of two chairs and stuck the lollipop through that so the stick could hang straight down while drying. Just to be safe, I stacked up some books under the stick, just high enough to meet the bottom of the stick; I was worried that without anything there the paper maché might have sagged a bit and stretched out the bottom half of the lollipop. Anyway, this all worked; the lollipop dried perfectly straight and the connection was nice and strong.
Painting
I spray painted the whole lollipop with a light gray primer coat, in two stages: First I painted the candy part, and propped up chairs around the stick part while it dried. Then I painted the stick part and set the candy part upside down in a foam ring.
I used masking tape and newspaper to protect the stick part so I could spray paint the candy part a reddish-purple color. Done! This was like the easiest project ever! On to the next one…


 About Manning Krull
 How to make a 4-foot paper maché alligator
 My violin skull mask, Mardi Gras 2015
 Three-headed paper maché dragon sculpture
December 3rd, 2019 at 3:09 am
I love it. This is what I was looking for but kept finding the swirled lollipop.
Thank you.
December 3rd, 2019 at 12:48 pm
Cool, thanks Alice!!