
Paper maché baby chicks! — part 2
Published July 22nd, 2017
This is part two of two of my paper maché baby chicks project; see part one here.
Making the chicks' legs and feet
This was a fun challenge: I wanted the legs and feet to be hollow and removable, so when my client received them she could add a lot of coins in the legs/feet for weight and then insert them back into the body, so the chicks would have a nice solid heavy base. Without this weight, the chicks would probably fall over, and if I added the weight permanently while making the sculptures, the shipping cost for the chicks would go way up.
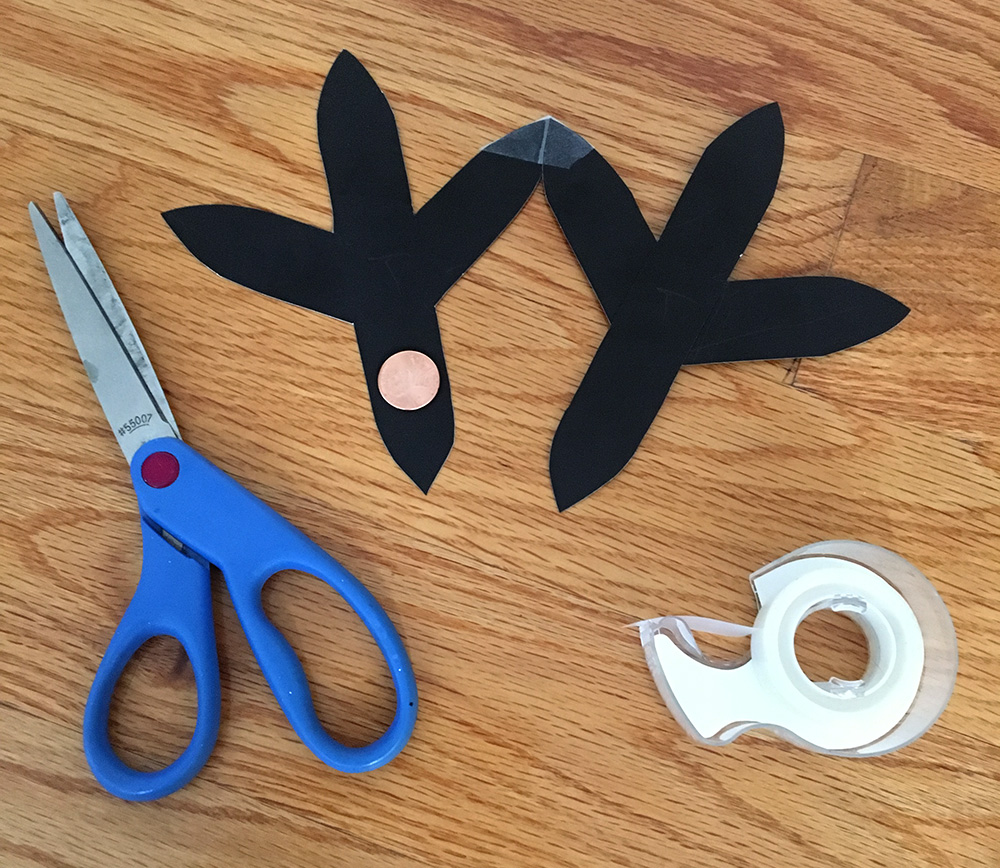
I designed the shape of the feet using a penny for reference to make sure there'd be enough room inside for tons of coins — hence the penny laying on the foot shape in this pic. I cut out the foot shape from poster board, then flipped it and traced in and cut out a second copy. I taped these together so I could build the feet and legs as one connected shape.
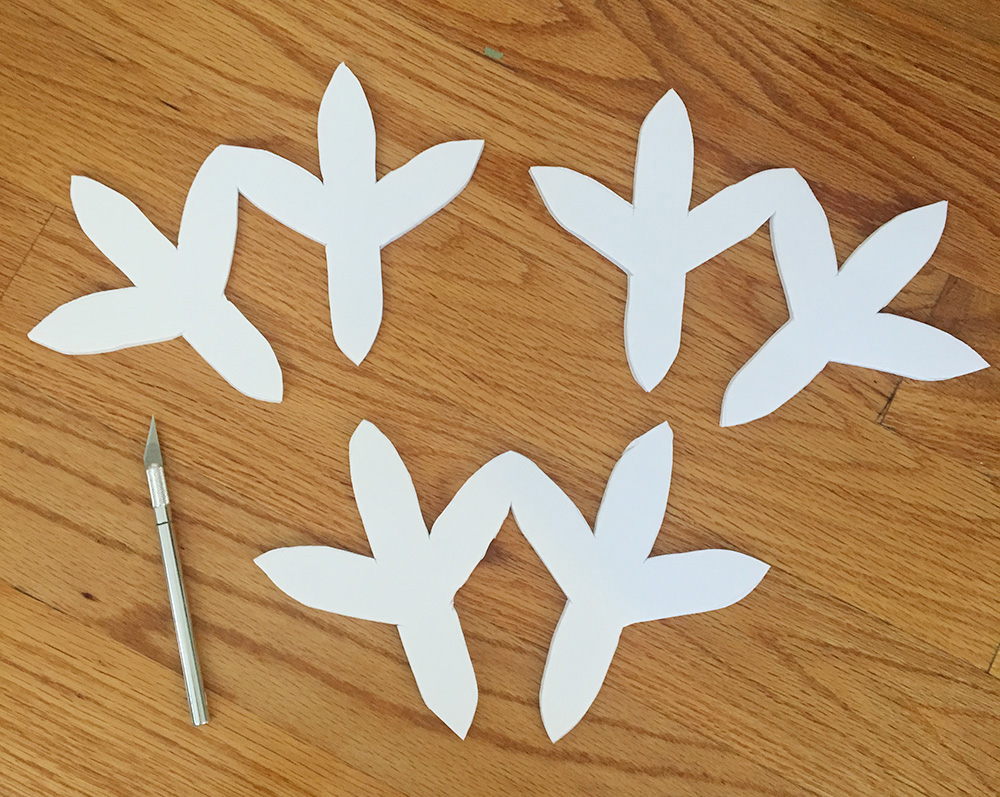
I traced this shape onto foam board and cut out three pairs of feet.
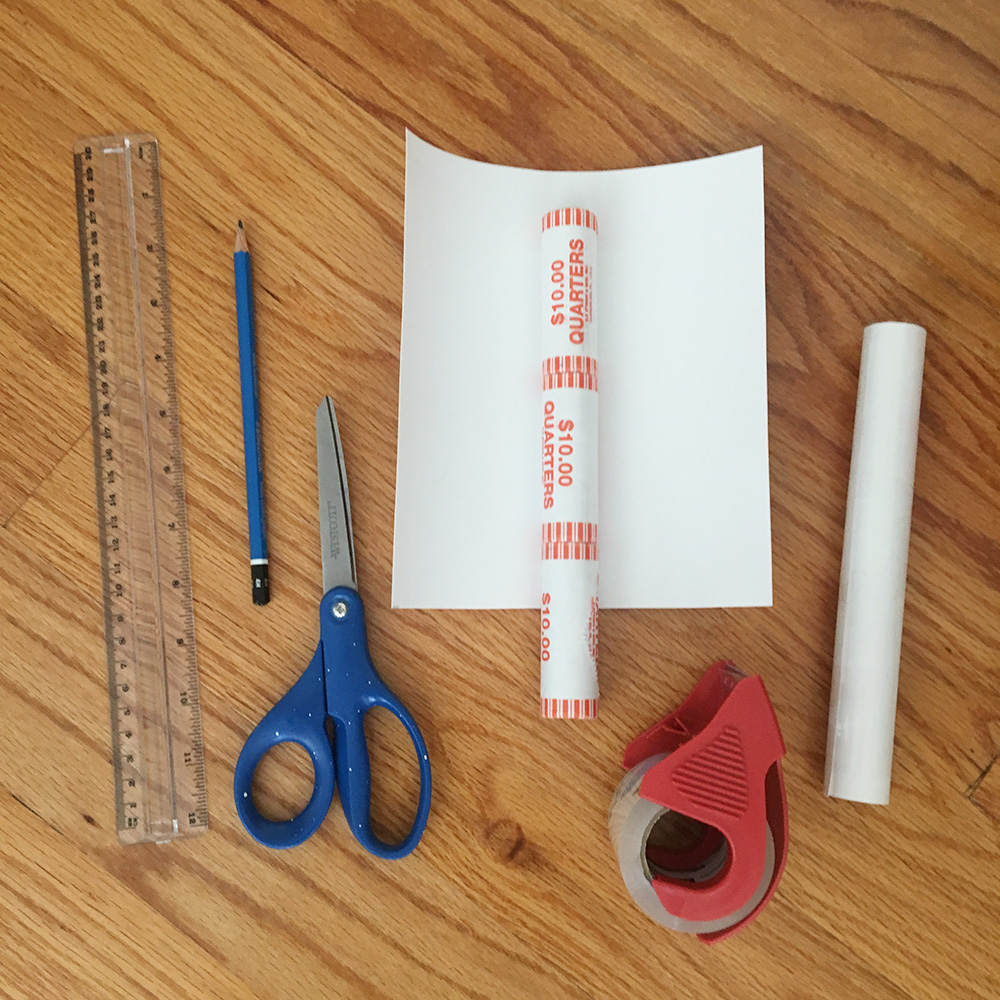
I made six rolled-up tubes of poster board for the legs; I used a few rolls of quarters taped together as a base and rolled up the poster board around them, two layers thick. I wanted the legs to be way longer than necessary so there'd be plenty of room inside for coins to weigh down the sculpture; most of the length of the legs will be hidden inside the body.
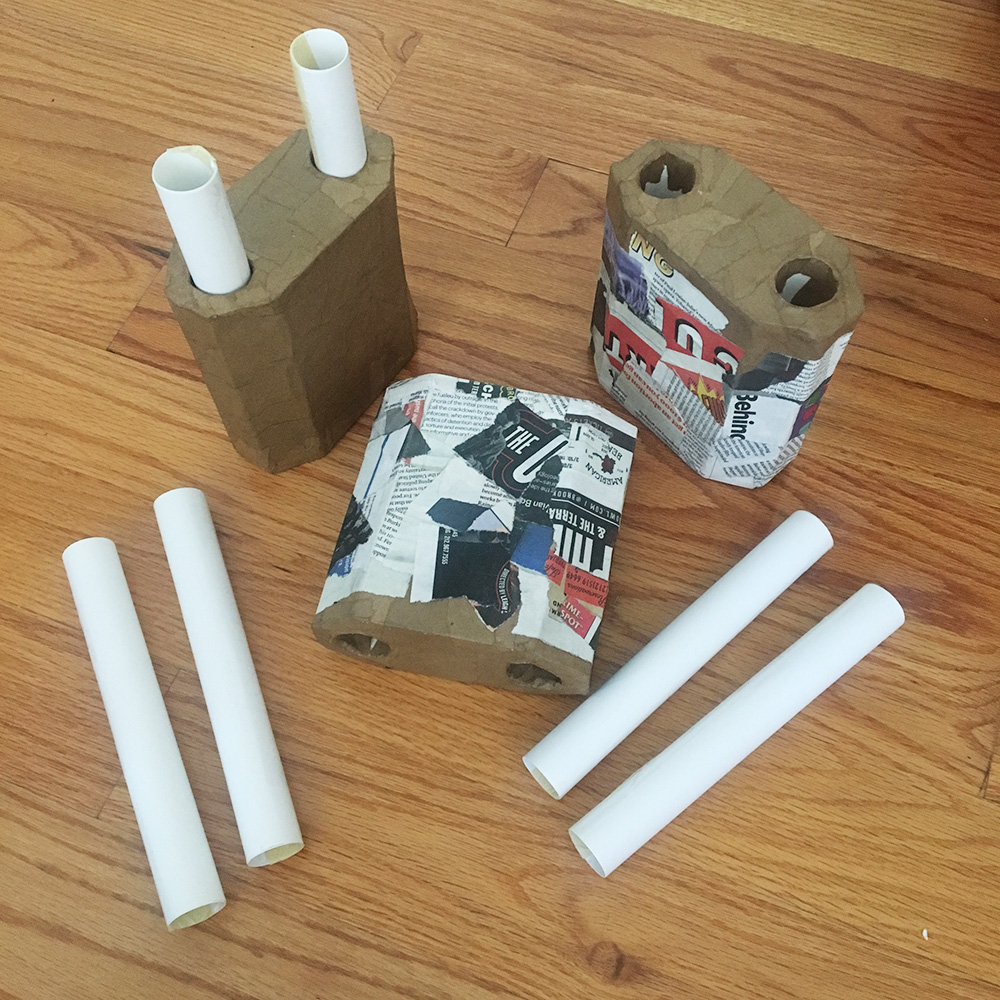
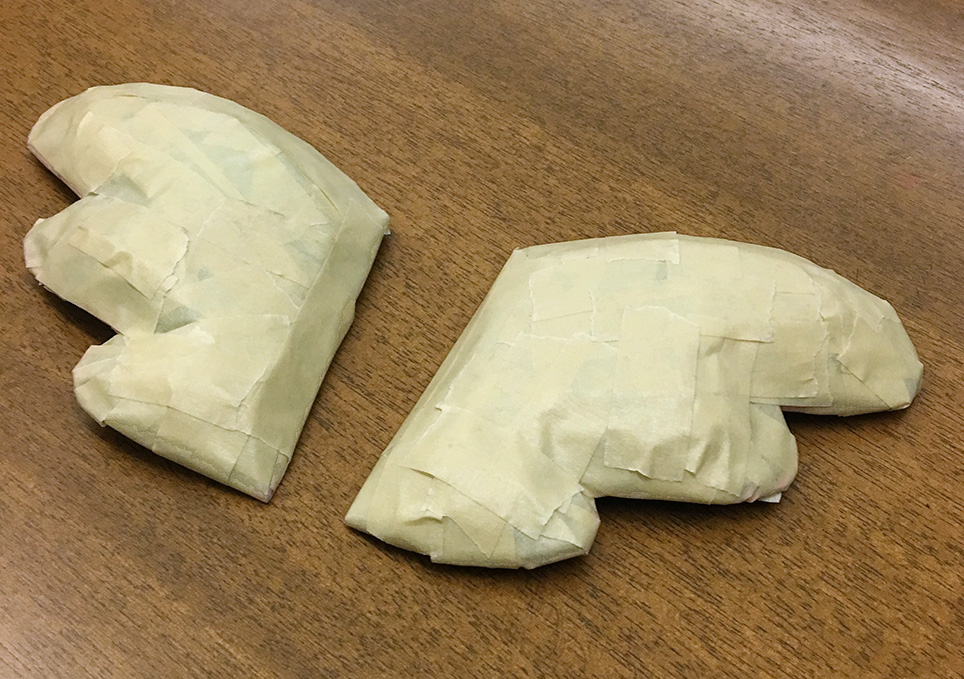
I don't have a lot of pictures of the next couple steps, but I designed a sort of irregular box shape with round openings that the legs could be inserted into — this would go in the underside of the baby chicks' bodies. I made more poster board tubes that were slightly wider than the legs so that the legs could go into them, and I installed these wider tubes in the box shape, which I made from foam board. I put all of this together with lots of tape and then added a few layers of paper maché to make it really sturdy. The finished boxes are pictured above; the tubes in the pic are the actual leg pieces; the wider tubes I mentioned are already installed in the boxes.
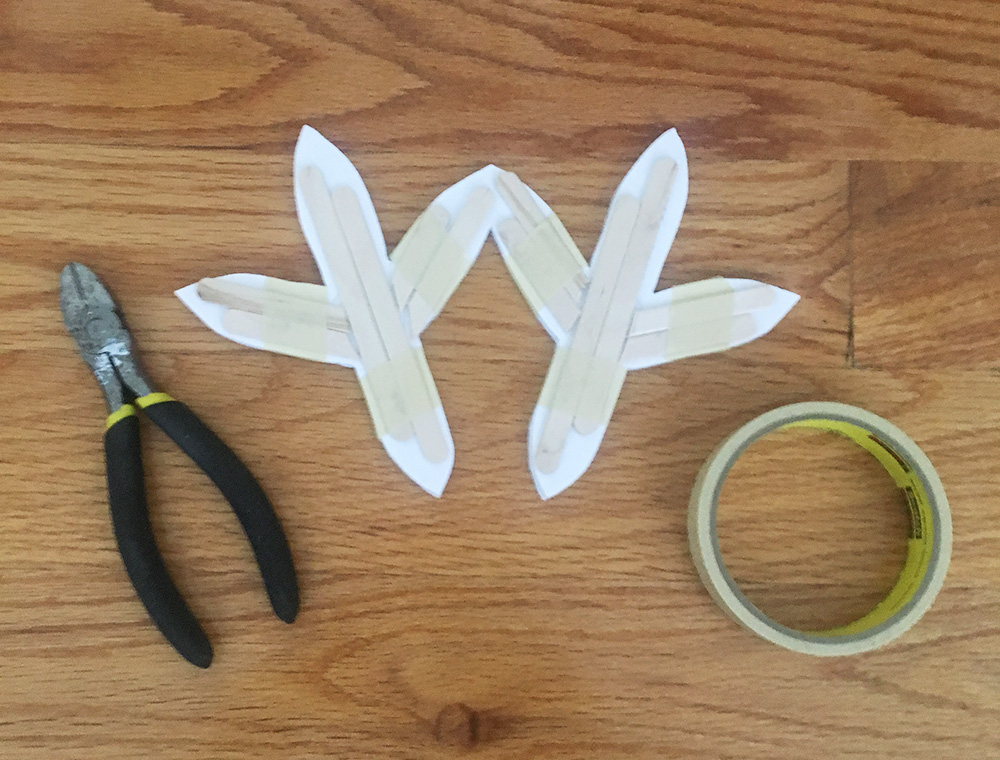
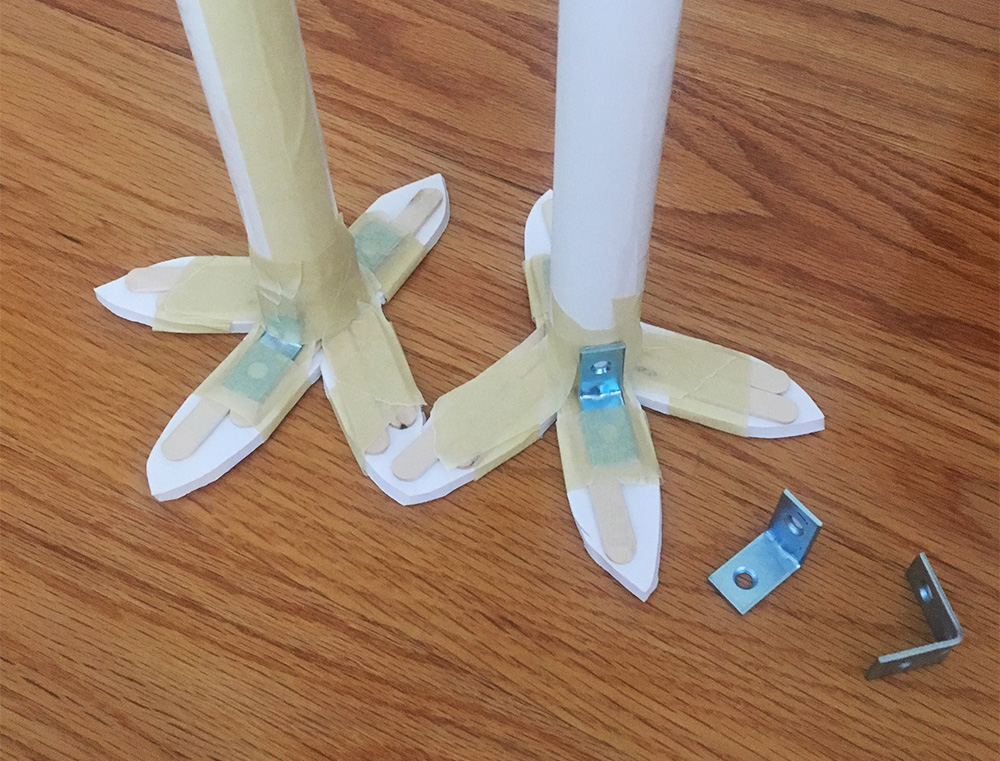
Back to the feet. I reinforced the foam board feet shapes with wooden craft sticks (i.e. popsicle sticks), and then taped the legs in place on the feet, and then added these little L-shaped metal things I bought at the hardware store. All of this stuff will help protect the legs from bending or warping as the weight of the sculpture pulls them in one direction or another. I also used a hot glue gun to add a lot of glue all over these connections to reinforce them even more. I then added a couple layers of tiny strips of paper maché over these connecting points. I really wanted the feet and ankles to be strong!
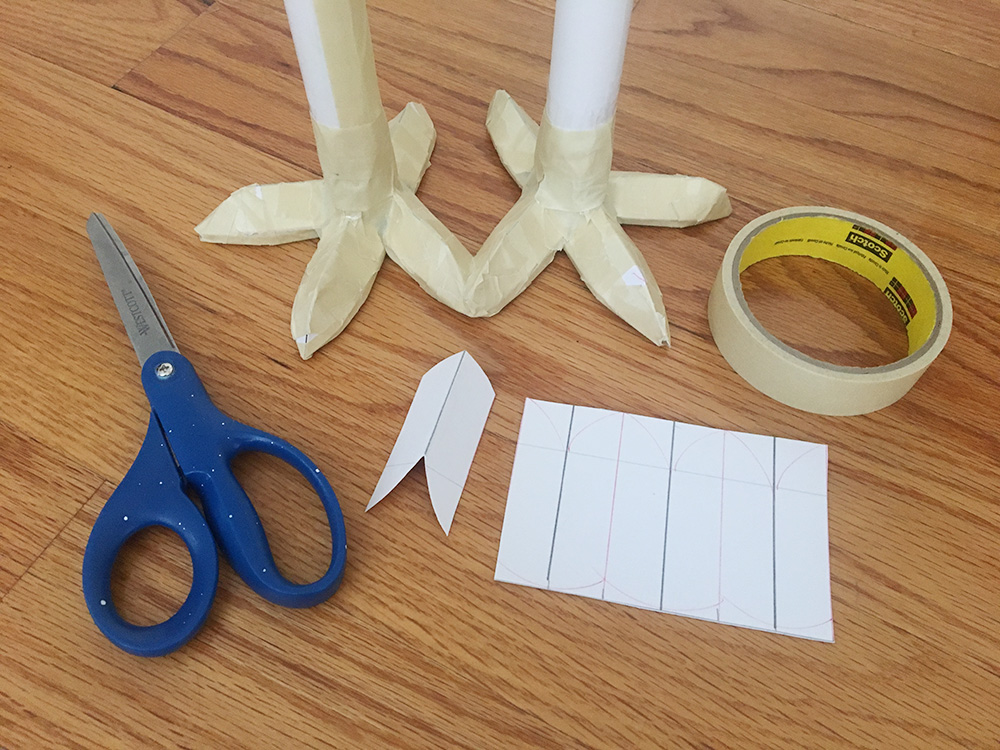
I built out the shapes of the toes with little poster board shapes I cut out and folded and taped in place.
I then covered the feet and legs with a couple layers of papier maché. The legs and ankles and feet all felt nice and sturdy and I was confident they'd support the weight of the baby chicks' bodies with no problem!
Building all the shapes for the feet ended up being a lot more labor-intensive than I imagined, and I had to do it three times! If I were to do this again I'd probably sculpt the feet out of clay one time and then use that as a base three times, with aluminum foil and paper maché (kind of like the beak, coming up). That way I could skip all the steps with the popsicle sticks, the metal bits, the little poster board shapes for the toes, and all that tape; all that junk took a loooong time.
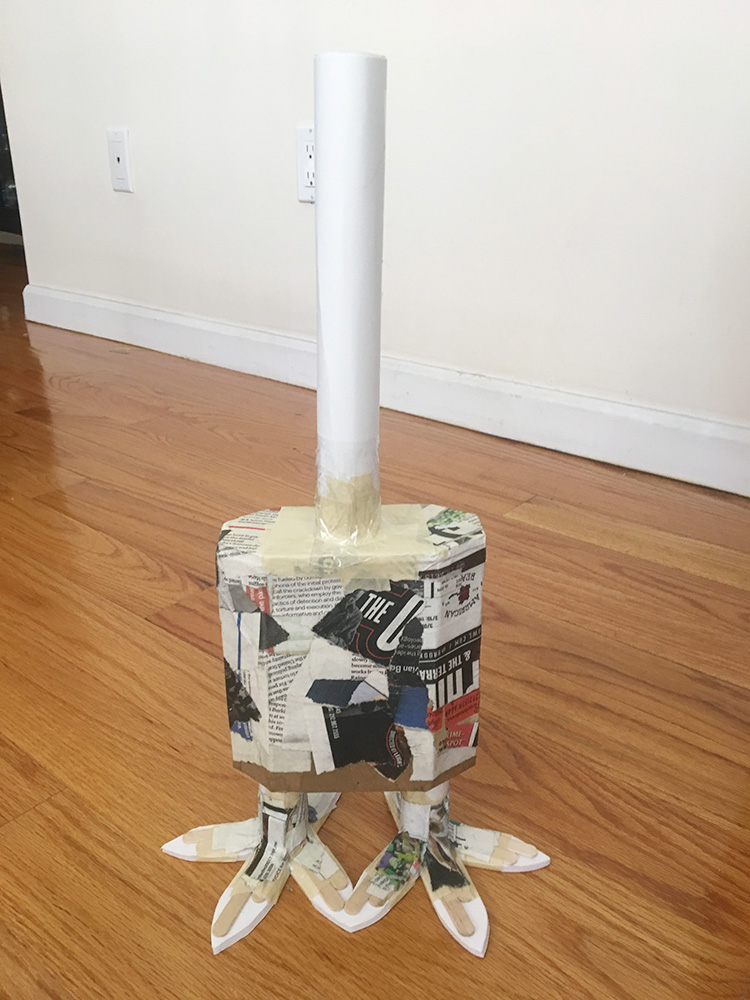
At the point when I cut open the chick's paper maché body shape to remove the base and reconnect the two halves, I also cut open a hole in the bottom of the body to hold the box shape with the leg holes. Before attaching the box into the underside of the body, I decided to add a long tube of poster board connecting the box thing with the inside of the top of the head (pictured above) — this way when the whole thing is assembled, the entire weight of the baby chick will rest on this sturdy tube. Without the tube, the weight of the whole sculpture would be concentrated lower in the body (where the legs connect to the body) and that might cause the body shape to sag or warp — or with enough time, even collapse.
So, I cut a large hole in the underside of each chick's body, then flipped the bodies upside down, and used Gorilla Glue to glue the tube in place inside the top of the head. Gorilla Glue expands an insane amount as it dries, so it filled up the end of the tube and also expanded around the outer edge of the tube, firmly locking it in place on the inner surface of the head. Then I taped the rest of box shape in place on the bottom surface of the body and covered the whole connecting area with a few layers of tape and papier maché.
When this was all done and dry, I put some coins in the legs and feet as a test and popped the legs into place in the bodies, and the chicks stood up nicely on their own. Whew! All the things I did to reinforce the legs and body worked out — the popsicle sticks and L-shaped metal things in the feet, the extra-long tubes for the legs, and the sturdy boxes connected with the long tube to the inside of the head — that stuff all helped distribute and support the weight of the body sculpture. I love it when a plan comes together.
Making the beak
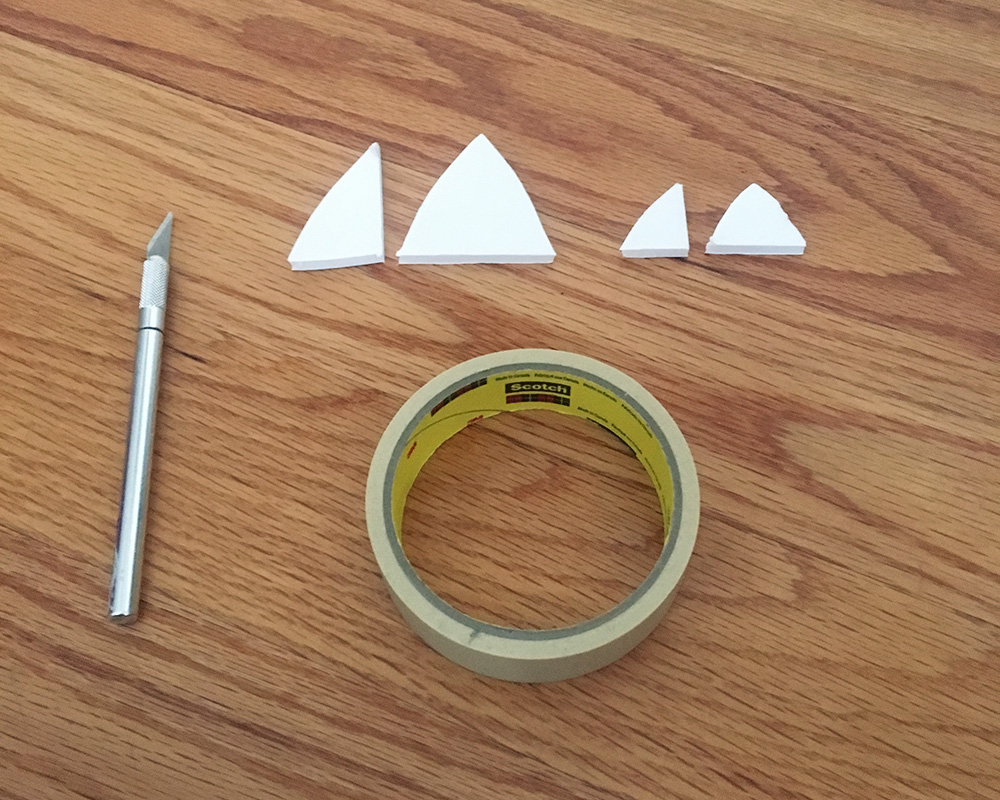
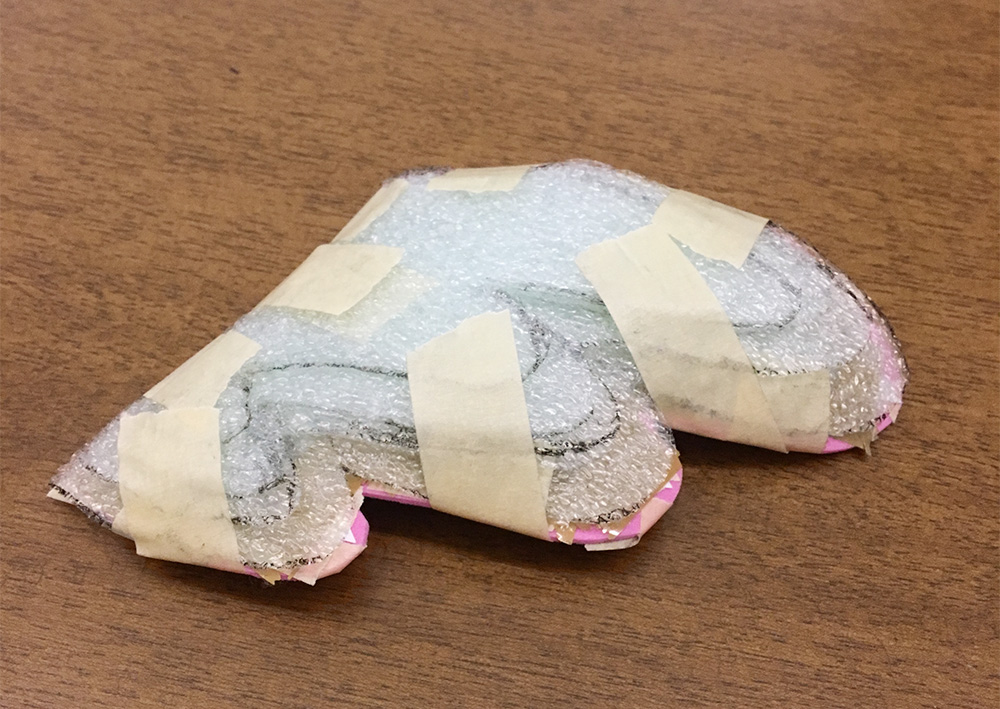
I made the beak out of four little pieces of foam board, measured and cut to size. From left to right, those pieces are: the central ridge of the upper beak, the bottom surface of the top beak, then the central ridge of the lower beak, and the upper surface of the lower beak. I taped all of these together with tons and tons of masking tape to smooth the shapes out as much as possible. The end result looked a little angular for my taste, so I puffed out the side surfaces a bit with some little triangles of that dish packing material and more masking tape.
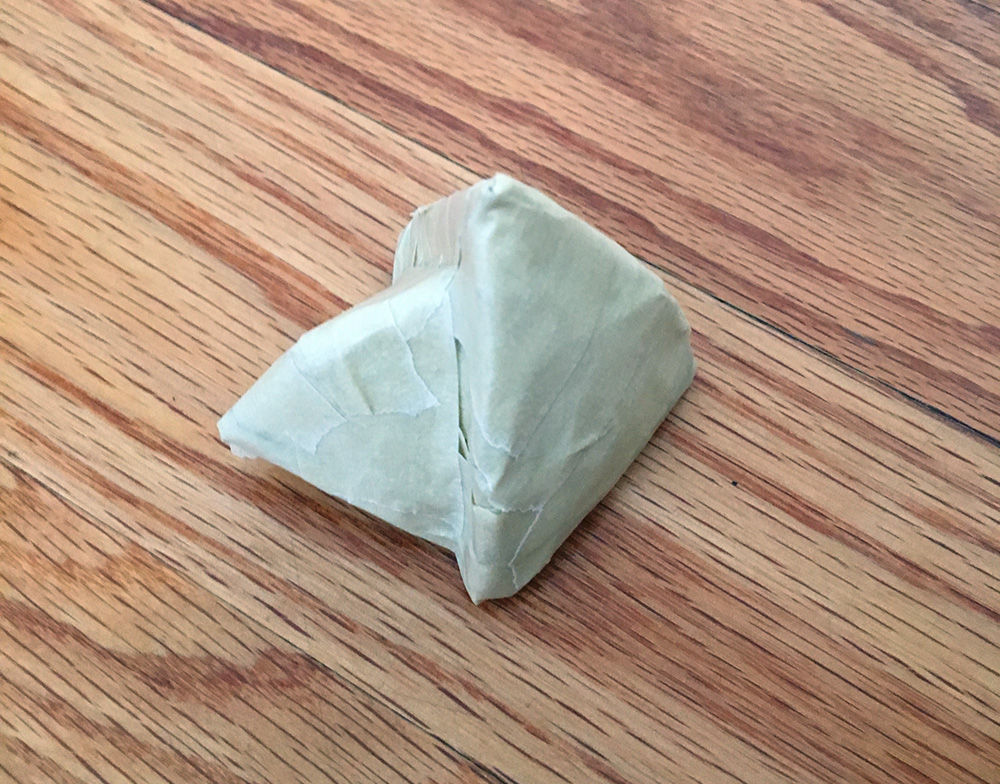
Here's the finished beak shape; what you're looking at here is the closed beak, pointing upward, laying on the surface that will be connected to the face.

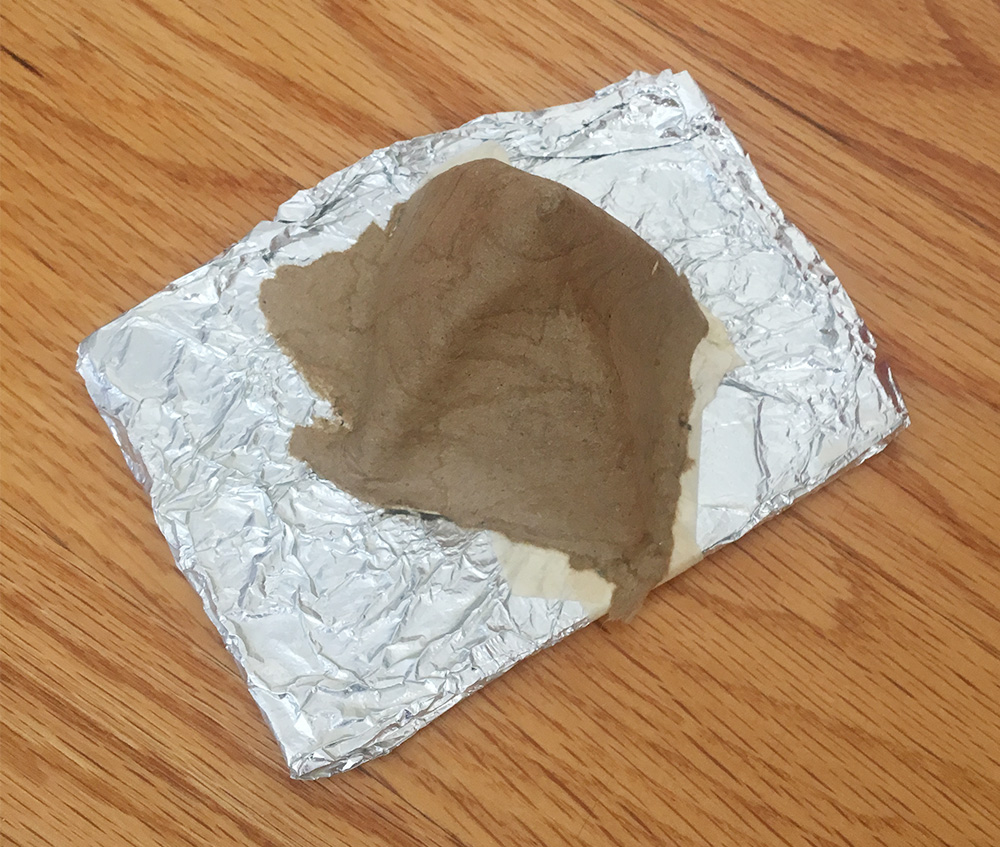
I needed to make three copies of the beak, so I mounted this base on a small piece of foam board, covered it with aluminum foil, then applied five layers of papier maché to the whole thing. When that was dry, I sliced open the paper maché and removed the beak base, added more aluminum foil to the base, and did five more layers of papier maché to make beak number two. Then all of that again for a third copy. When these were all done and dry, I trimmed some of the outer paper maché off with scissors in order to give them nice smooth edges and make them all exactly the same size, and then set them aside to attach to the baby chick bodies later.
Making the eyes
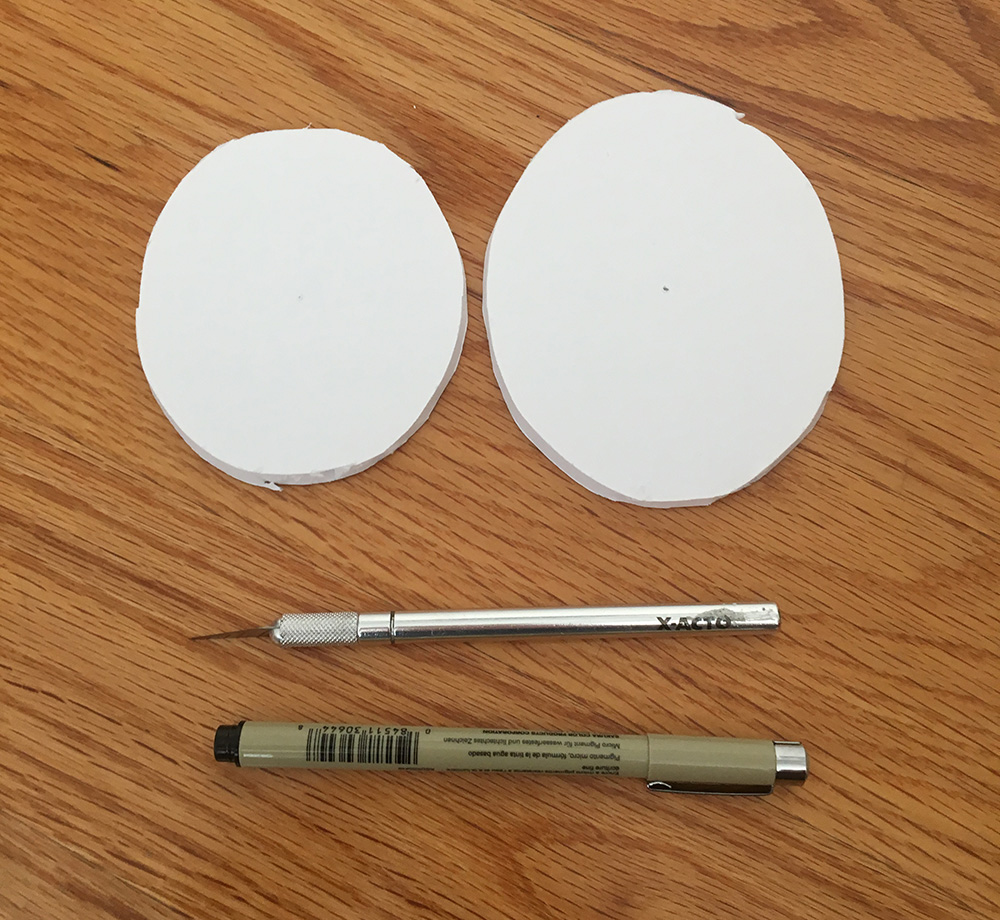
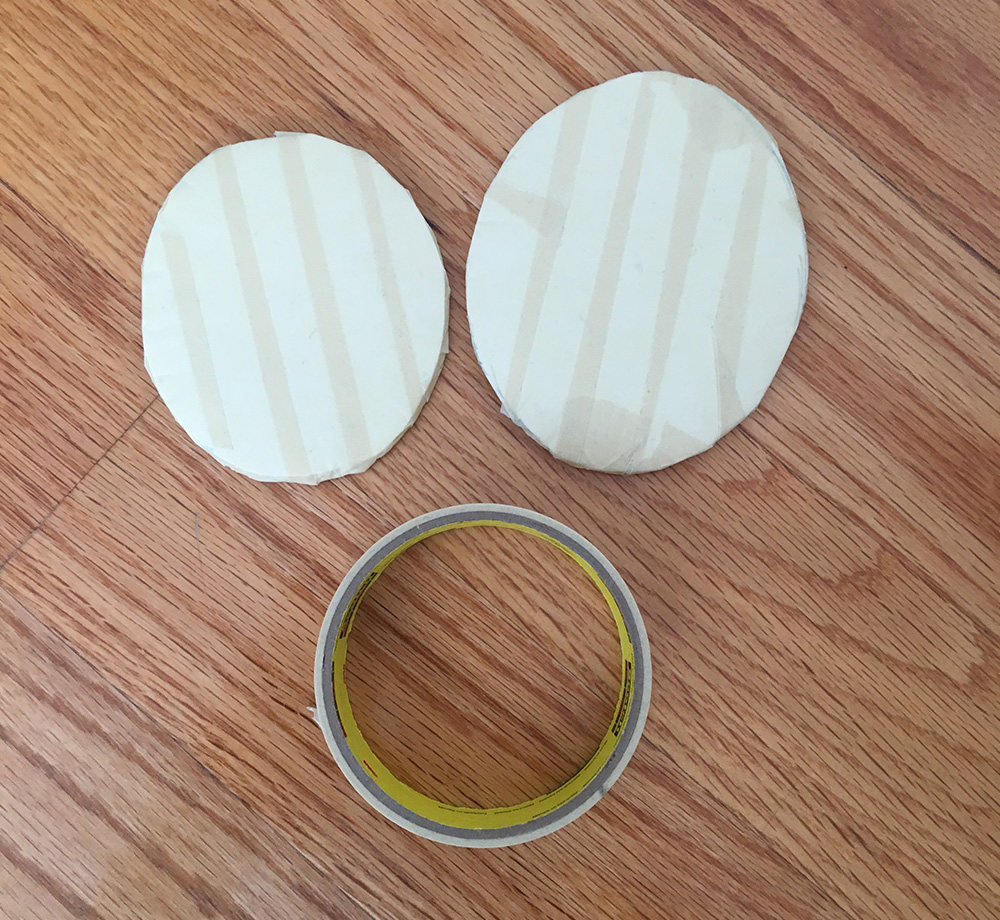
I made the eyes out of foam board, measured and cut to size. In order to give them a subtle contour to let them fit on the curved shape of the head, I used my usual trick for creating curved foam board shapes: I added some masking tape on both sides of the foam board disks, and then carefully curled them up with my hands. I even laid them on the floor and pressed my knee into them to give them a nice rounded dent on the back surface. Eventually I got the shapes to have a subtle curve all the way around, kind of like the shape of a contact lens.
I cut little circles out of craft foam for the irises/pupils, and taped them in place; I prefer to have details like this be raised rather than flat, to make painting easier. If I just painted the irises/pupils on, they'd be much harder to get the same size on all three baby chicks. Painting these raised surfaces is much easier.
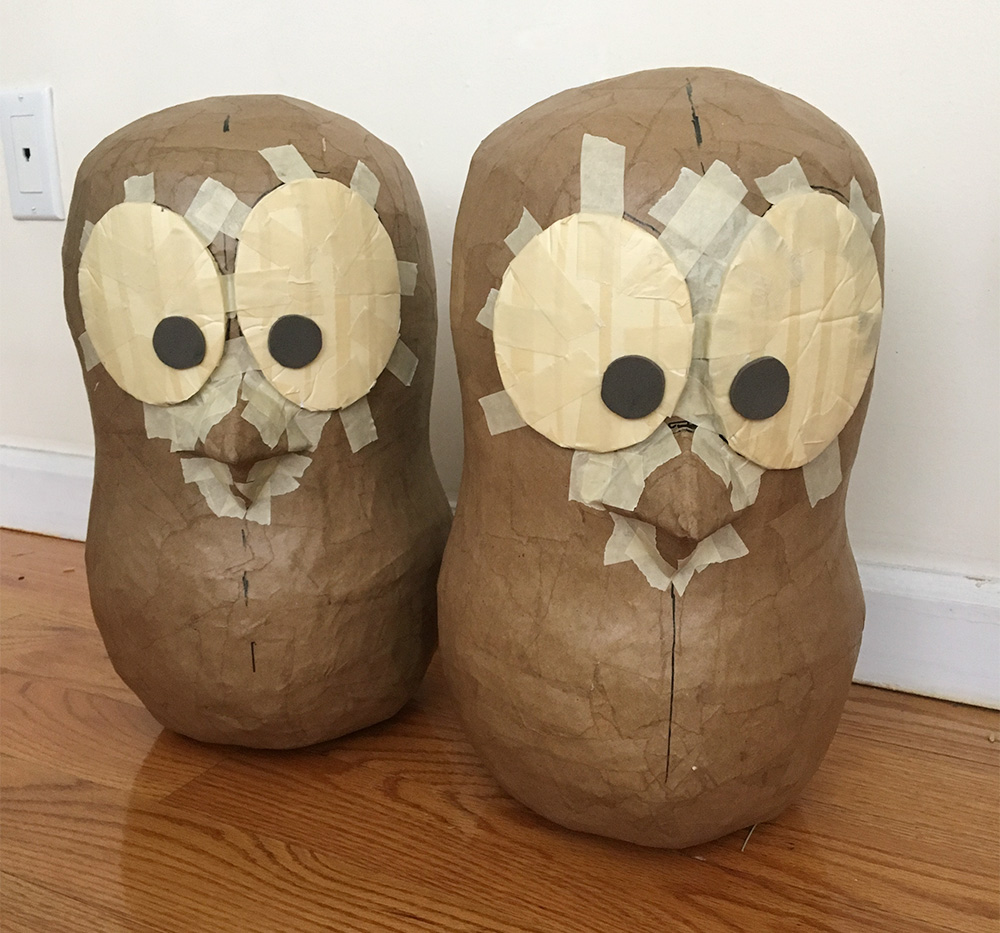
These eye shapes are not meant to be reusable, so I made all six eyes separately. I taped the eyes onto each chick's face and then added two layers of paper maché to lock them firmly in place. I then did the same for the beak for all three chicks.
Making the wings
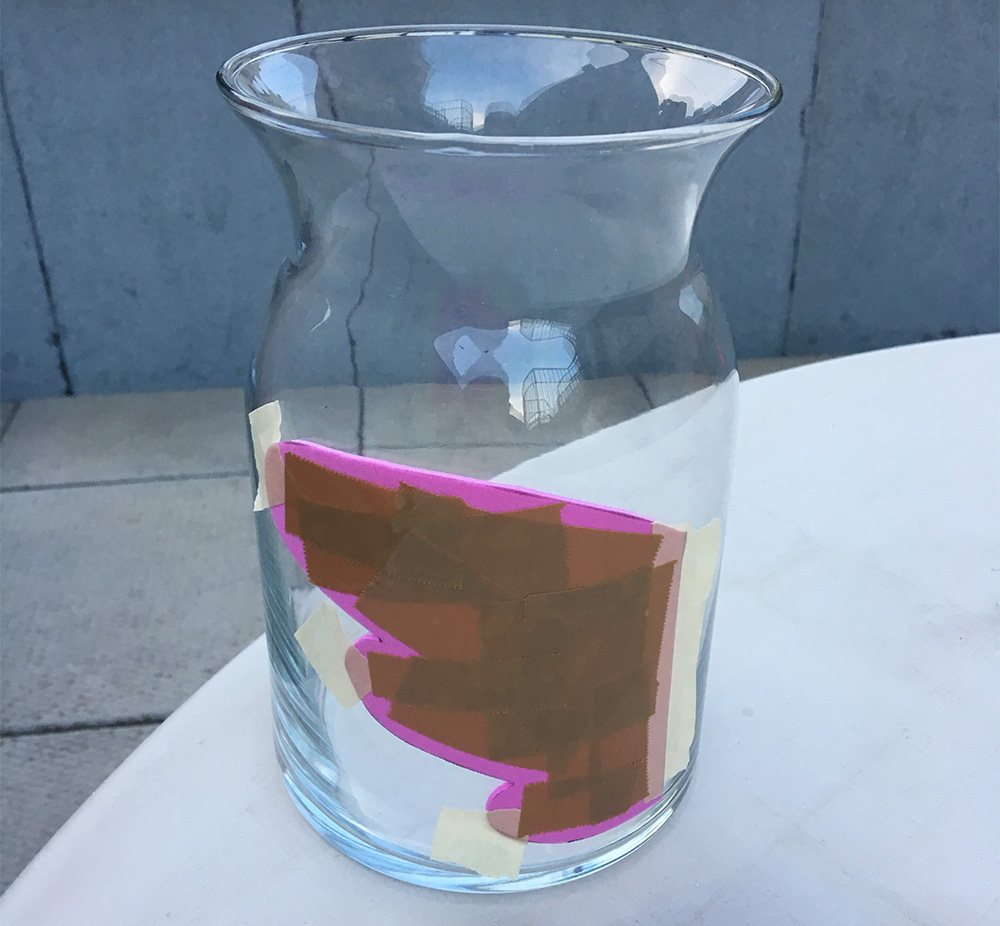
I started the wings with just a shape cut out of craft foam. I have this method I use for creating curved shapes with craft foam; I taped the wings in place on a wide vase, and then covered them with lots of tape. The tape holds the curve so when you remove the foam from the vase it keeps the curved shape.
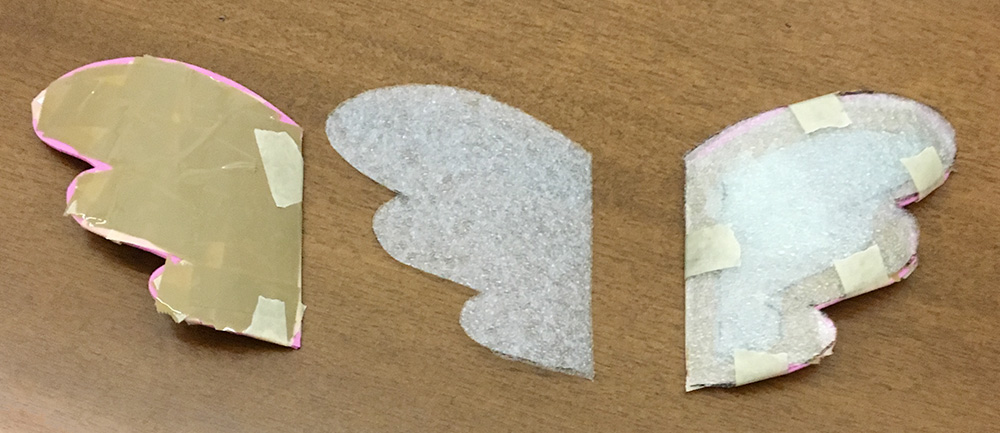
I padded out these curved wing shapes by adding layers of dish packing material — basically very thin rubbery foam that comes in a big roll; I got mine at Staples. In the above pic you're looking at a wing with just craft foam and tape, then a layer cut out of the dish packing material, and then a wing with the dish packing material taped in place.
I cut out four or five pieces of dish packing material for each wing, making each a bit smaller so that when they're stacked up the wing would have a somewhat rounded surface — you can see the layers in the above pic. I taped these into place, and then covered the whole wing shape with masking tape.
After covering the wings with masking tape, I added three layers of paper maché (not shown). When they were dry, I taped them in place on the bodies with tons of masking tape and then covered those connections with five more layers of paper maché. Note: it's way easier to do the paper maché on pieces like these by themselves before attaching them to the main sculpture. You're adding steps and drying time but saving yourself a lot of trouble.
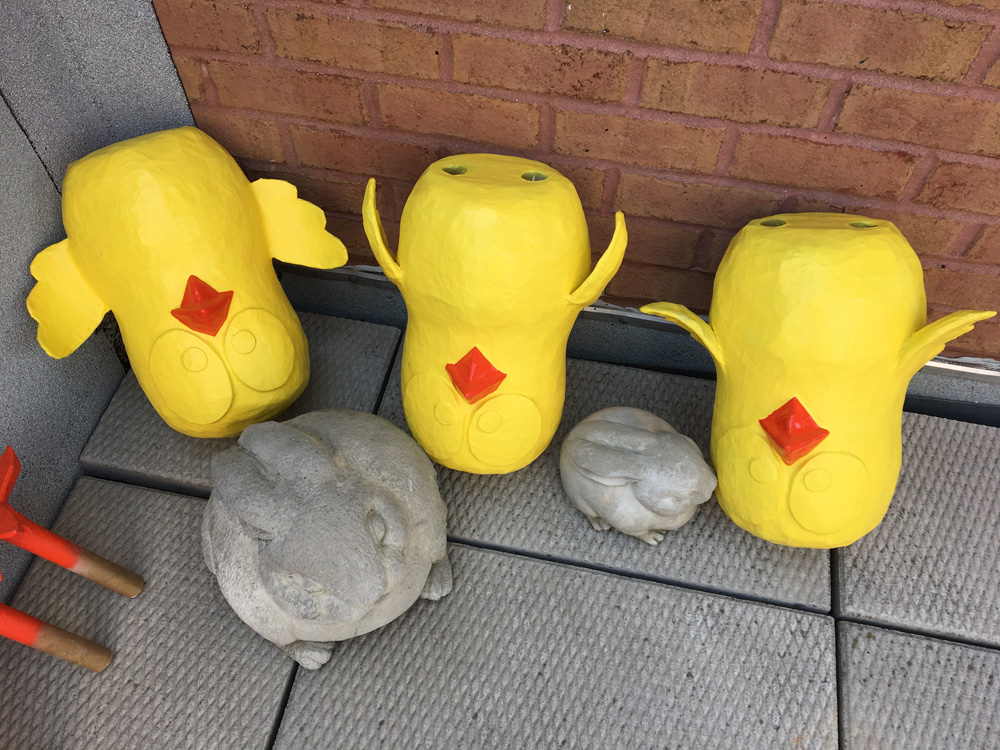
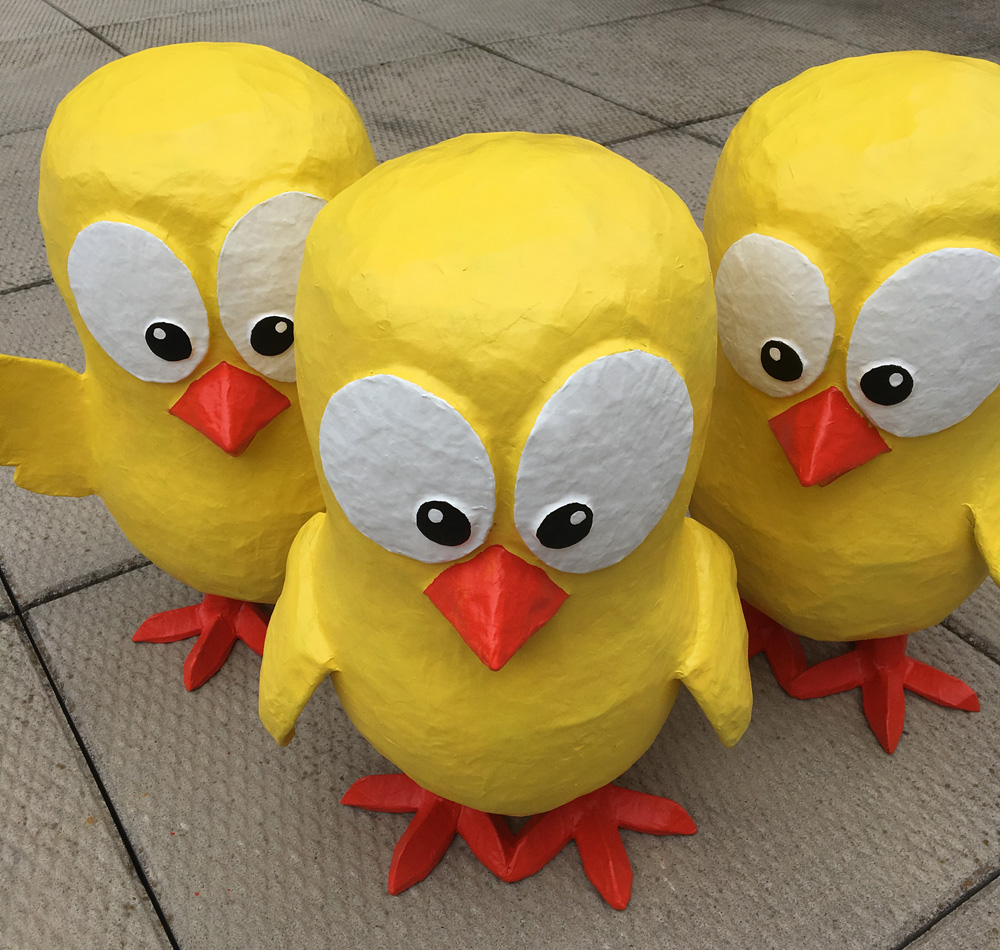
Since the wings were made separately from the bodies, I could arrange them in different positions on the three chicks. Finally, the sculptures were done!
Painting
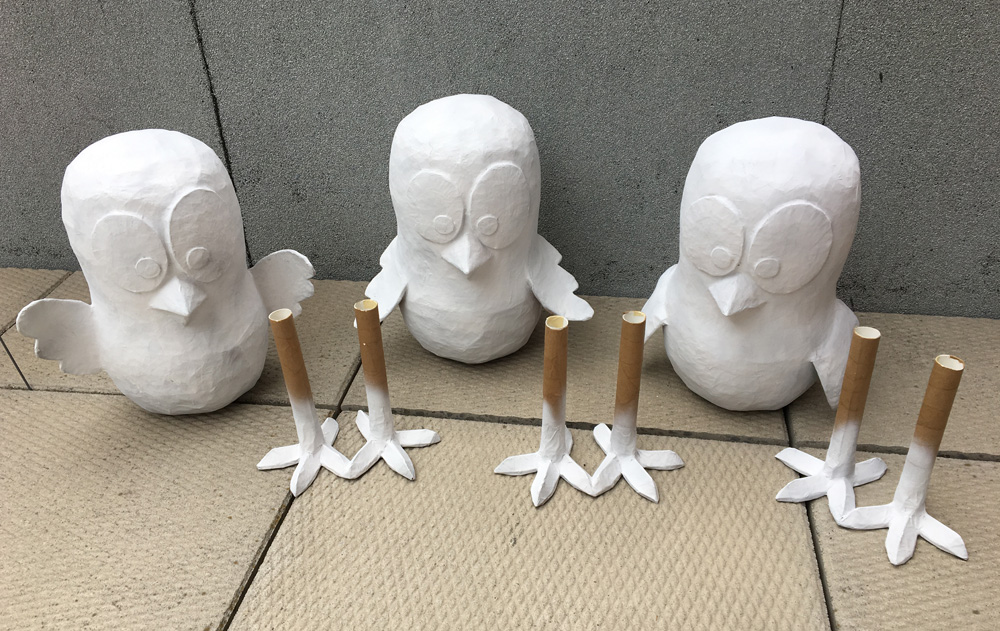
I took the finished baby chicks outside and applied a coat of spray gesso, and let that set for about four hours.
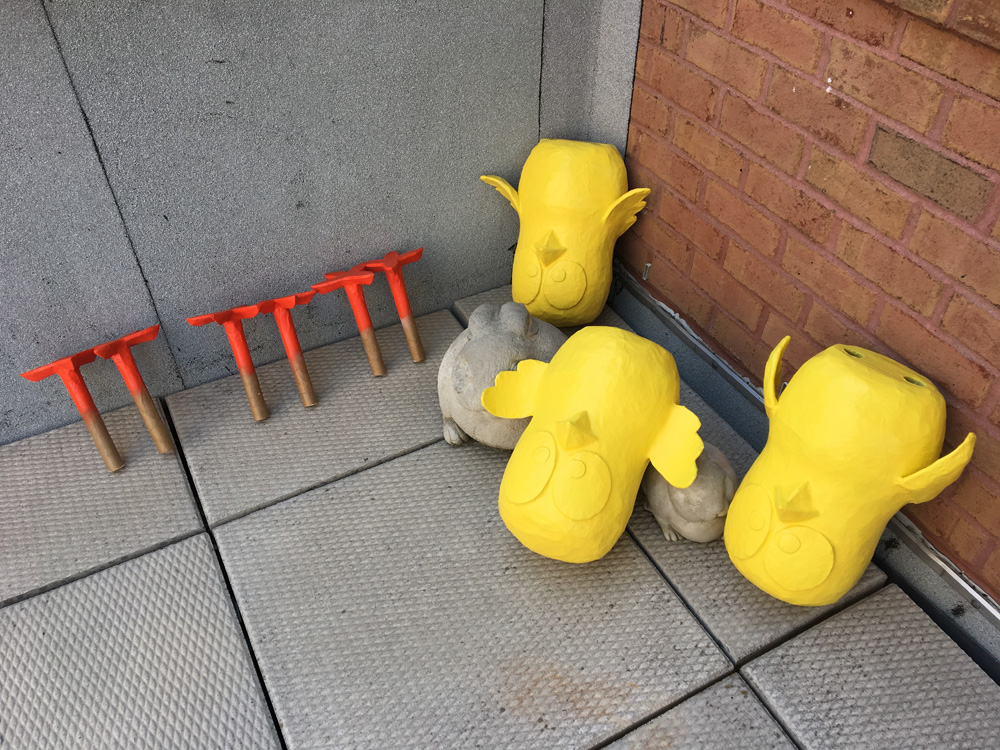
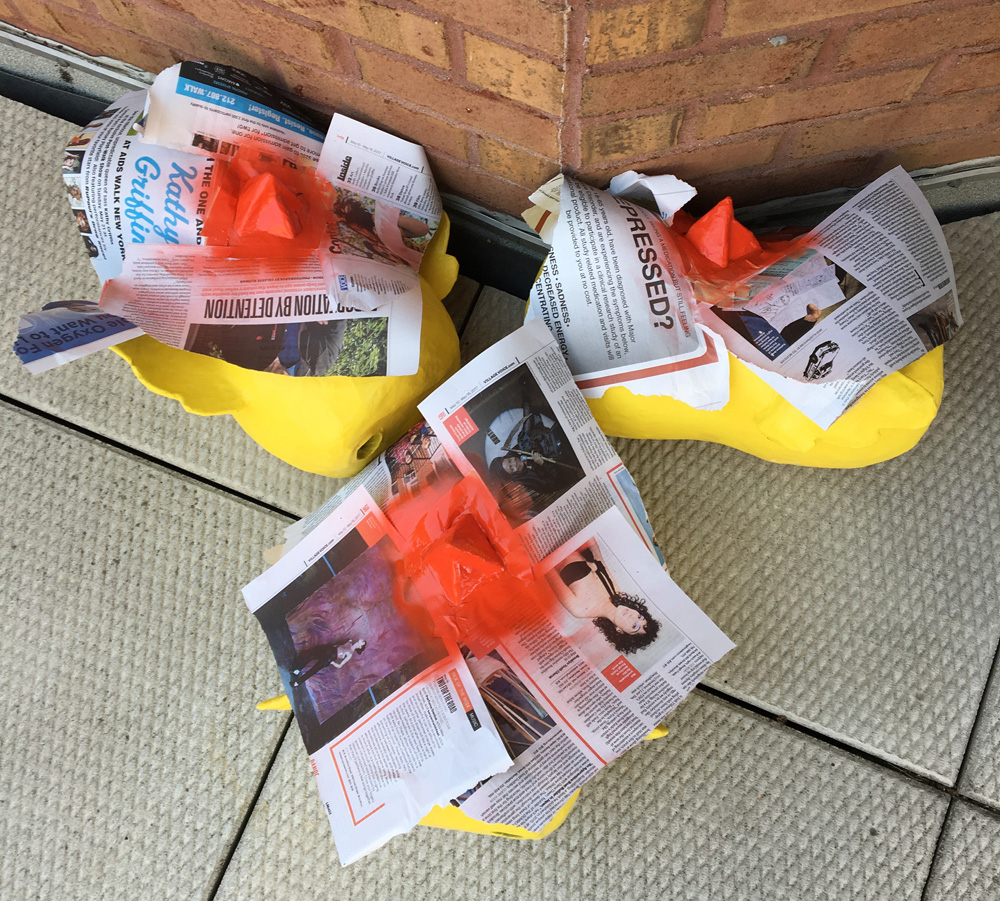
I then spray painted the bodies yellow and the legs red-orange.
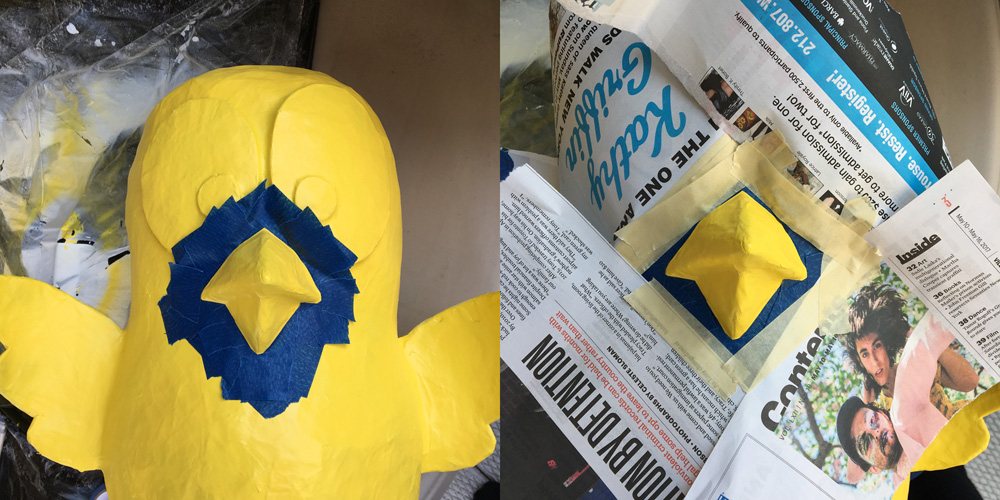
I used that blue masking tape stuff — you know, the kind that sticks less than regular masking tape — along with some newspaper to mask out the beak areas for spray painting. I considered painting the beaks by hand but then it would be impossible to get the color to match the feet/legs.
I left the spray-painted chicks outside for three or four days to air out.
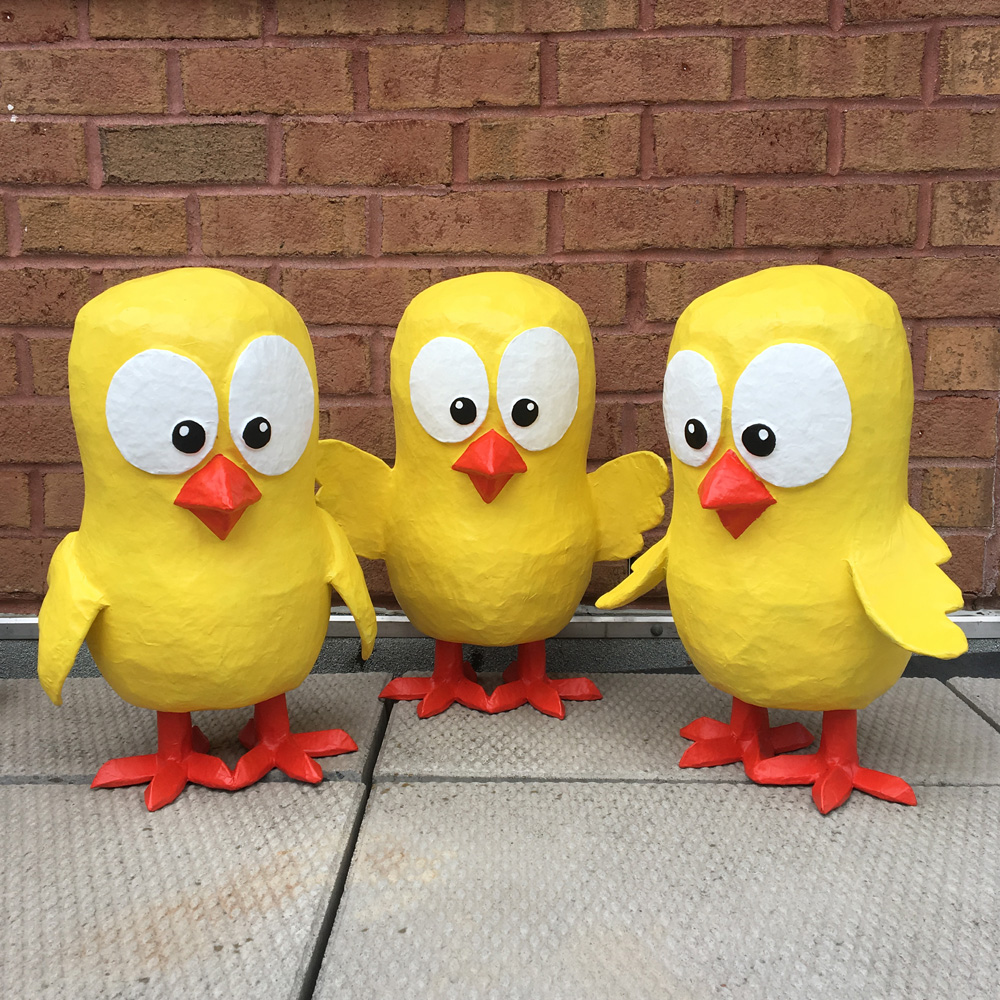
I painted the eyes by hand with acrylic paint; it took three coats of white and three coats of black to get those areas nice and opaque.
I let the acrylic dry overnight and then the next day I brought the chicks outside and applied a layer of matte spray to protect the paint job. And with that, these guys were done!
This was a fun project, and very different from my usual skulls and monsters! I look forward to doing more stuff like this; see my page about custom paper maché masks and sculptures if you'd like to commission a piece from me!