Posts tagged "skeleton":
Cuckoo clock skull mask — part 3
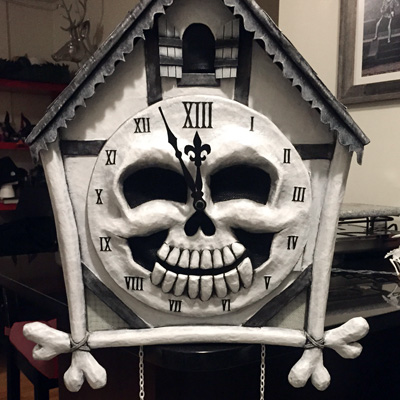
This is part three of my cuckoo clock skull mask project. See part one and part two.
Where were we? Oh yeah, it’s time to paint!
Painting the mask
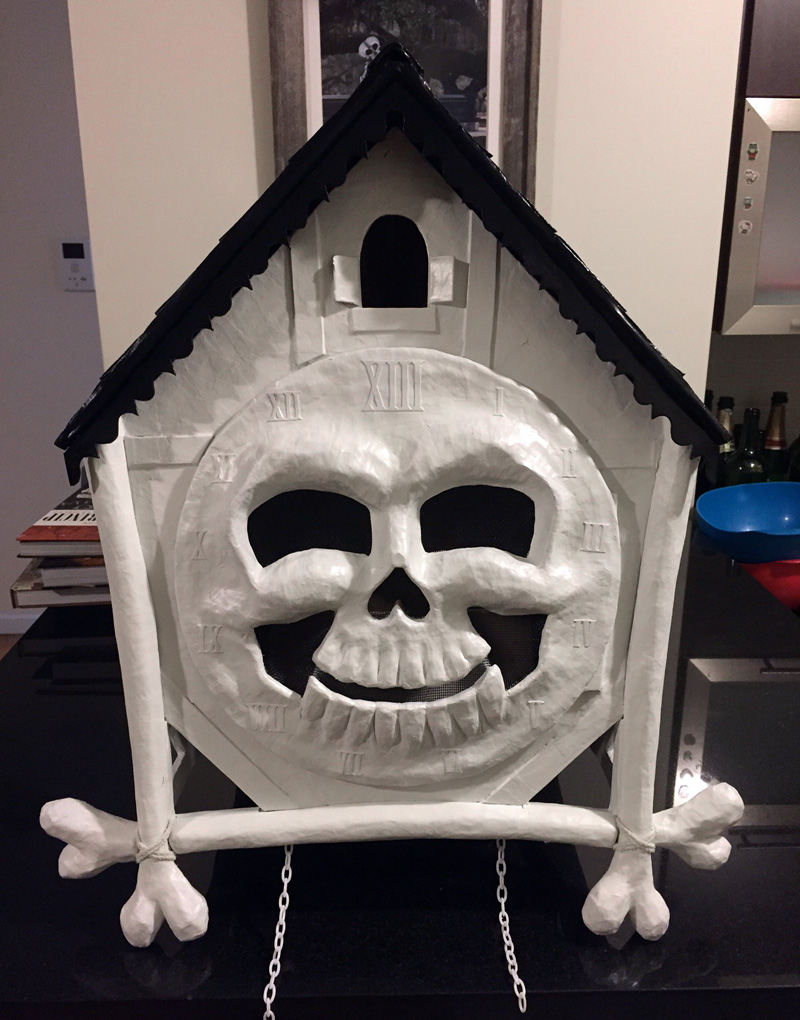
I painted the clock body and the roof separately for the most part before joining them together. I first protected the screen in the eyes/nose/mouth with blue masking tape (the kind that’s really easy to remove), and then I spray painted the entire exterior of the clock white. I separately spray painted the roof black. I let these pieces air out for about three days outside.
Cuckoo clock skull mask — part 2
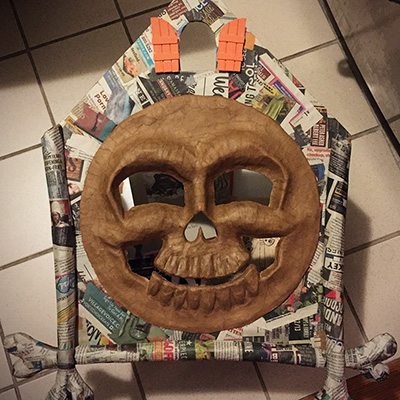
This is part two of my cuckoo clock skull mask project. See part one and part three.
Scale-pattern shingles on the roof
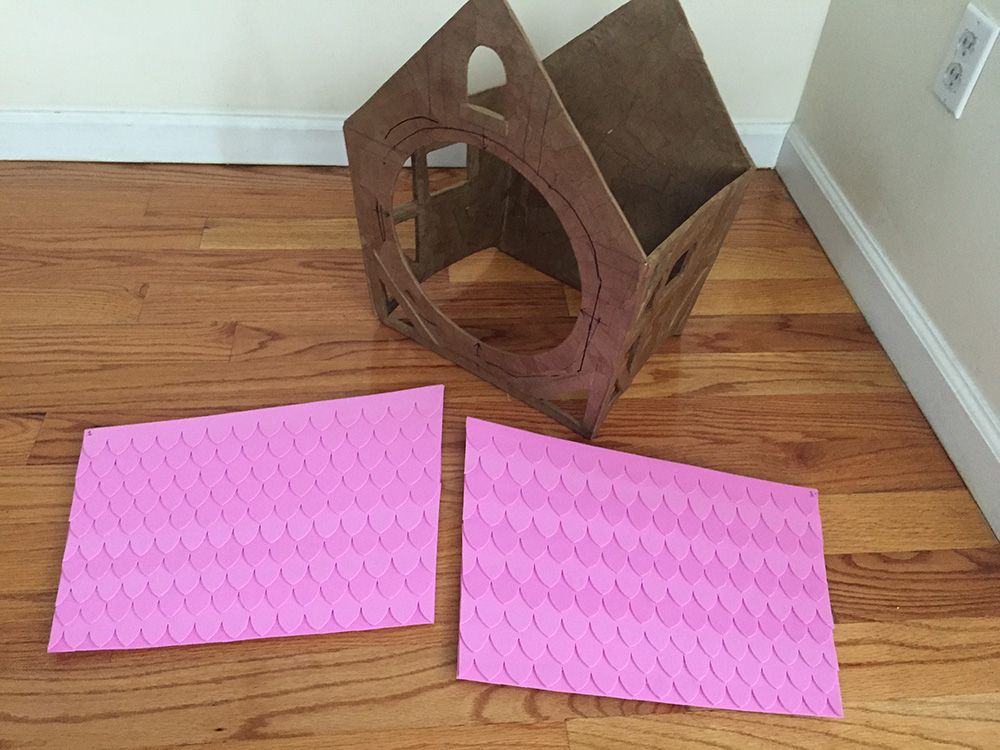
I started the roof with two foam board panels. My process for creating the scale-shaped shingles was kind of convoluted…
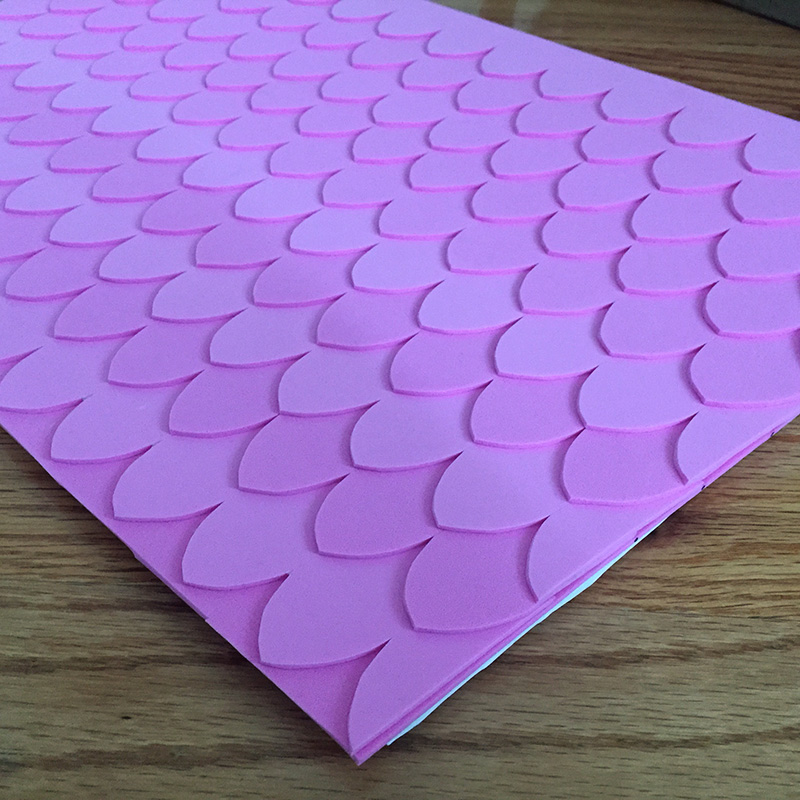
The pattern on the roof is made with a few layers of craft foam (aka Wonderfoam). I made this way harder for myself than it needed to be! Since all my wall and roof panels were irregular shapes — there isn’t a single 90-degree angle on this whole mask — I needed the scale-shaped roof tiles to start out larger near the top of the roof and get smaller toward the bottom. I ended up designing the whole roof surface in Photoshop, starting with a nice regular scale pattern on a rectangular shape (figure 1). Read more…
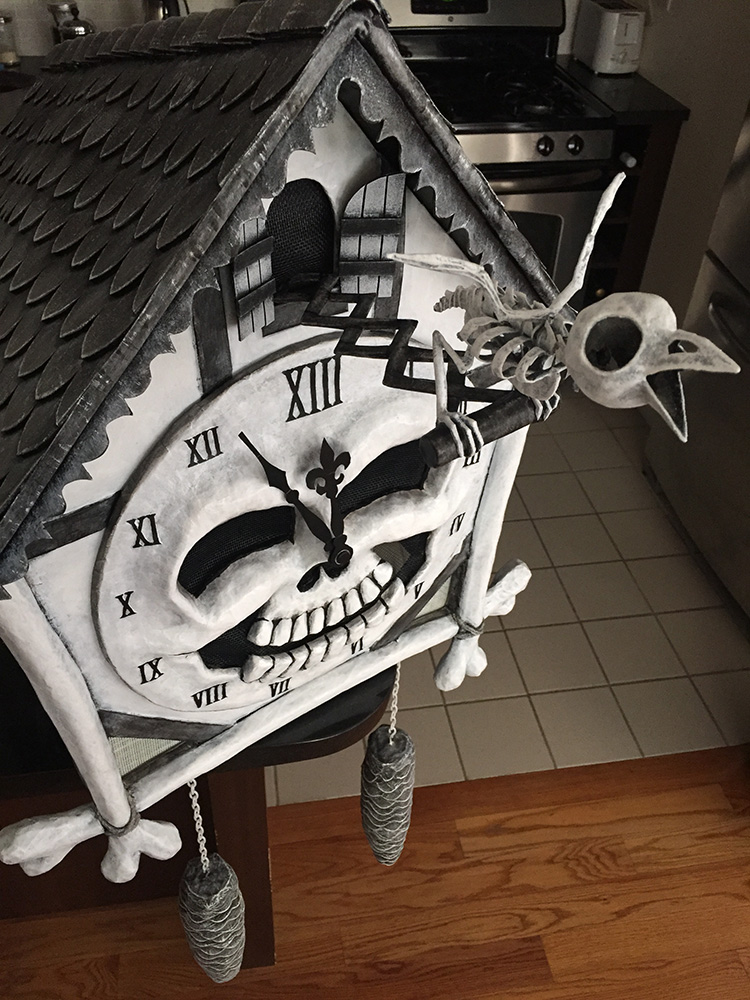
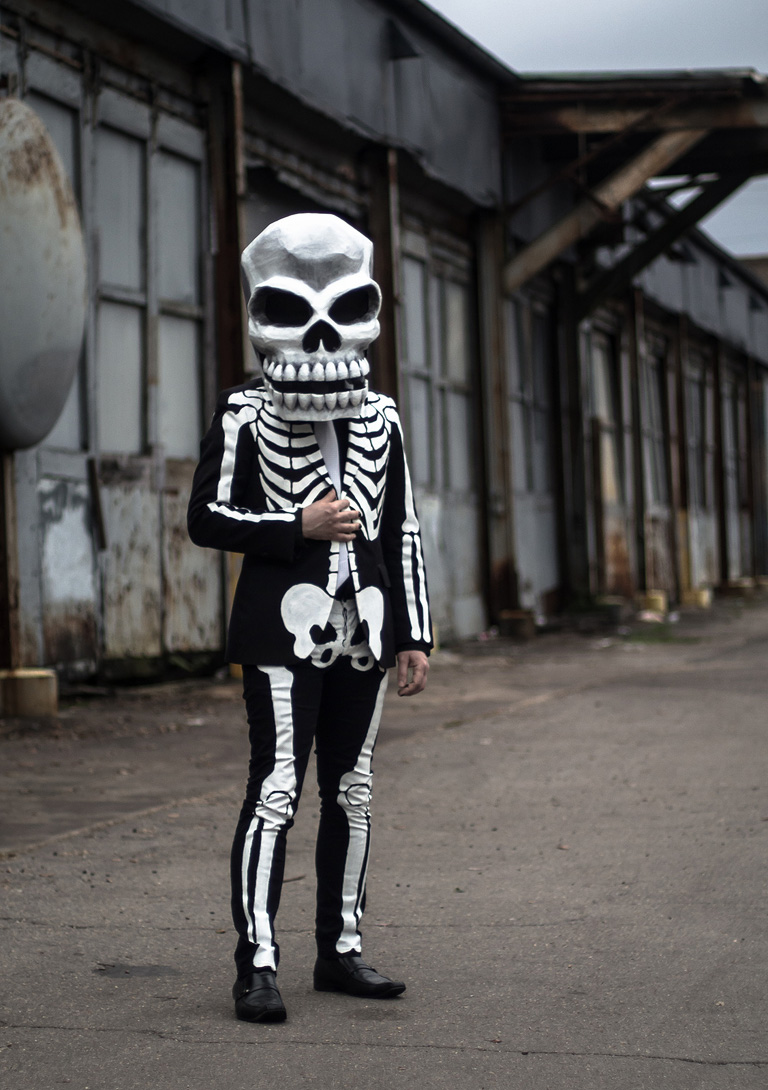
Cuckoo clock skull mask, Mardi Gras 2016
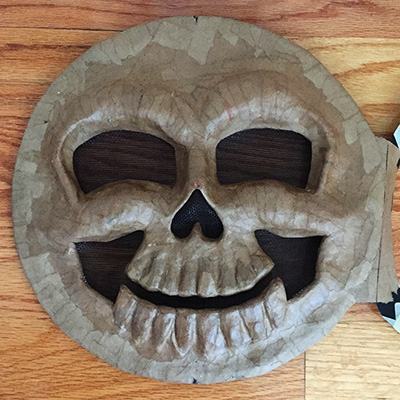
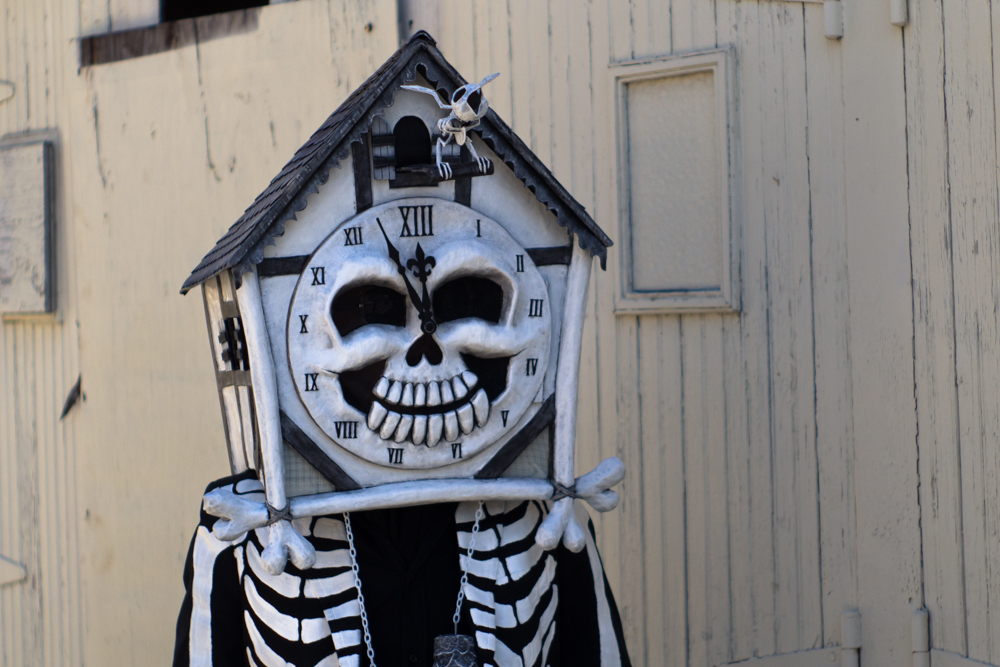
Behold my cuckoo clock skull mask for Mardi Gras 2016! Wow, this one was complicated and fun! Here’s the short version…
This mask was made up of a lot of individual paper maché parts that I built separately and assembled. Here’s a very quick rundown of the parts and what they’re made of:
My nightmare-themed Halloween party
The theme for my Halloween party in 2013 was: nightmares! The name of the event was Night Terrors, and I chose purple and green as my main color scheme for the party. Here’s some info about the decorations we made, our costumes, the animated invitation, etc.
Invitation — I create a short animated invitation for my Halloween party ever year; it really helps set the mood and establish the color scheme and give people some inspiration for their costumes. Here’s the invitation I sent out for Night Terrors. Note: there is audio. Also, it’s made in Flash, so it won’t work on an iPhone/iPad.
Read more…
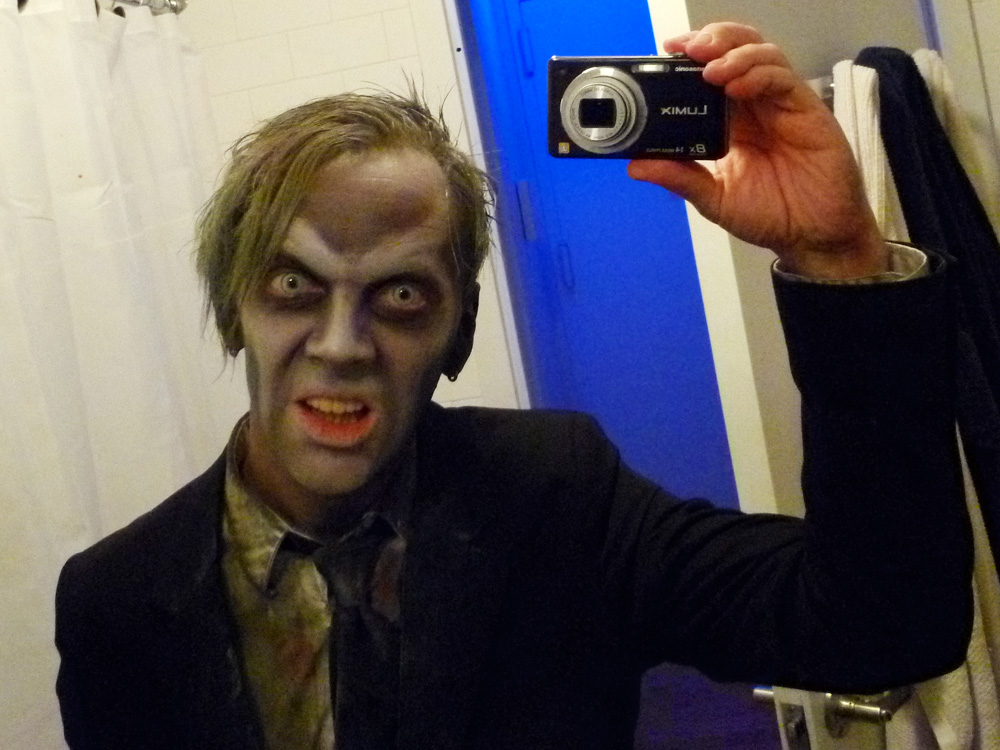
Tips for applying Halloween makeup, hair color, fake blood, contact lenses, etc!
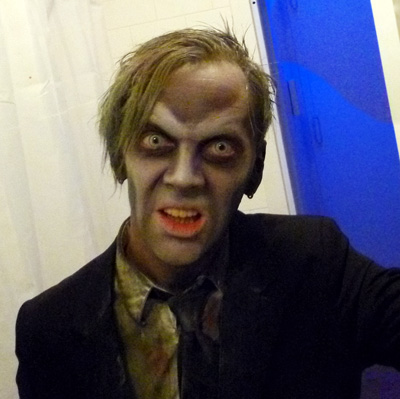
My makeup method is pretty simply and I use different variations of it almost every year.
For my face, the main type of makeup I use is Ben Nye Creme Colors (paid link) — they come in a little flat jar and you can find them at a lot of Halloween stores, often behind the counter because they’re a little pricier.
For zombie makeup or general scary ghoulish makeup, I usually just use black and white Ben Nye Creme Colors, and I just use my fingers to apply it. I start off with a base of white, all over my face. Then I use black makeup on my finger tips to apply heavy black areas around my eyes, under my cheekbones, etc, and blend them out toward the white. I use my finger tips to add shadows down the creases on the side of my mouth, and on the sides of my nose, at my temples, above my brow ridge, etc.
Read more…
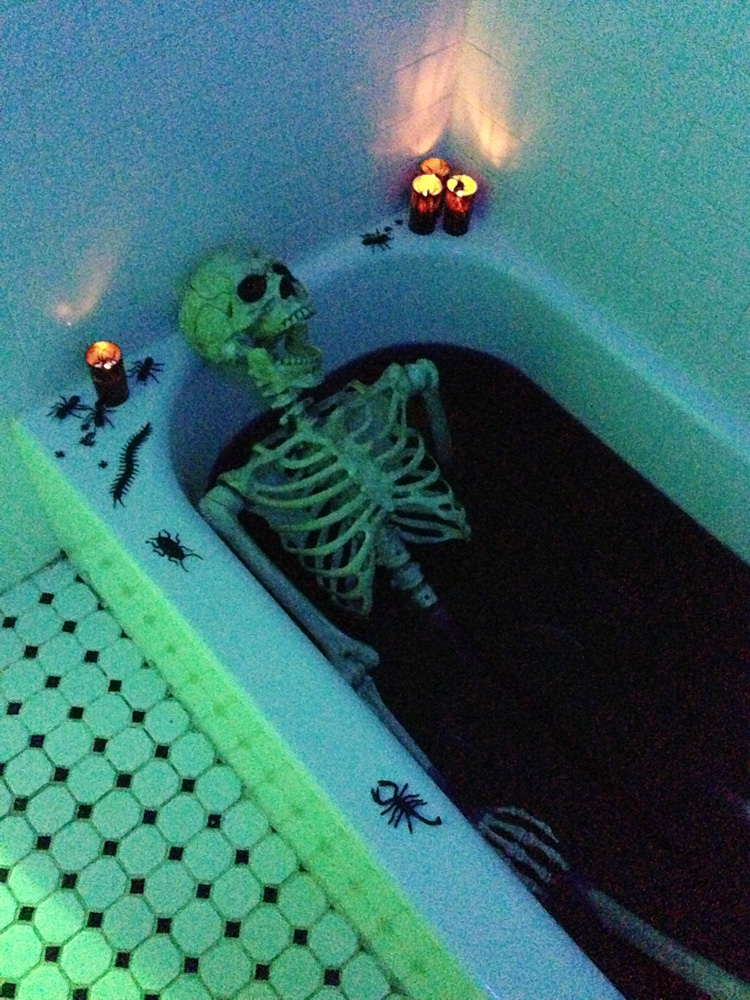
Skeleton in a bloody bathtub Halloween party decoration
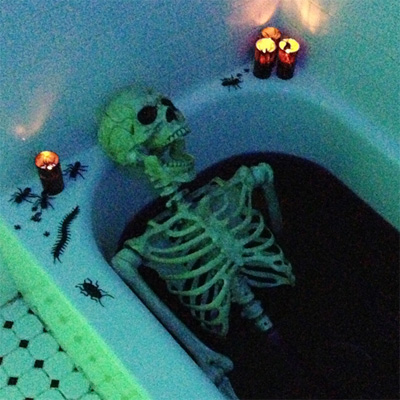
This project is so easy and creates such an amazing effect! All you need is a bathtub, a skeleton, and some tempera paint! I like this one so much I do it almost every Halloween, even though my party has a different theme every year. Skeletons in bathtubs go with everything!
Read more…
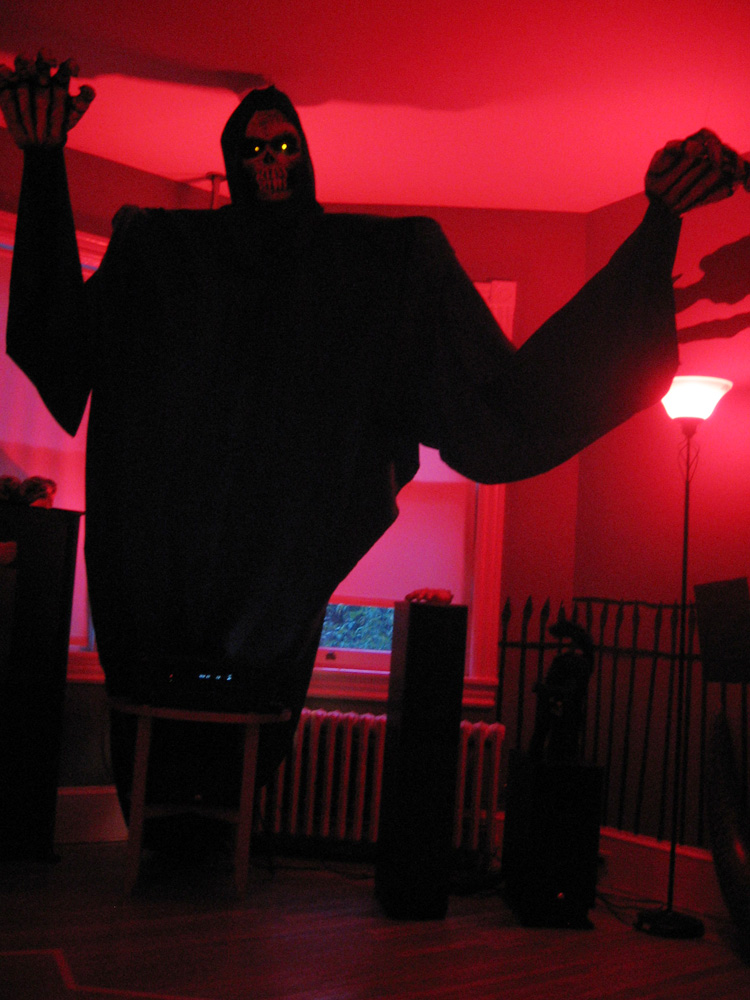
10-foot grim reaper Halloween decoration!
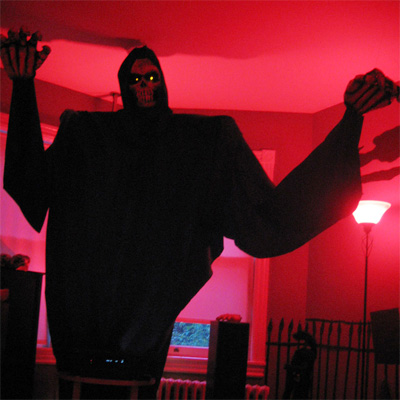
This giant grim reaper prop I made for a Halloween party in 2010 was the first paper maché project I ever tackled! (Well, not counting art class back in grade school.) I seriously had no idea what I was doing but it turned out okay, and my success with this project really inspired me to keep trying to make bigger and more complicated Halloween decorations every year.
Read more…
Paper maché skeleton lion prop
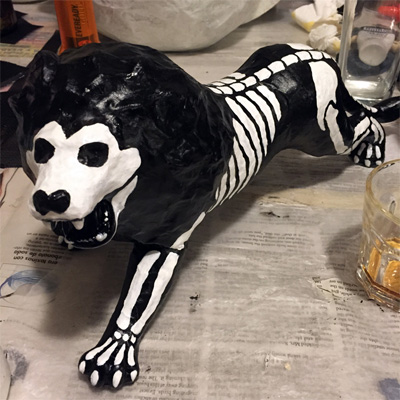
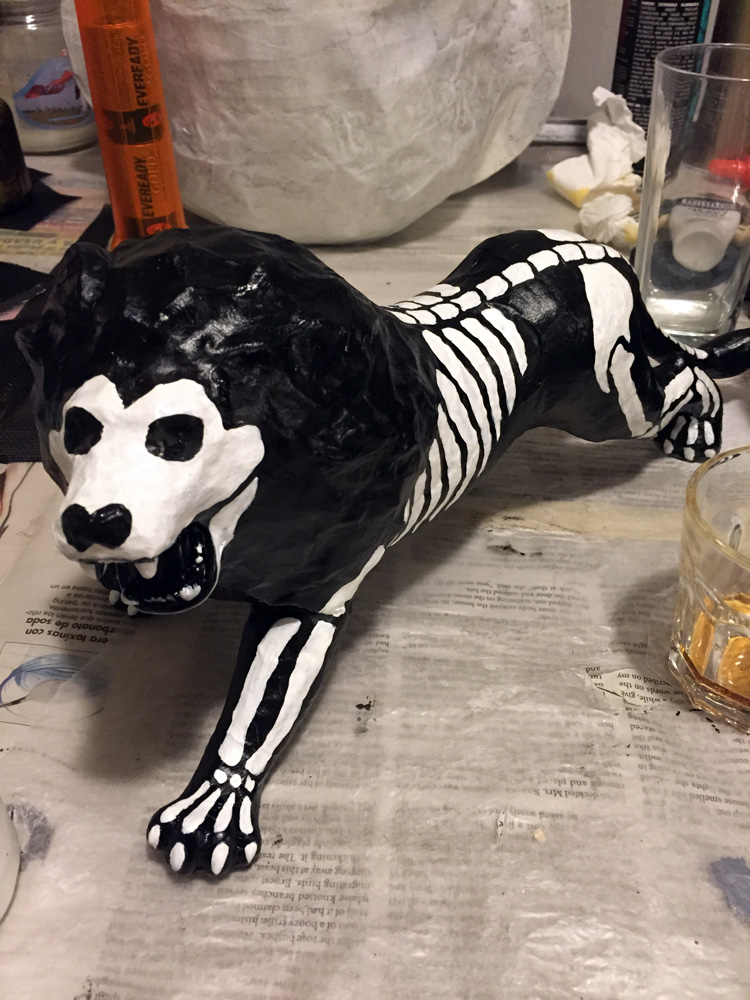
I made (or modified, really) this little paper maché skeleton lion prop for my fiancée’s skeleton lion tamer costume. She mentioned there was this weird soft rubber lion model at her work that they didn’t need and I told her I could paint bones on it for her so she could use it as a prop for her costume. But when she brought it home I saw it had these deep grooves all over it to imply a fur texture, and I knew it would be basically impossible to paint nice clean lines over it for the bones. So I did a couple layers of paper maché over the whole thing, and then painted it; easy! See my post about my paper maché process here. Because the scale is much smaller here than for my usualy big skull masks and other projects, I did the paper maché a little different; I started with my usual alternating layers of newspaper and brown wrapping paper (just one layer each), and then I added a final layer of tissue paper to get the surface as smooth as possible. Then I spray painted it black and painted the bones on with white acrylic and a brush. Fun!
Read more…
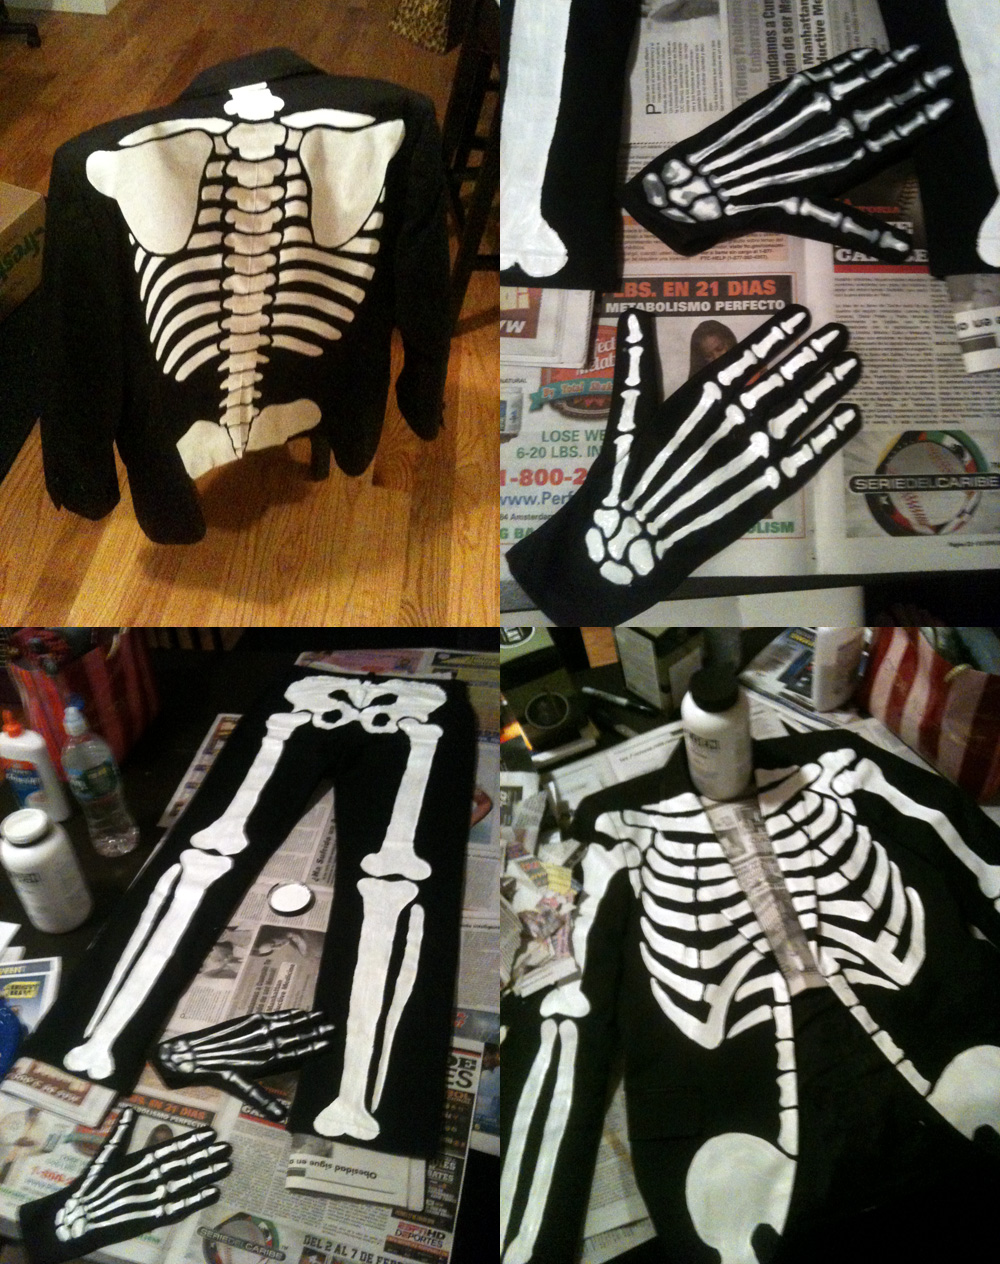
My hand-painted skeleton suit
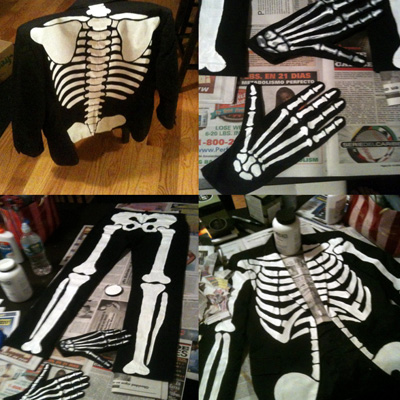
I made this skeleton suit for my first Mardi Gras (2012) and have worn it every Mardi Gras since, plus a few Halloweens here and there. Making the suit was a fun project, and a little more challenging than I expected.
I started with a thick black blazer and a black pair of cotton pants, both of which were from H&M; I already had them in my closet and chose to sacrifice them for this costume.
Read more…
Paper maché violin skull mask, Mardi Gras 2015

I made this violin skull mask for Mardi Gras 2015. It was one of the most complicated things I’ve ever made. I bit off more than I could chew with this one, but I’m really happy with how it came out. Check out all these steps…
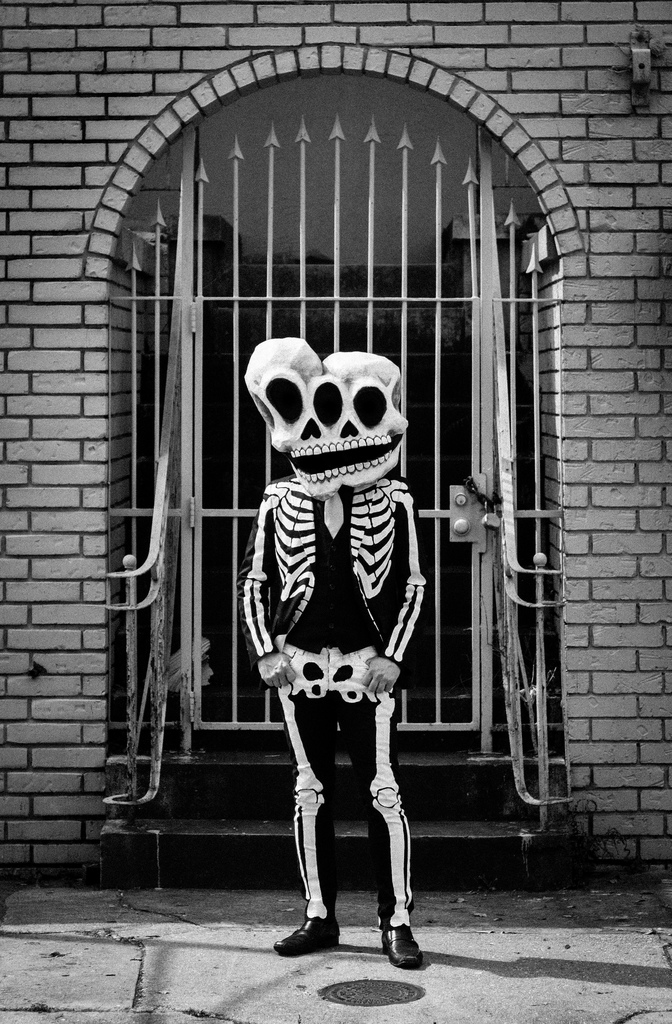
Paper maché conjoined twins skull mask, Mardi Gras 2014
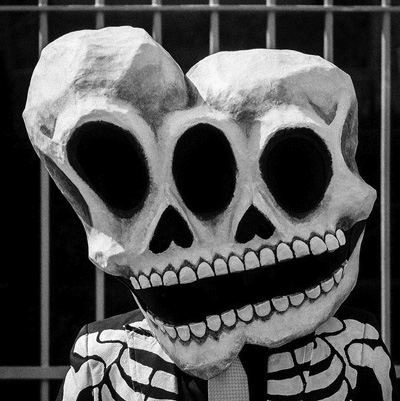
This year I was determined to give chicken wire another go, after my failed attempt the previous year. I had already sketched out my idea for this conjoined twins (aka “siamese twins”) skull, and I knew I wanted them to be different heights and sort of distorted and curved-looking. So I decided to start out with two big tubes of chicken wire.
Read more…
My first big paper maché skull mask, Mardi Gras 2013
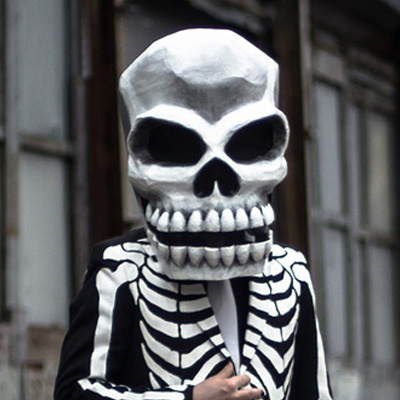
This was my first big paper maché project!
I started off by buying some chicken wire and trying to shape it into the skull shape I pictured in my head. It didn’t work out at all; I had no idea what I was doing and I just couldn’t get the chicken wire to do what I wanted. So I gave up on the chicken wire for this mask. (I used chicken wire again, with much better results, the next year!)


 About Manning Krull
 How to make a 4-foot paper maché alligator
 Three-headed paper maché dragon sculpture