
Wolf skull mask — part 3; painting, etc.
Published by Manning on March 2nd, 2017
Painting the wolf skull
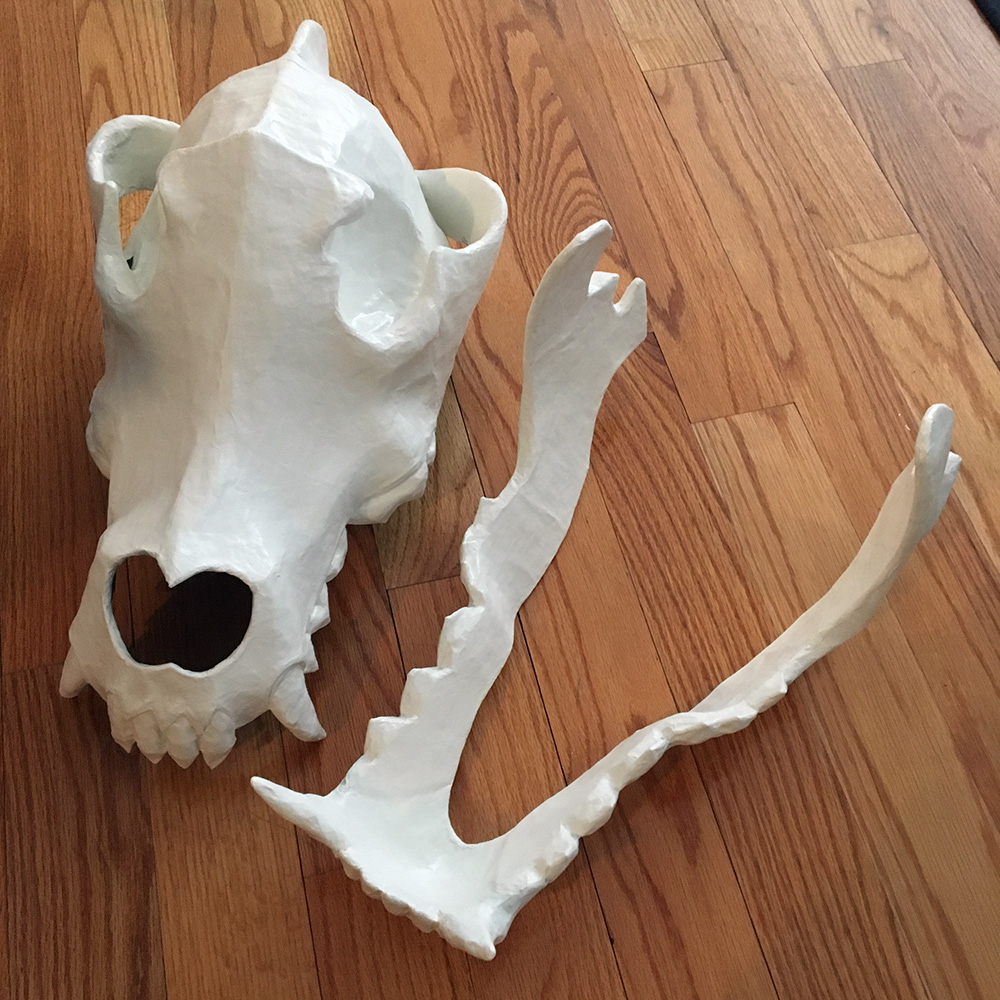
Before painting the wolf skull mask, I applied a coat of gesso over the whole thing. Gesso is a thick white paint-like substance that can help smooth out any imperfections in your paper maché surface. In this case it really helped smooth out the teeth in particular.
Then I used my usual methods for the actual painting of this mask: spray paint, then acrylic paint for details and shading, then matte spray. I have a whole article about my painting techniques here. Here are some pics of my progress:
Here’s the skull after the gesso and one coat of white spray paint (and letting it air out outside for three or four days).
Then I dirtied up the skull with black acrylic paint applied with a slightly damp sponge. It always looks like I’ve gone too far with this step (even to me!) but I’ll be dialing it way down with white paint later.
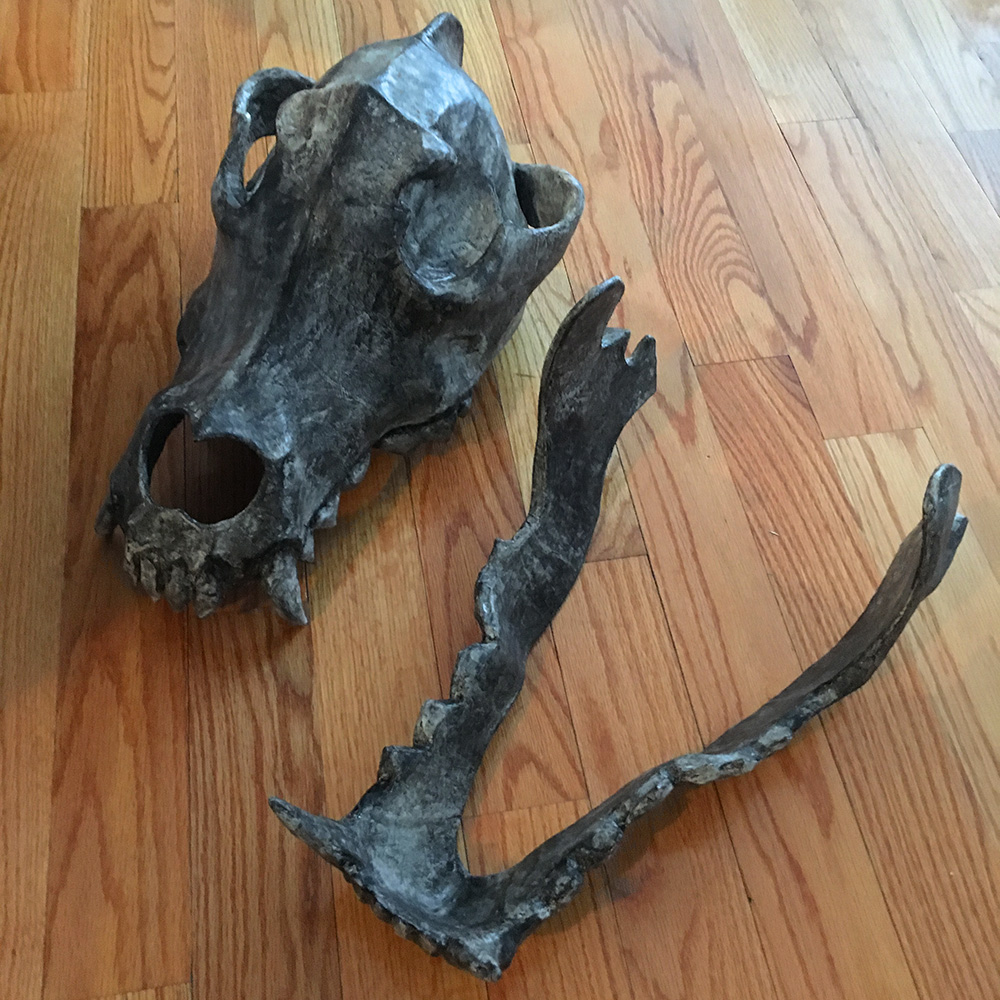
Another view after the black paint. It’s important to push the sponge all the way into the indentations in the skull, so the black paint gets everywhere. (Incidentally, that’s a rabbit skull tattoo of my arm!)
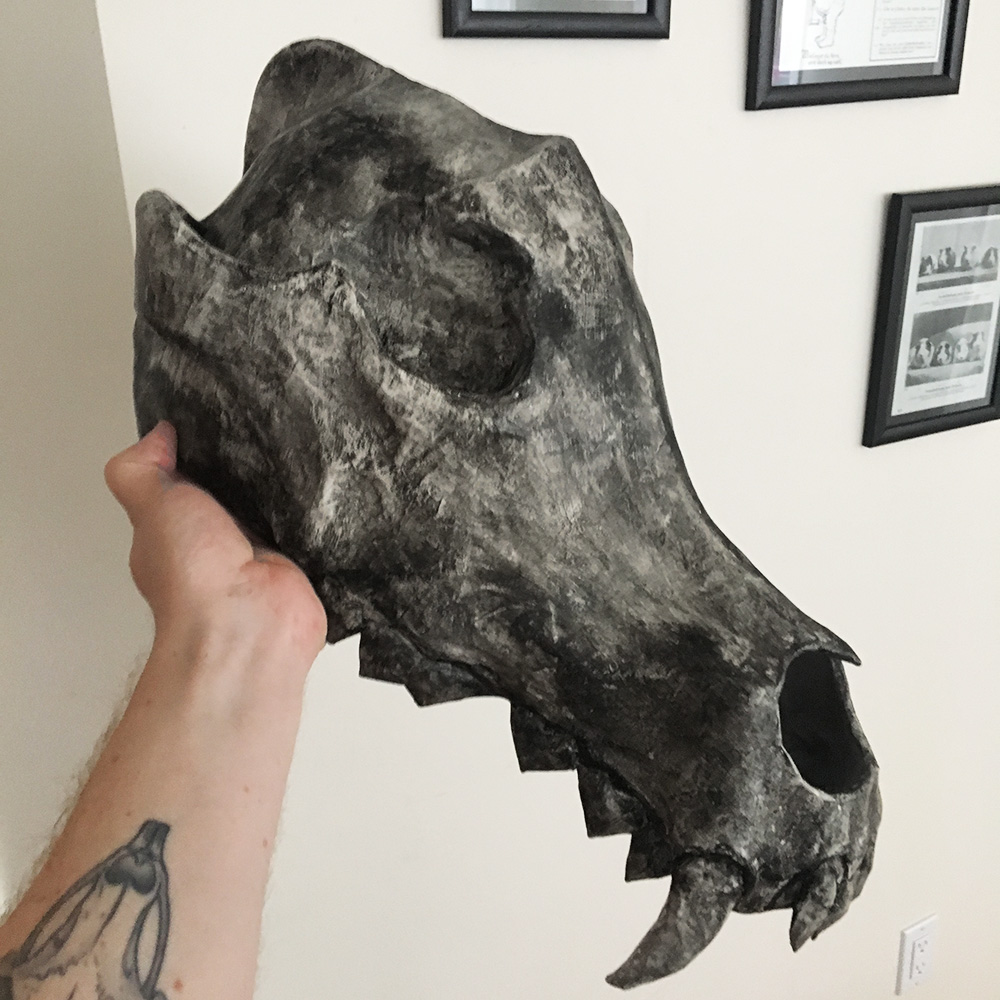
Then I applied white acrylic paint in two steps: first one round of drying brushing with a large brush, and then one round of slightly-watered-down paint applied all over with a sponge. The end result is a layered, shaded look with many different values of dark and light, from almost black in the deepest indentations (like around the teeth) to stark white on the most raises areas, like the ridges on the eye sockets and cheek bones and the ridge at the top of the head.
I always go over the teeth with one more coat of white paint, applied with a small brush, and then I touch up the spaces between the teeth with black paint and a tiny brush.
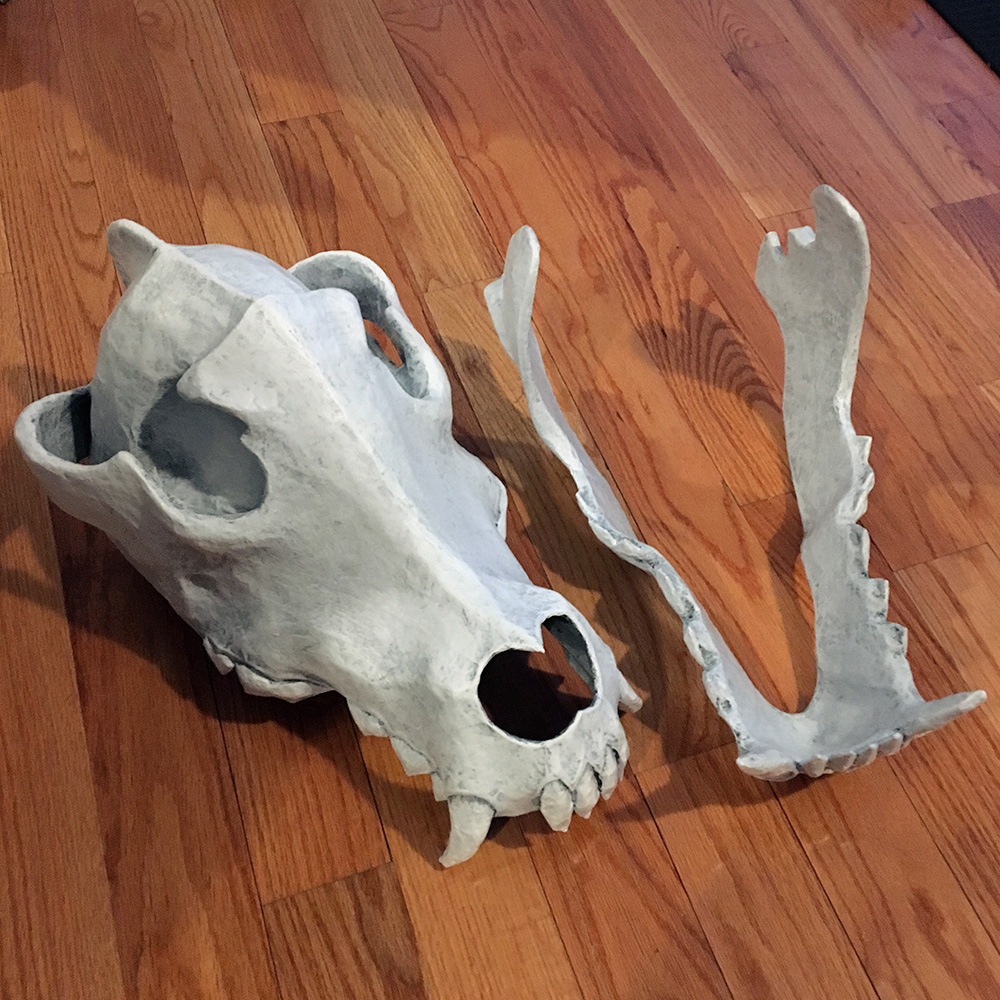
After letting the paint set for a full two days, I assembled the skull and jaw. Even though acrylic paint feels dry after an hour, if I’d assembled the pieces at that point, the friction of the jaw moving would scrape a lot of the paint right off. Letting it set for a few days hardens and strengthens the paint so this doesn’t happen. So far so good; I’ve been moving the jaw a million times as I work on the mask and none of the paint has been damaged at all.
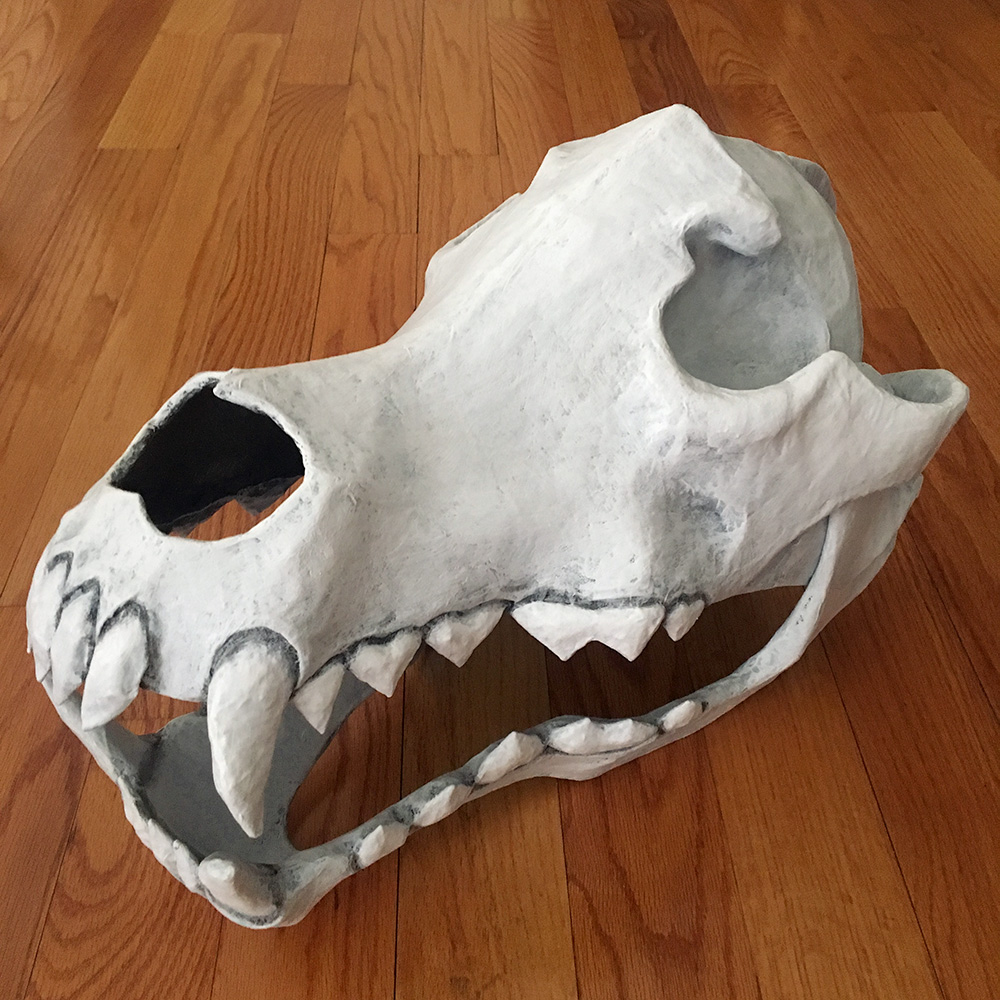
Here’s the finished skull from several different angles. I painted the interior of the skull with watered-down black acrylic. I then took the skull outside and applied one coat of matte spray to protect the paint.

Installing the hard hat
Gluing my hard hat into this mask was a lot simpler than it’s been with my other masks, since in this case I’d built the mask onto that poster-board-and-tape copy of the hard hat. As a result of this, the real hard hat slid into place perfectly. To glue it in permanently, I first wrapped the top crest of the hard hat with a couple layers of paper maché; you might remember that I scratched up the surface of the plastic to help it hold the paper maché better. Once this was dry, I turned the mask upside down, dripped some lines of Gorilla Glue into the mask, and pressed the hard hat into place. I then weighed down the hard hat with a jar of pennies in order to keep it pressed into the glue; Gorilla Glue expands a tremendous amount as it dries, and I didn’t want it to push the hard hat up and out of place. I propped some books around the upside-down mask to keep it steady, and left it there over night to dry. In the morning the glue had expanded out to the sides of the crest of the hard hat and had then oozed into the crest and hardened, locking it in place. Perfect.
That’s it for part 3! Continue to part 4; making the ears, etc…
 About Manning Krull
 How to make a 4-foot paper maché alligator
 My violin skull mask, Mardi Gras 2015
 Three-headed paper maché dragon sculpture
Leave a comment