
Paper maché spooky lamp prop
Published by Manning on October 20th, 2016
This is part five of my paper maché furniture projects for my séance Halloween party; see part one; chairs, part two; table, part three: mantel, and part four; nightstand.
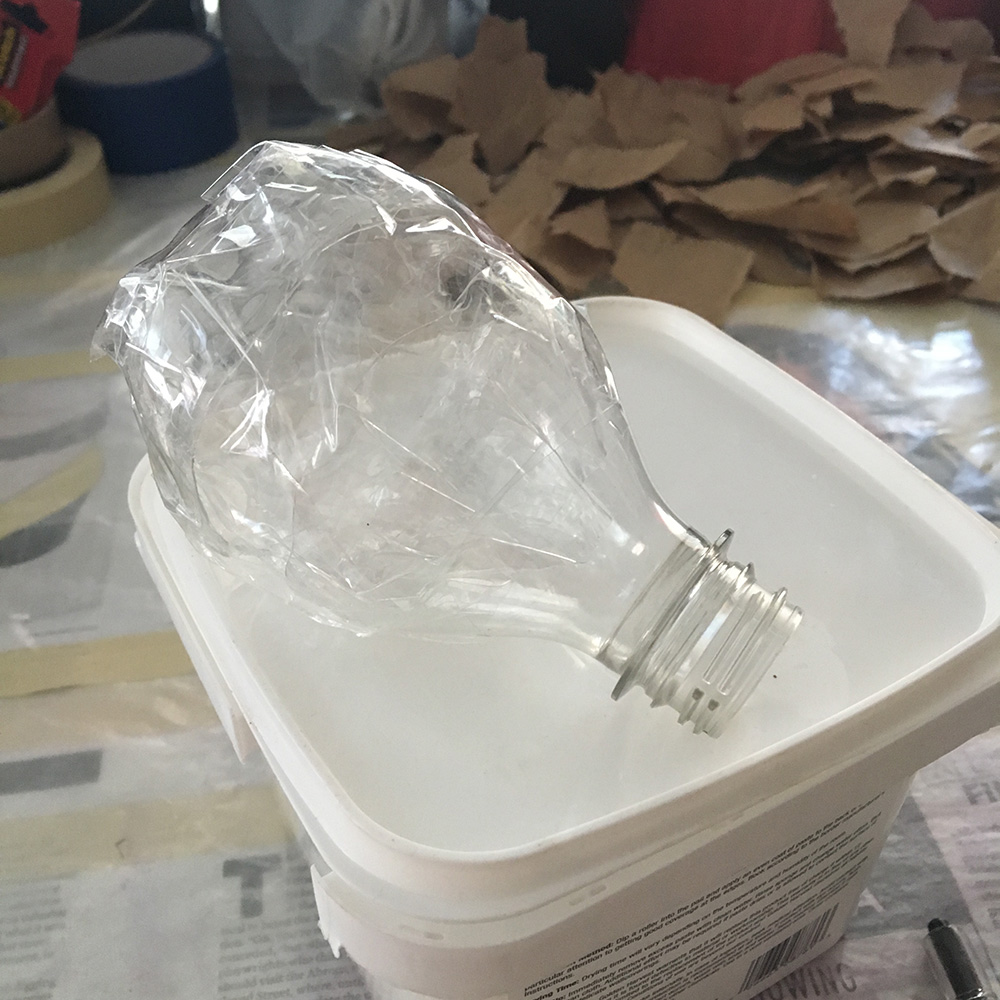
I got the idea for this lamp when I saw this plastic bottle of almond milk in our fridge; it’s a neat bowling-pin shape that’s perfect for an old-timey lamp. I decided to add this lamp project to the list of lightweight paper maché furniture that we’re hanging from the ceiling for our spooky séance party.
I removed the plastic wrapper from the bottle, and at first I considered just painting the remaining clear plastic for my lamp, but ultimately I decided that paper maché would make for a better texture and that it would also match the rest of our fake furniture much better. My fiancée wrapped the bottle in one layer of paper maché; her first paper maché project!
For the lampshade, I could’ve simply rolled up some poster board into a tapered cylindrical shape, but that would be way too easy! So I came up with this idea of making a more complicated lampshade.
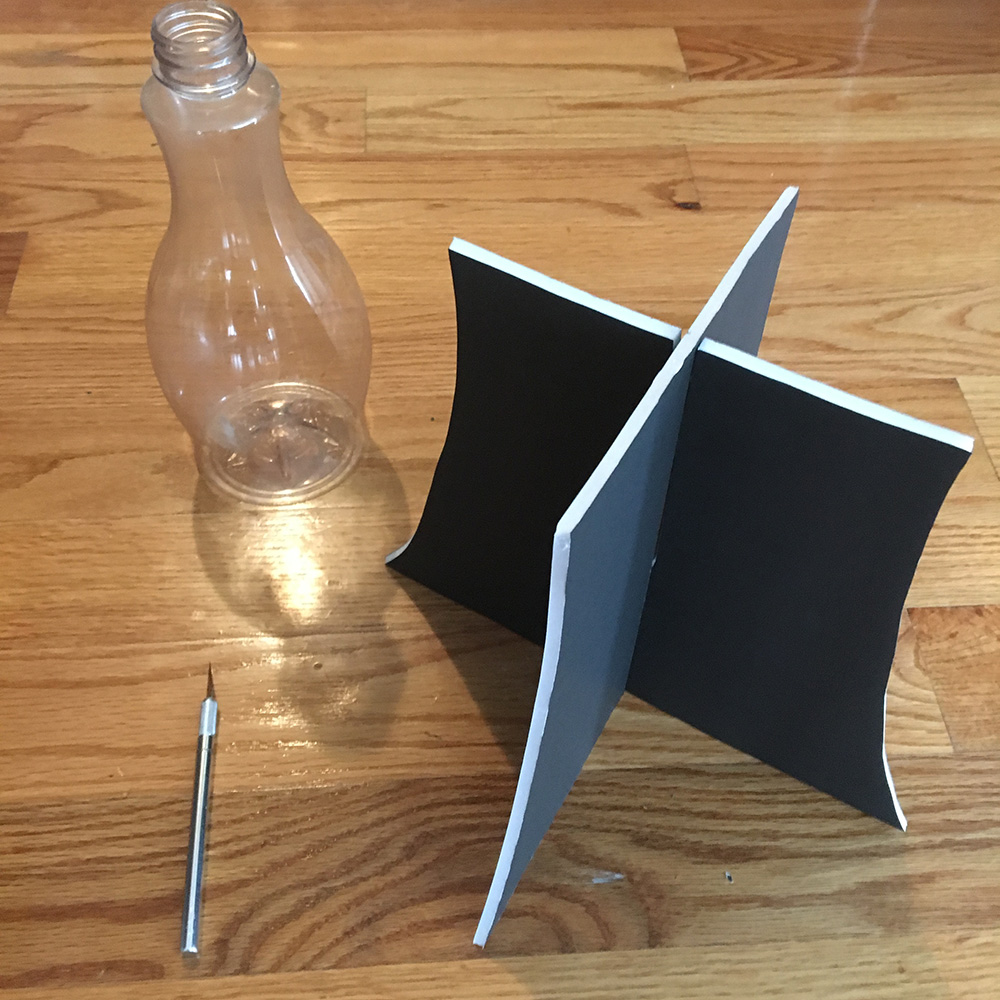
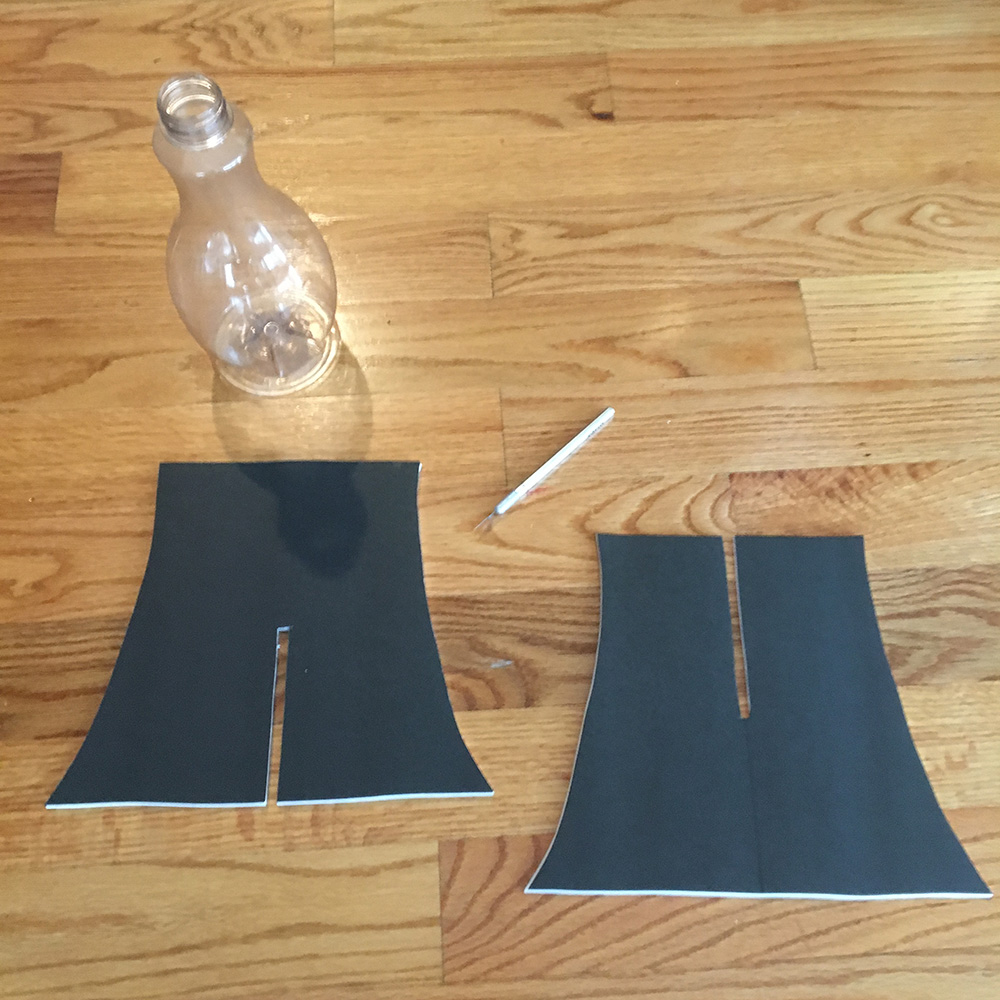
I started by drawing a lampshade shape onto foam board and cutting it out. I traced it and made a second one, and added slits in both so I could connect them. Then I made four more half-pieces and connected them all with tape, being careful to keep them evenly spaced.
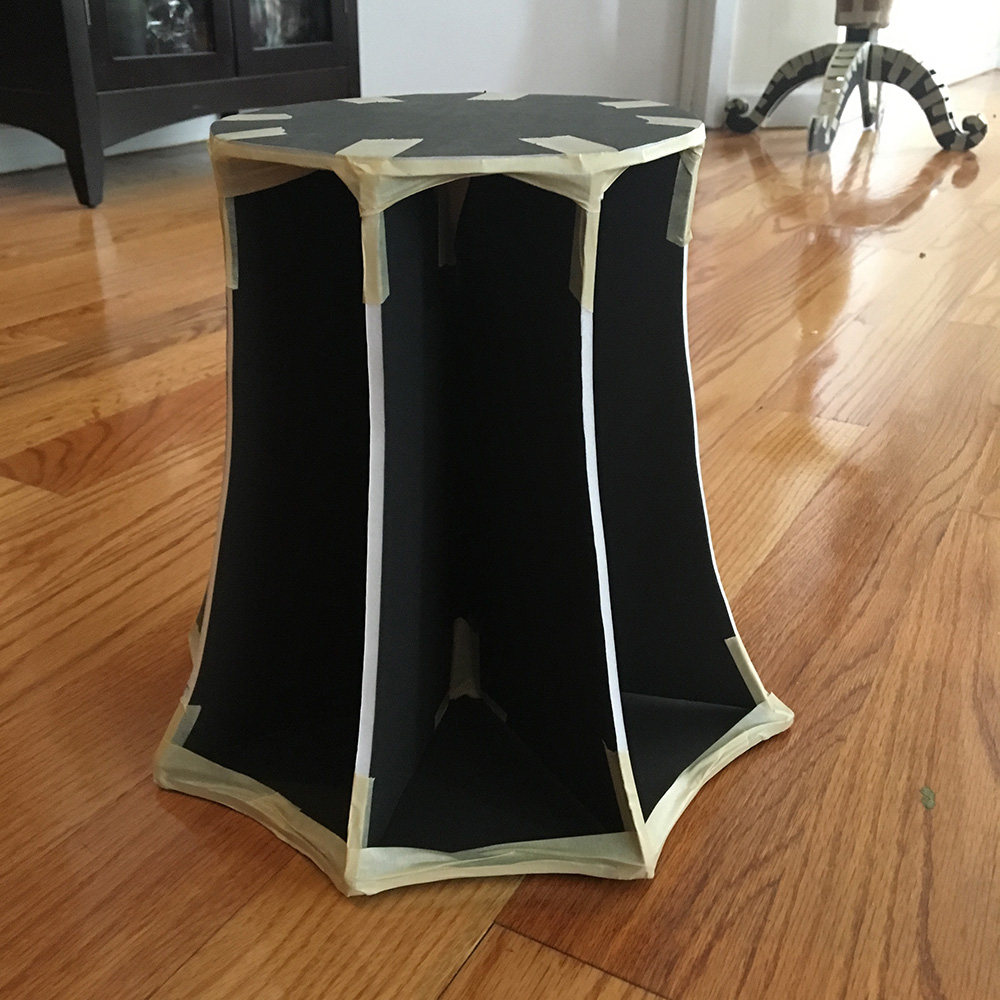
I then traced the top and bottom of the assembled shape onto more foam board, and cut out those pieces and attached them with more tape. This whole shape serves as the base for the paper maché and will then be removed and discarded, leaving just the paper maché exterior.
I wrapped this shape in plastic cling wrap to serve as a release agent between the foam board base and the paper maché. Then my fiancée applied three layers of paper maché over the whole shape, using purple crepe paper rather than our usual craft paper. When it was dry, I could tell the crepe paper wasn’t going to be sturdy enough to survive the removal of the base, so I added one more layer of paper maché with white construction paper. When this was dry I very carefully cut and removed all the interior junk with an X-acto knife. The end result was much less translucent than I wanted, unfortunately, but it was nice and strong, and the crepe paper created a nice texture.
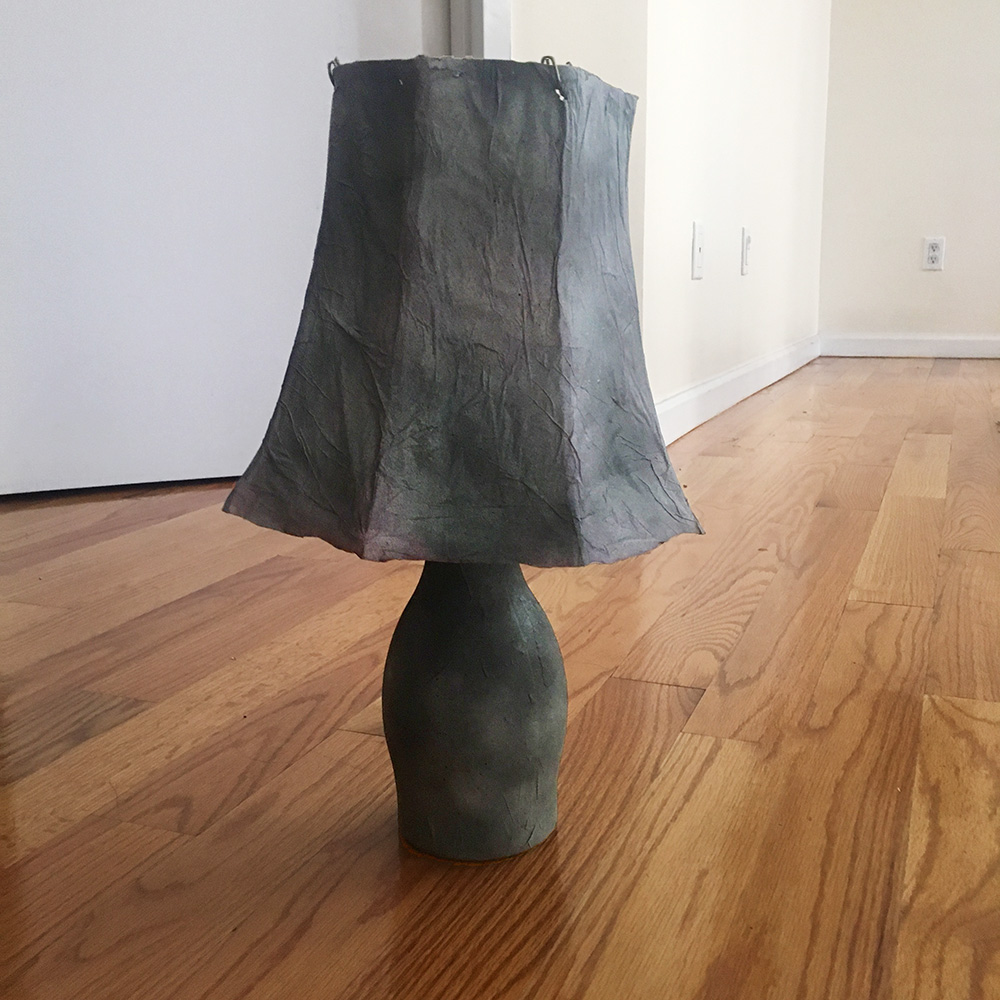
I spray painted the base of the lamp with a few coats of black and white spray paint, applied from about a foot away as sort of a light dusting, in order to get a gross mottled gray color. I did a little bit of this kind of spray paint dusting on the lampshade too.
I attached the lampshade to the lamp with long pieces of wire cut from clothes hangers, wrapped around the neck of the bottle and threaded through holes I cut in the lampshade.
For the light bulb, I took a 20-ounce soda bottle, removed the label, chopped off the top and bottom parts and taped them together with packing tape. I then covered that with two layers of paper maché, using the same purple crepe paper I’ve been using for lots of various projects recently; I bought too much of the stuff!

For the light inside the light bulb, I have these neat little battery-powered lights that you twist to turn on; they stay lit for a good twenty-four hours or so. They have a loop at the end, so I ran a piece of wire through the loop and used that to place the light in the center of the bulb, and then I attached the wire to the outer edge of the opening. Easy.
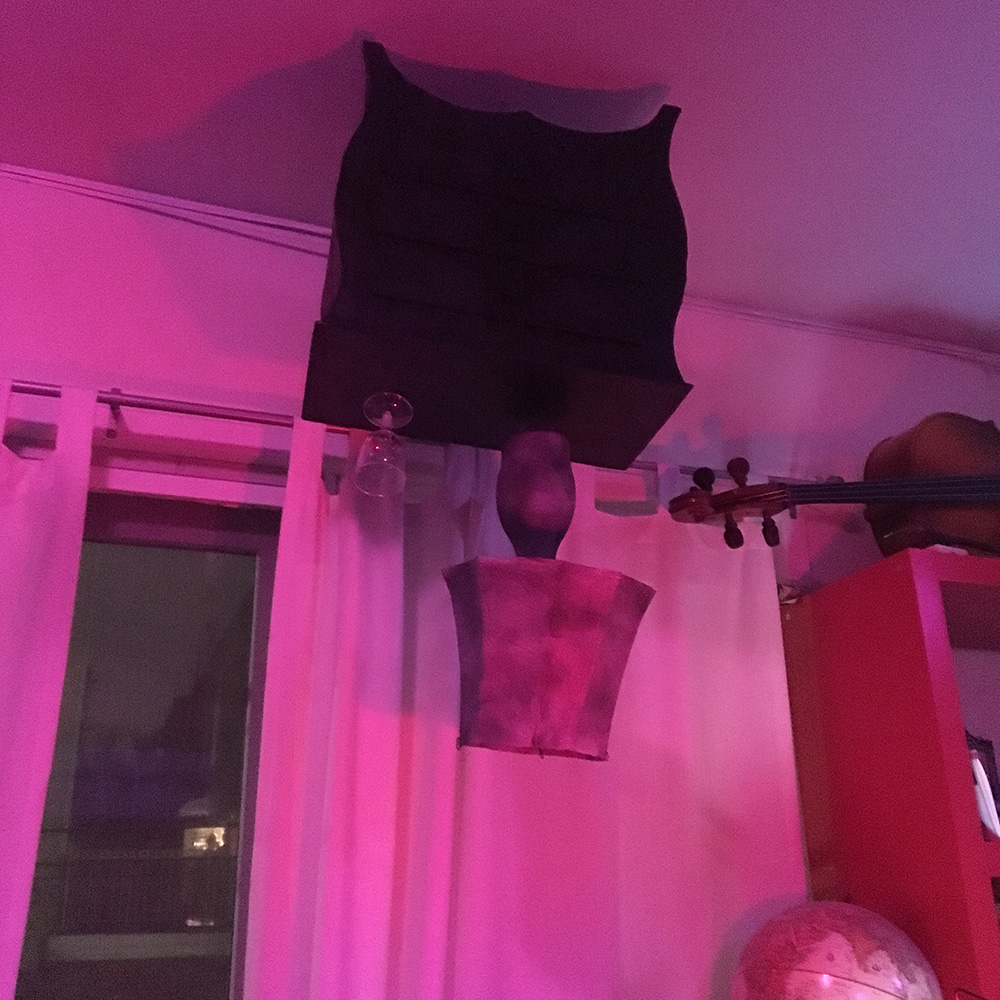
I’ll be hanging the lamp from the ceiling with fishing line so it can spin freely. My plan is to cut a hole in the nightstand so I can run the fishing line for the lamp through that up into the ceiling; that way the lamp can “float” just a couple inches above the nightstand and spin on its own. Pics soon!
Update! Here’s the lamp and nightstand hung up for the party!
See more paper maché furniture projects: chairs, table, mantel and fireplace, nightstand, lamp.
 About Manning Krull
 How to make a 4-foot paper maché alligator
 My violin skull mask, Mardi Gras 2015
 Three-headed paper maché dragon sculpture
Leave a comment