
Paper maché Victorian nightstand
Published by Manning on October 20th, 2016
This is part four of my paper maché furniture projects for my séance Halloween party; see part one; chairs, part two; table, and part three: mantel.
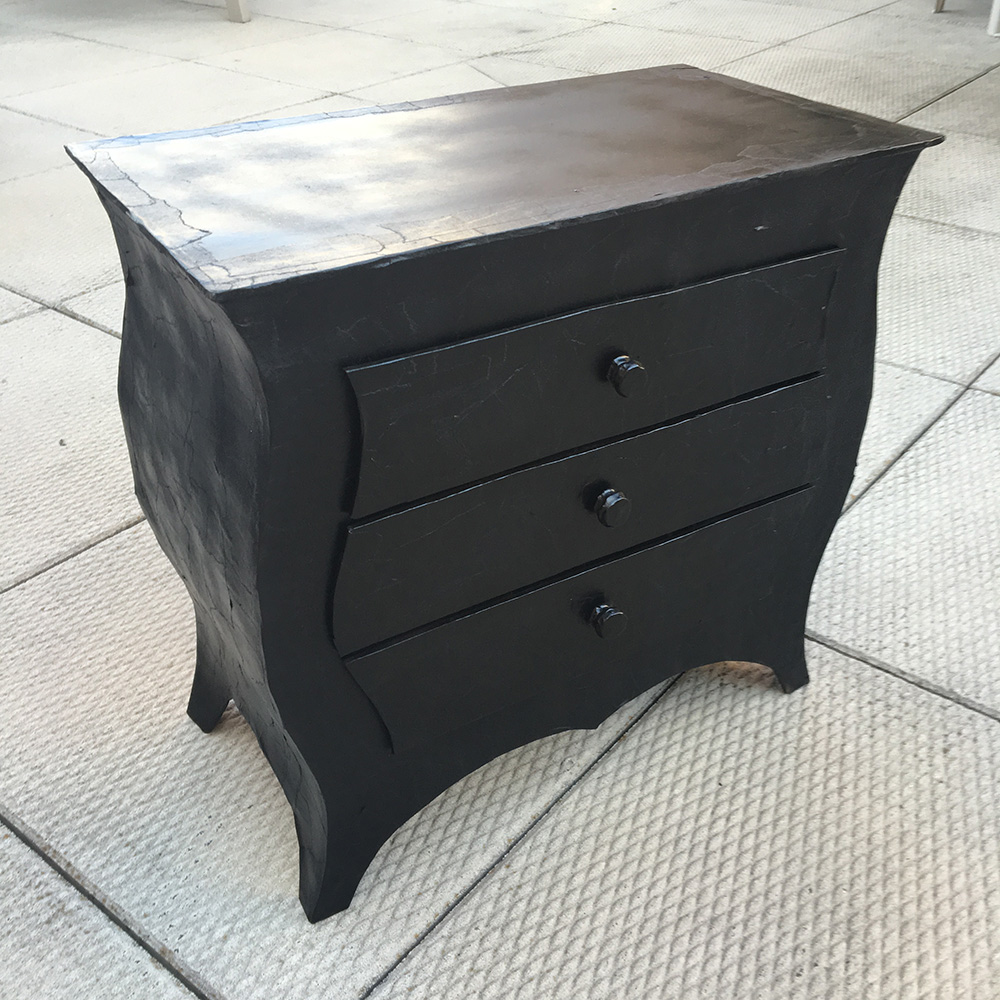
Okay, one last piece of furniture before I lose my mind! This time, a floating haunted nightstand with a floating haunted lamp.
I started the nightstand with three big pieces of foam board — the front, back, and top.
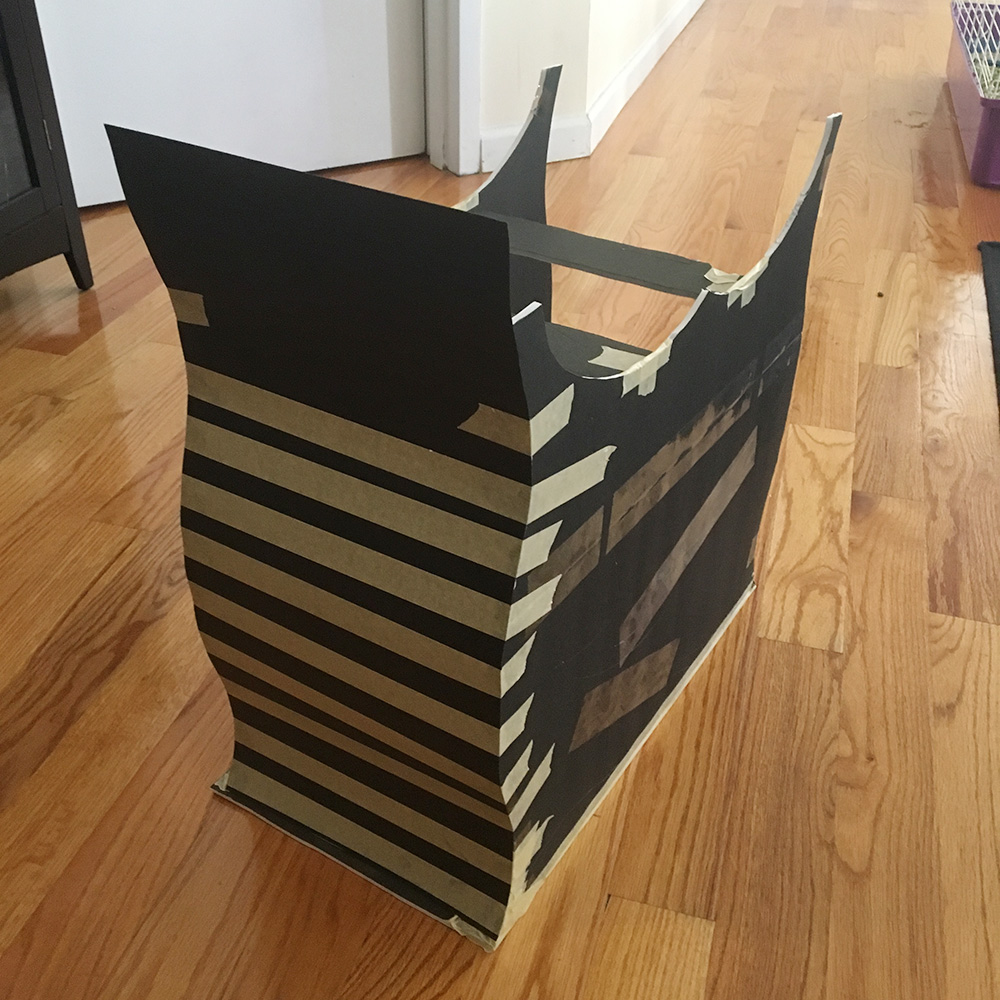
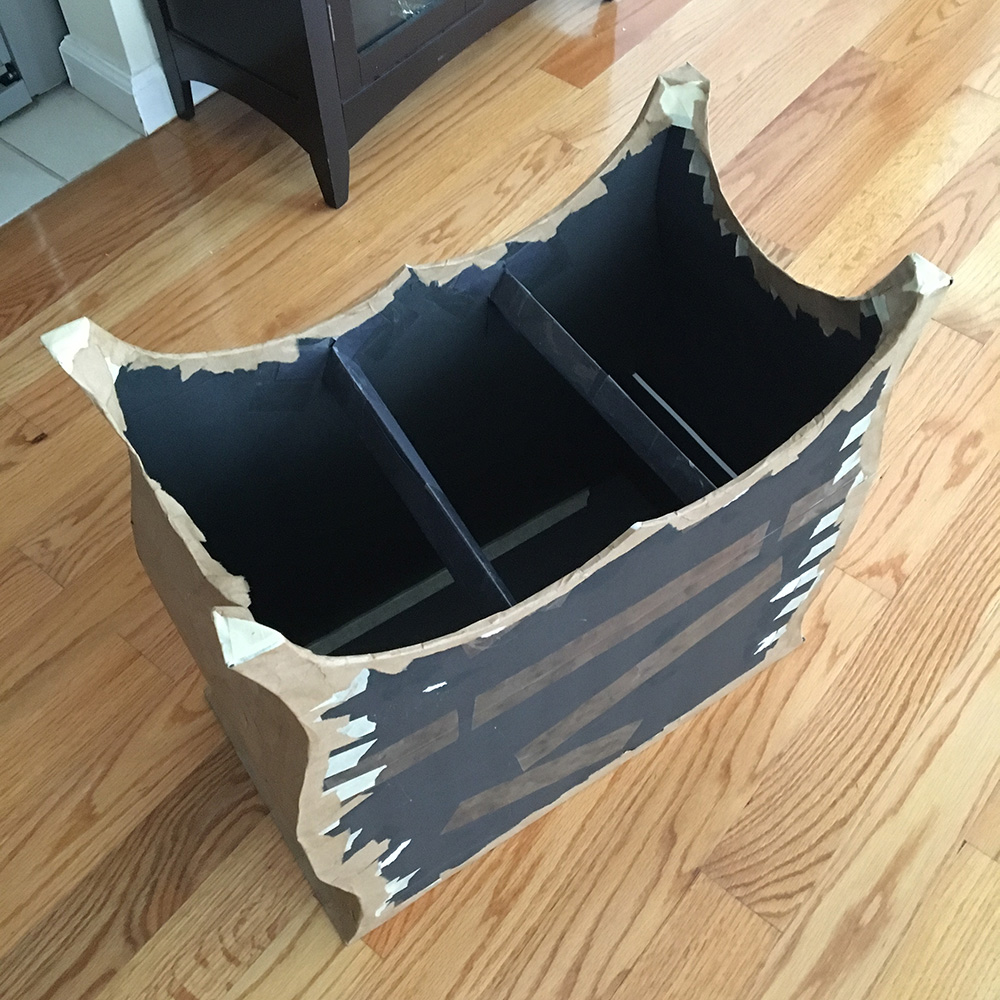
I assembled these pieces upside-down on the floor; I set down the top panel, placed a shoebox on it to use for its nice 90-degree angle, and taped the front and back pieces in place, using the shoebox as a guide for the angle.
I then added some books and small boxes alongside the shoebox in order to fill up the space between the front and back panels and get them standing up straight, more or less perfectly square. I taped two small strips of foam board inside near the bottom edge (which is at the top, because the whole thing is upside down) to help hold everything in place.
Then I made the sides. I measured and cut the sides from foam board, and let them be taller than they needed to be by a few inches; I’d trim them later once they were in place. The foam board I used was very stiff so I knew it would be difficult to make it adhere to the curves of the nightstand. An easy trick to make foam board easier to work with is to roll it into a tight tube, then unroll it and roll it up again the other way. This makes it much less stiff.
I attached the sides with long pieces of masking tape, starting from near the floor (which, again, is where the top of the nightstand is, because I was working upside down) and working my way up toward the legs.
Once the side pieces were attached, I used scissors to cut off the extra bits at the top, and cut out the shape of the legs. I just eyeballed this stuff; it doesn’t need to be perfect for my purposes. I reinforced the cut edges of the poster board with small pieces of masking tape all along. I also wrapped a little more masking tape around the legs to make them a little stronger.
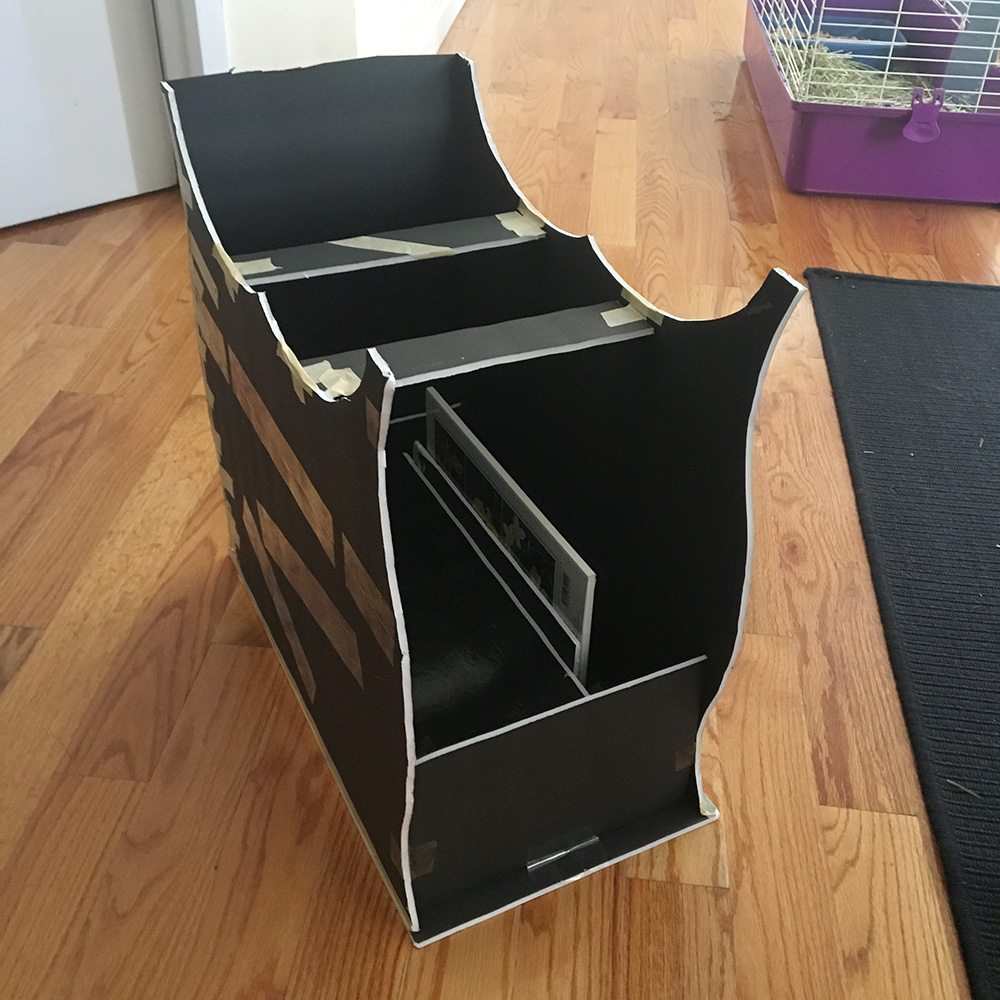
I removed the foam board strips I’d taped in for support; they weren’t meant to be permanent, and I had to take them out in order to remove the boxes and books I’d put in there to help form the shape. I decided to create stronger supports from long strips of poster board, folded into triangular beams and taped inside with packing tape. These are much stronger and will be a good place to attach some fishing line when I’m hanging this piece upside-down on my ceiling for the Halloween party. A quick test proved that they were easily strong enough to support the weight of the whole piece.
Next, I applied one layer of paper maché over all the surfaces that will be visible to the viewer when this thing is hung up. I skipped the top surface because it’s just the plain black paper of the foam board. When I paint over all this, the difference between that black paper and my paper maché edges won’t be very visible, especially in the low light of the party. I also skipped the back surface, because it’ll be against a wall. Note: the bottom of this piece remains completely open; that part will be facing the ceiling so no one will see it.
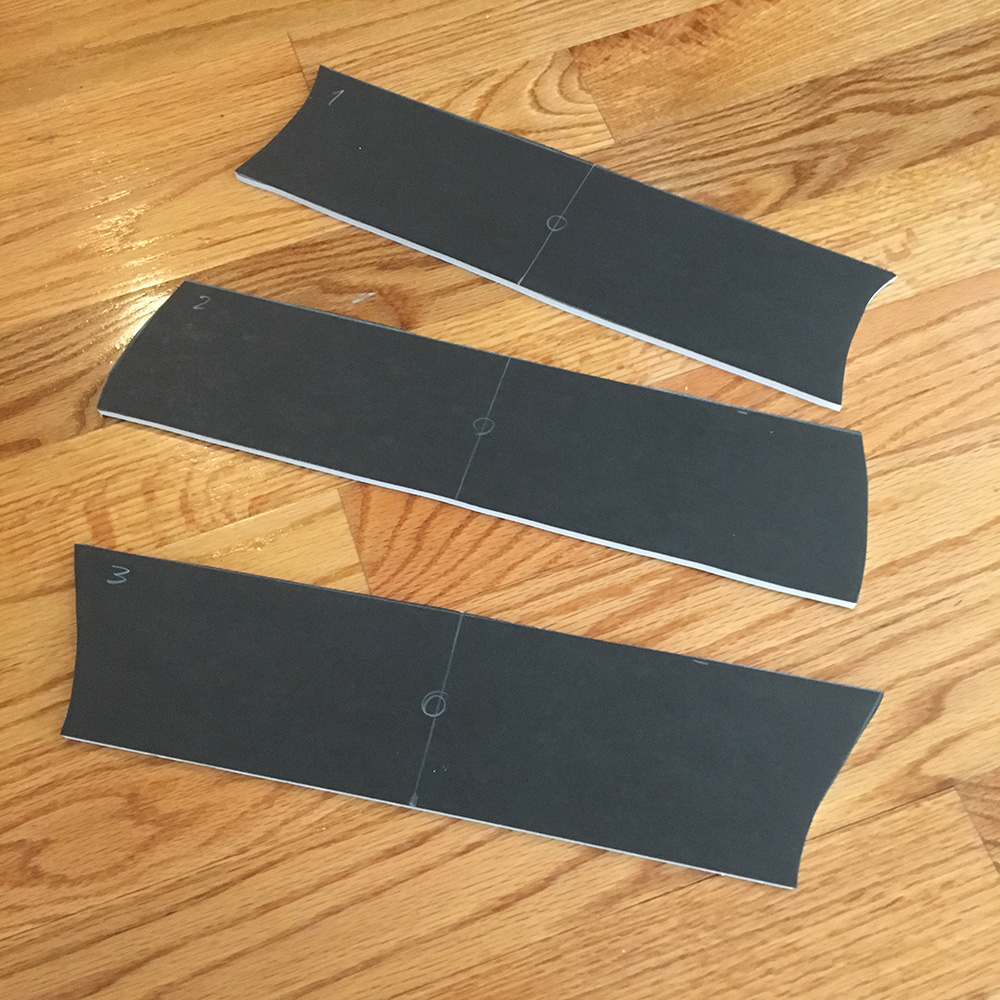
I made the drawers from another piece of foam board, and I made the knobs from little disks of foam board: two quarter-sized disks back to back for the big part of the knob, and one penny-sized disk for the connection between the knob and the drawer. I covered these with tiny strips of paper maché.
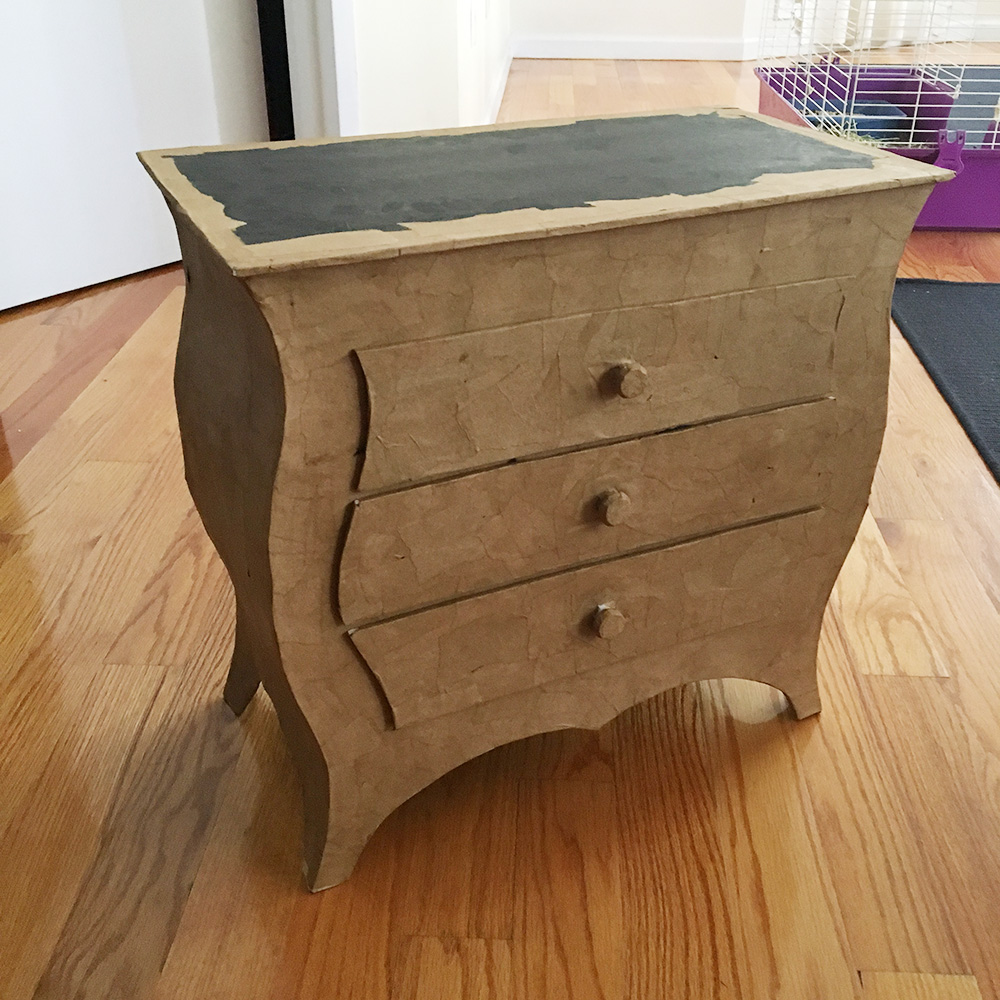
I covered the drawers in paper maché before gluing them onto the nightstand, to allow them to look like separate pieces; if I’d stuck them on and then paper machéd over them they would blend in more and not look like they can open. (To be clear, they can’t open, but I want them to look like they can.)
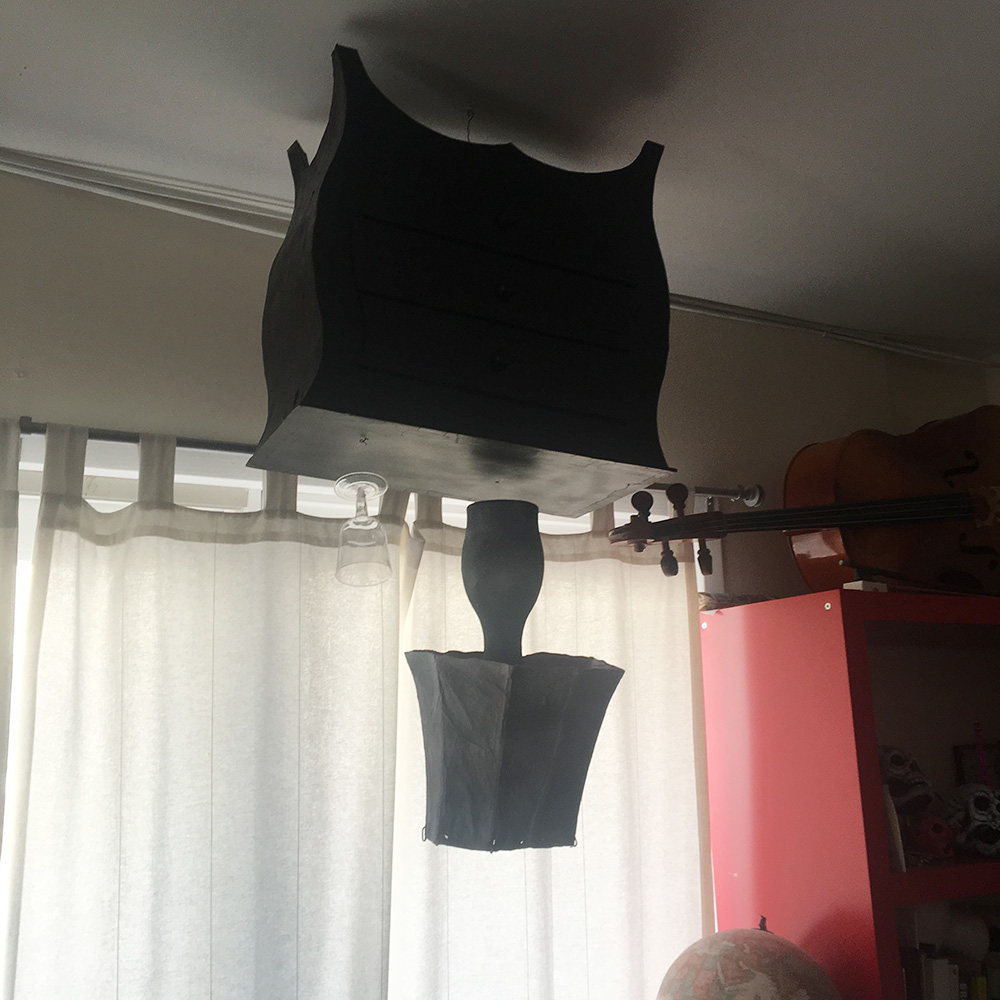
That’s pretty much it! I took the whole thing outside and spray painted it black. I’ll hang this piece on the ceiling by the poster board beams I installed. I’ll wrap them in packing tape to prevent tearing, then poke holes through them and put the fishing line through there, and hang the fishing line by thumbtacks on the ceiling. This piece is really lightweight so I think that’ll do the trick.
I want the lamp to hang just an inch or two below the nightstand, so I will hang that piece by its own fishing line, but not attached to the nightstand; I’ll poke a hole through the nightstand and run the fishing line through there all the way up to the ceiling. That way the weight of the lamp won’t be pulling directly on the nightstand.
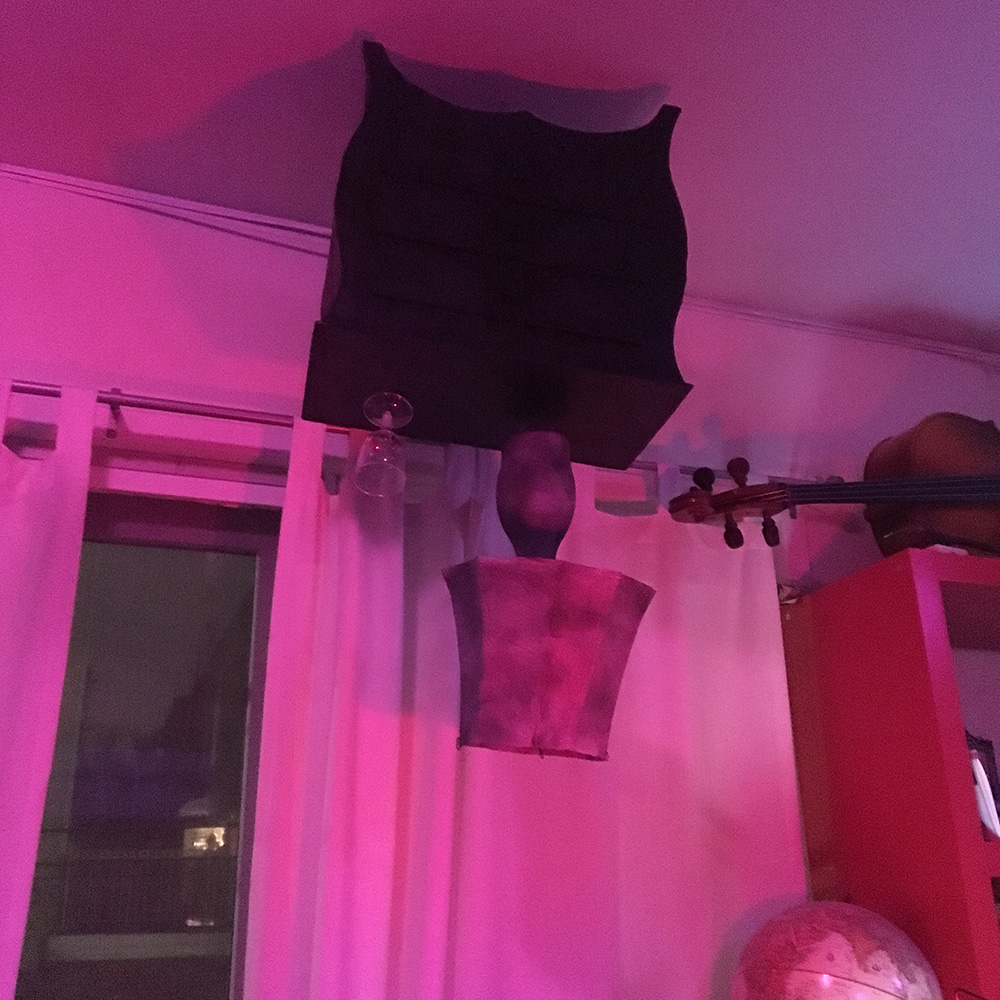
Update: Here’s the thing all hung up!
See more paper maché furniture projects: chairs, table, mantel and fireplace, nightstand, lamp.
 About Manning Krull
 How to make a 4-foot paper maché alligator
 My violin skull mask, Mardi Gras 2015
 Three-headed paper maché dragon sculpture
Leave a comment