
Mantel prop for my séance Halloween party
Published by Manning on October 20th, 2016
This is part three of my paper maché furniture projects for my séance Halloween party; see part one; chairs and part two; table.

This mantel is possibly the biggest paper project I’ve ever made! (Well, this or the giant spider.) I don’t have a ton of work-in-progress photos for the construction of the mantel — I did a tremendous amount of sketching and measuring beforehand, and a lot more along the way as the thing came together and I kept adding things. Almost all of the pieces are foam board, with a little bit of poster board, all held together with lots and lots of packing tape and masking tape.
I started by making the basic big box shape with the two columns on the sides and the long part across the top. After eyeballing my living room wall, I decided to make the basic box shape 44″ wide by 44″ tall, with the “legs” at 10″ wide and the hole for the fireplace at 24″ wide by 28″ tall. The depth for the whole thing is 10″. I chose this depth based on the small plastic fan I bought for the fire; it’s 8″ in diameter and will need to sit inside the hollow part at the base.
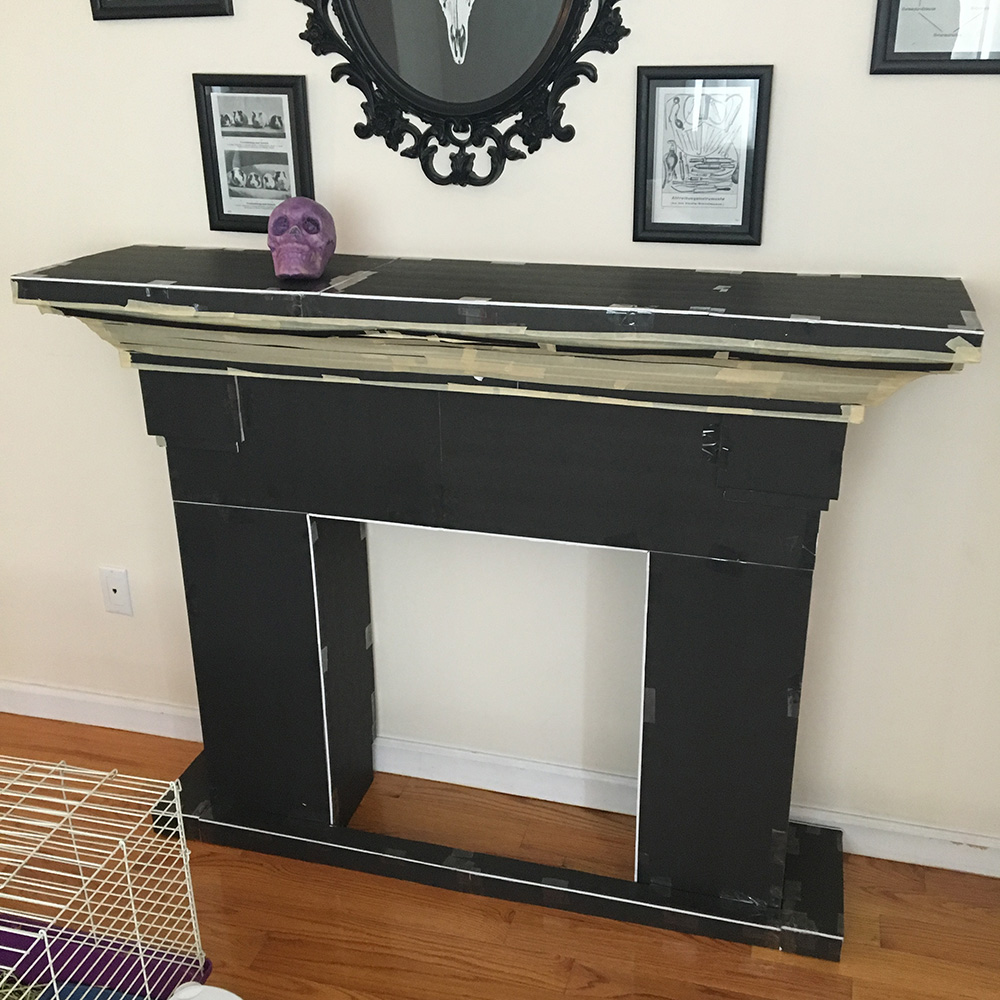
So, just a big plain box with a hole for starters. I then added tons and tons of panels and pieces to build out the shape of the top of the mantel, and the base, and other details. I worked from some images searches and a sketch but also just made some things up as I went along. The various panels and edges were all made with foam board and/or poster board, all taped in place.
Here’s an interesting detail if you’re ever making a large piece to sit flush against a wall. The floors of almost all houses/apartments curve upward slightly right at the walls, so if you sit a perfectly square object at the wall, it will appear to lean away from the wall a bit. Not really noticeable for something like a dresser, but I wanted this mantel to look like it was built right into the wall (or pretty close). So, two things that helped were A) cutting a 3 1/2″-tall piece out of the back of the side columns to fit around the baseboard of the wall, and B) laying a small strip of foam board under the front edge of the box. Foam board is 3/16″ thick, so it lifts the front of the piece by that much. That did the trick; the top back edge of the mantel sits almost flush with the wall now. I later added the wide base part around the bottom, which nicely concealed the wedges in the front.

With my mantel shape constructed, I covered the entire thing with one layer of paper maché. The purpose of the paper maché on a job like this is mostly just to unify the texture, cover the tape, and fill in any gaps between imperfectly-cut pieces. So one layer is fine. If it needed to be more durable than I’d do about four layers. Of course, no need to cover the back. I also didn’t cover most of the top panel where the black surfaces of the foam board were visible; foam board is already covered with paper so a big flat area like this blends well with the paper maché edges I added; once the whole thing is painted it all looks fairly seamless (well, enough for a Halloween prop in a dimly-lit room).
When the paper maché was dry, I spray painted the whole shape black. I intentionally did a fast and imperfect job with the spray paint to leave a slightly mottled brown/black texture; this also really saved a ton of paint. If I wanted this thing to be 100% solid black, it would probably take four whole cans of paint. This quick dusting of paint took less than two cans. In fact, now that I’m looking at these pics, you can barely even see that the paint job isn’t perfectly solid black, and in the low light of the party it’ll definitely be fine.
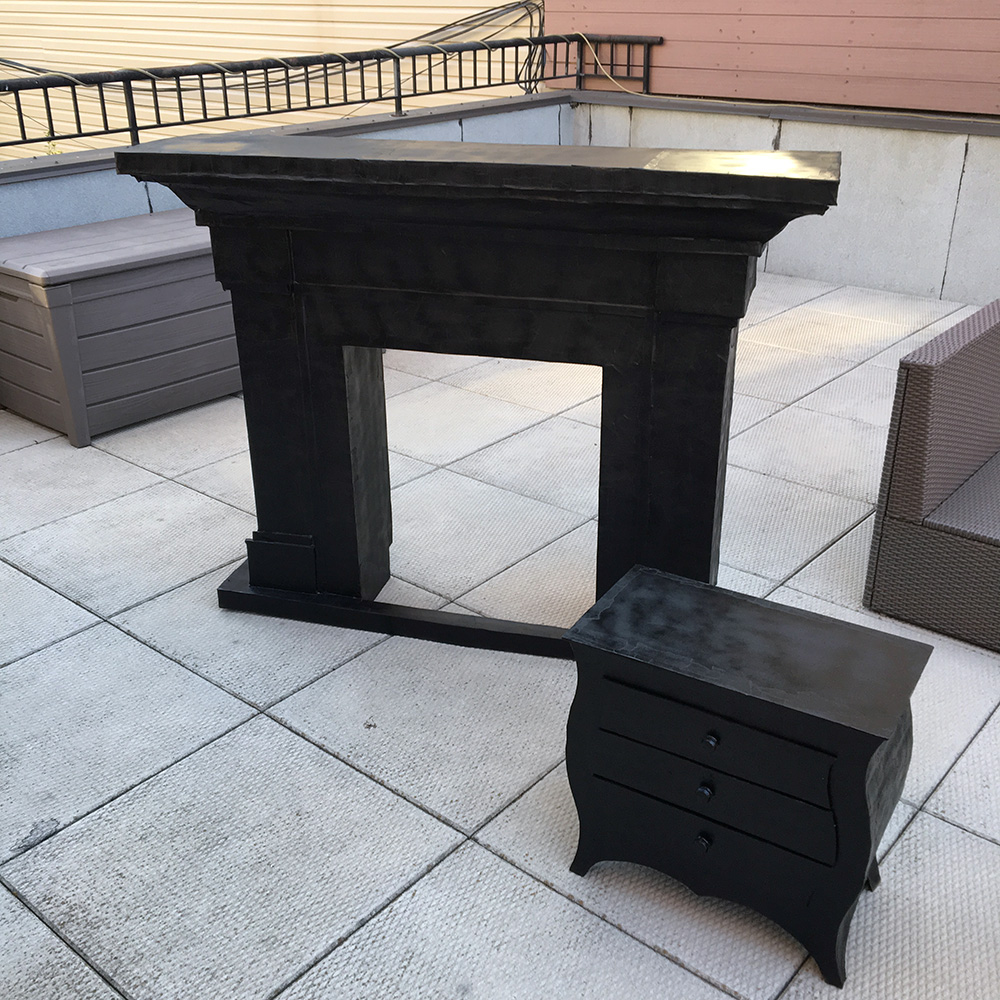
(Here’s a pic with my paper maché nightstand prop, for scale.)
Okay, then it was time to make the fire! This was pretty simple; I bought a small electric fan and propped it on a small cardboard box, facing upward, and then I made these flames out of crepe paper mounted on foam board and poster board…

I cut a hole in the top panel of the fireplace and ran a clip light in there with an orange bulb, facing downward. Done!

The crepe paper flames didn’t move as realistically as I would’ve liked, but the end result was kind of cute and cartoony, and our guests really liked it. I wish I had a photo of this effect in the low lighting of the party! It added a neat warm glow to our haunted house.
See more paper maché furniture projects: chairs, table, mantel and fireplace, nightstand, lamp.
 About Manning Krull
 How to make a 4-foot paper maché alligator
 My violin skull mask, Mardi Gras 2015
 Three-headed paper maché dragon sculpture
Leave a comment