Posts tagged "painting":
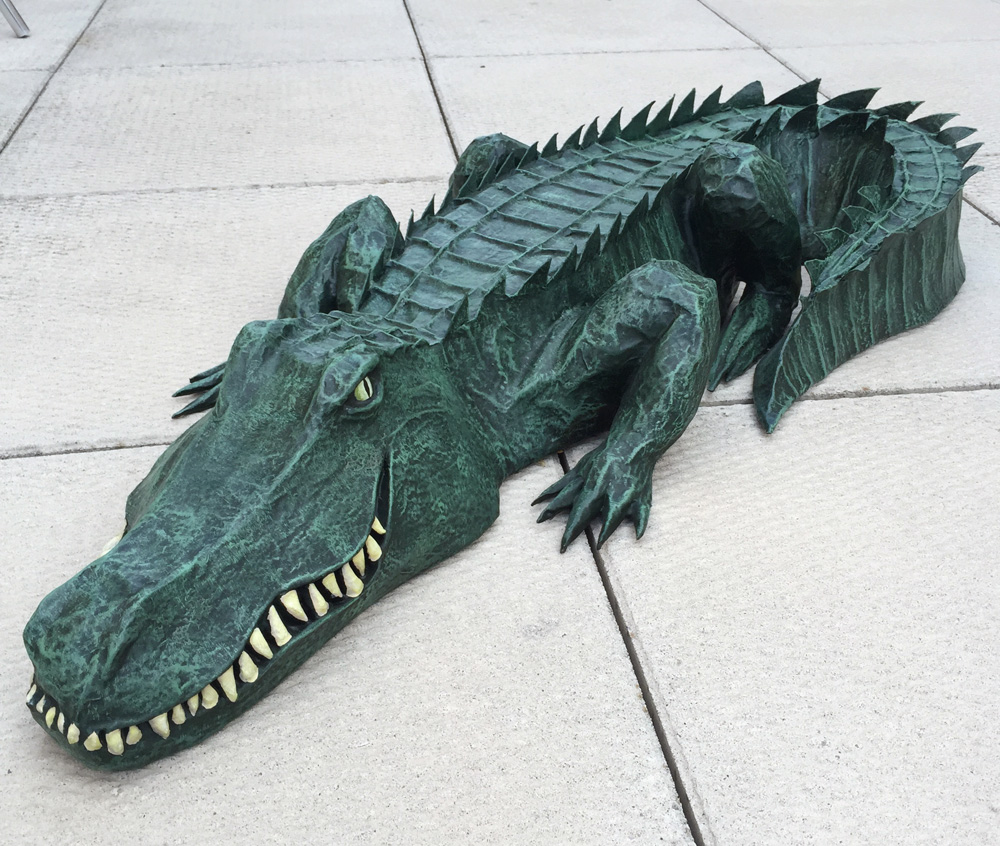
Paper maché alligator — waterproofing and painting

It’s finally done! This is part three of my paper maché alligator project. See part one and part two.
With all the paper maché done, it was time to waterproof and paint the alligator. Originally this guy was just meant to go in the bathtub during my Halloween party and then get thrown out, but as I made the thing I got pretty attached to it, so now I’m hoping to be able to waterproof it well enough so that it might not be in too bad shape after being submerged in water during the party, and maybe I can keep it and use it as an all-year-round decoration in my apartment, maybe on top of my bookshelf, or hanging on a wall. So I’m trying to approach decorating this thing like it needs to look good not just in the tub but anywhere.
Read more…
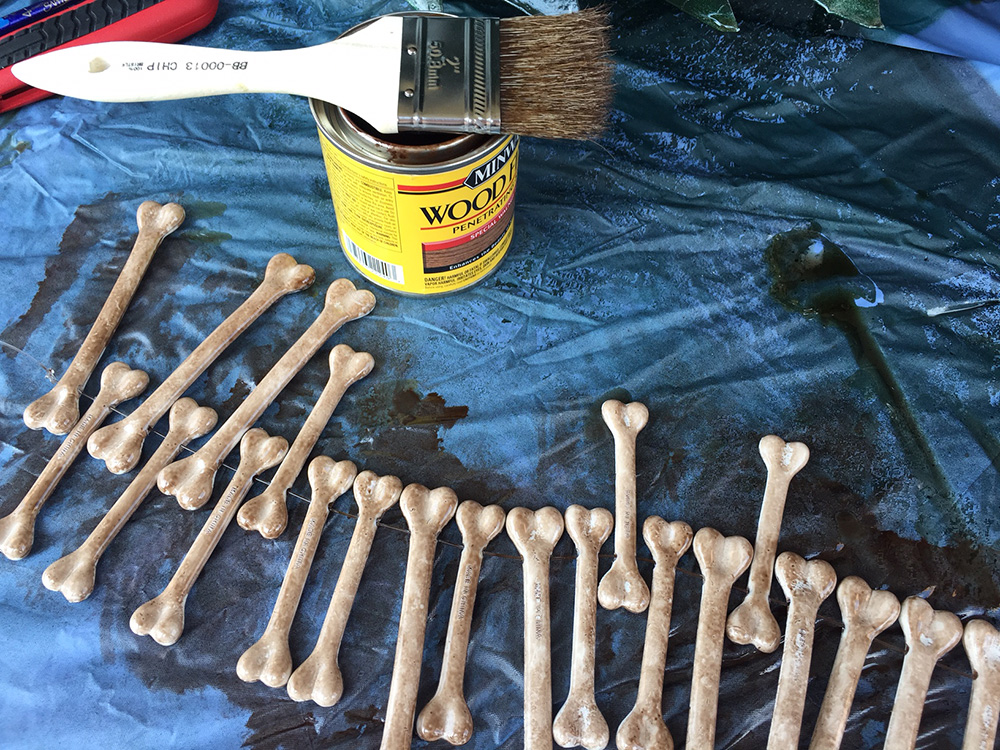
Making plastic bones look aged and dirty
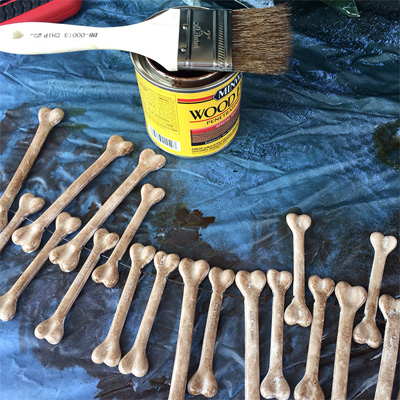
For my bayou/voodoo-themed Halloween party, I ordered a hundred little plastic bones; I wasn’t sure what I wanted to do with ’em, I just knew I wanted ’em! They were pretty cheap; I got ten packs of ten bones for a total of about $22 from some online party supplies store.
When I got the bones, they were pure white and smooth and shiny, and I wanted to make them look old and dirty before incorporating them into my decorations. This is what they looked like right out of the package:
Read more…
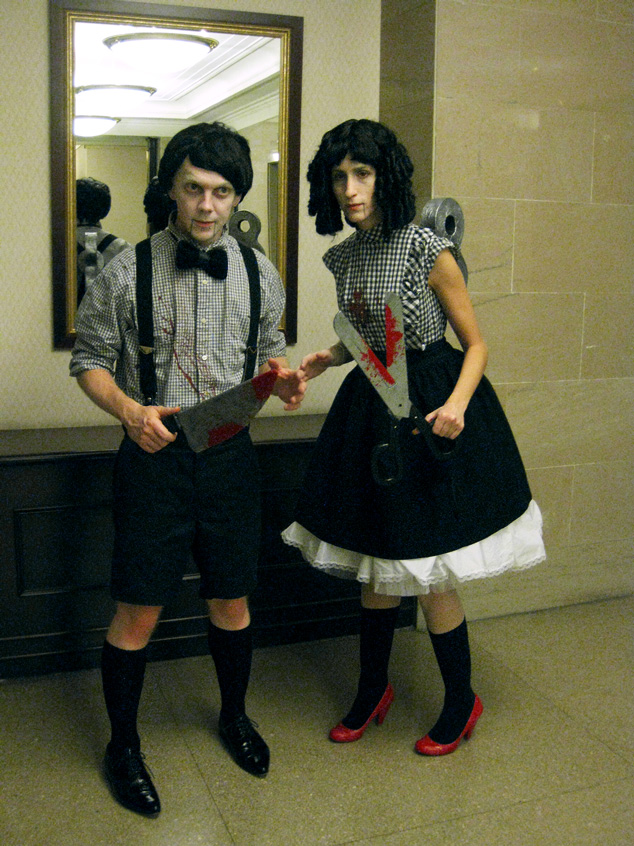
Evil mechanical dolls Halloween costumes!
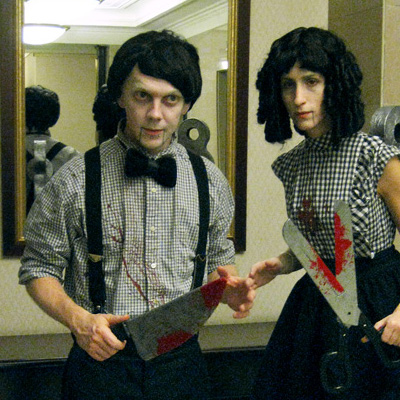
These were my fiancee’s and my costumes for Halloween 2010. They were our first-ever his-and-hers couple’s costumes, and we threw them together pretty last-minute! The only complicated/time-consuming part was the paper maché turnkeys that went on our backs. I had never done paper maché before and had no idea what I was doing, so they ended up having really rough, uneven surfaces. The base for the keys was foam board and poster board, all taped together and then paper maché’d over, then painted silver with acrylic paint.
Read more…
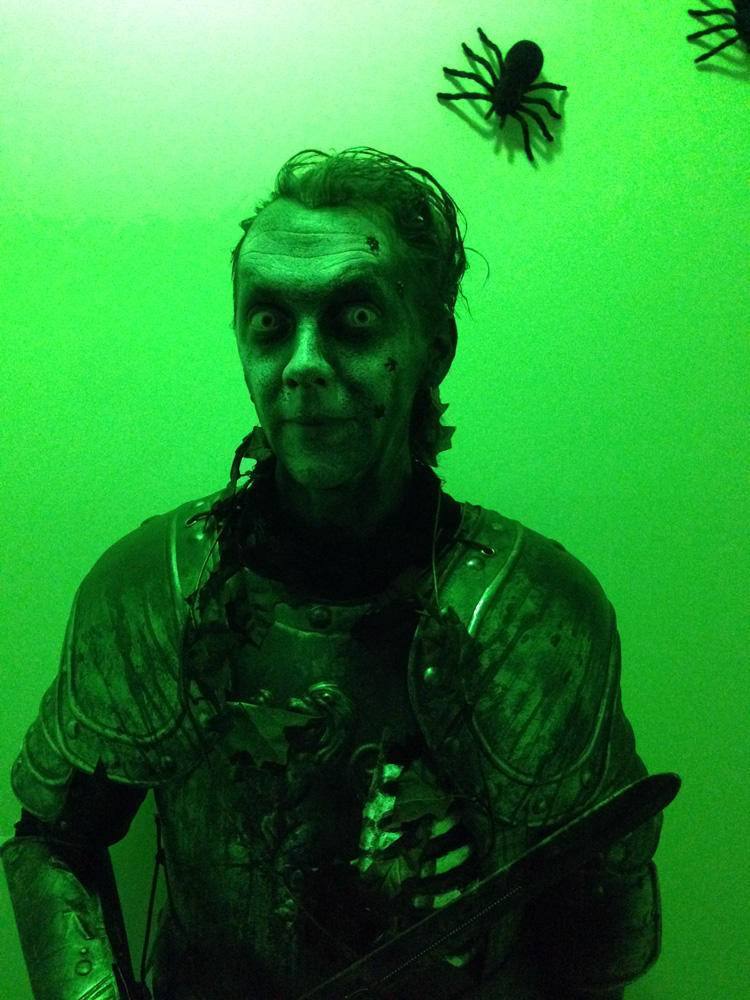
Ghostly knight in not-so-shining armor Halloween costume
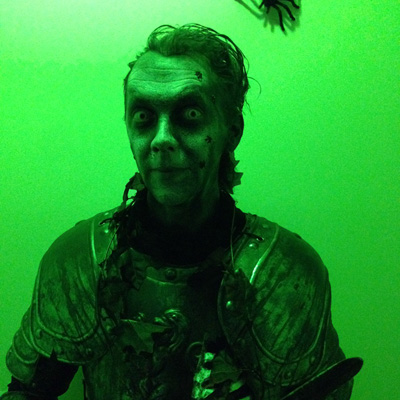
This was a costume I’d wanted to try for years, and it was a lot of fun! I decided to be a ghostly knight for my nighmare-themed Halloween party. My goal was to look like a knight that had been resting in a tomb for five hundred years; dirty and rusty and dessicated. After lots of research on how to make knight armor from scratch (which sounded really difficult and time-consuming), I opted to instead start with an ugly plastic store-bought suit of armor. As I often say, sometimes the best jumping off point for a beautiful custom Halloween costume is a crappy store-bought Halloween costume!
The suit of armor I bought was a nice shape, but a terrible color and texture; flimsy smooth silver-gray plastic; nowhere near as shiny or metallic-looking as you see in the photo there. That was fine, as I knew I wanted to change the look of the thing completely; I wanted to transform this plain silver-gray plastic texture into solid heavy old corroded metal. Here’s how I got it there:
Read more…
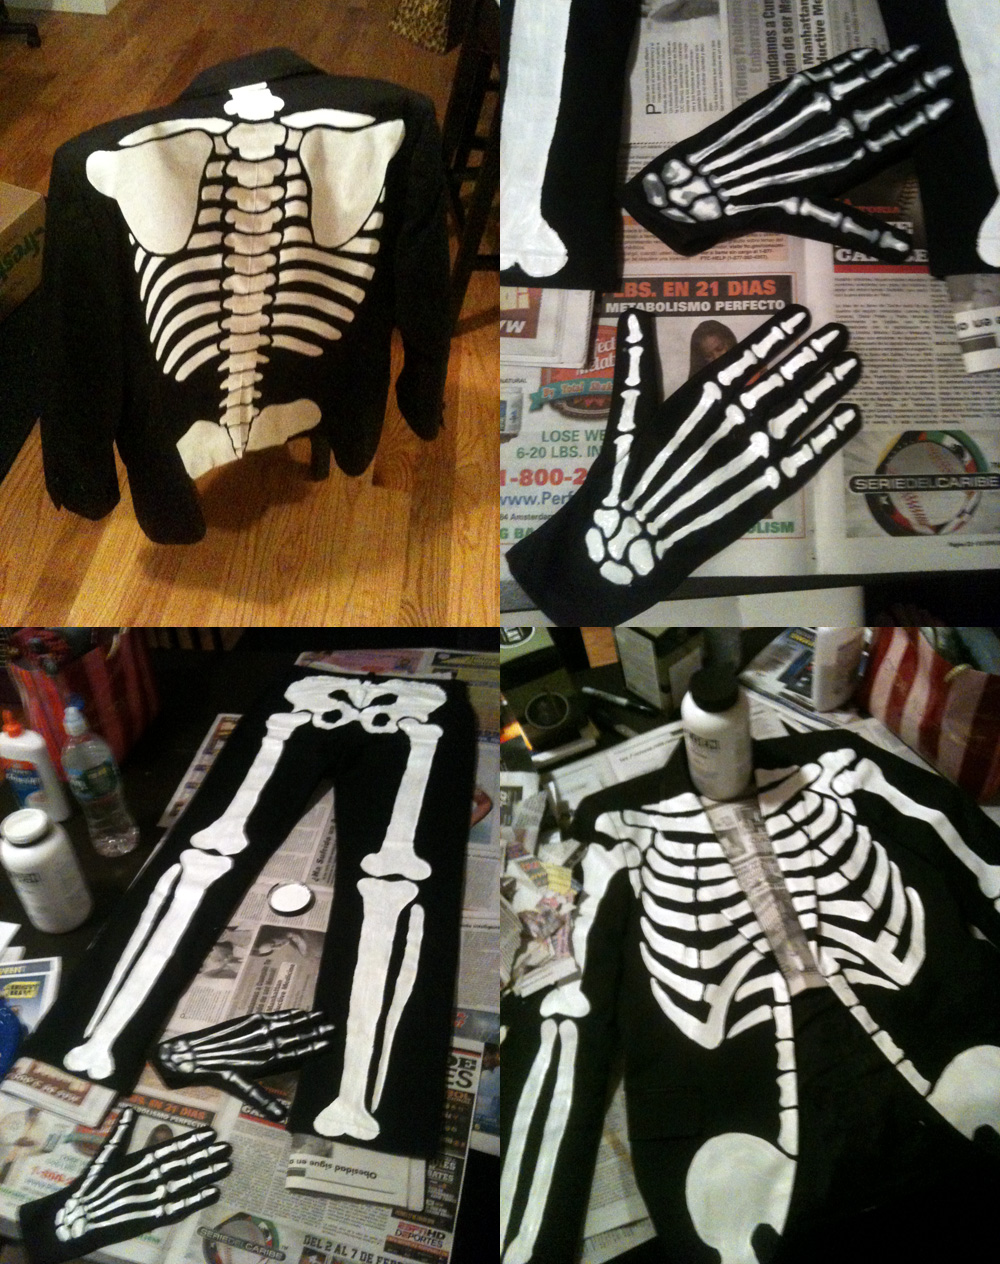
My hand-painted skeleton suit
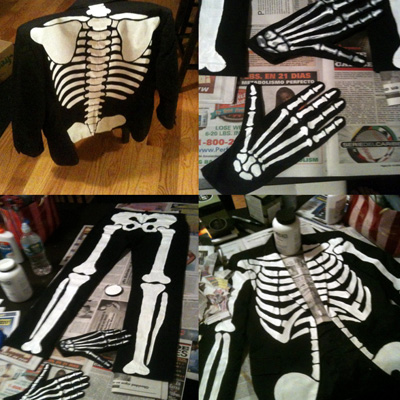
I made this skeleton suit for my first Mardi Gras (2012) and have worn it every Mardi Gras since, plus a few Halloweens here and there. Making the suit was a fun project, and a little more challenging than I expected.
I started with a thick black blazer and a black pair of cotton pants, both of which were from H&M; I already had them in my closet and chose to sacrifice them for this costume.
Read more…
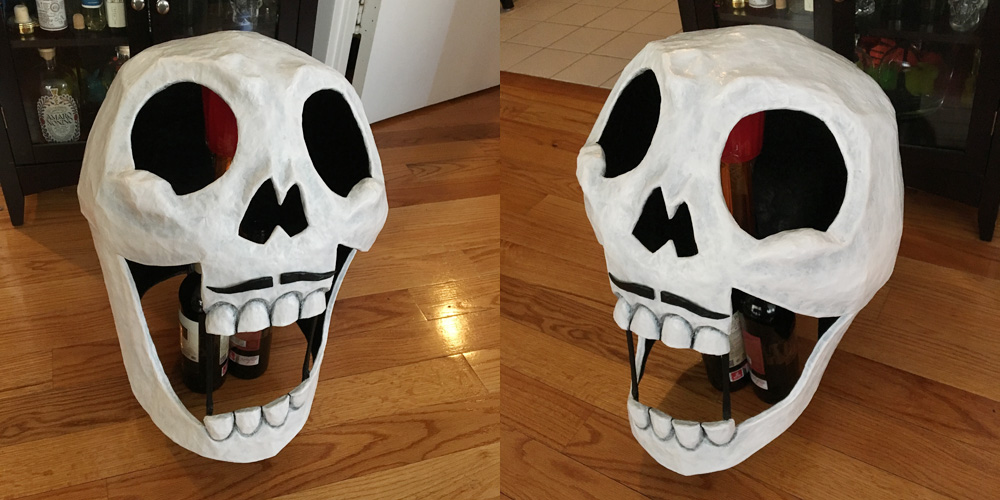
My painting method for my paper maché skull masks and other projects
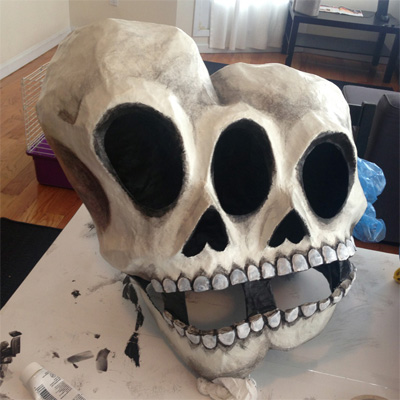
I use basically the same process for all of my big paper maché skull masks, and a lot of my other big paper maché Halloween projects and stuff as well. Here are the materials I use:
Read more…

 About Manning Krull
 My violin skull mask, Mardi Gras 2015
 Three-headed paper maché dragon sculpture