Manning Makes Stuff - Halloween decorations, paper mache masks, costumes, party ideas, and more

Manning Makes Stuff - Halloween decorations, paper mache masks, costumes, party ideas, and more

Giant paper maché bat — part 3


Published by Manning on October 20th, 2015

Papier mache bat -- Painting finished

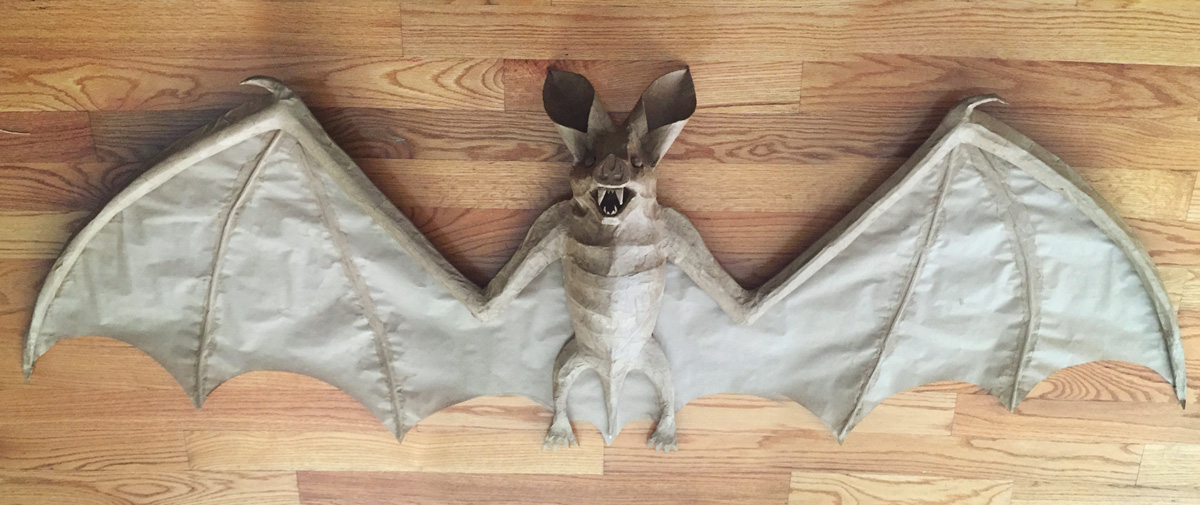
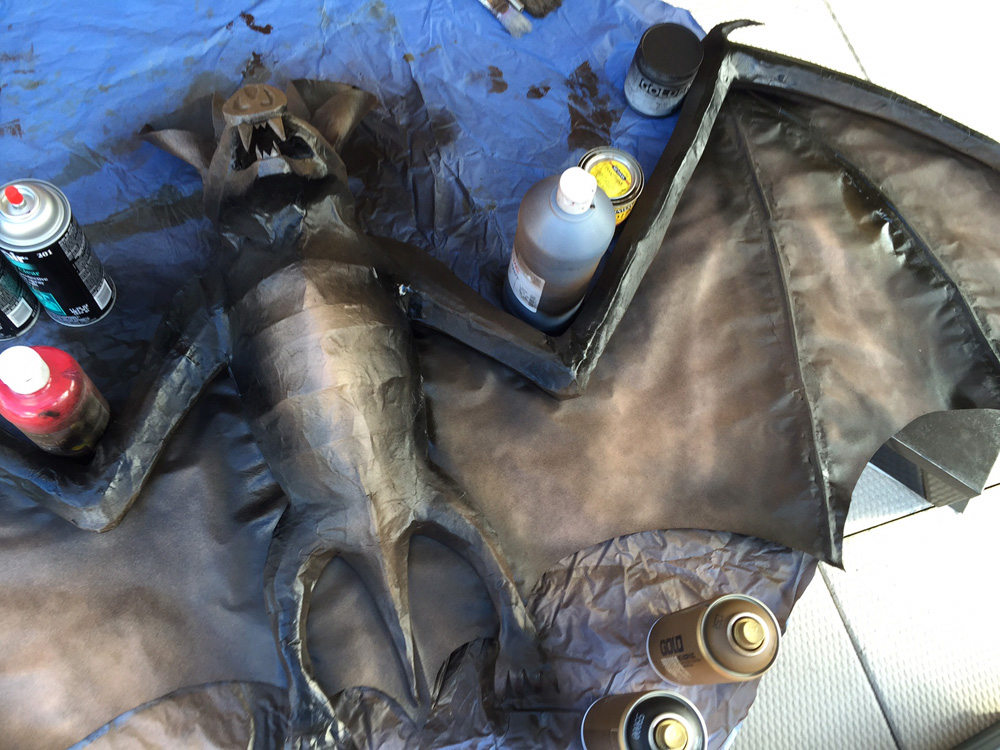
See part one and part two of my giant paper maché project. When we left off we were here:

Papier mache bat -- Paper mache finished

Now then, it’s time to paint!

Papier maché bat -- black spray paint base coat

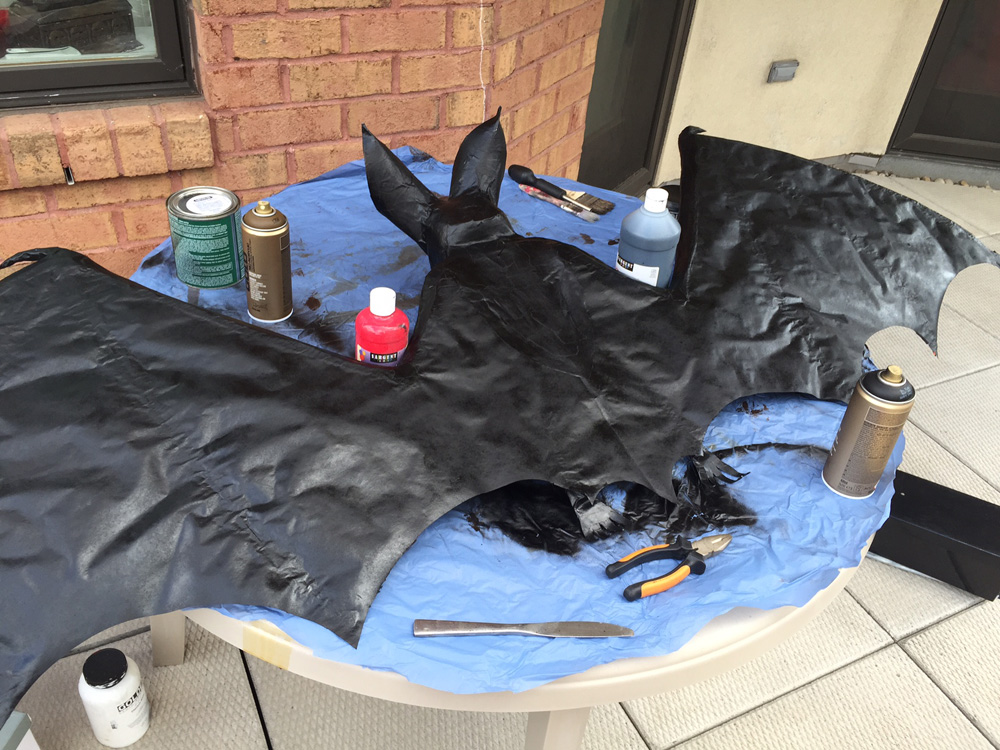
I started my paint job on the bat by bringing him outside and protecting my work area with a cheap shower liner from the dollar store.

First, I simply applied a coat of black spray paint all over the whole bat.

Papier maché bat -- brown spray paint on the back

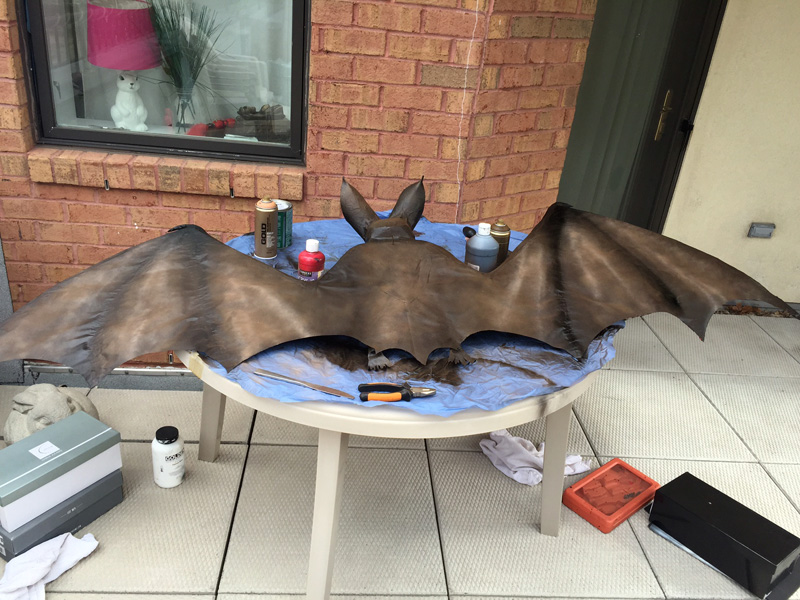
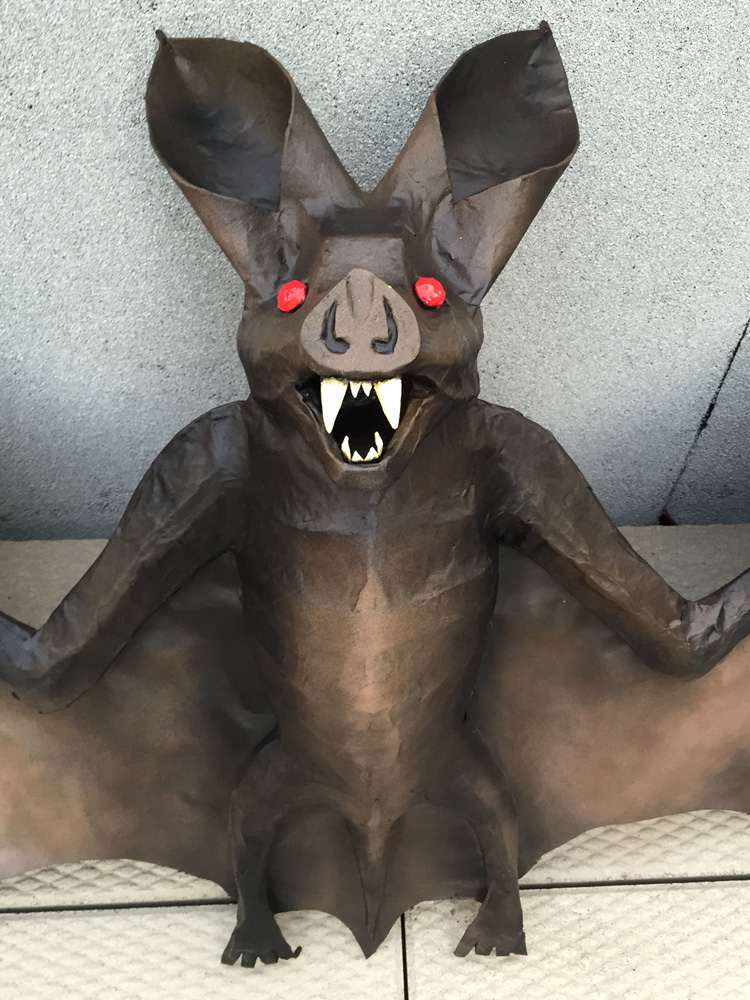
Then I used two colors of brown spray paint, one dark and one light. I used the dark brown spray paint to lightly spray most of the bat, focusing on areas where highlights would be, like the chest and face and the middle of the wing membranes, and skipping areas where shadows would be, like under the wings, along the sides of the body, inside the ears, etc. It’s okay if you’re a little sloppy with this part, as we’ll be doing more black later to define those shadowy areas again.

Papier mache bat -- brown spray paint on the front

When the dark brown was done, I used the light brown spray paint to do essentially the same thing, just a little less of it. This creates a nice gradiated effect from the black shadows to the dark brown furry surfaces to the light brown highlights. A nice smooth gradient all around.

It’s impossible to be perfectly accurate with a spray paint can, so when I was done with the dark brown and light brown I went back in with the black spray paint and re-did all the shadowy areas (as mentioned above).

The spray paint was a bit shinier than I wanted, so I applied a coat of clear matte spray all over to dull the surface a bit. I then left the bat outside for two days for the chemical odor from the spray paint and matte spray to go away.

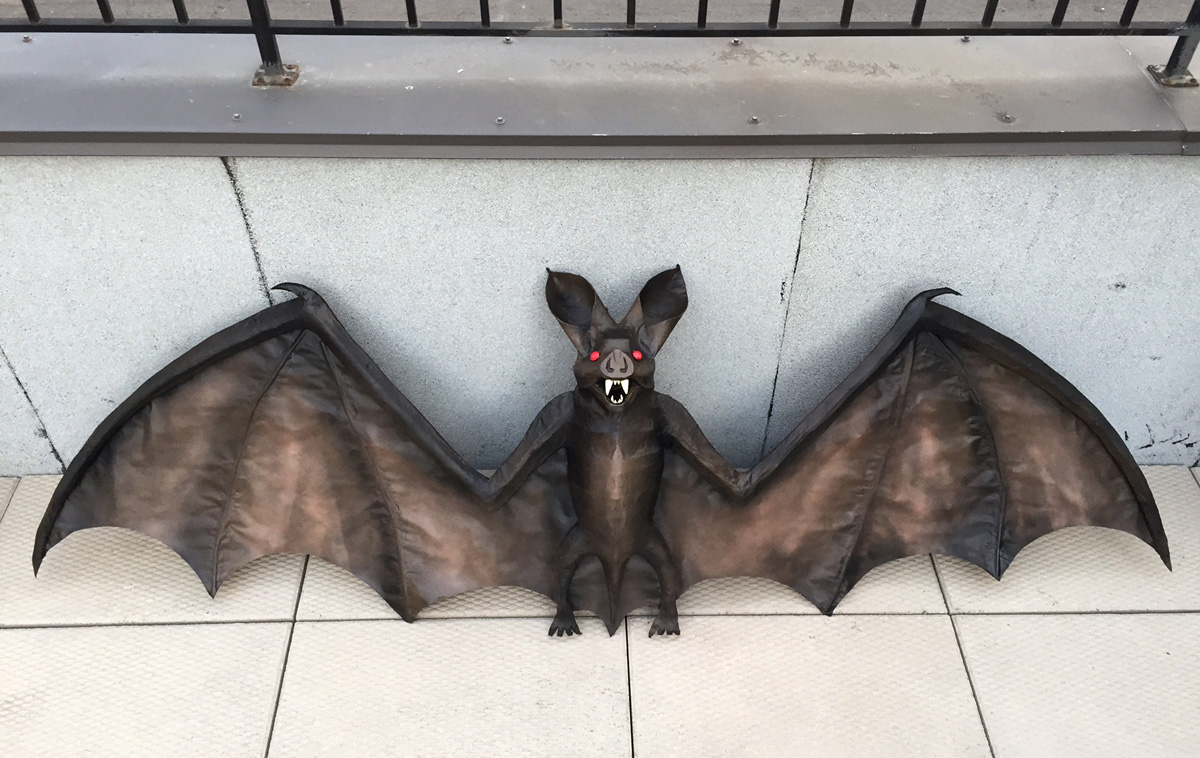
After that, all that was left to do was the eyes and teeth!

Papier maché bat -- painting the eyes and teeth

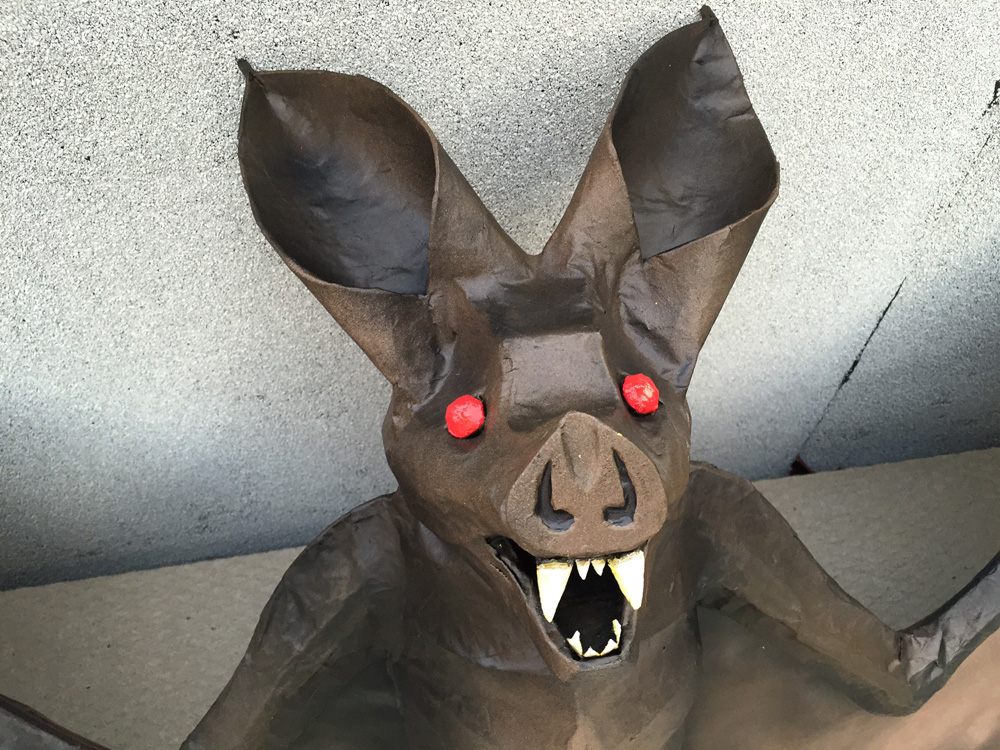
I used a couple small paint brushes and some cheap acrylic paint for the eyes and teeth. I just used solid red for the eyes, and did about three coats. For the teeth, I first did a layer of yellow, let that dry, then drybrushed white on the teeth, and then did a solid white highlight down the middle of the teeth. I also added a wash of dark brown paint mixed with water around the base of the teeth, to blend that area a bit. One more thing, I also added a tiny bit of black acrylic in the nostrils. See more on my painting method here.

Papier mache bat -- Painting finished

I’m thrilled with how this thing came out! And I learned a ton of stuff I’ll be able to use in future projects.

Papier maché bat -- close up

I don’t usually keep track of how long a project takes me, but I did this time: five days, probably about four to six hours per day.

Giant papier mache bat

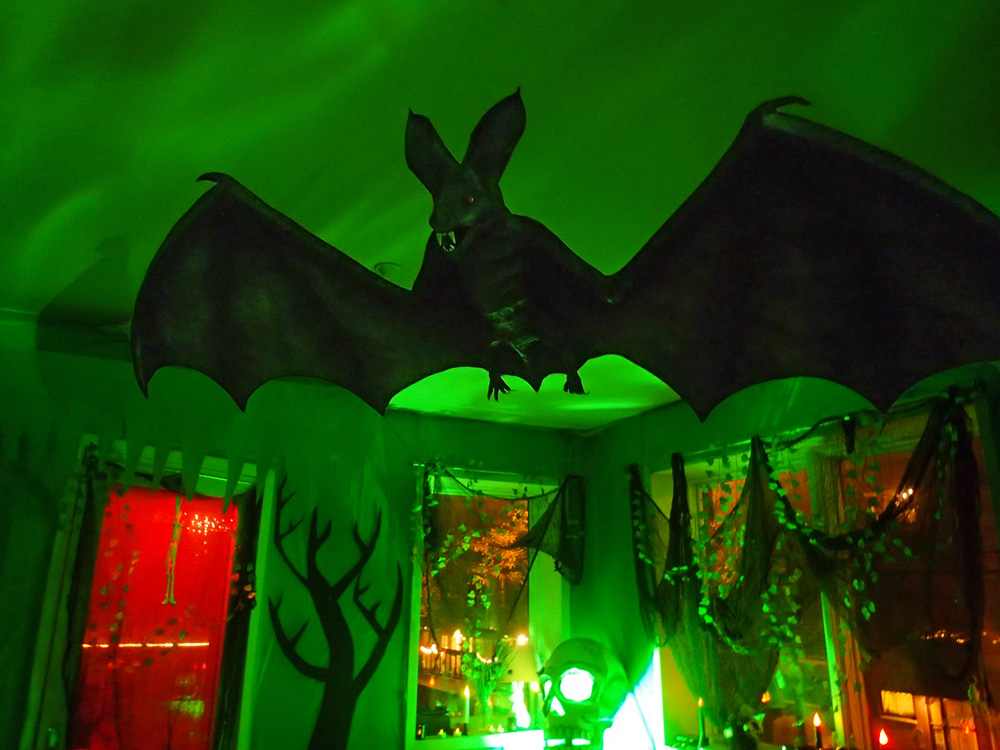
And here he is hung up for the party! The finished bat is amazingly lightweight; I have no way to weigh it, but I’m guessing it’s only about one pound. He was easy to hang from a single toggle bolt in our living room ceiling. And the wings were sturdy enough to not sag; they didn’t require any additional support.

Back to part one and part two of this project.

9 Responses to “Giant paper maché bat — part 3”

  1. Barry Says:

    That’s an excellent bat.
    I’m making a paper mache monster.
    For teeth and claws, I’m using fake fingernails.

  2. manning Says:

    Hey Barry! Fake fingernails is an amazing idea; I need to try that! I’m always looking for inexpensive shapes like that to use for teeth and stuff; I wonder how easy they are to cut/trim to size? I’m definitely going to try it…

  3. Barry Says:

    They’re easy to cut.
    Hot melt glue will stick them.
    At the moment, I’m waiting to see if Titebond III glue nails to wood.

    I make wooden automata. At some time, I want to try and turn your bat into one where the wings move.

  4. manning Says:

    Hey Barry! I’d love to see how this comes out! I’ve never made anything with moving parts before, but I’m just starting a project where I’m trying to make working gears out of foam board and craft foam; lots of trial and error but so far so good. I’d love to see your automata work if you have anything online!

  5. Barry Says:

    Manning
    This is one of mine:
    https://www.youtube.com/watch?v=j3kwjZVbnrU

    I taught myself how to make wooden/ceramic automata after making paper ones. This might help your foam gears;
    https://www.robives.com/

  6. manning Says:

    That is fantastic! I clicked back to your main page and looked at your other videos too; all of this is really inspiring for what I’m trying to do. For my first attempt I’m keeping it really simple with huge gears and very simple motion. The main problem I’m running into so far is that the materials I use are very imprecise! So the bigger the parts, the less the small margin of error matters. Anyway, thank you for showing me this! I’ll be posting pictures of my own progress asap!

  7. Barry Says:

    I look forward to seeing them.

  8. Phyllia Says:

    Do you have any idea on how/what I can use to hinge the joints on the wings? I want to use your idea to make this bat for a bat program that I work with but it needs to be collapsible for easy carrying and storage. Thank you! phyllis

  9. manning Says:

    Hi Phyllia! I’m not 100% sure this’ll work, but when I’ve needed to make anything hinged I’ve used plastic file folders — they’re naturally folded/hinged, they’re easy to cut to size, and they’re very thin and strong. You might be able to arrange the wings so they’re hinged to fold downward/inward, but when the bat is hung up the hinges are blocked on the top surface of the wings so they can’t bend that way. Make sense? Maybe a piece of popsicle stick or something across the top of the hinges. I’d love to hear how it comes out! Good luck!

Interested in commissioning a piece from me? Please see my page about custom paper maché pieces. Please email me; don't put your request in a comment below.

Leave a comment