
Posts tagged "paper mache":
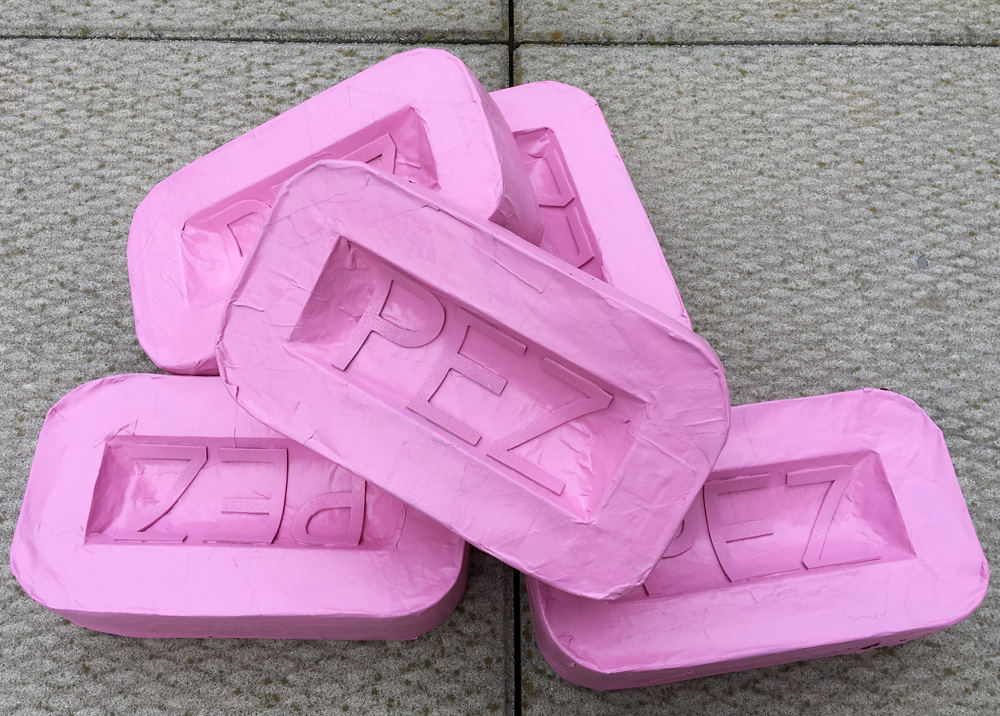
Making giant paper maché Pez candies
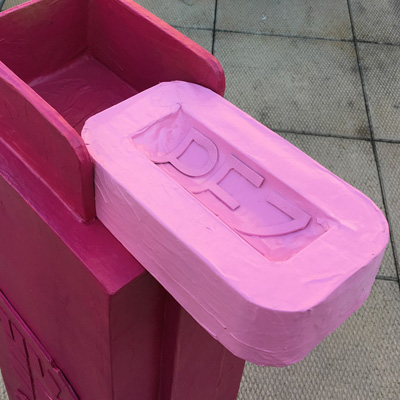
I made these giant paper maché Pez candies to go with my scary clown Pez dispenser prop for Halloween 2018! I made half a dozen of them, one to go in the Pez dispenser and the others to have strewn around nearby. They were easy to make! Here’s how I did ’em…
Giant scary clown Pez dispenser!!! — part 1

I made this 6-foot scary-ass clown Pez dispenser for my Halloween party in 2018! The idea came to me when I was working on some other giant candies and realized this would be a pretty easy project that would really add to the overall ambiance.
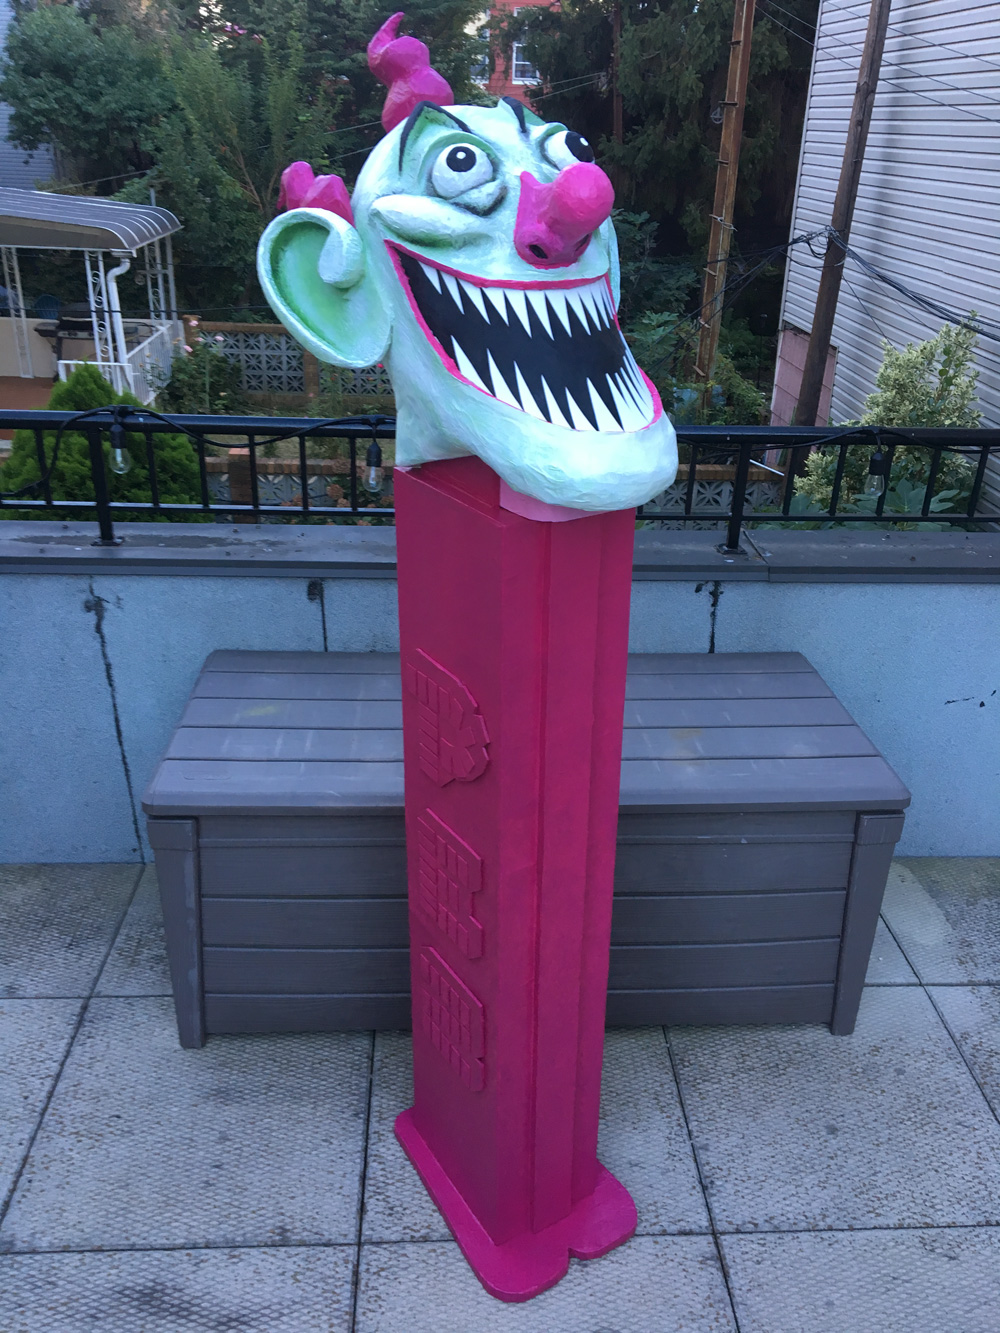
My first step for this project was laying everything out in Photoshop and figuring out the exact measurements for the “body” of the Pez dispenser — the evil clown head I pretty much just freestyled!
Paper maché giant gummi bears!
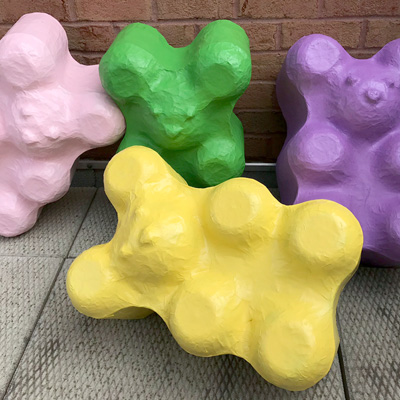
These were so fun! I made these paper maché gummi bears as part of a set of giant candy decorations for my haunted gingerbread house Halloween party!
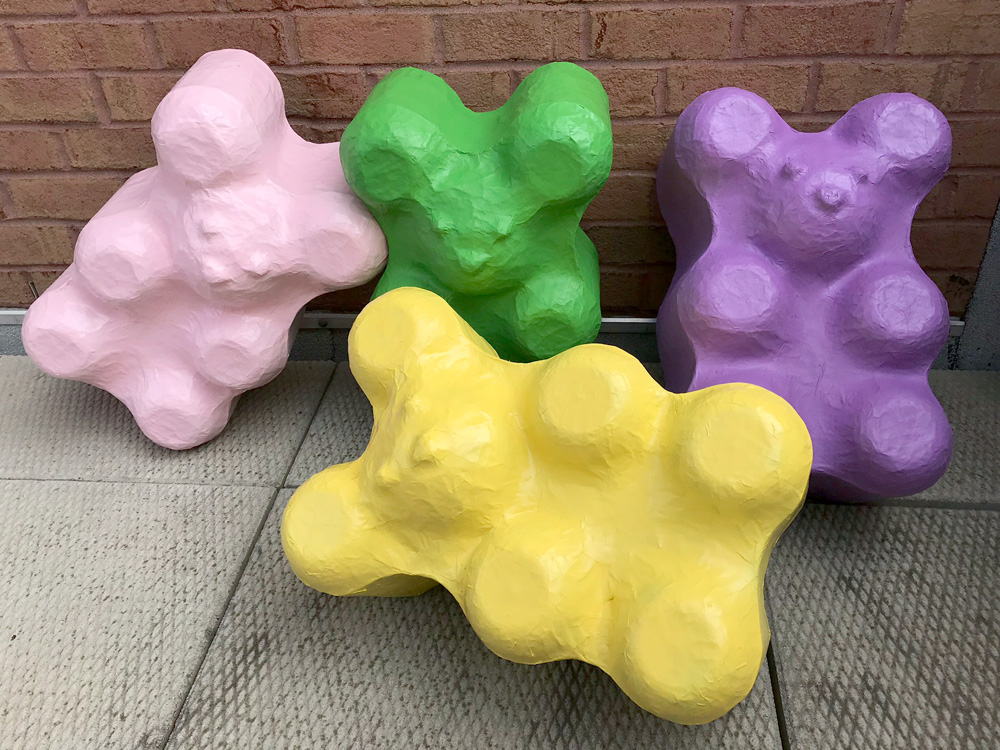
I created a reusable base for the giant gummi bears; I built one nice solid gummi bear shape and then used it to make multiple paper maché copies. (Other projects where I used a reusable base: paper maché baby chicks, twin skull masks)
Paper maché candy corn decorations!
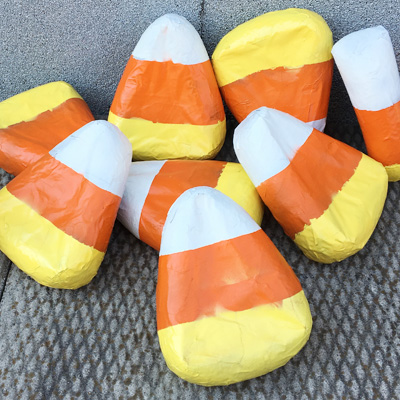
I made these candy corn decorations as part of a set of giant candy decorations for my haunted gingerbread house Halloween party! They were easy and fun! My main goal for the candy corn was to keep them super cheap and super quick, so I could make a ton of them!
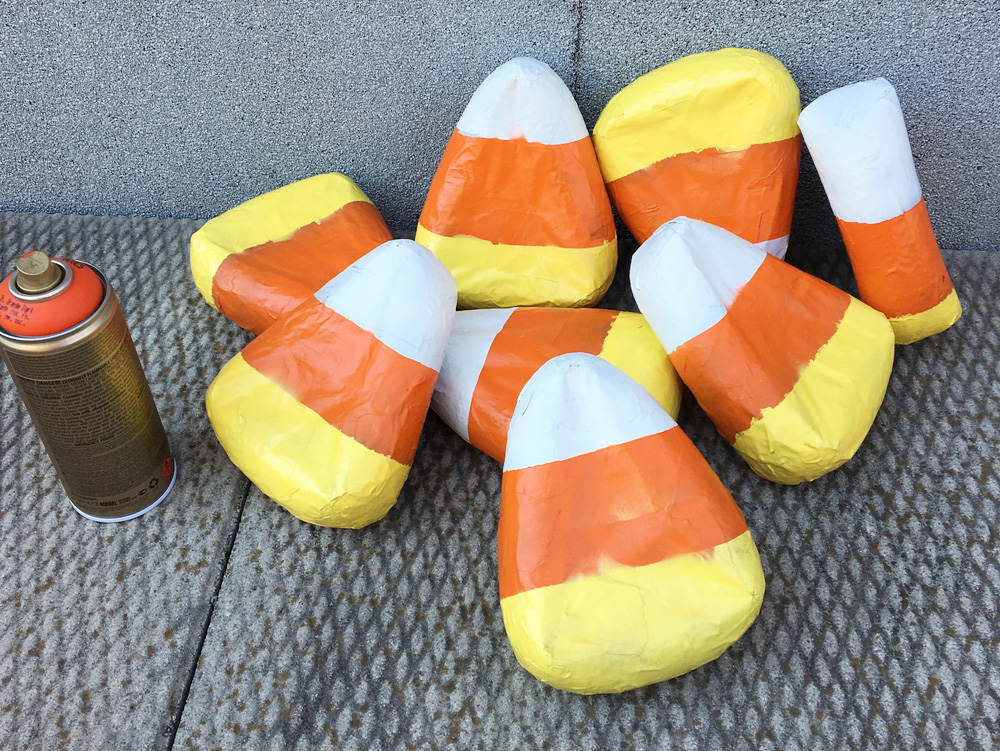
I started with a bunch of foam pipe insulation; I use these things for tons of art projects. I buy them at Home Depot in bags of four 36″ tubes for about three bucks each. Read more…
Giant candy cane decorations!
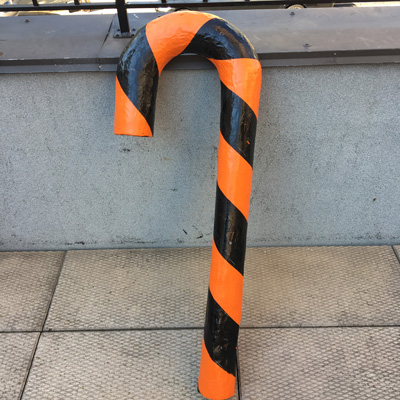
I made these giant 4-foot paper maché candy cane decorations as part of a set of giant candy decorations for my Halloween party — that’s why they’re orange and black rather than red and white! Our theme was basically “haunted gingerbread house” so I made lots of different kinds of giant spooky candies. I did these in Halloween colors but of course you could do them in more traditional colors for Christmas!
Making an oversized medieval key prop
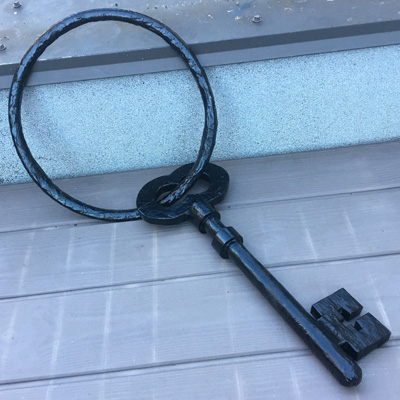
Check out my giant medieval key! I made this for our spooky gingerbread house themed Halloween party, to hang on our bathroom wall across from the bathtub-converted-into-a-cage-full-of-bones. This thing was so easy to make, and it only took one day (besides painting).
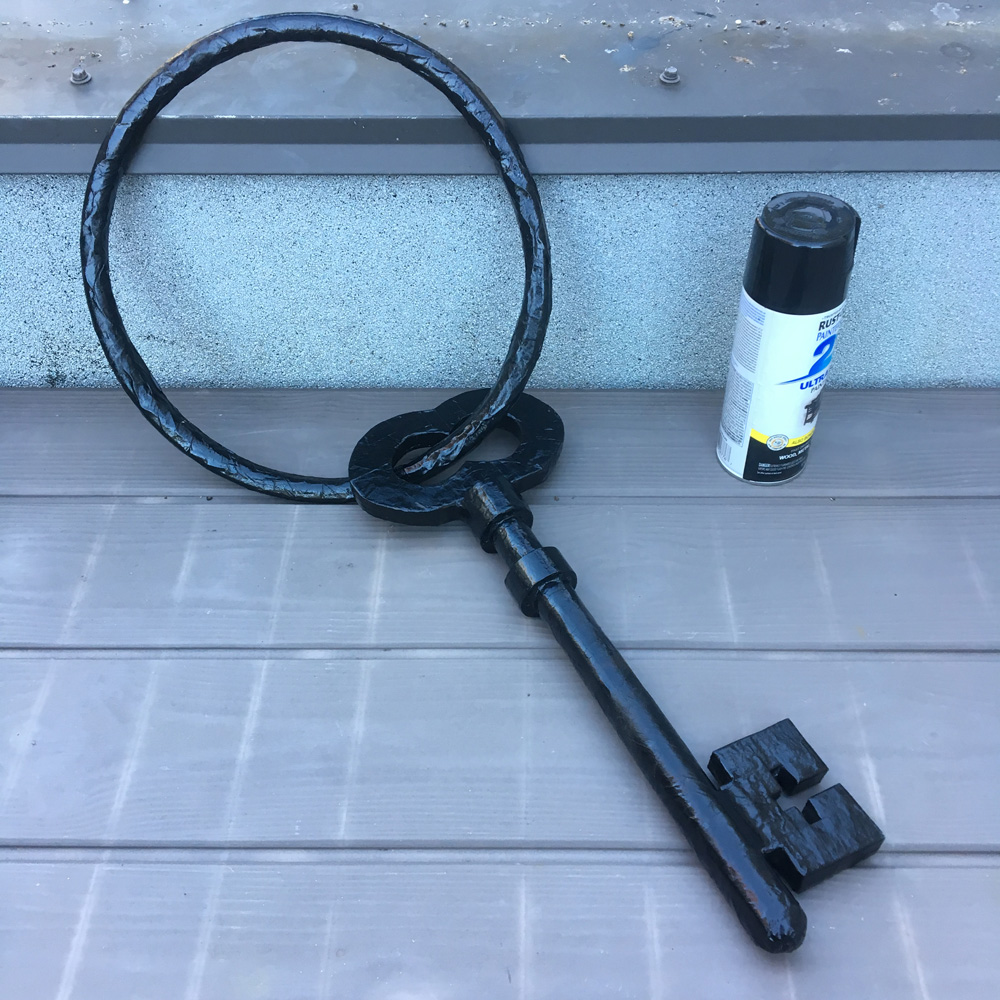
I started out by doing a Google image search for medieval keys. There are so many cool styles to choose from; I sort of mixed and matched some elements from a few keys, with the goal of keeping the design simple and iconic. Read more…
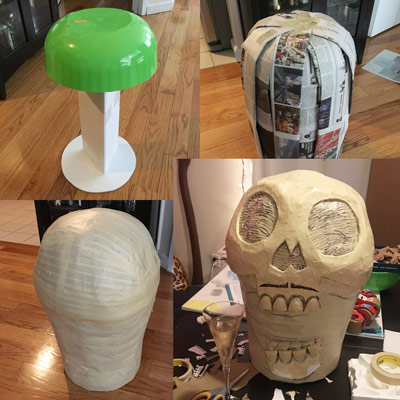
Making paper maché shapes with a reusable base
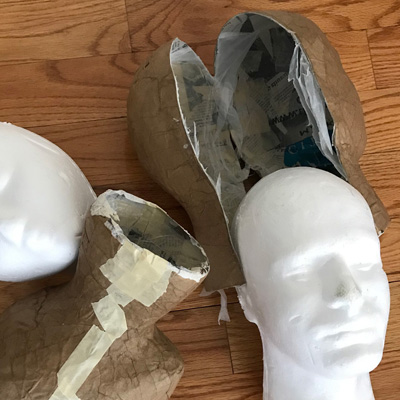
This is my method for creating multiple paper maché copies of a shape using a reusable base. I’ve tried different variations on these steps over the last few years and have settled on this process as my favorite.
Start with a base
First, you wanna build a base for your sculpture, so that you can cover it in paper maché and make copies of it. Read more…
Custom SLY skull trophy sculpture
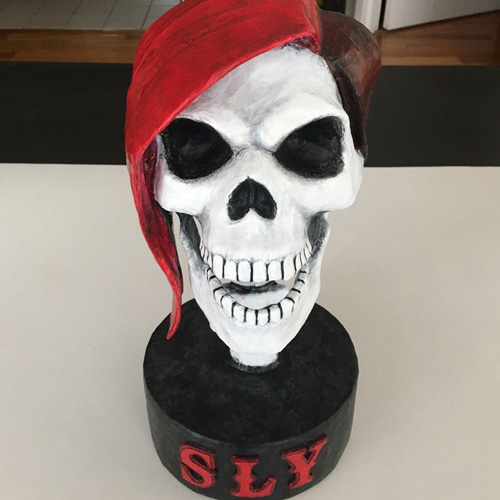
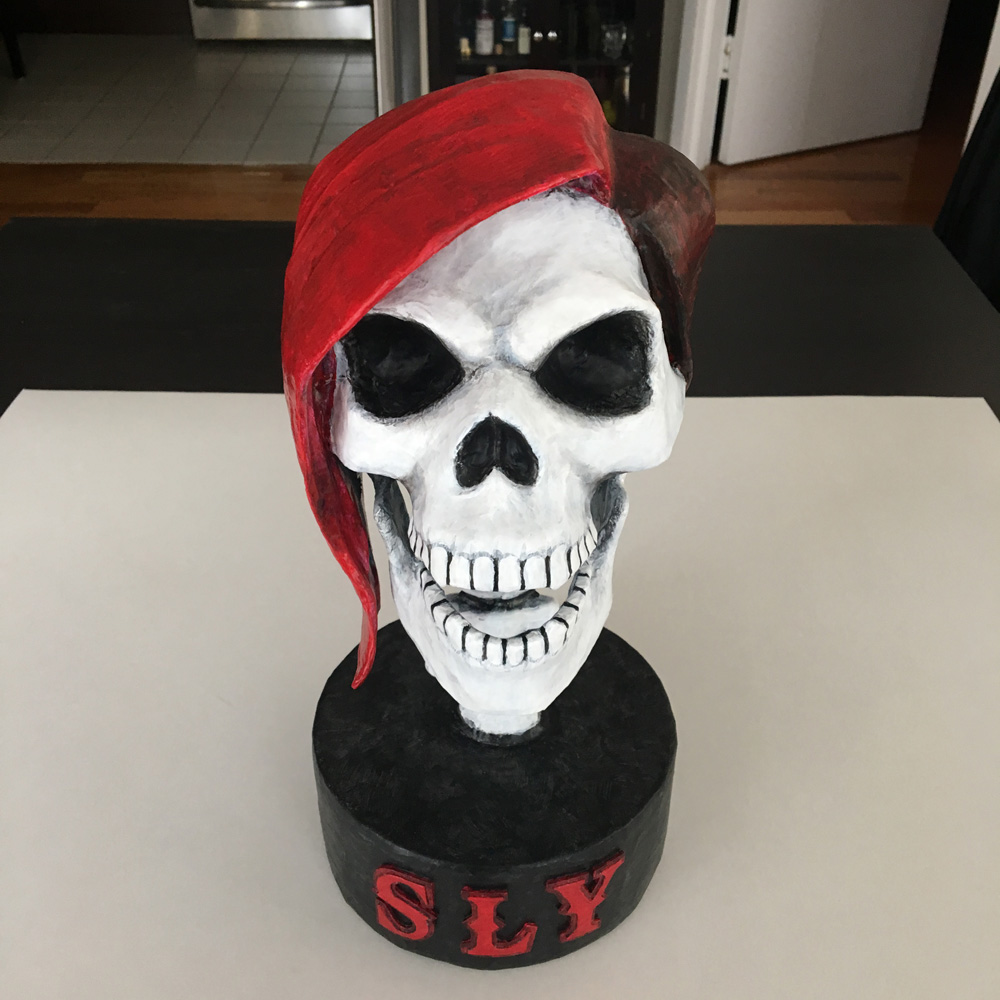
I made this skull sculpture (skullpture??) for my good friend, Twitch superstar Slyvinlisha, aka Sly. I made the sculpture based on two different versions of her logo illustration, pictured below.

I started with a nice plastic skull from one of my Halloween skeleton decorations that broke in half due to a spooky Halloween mishap! I broke the neck off at the base and put the rest of the bones away to use for other Halloween decorating purposes. Read more…
My mask making process
Hooboy, I’m finally typing all of this up! Here’s my basic process for making big paper maché masks, including materials, my paper maché process, etc. These are just guidelines, and I change parts of this process for almost every mask, but this the basic stuff right here.
Design
I always design my mask on paper, through tons and tons of sketches. I always draw it from the front and sides, and sometimes other angles if they’re important to the design. Read more…
Axeman skull mask! — part 2
This is part two of my Axeman paper maché skull mask for Mardi Gras 2018; see part one here.
Making the mustache
You may remember from part one I wanted to make the mustache attach to the skull with magnets so it’s removable. Here’s my convoluted process for designing the mustache, getting it to match the curvature of the skull, and getting the placement of the magnets correct.
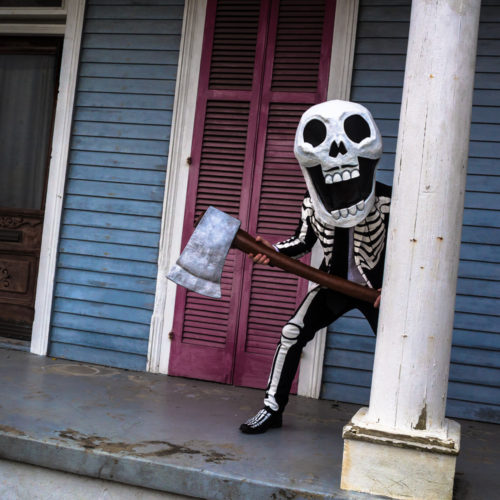
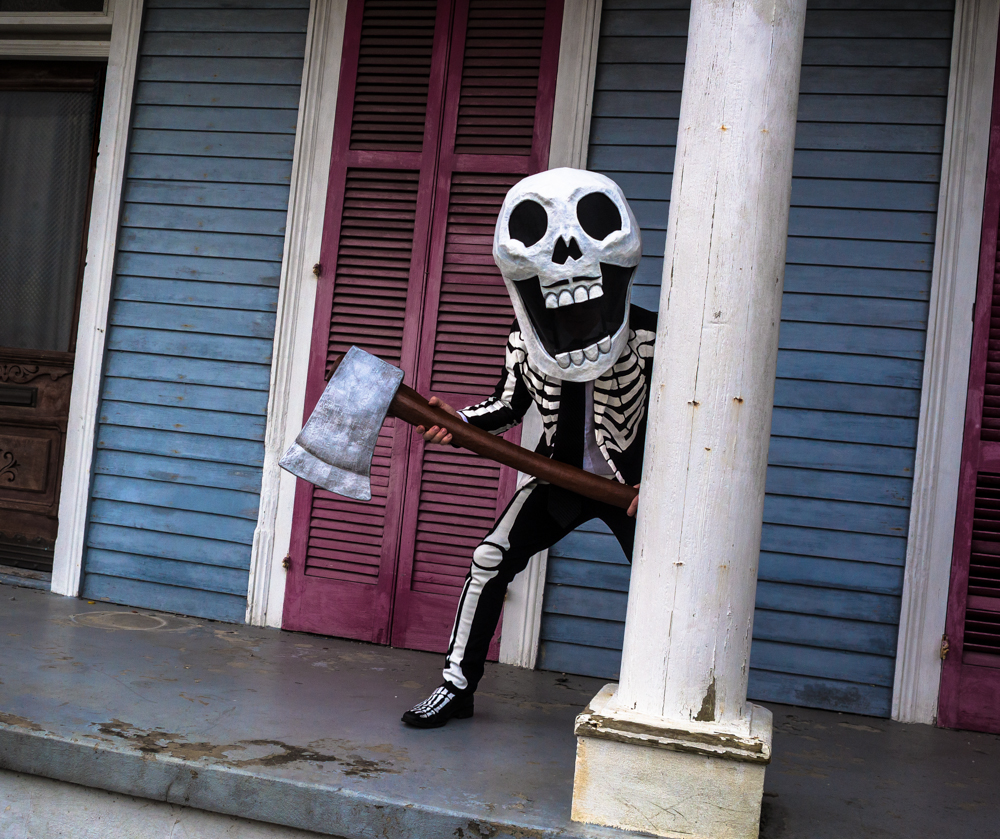
Axe Man skull mask for Mardi Gras 2018
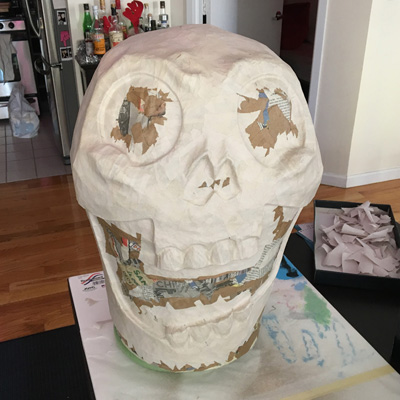
Here’s my Axe Man skeleton costume for Mardi Gras 2018! The Axe Man was a semi-legendary serial killer in New Orleans in 1918-1919; you can read all about him here. This year our skeleton group designed skulls and costumes based on figures from New Orleans history, to celebrate the city’s tricentennial, so of course I picked the creepiest guy I could find. Here’s how I made his skull mask, and don’t miss my other article about making the oversized paper maché axe prop.
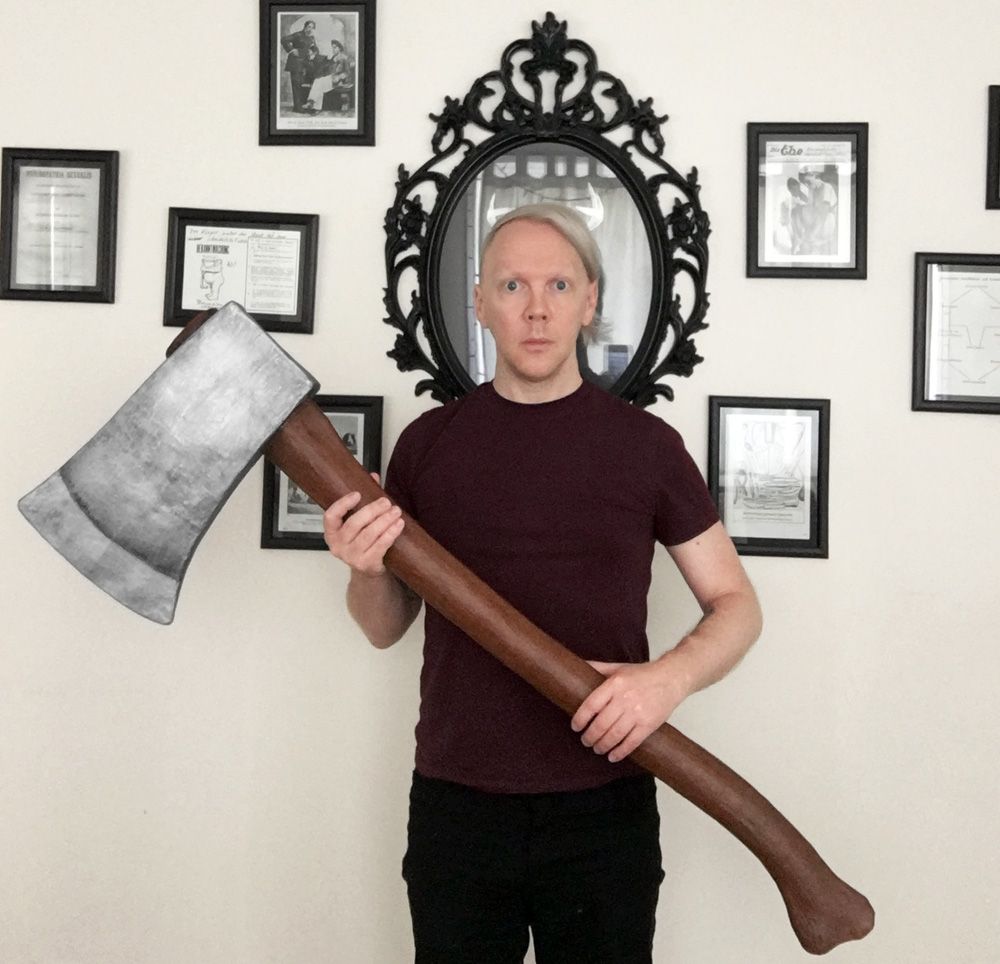
Making an oversized paper maché axe
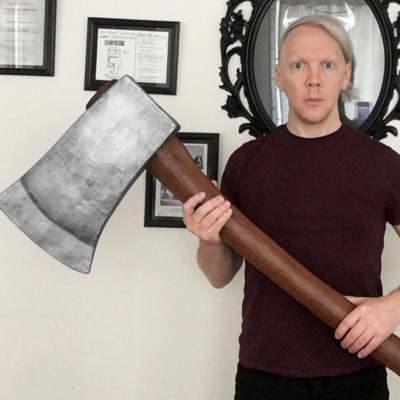
I made this big ol’ paper maché axe prop for my Axe Man skeleton costume for Mardi Gras 2018 (read about the real Axe Man here!). It was easy to make! Here’s how I did it…
(Wax mannequin for scale.)
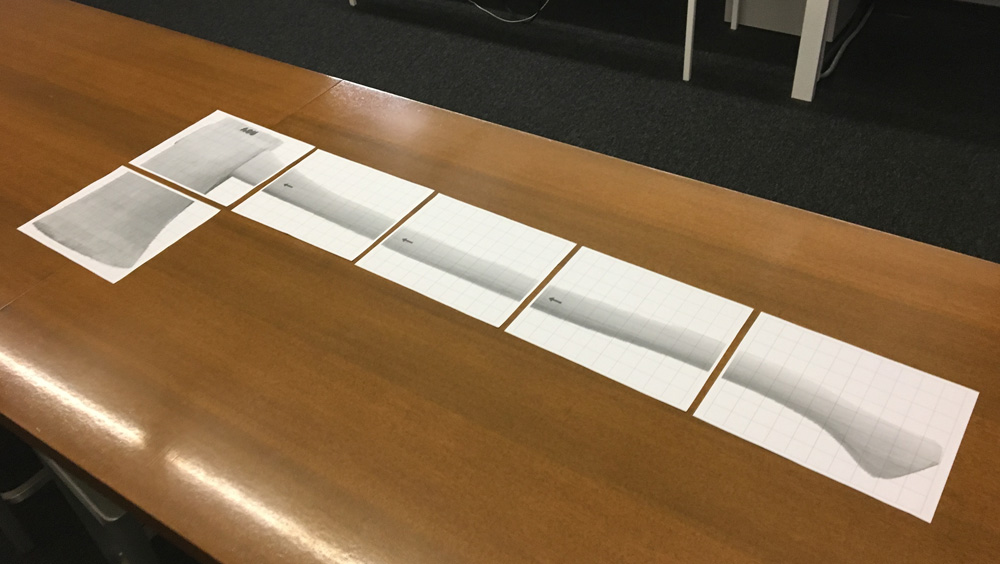
I started by grabbing a photo of an axe online and editing it in Photoshop to be the size that I wanted; about 48 inches long total with an oversized blade that’s about 16 inches long. Read more…
Tiny hand-made crown for my bunny rabbit!

I made this tiny crown for my old blind bunny rabbit, Acide, for this 13th birthday! It was a quick last-minute project and I didn’t take any pics of my steps, but it was really easy; I’ll explain how I made the thing…
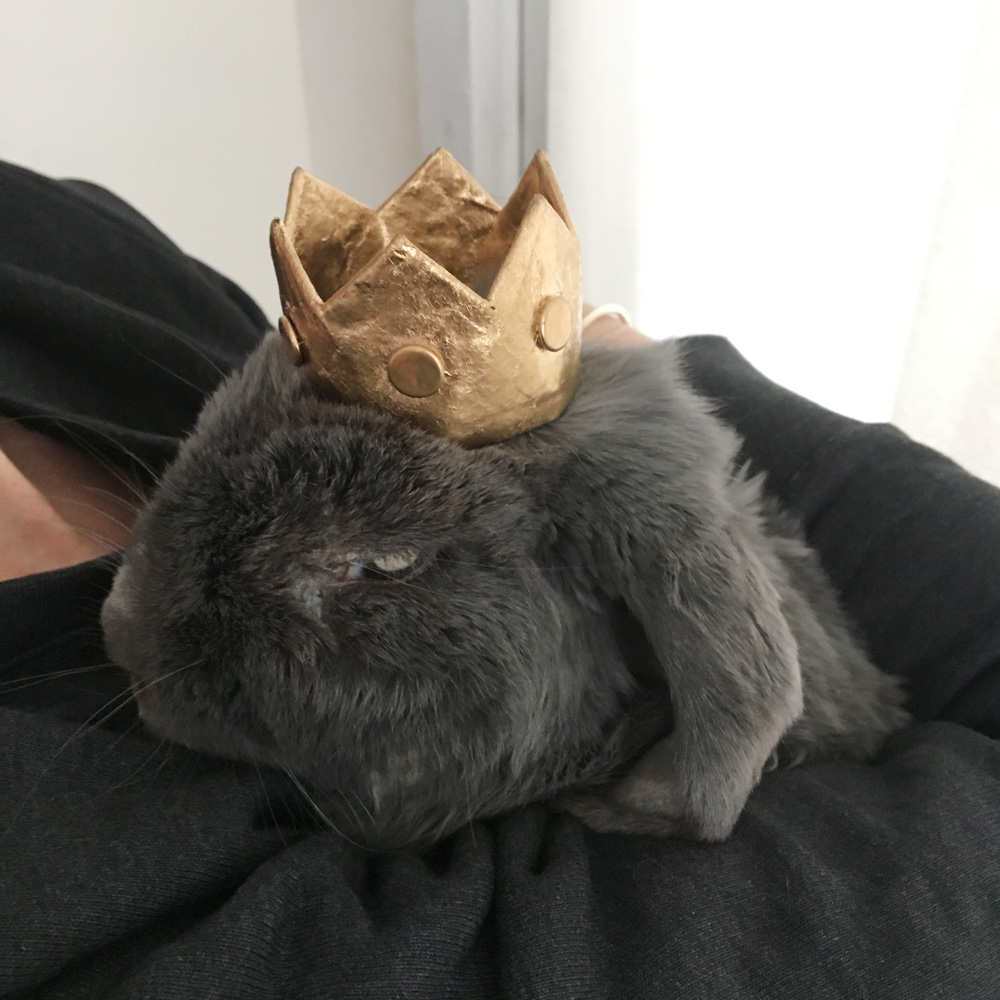
I designed the basic shape for the crown on paper and then traced that onto craft foam and cut it out.
Paper maché globe decorations
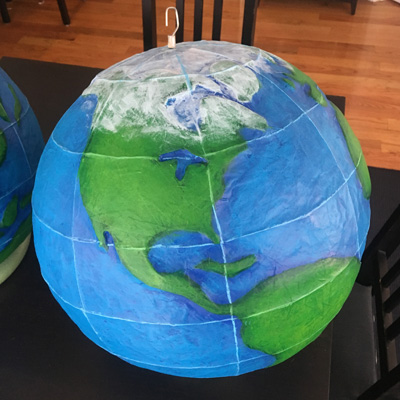
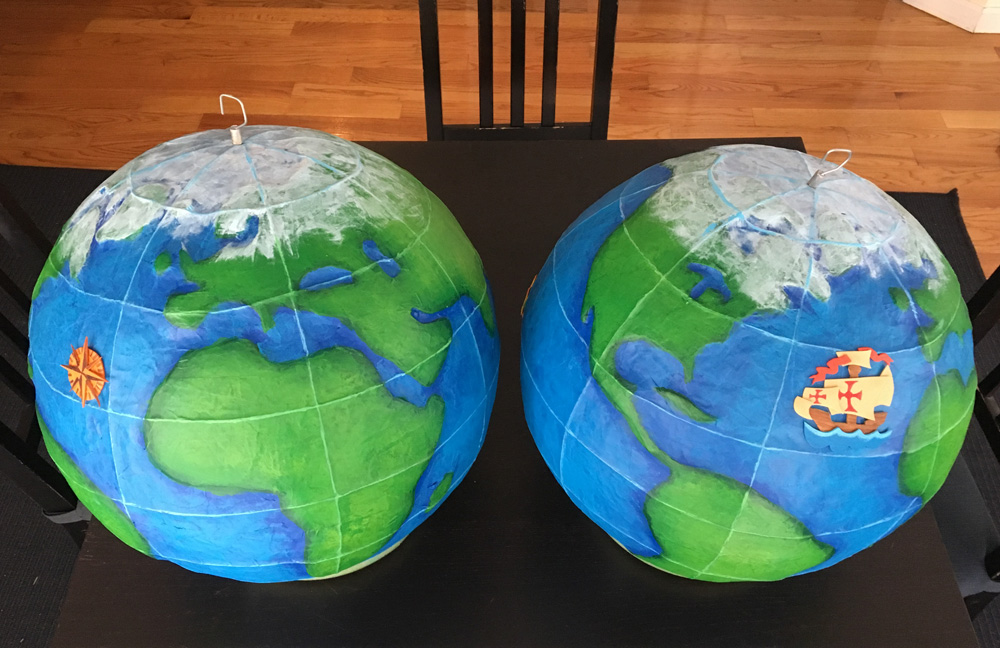
You may remember recently I posted about making a three-headed sea serpent sculpture for the Crewe of Columbus, a Mardi Gras parade group in Mobile, Alabama. The same wonderful client from that project also commissioned this pair of paper maché globes, which go along with the Crewe’s theme of world exploration; they’re going to be hung up as decorations in the same ballroom as Isabella. These were really fun to make!
Paper maché technique: multiple layers and even coverage
I use this method for some of my paper maché pieces when I need multiple layers but I don’t have a ton of time, and especially if the weather is good for drying quickly outdoors — hot, sunny, and not too humid.
The whole point of this method is saving time by doing multiple layers of paper maché in one session but keeping the coverage nice and even. Backing up a bit… usually it’s not possible to cover your base entirely in a layer of paper maché all in one session because you’ll end up gluing it to your working surface. Read more…
Paper maché Anubis mask
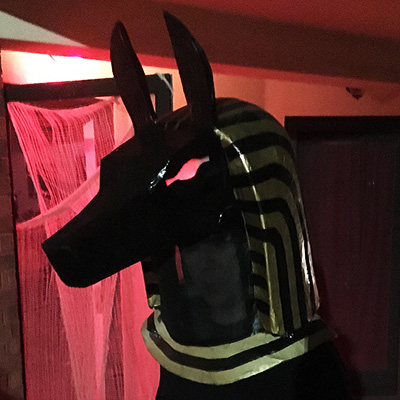
I made this paper maché Anubis mask for Halloween 2017, for my ancient Egypt-themed Halloween party.
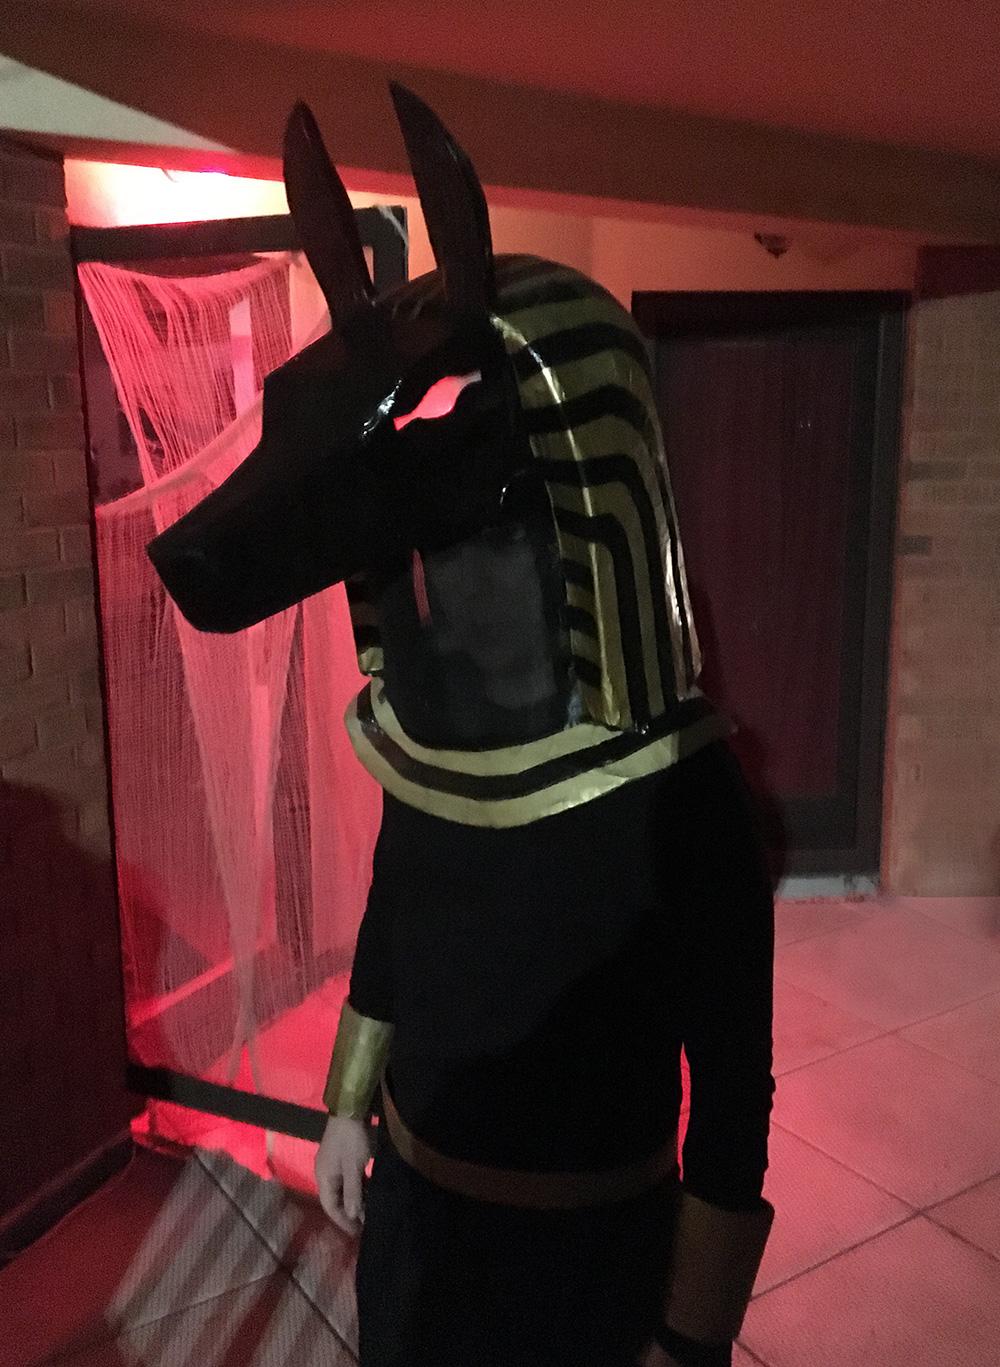
My main goals for this mask were to make something that would be wearable for all or most of my party; I wanted to figure out a way to make a large paper maché mask like this that allowed me to hear very well, see very well, and have good air circulation. I’d never worn a full head mask like this for my Halloween party, and I know from experience with my big Mardi Gras skull masks that seeing and hearing can be a challenge! Read more…
Cleopatra headdress
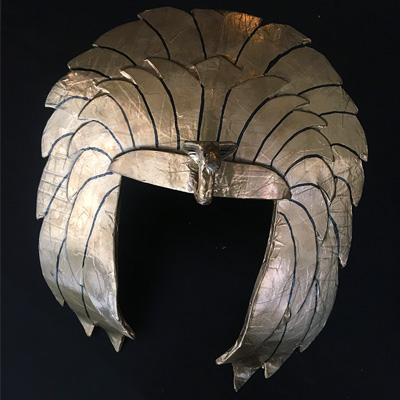
I made this feathered Cleopatra headdress for my lovely fiancée for our ancient Egypt Halloween party in 2017. I neglected to take any pictures of this thing while it was in progress! I was so rushed in the last week leading up to Halloween I just didn’t have time to document my process. But I’ll explain how I made it.
Making a foam board Egyptian sarcophagus
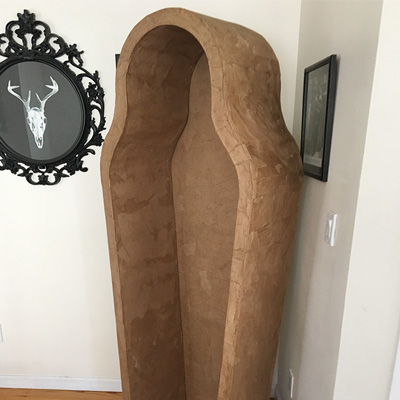
I made this standing sarcophagus for Halloween 2017 — basically a big selfie booth! Here’s how I did it…
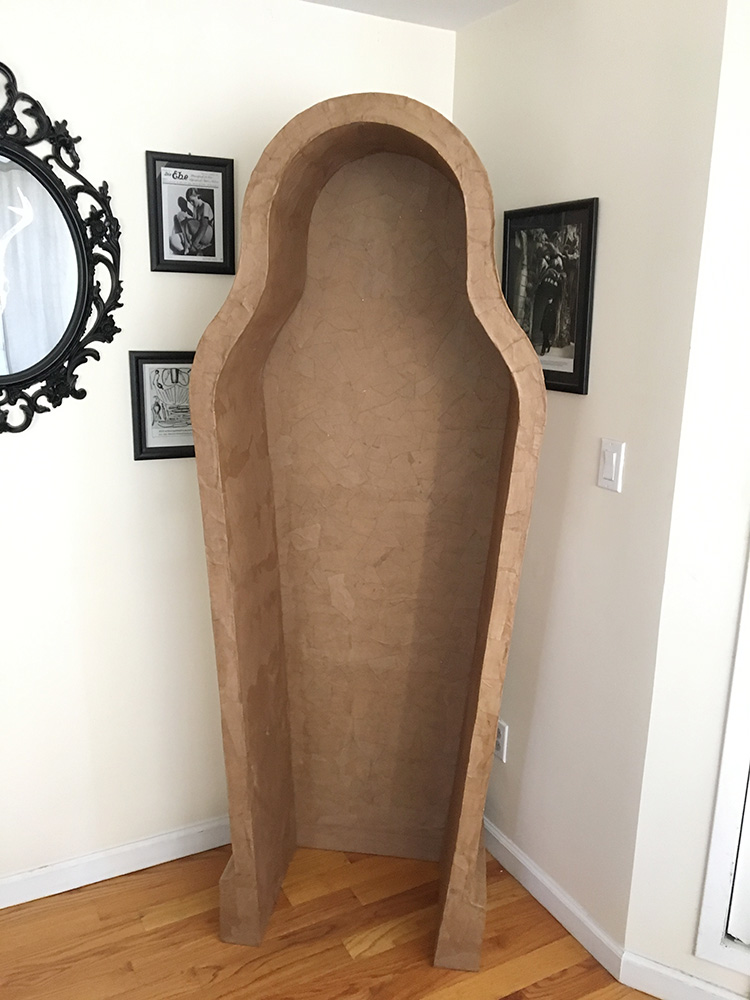
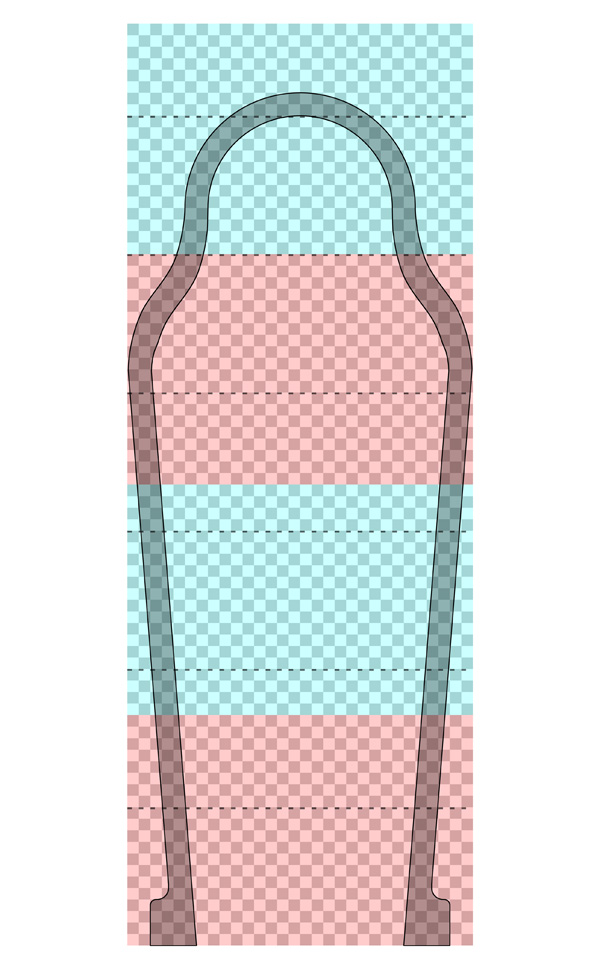
I started by planning out the dimensions of the sarcophagus in Photoshop. The red and cyan boxes represent 30″ x 20″ sheets of foam board, and the grid is square inches, with dotted lines to denote feet. I don’t have a Photoshop template for this stuff; I just wing it and lay out and measure whatever parts I think are going to be important. You can see that my design was 6’2″. I built the sarcophagus at this size and later decided to add three more inches at the bottom, for a total of 6’5″. Read more…
Paper maché ancient Egyptian canopic jars
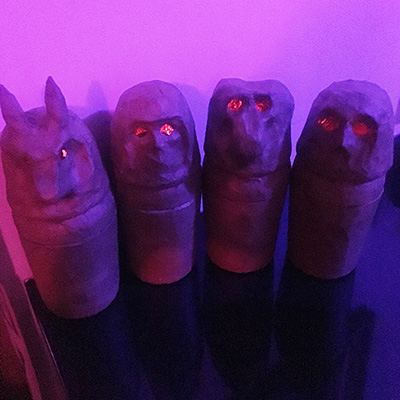

I made these canopic jars as decorations for my Halloween 2017 party. Canopic jars are a set of four jars with the heads of Egyptian gods on top, and they were used during the mummification process to store various organs. I’ll let Wikipedia explain more about them rather than try to write about them myself. I wanted to make these for our ancient Egypt Halloween party to use as decorations in our mummification scene. Read more…
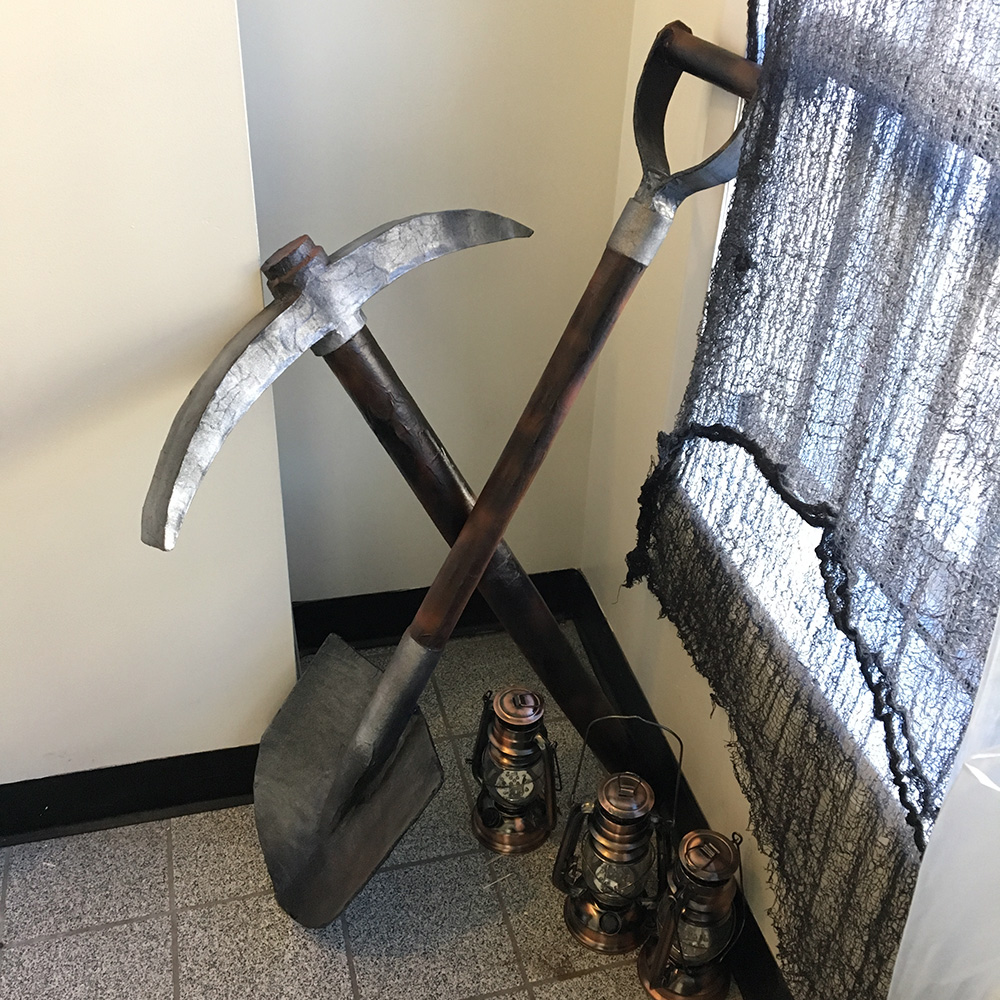
Paper maché pickaxe and shovel decorations

I made these here pickaxe and shovel decorations for the entryway into our Egyptian tomb Halloween party. They were super quick and easy! I didn’t need to make them sturdy at all, since they were just for display, and they only needed to last one night, so I was able to cut a lot of corners! I didn’t take any photos of my steps (I was in a huge hurry for all these latest Halloween projects!), but they’re pretty easy to follow; check it out…
 About Manning Krull
 How to make a 4-foot paper maché alligator
 My violin skull mask, Mardi Gras 2015
 Three-headed paper maché dragon sculpture