
Posts tagged "paper mache":
Paper maché scarab beetle decorations
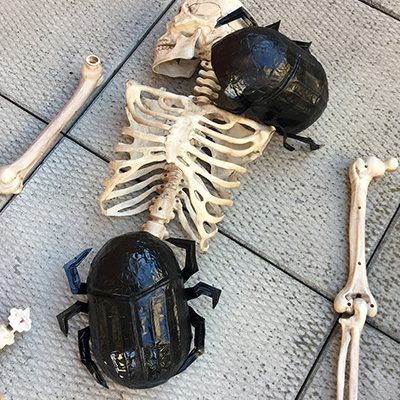
I made these very quick and easy paper maché scarab beetle decorations for my ancient Egypt Halloween party. They were a breeze! Check it out…
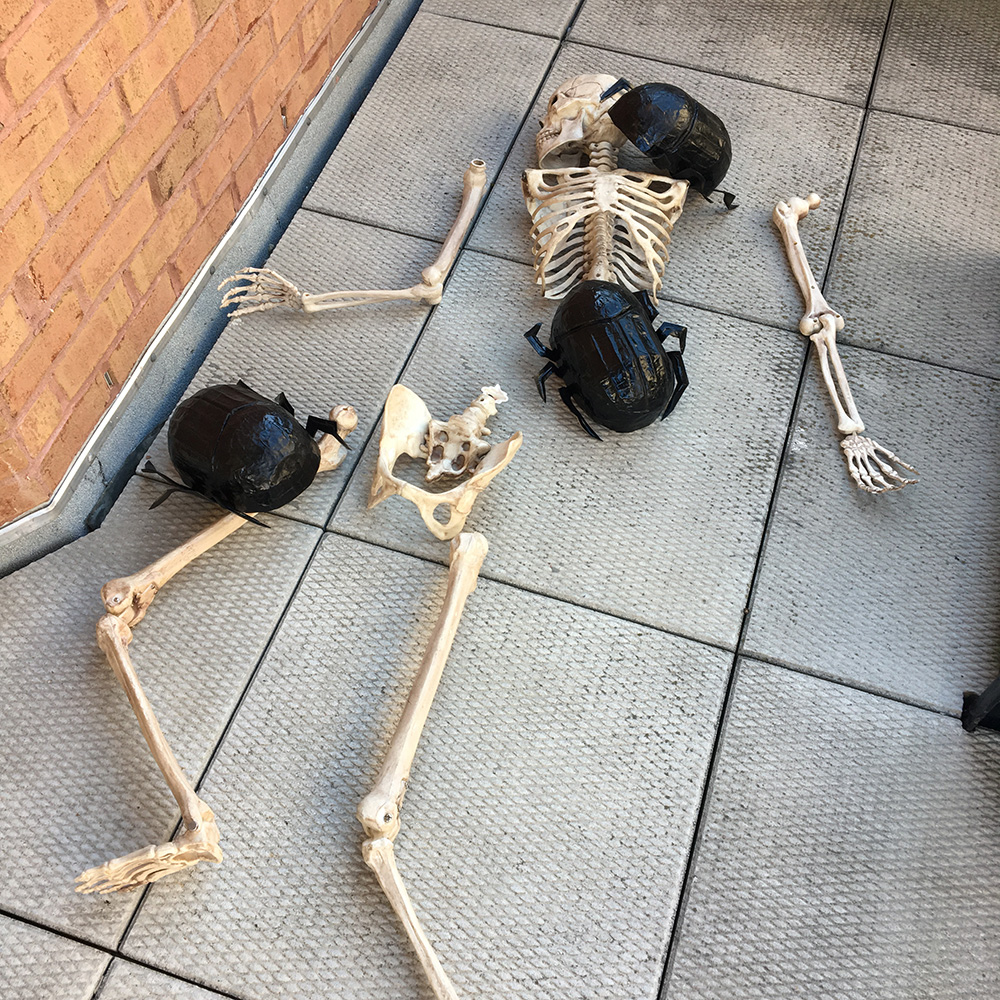
I started with these plastic bowls from the dollar store — four for a buck! I cut one of the bowls in half to make the head and back end of the scarab beetle. One half would be the head, and I cut the other half in halves again to create the division between the wing coverings.
Paper maché Necronomicon sculpture — part 2

This is part two of two of my paper maché demonic book project. See part one here.
Making the 3d “BOO!” logo
To create the “BOO!” logo in the mouth, I started out by printing several copies of the logo (designed by my friend Jon Morris) at the actual size; I’d planned out my sketch for the face along with the logo in Photoshop so I’d be able to plan all of these parts to fit together the way I wanted.
Haunted book paper maché sculpture for BOO! Halloween Stories — part 1

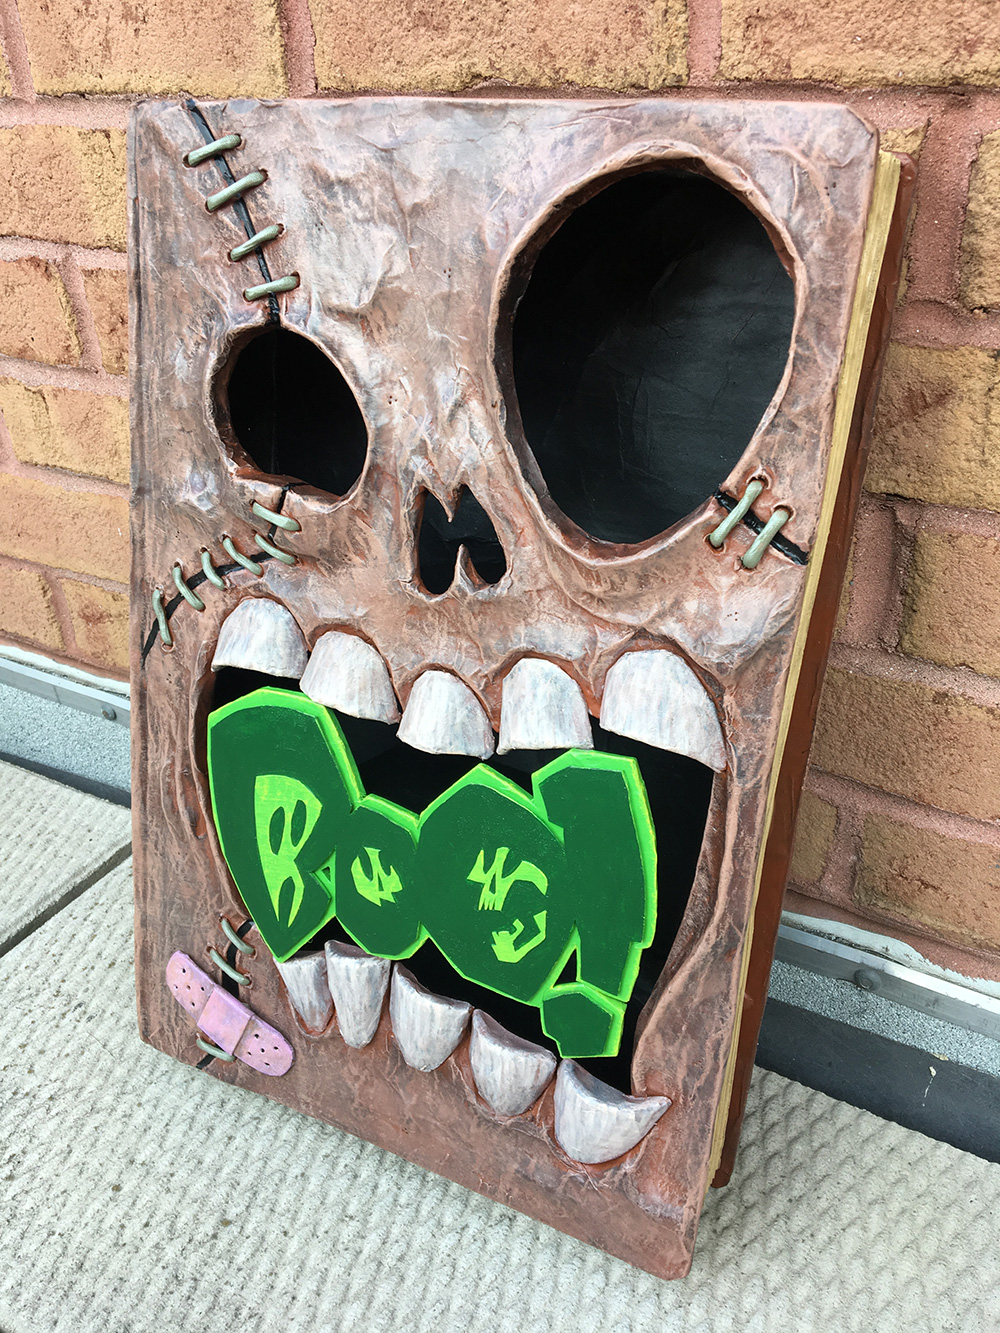
I made this paper maché haunted book sculpture for the cover of the 2017 edition of BOO! Halloween Stories — a comics anthology that I’ve been doing with my friend Jon Morris off and on for about fifteen years. The cover is usually just a regular illustration, but this year Jon had the idea to have me sculpt a demonic book — you know, like the Necronomicon or whatever — and then photograph that for the cover of the digital comic. This was an insanely fun project; here’s how I did it!
Three-headed paper maché dragon sculpture! — part 2

This is part two of two of Isabella the dragon! See the first part here.
The sea serpent’s bodies and heads and fins and other various parts were done, but I had to do some other steps before assembling them. It made sense to switch gears here and work on the pedestal and tray area, to figure out how they’ll fit with the dragons.
Three-headed paper maché dragon sculpture! — part 1
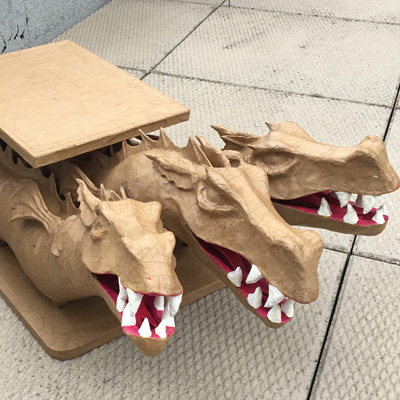
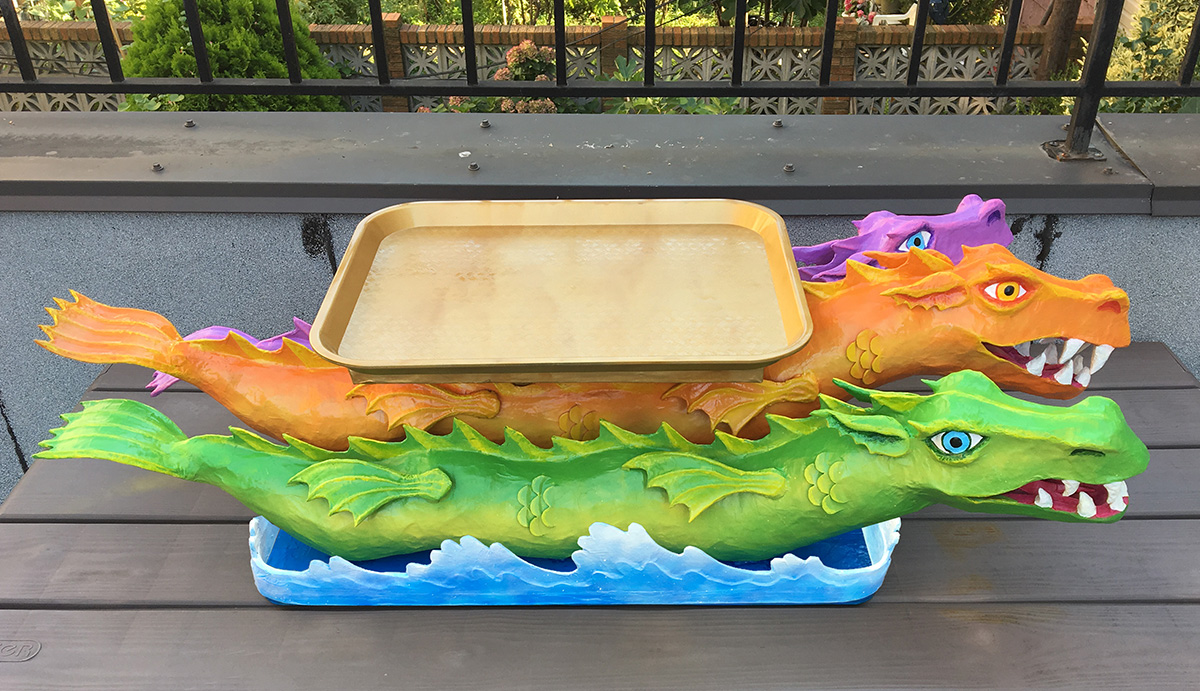
This was an incredibly fun commission piece I got to work on! I was contacted by a member of the Crewe of Columbus, a Mardi Gras crewe in Mobile, Alabama, and asked to make a sculpture of one of their parade floats — a very charming three-headed sea serpent(/dragon) named Isabella. The sculpture would have a serving tray area on top and be the centerpiece on one of the buffet tables at the group’s annual ball. The client sent me tons of photos of the Isabella float and asked for a sculpture that was approximately 40″ long from head(s) to tail(s). I couldn’t wait to get started!
Magic the Gathering cosplay — Avatar of Woe: scythe
After I finished the Avatar of Woe’s helmet, I moved on to her scythe.
![]()
I drew the shape of the Avatar of Woe’s scythe blade onto foam board and cut it out with an X-acto knife.
![]()
Magic the Gathering cosplay — Avatar of Woe: helmet
![]()
Another fun commission! This client wanted to cosplay the Avatar of Woe card from Magic the Gathering, and she hired me to make this custom horned helmet and scythe.
Making the basic helmet shape
![]()
Paper maché baby chicks! — part 2
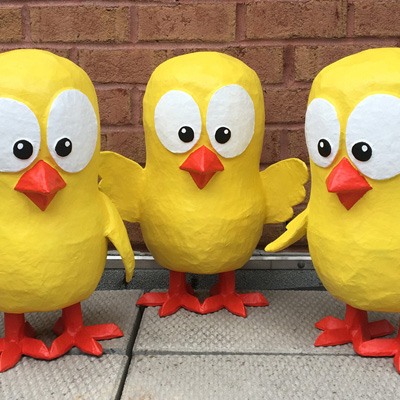
This is part two of two of my paper maché baby chicks project; see part one here.
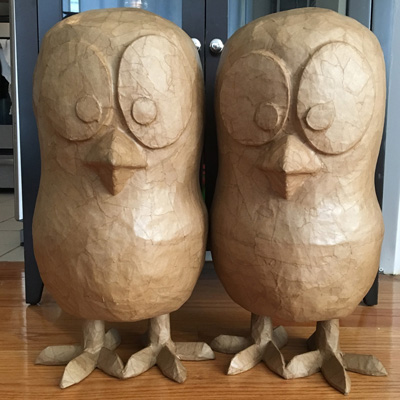
Making the chicks’ legs and feet
This was a fun challenge: I wanted the legs and feet to be hollow and removable, so when my client received them she could add a lot of coins in the legs/feet for weight and then insert them back into the body, so the chicks would have a nice solid heavy base. Without this weight, the chicks would probably fall over, and if I added the weight permanently while making the sculptures, the shipping cost for the chicks would go way up. Read more…
Paper maché baby chicks! — part 1
Another fun commission project: three big paper maché baby chicks!
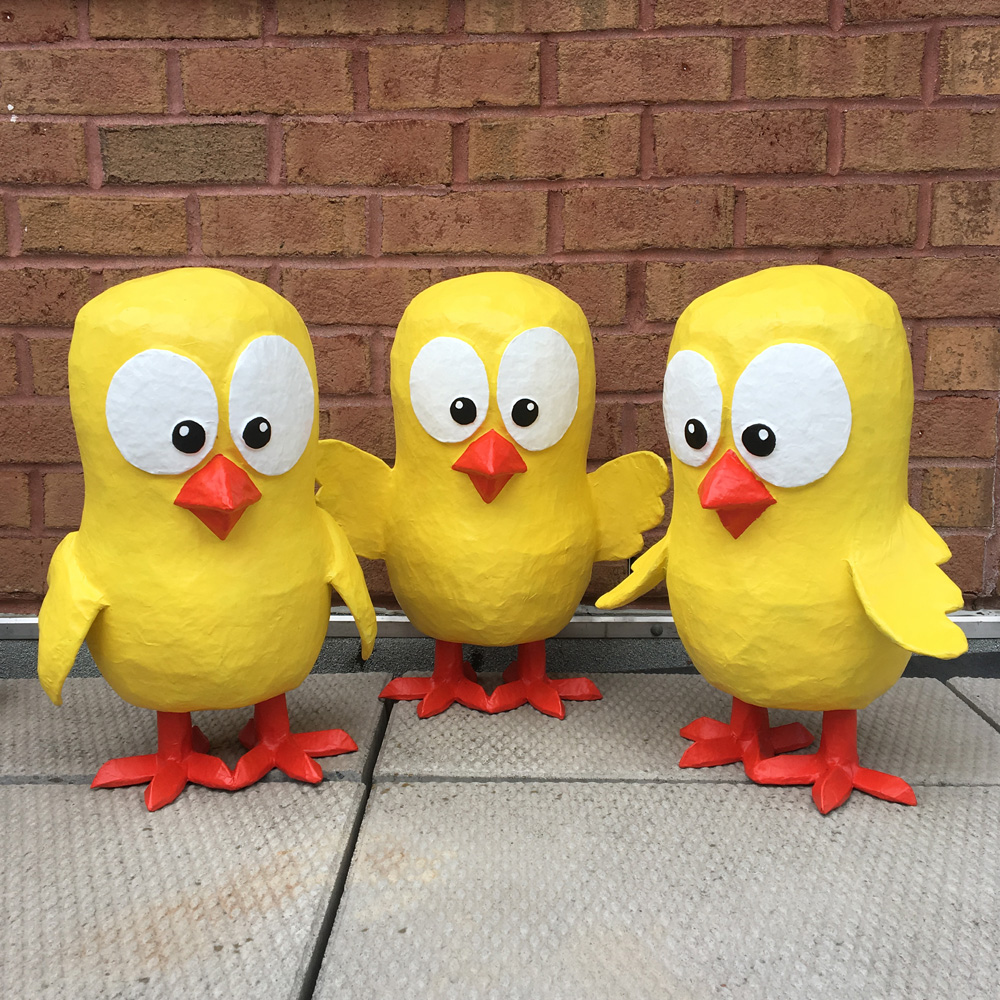
I was contacted by a wonderful new client at Canadian Crane who commissioned three sculptures of these cartoon baby chicks that their company has in some of their marketing materials. They sent me a pic and I started planning…
Paper maché cupcake sculpture!
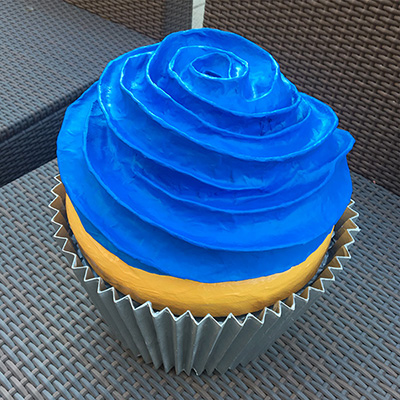
I was commissioned to make this cute paper maché cupcake sculpture, and it was a lot of fun! I’m so used to doing monsters and skeletons and stuff, this was a really neat diversion. The cupcake was to be used as a decoration in a tradeshow booth with a couple signs on it with logos and messaging, and the whole thing is painted in the client’s brand colors. Here’s how I made it!
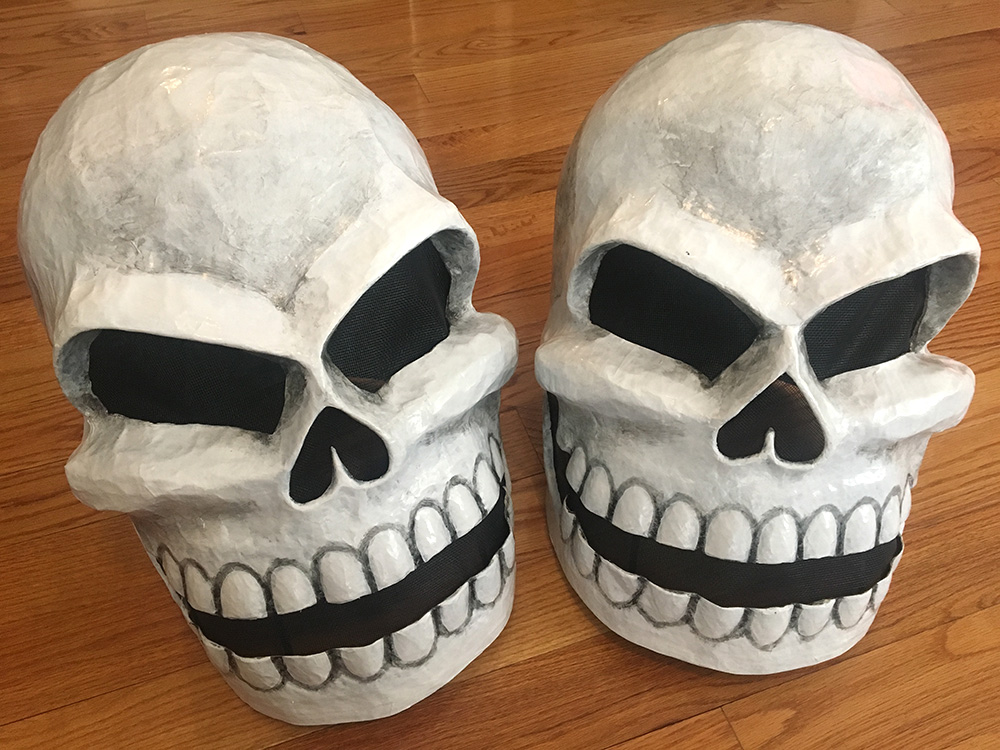
Twin paper maché skull masks
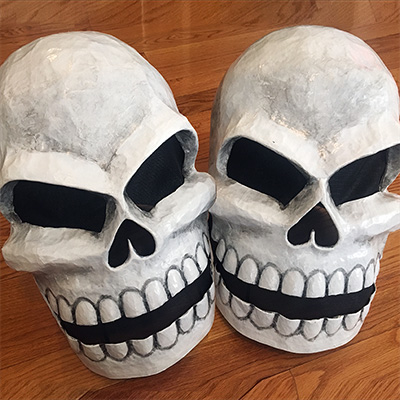
A new project, a new experiment! I received a custom order for a pair of twin paper maché skull masks; the request was to base them on the design of my first Mardi Gras skull mask and keep them more or less identical, and there was a very short timeline to get them both done. So, I decided to try a reusable base! This was a first for me.
Luckily I have that article about how I made that first Mardi Gras skull five years ago; otherwise I probably wouldn’t remember how I did it! Of course it would be impossible to get these new ones exactly the same as that one, but I’d do my best to get them close. Read more…
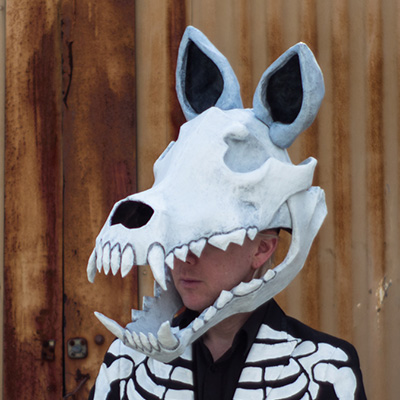
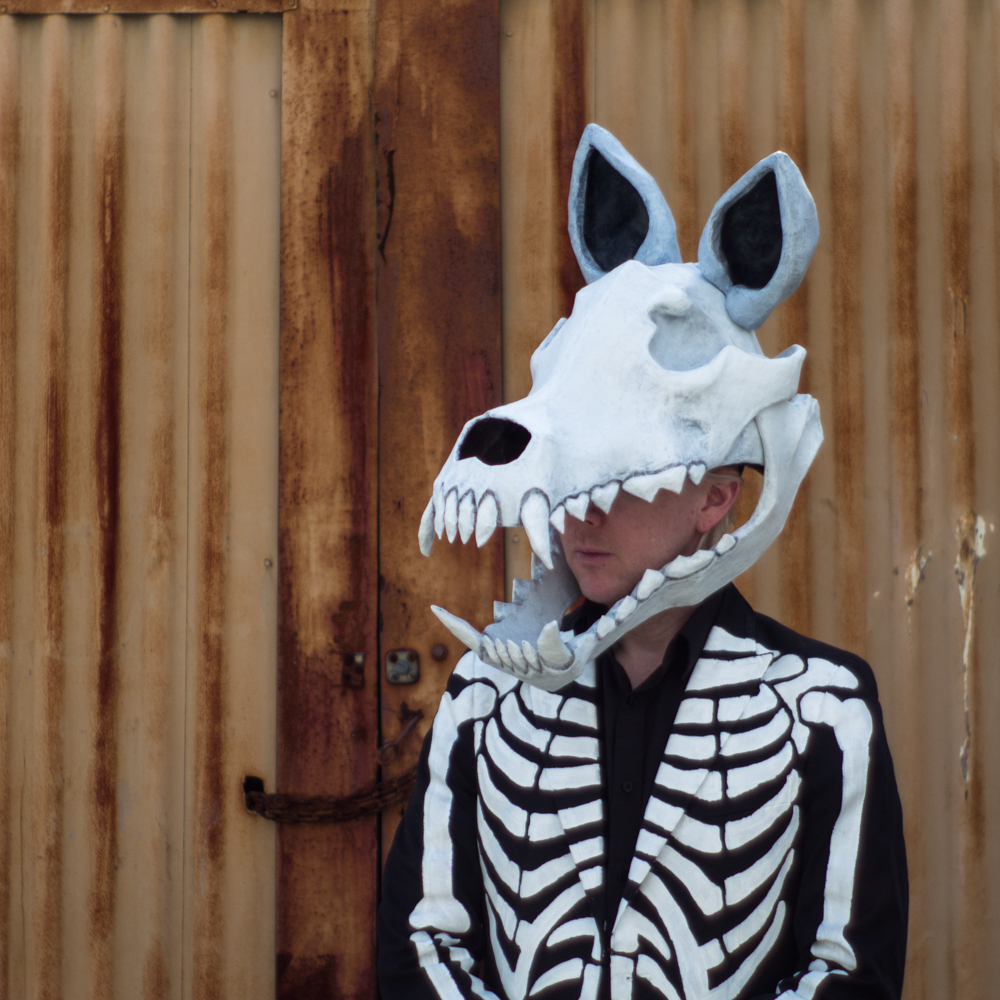
Wolf skull mask — part 4; making the ears
This is part 4 of my paper maché wolf skull mask; see part 1 here.
I wanted to give my wolf skull some ears; I had this idea because in researching wolf skulls I realized that basically all carnivorous mammals’ skulls look almost indistinguishable, and the main different from one mammal head to another is the ears. So my hope is that adding ears will help people recognize my skull as a wolf (or at least a dog! I’ll settle for a dog!). Read more…
Wolf skull mask — part 3; painting, etc.
Painting the wolf skull
Before painting the wolf skull mask, I applied a coat of gesso over the whole thing. Gesso is a thick white paint-like substance that can help smooth out any imperfections in your paper maché surface. In this case it really helped smooth out the teeth in particular.
Paper maché wolf skull mask — part 2
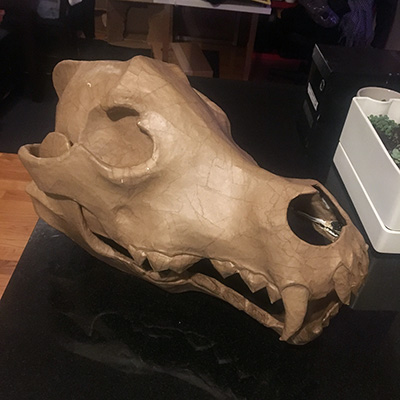
What big teeth you have!
Hooboy, the teeth were one of the hardest and most time consuming parts of this whole mask project! Like I mentioned in part 1, the four big fangs were made out of foam insulation tubing and masking tape; those were pretty easy. I tried a few different methods for the other teeth; I’ll spare you my failures and just show you where I ended up…
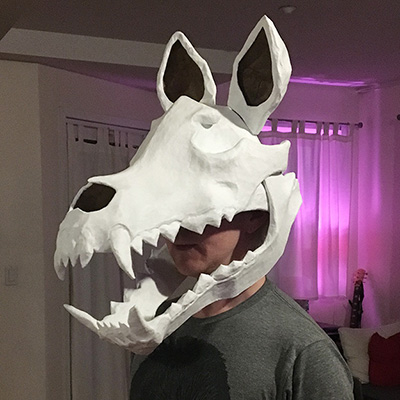
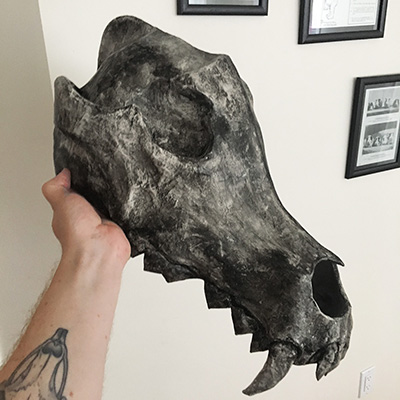
Paper maché wolf skull mask — part 1
I made this here paper maché wolf skull mask for Mardi Gras 2017! It’s got detachable ears, a movable jaw, and it’s one of my most lightweight and comfortable skull masks yet. It was a lot of fun to make; here’s how I did it!
Now offering custom paper maché masks and sculptures
Interested in a custom papier-mâché mask, sculpture, cosplay armor/accessories, etc made by yours truly? I’ve been getting a lot of requests about paper maché commissions lately so I’ve added a page about custom pieces, with some guidelines about timing and pricing. Drop me a line and let’s talk!
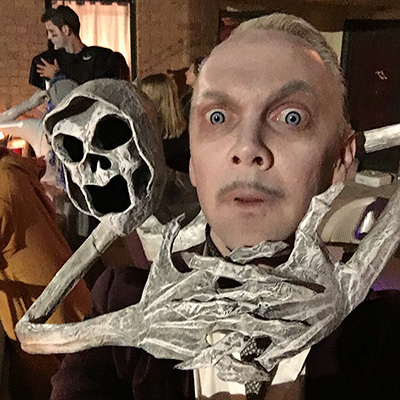
Stabby ghost costume!
This was the second of the two “person getting killed by a ghost” costumes that I designed. Read about mine here for most of the basic info. I made my fiancée’s ghost second, using most of the same steps and materials, with a few important differences. I’ll cover those below…
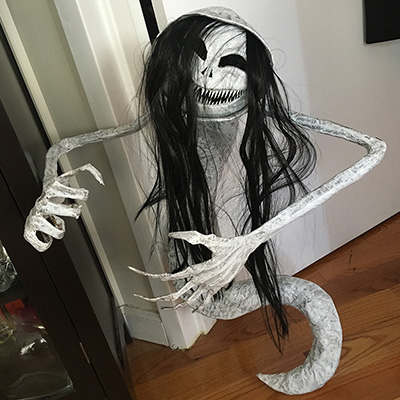
Strangler ghost costume!
Hooboy, this costume was a big undertaking! The basic concept for this costume is a lightweight ghost sculpture, made with wires inside to make it somewhat adjustable, and it’s attached to a harness worn under one’s clothes. There were so many different parts to build and so many problems to solve, and I basically made up the whole thing as I went along, jumping around from part to part in a weird order. So, I’ve put together as much info as I can about how I made this thing here…
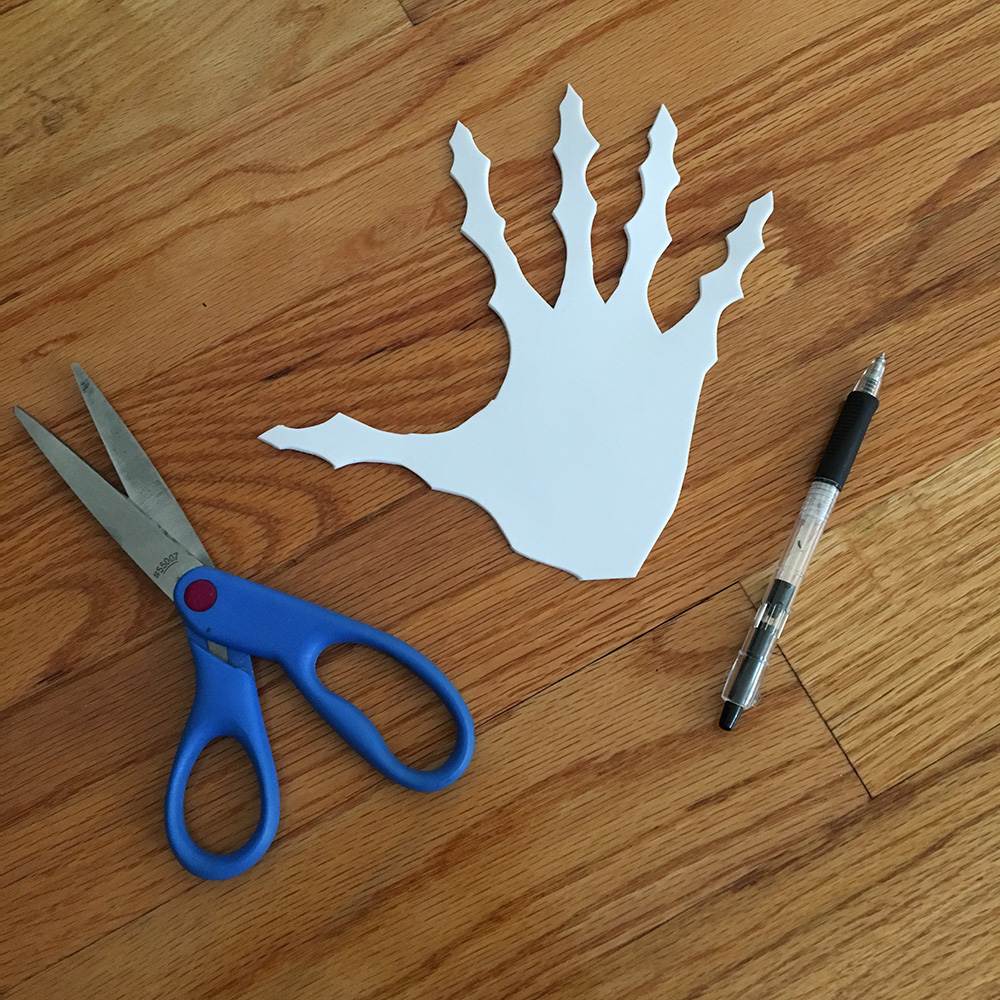
Creepy paper maché hands for my ghost costume

I made these creepy hands for my “guy being strangled by a ghost” costume! (Article about that whole thing coming soon.) You could use this same method for posable, realistic hands for any kind of monster decoration: a witch, a vampire, a zombie, etc!
First, I traced my own hand onto a sheet of craft foam (aka Wonderfoam). I kept my thumb stretched way out since ultimately I wanted these hands to be in a strangling position around my neck.
Paper maché spooky lamp prop
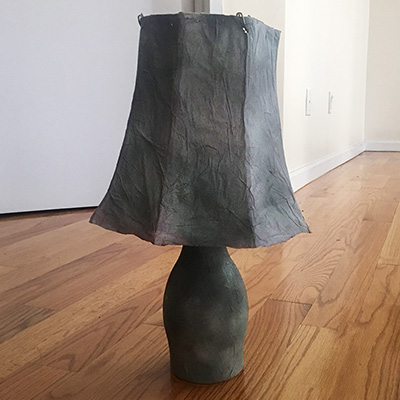
This is part five of my paper maché furniture projects for my séance Halloween party; see part one; chairs, part two; table, part three: mantel, and part four; nightstand.
I got the idea for this lamp when I saw this plastic bottle of almond milk in our fridge; it’s a neat bowling-pin shape that’s perfect for an old-timey lamp. I decided to add this lamp project to the list of lightweight paper maché furniture that we’re hanging from the ceiling for our spooky séance party.
 About Manning Krull
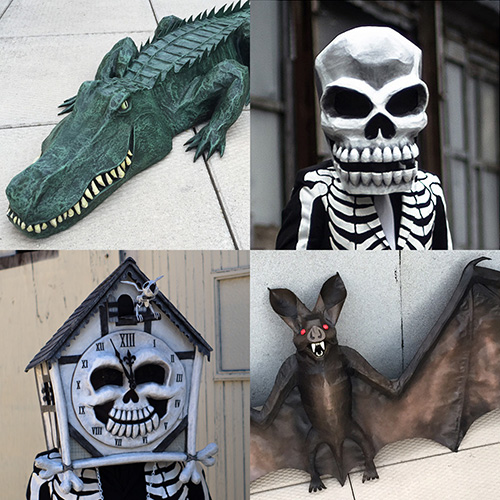
 How to make a 4-foot paper maché alligator
 My violin skull mask, Mardi Gras 2015