
Posts tagged "halloween":
Paper maché Anubis mask
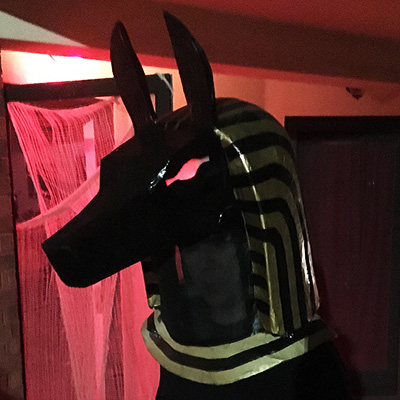
I made this paper maché Anubis mask for Halloween 2017, for my ancient Egypt-themed Halloween party.
My main goals for this mask were to make something that would be wearable for all or most of my party; I wanted to figure out a way to make a large paper maché mask like this that allowed me to hear very well, see very well, and have good air circulation. I’d never worn a full head mask like this for my Halloween party, and I know from experience with my big Mardi Gras skull masks that seeing and hearing can be a challenge! Read more…
Paper maché Necronomicon sculpture — part 2

This is part two of two of my paper maché demonic book project. See part one here.
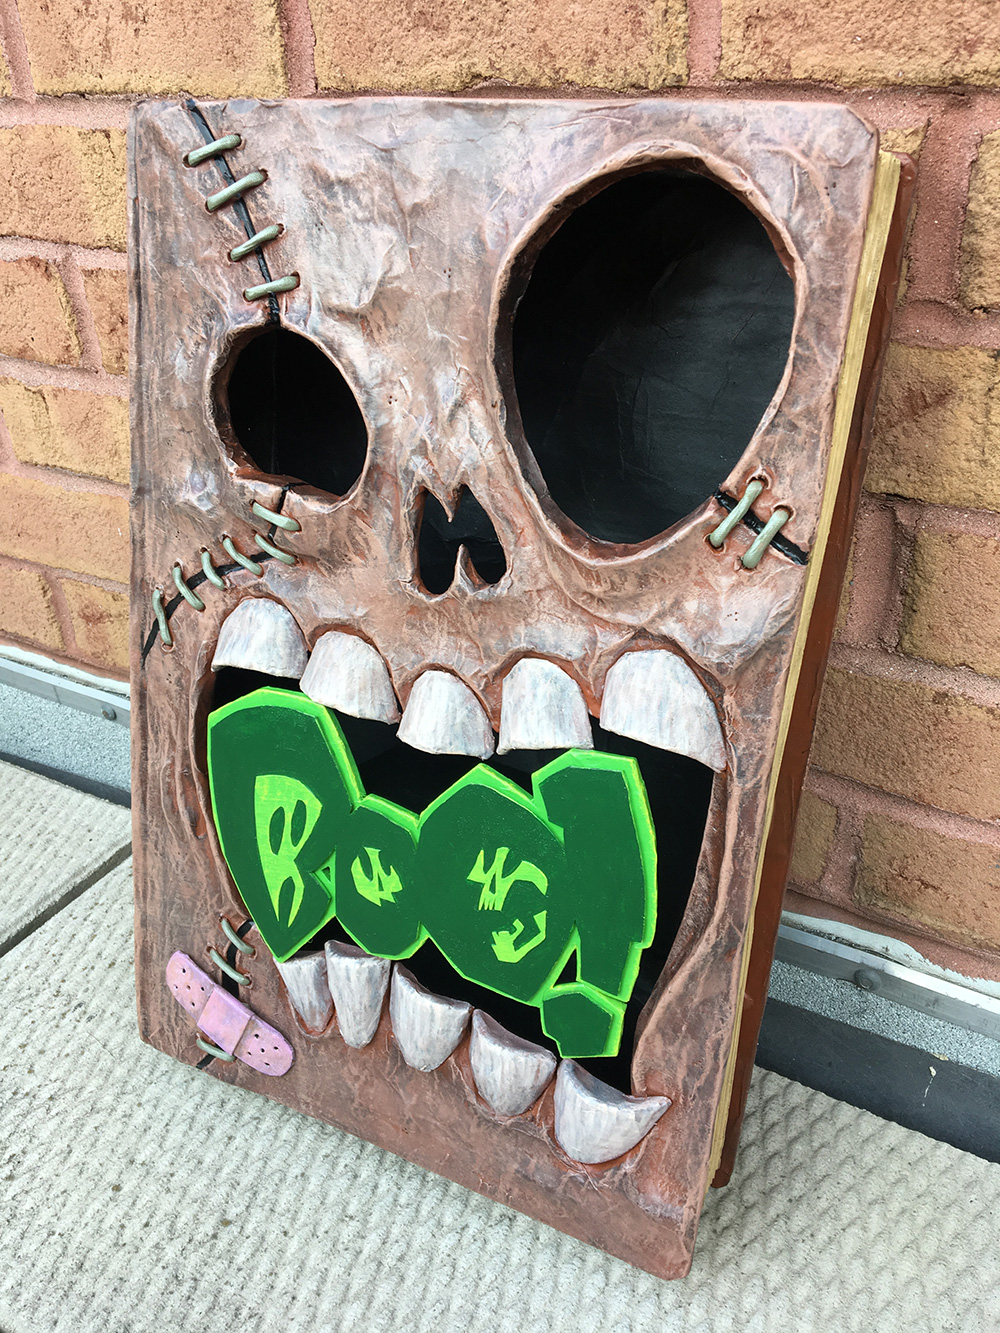
Making the 3d “BOO!” logo
To create the “BOO!” logo in the mouth, I started out by printing several copies of the logo (designed by my friend Jon Morris) at the actual size; I’d planned out my sketch for the face along with the logo in Photoshop so I’d be able to plan all of these parts to fit together the way I wanted.
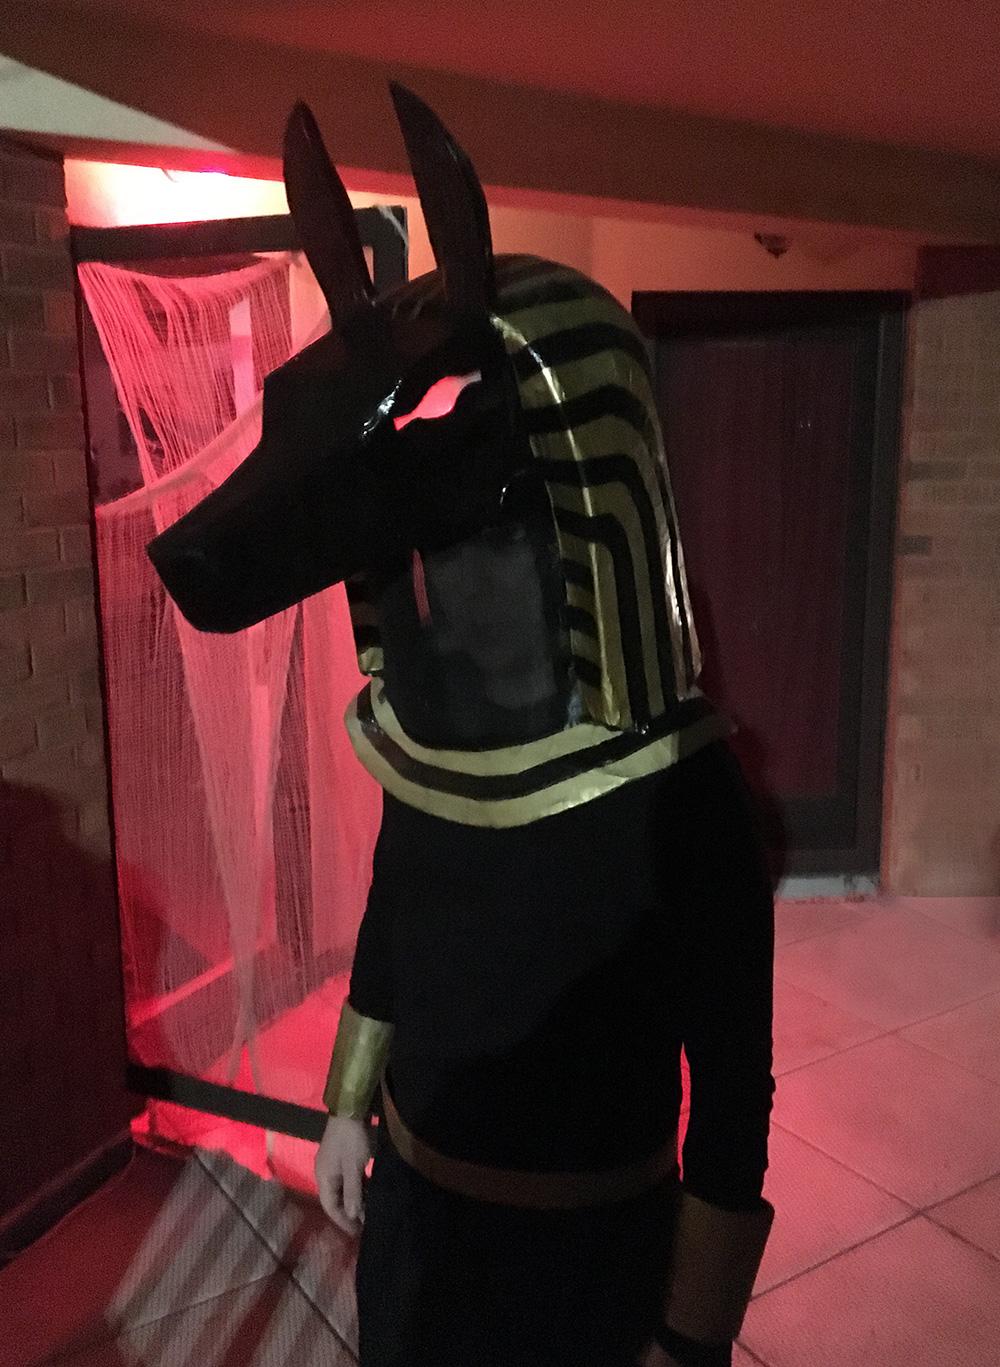
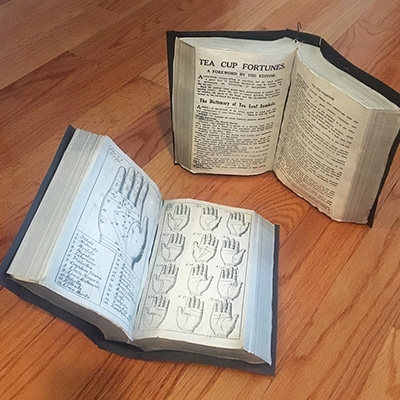
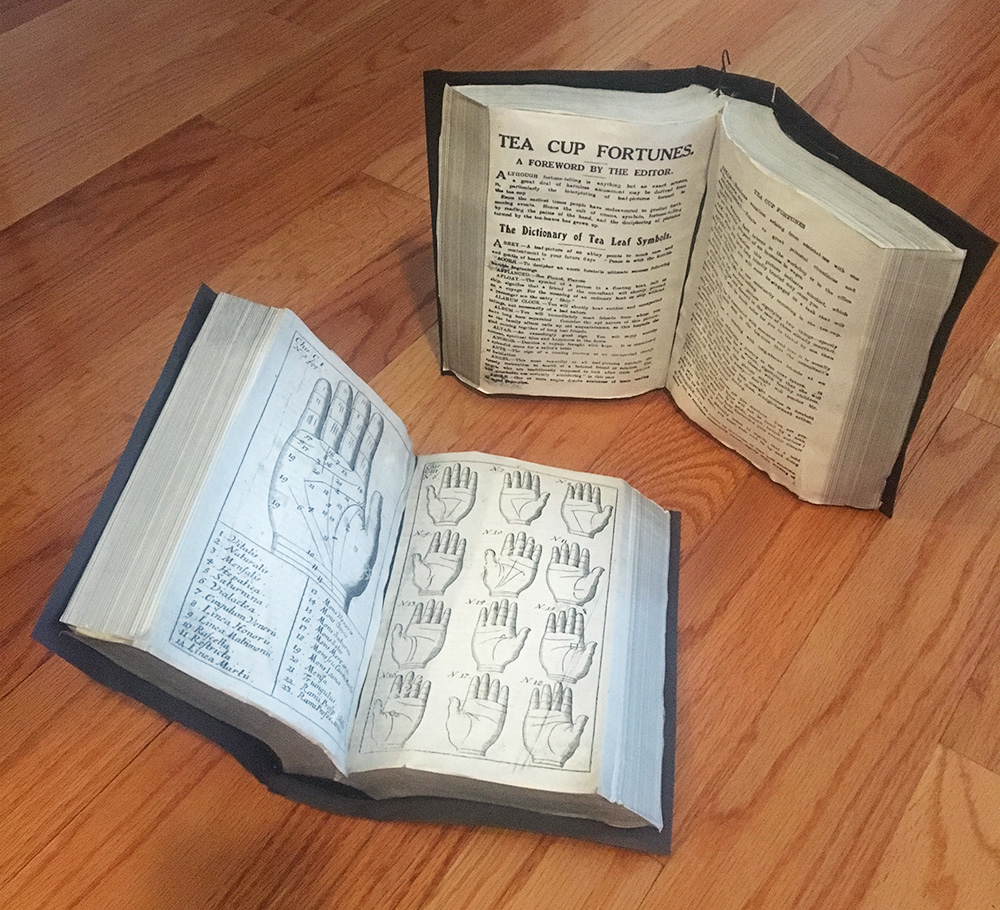
Haunted book paper maché sculpture for BOO! Halloween Stories — part 1

I made this paper maché haunted book sculpture for the cover of the 2017 edition of BOO! Halloween Stories — a comics anthology that I’ve been doing with my friend Jon Morris off and on for about fifteen years. The cover is usually just a regular illustration, but this year Jon had the idea to have me sculpt a demonic book — you know, like the Necronomicon or whatever — and then photograph that for the cover of the digital comic. This was an insanely fun project; here’s how I did it!
Repainting a miniature Halloween gazebo
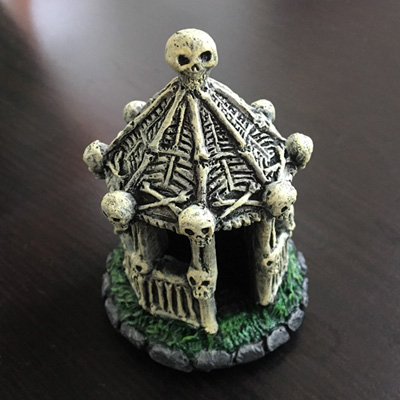
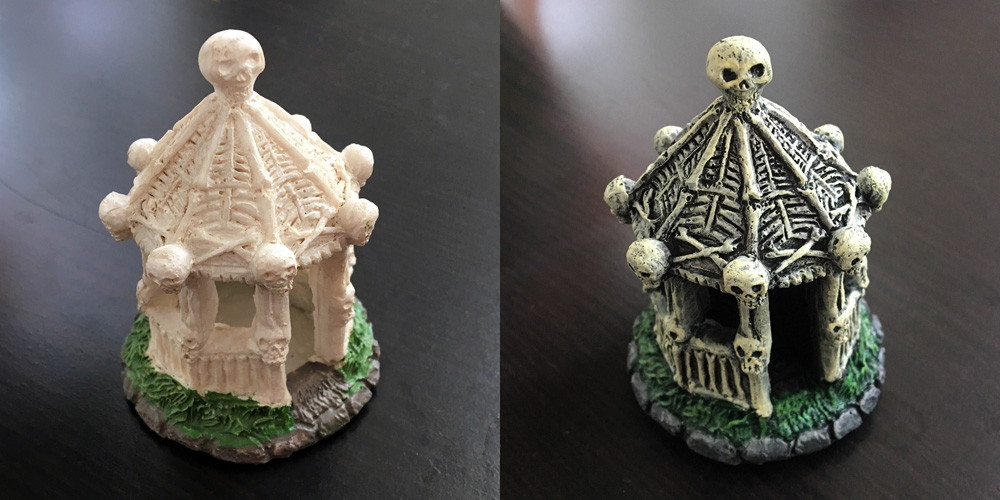
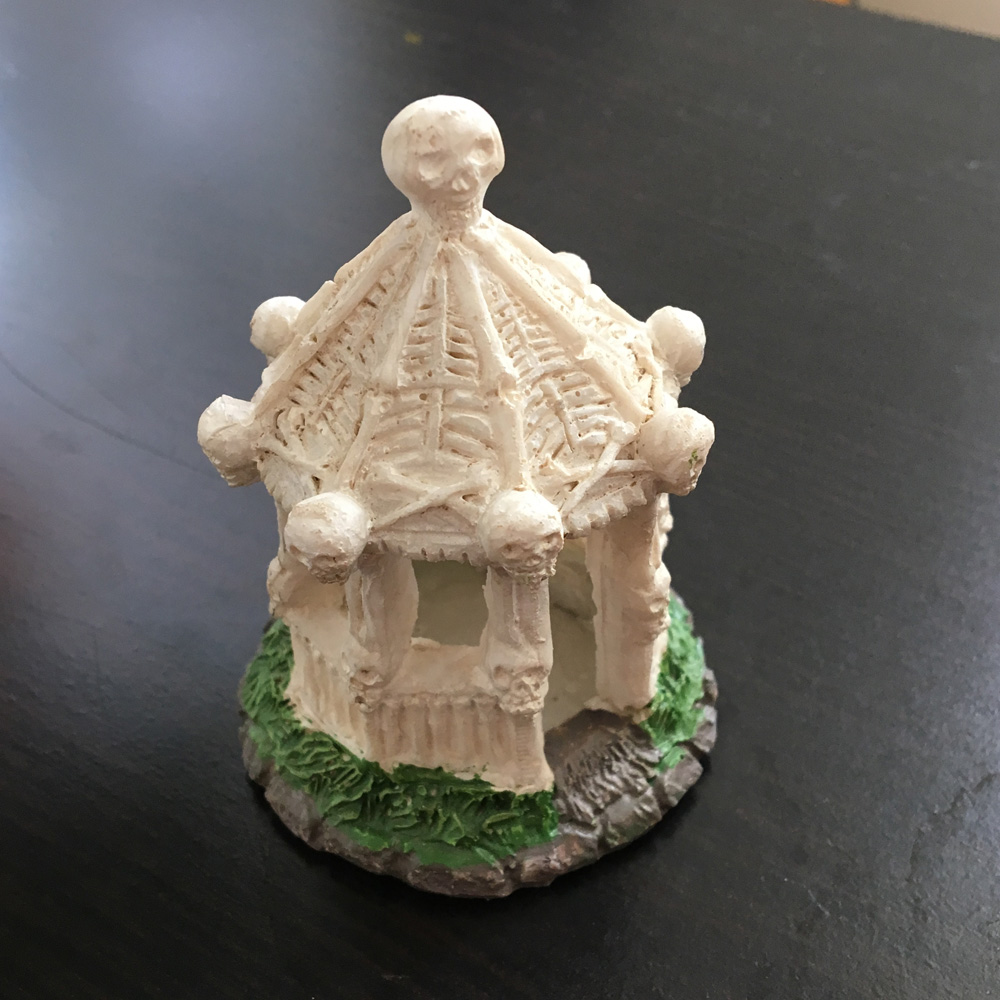
I was at the dollar store looking at Halloween decorations with a friend of mine when she noticed an item I would normally skip over — a 3″ miniature gazebo molded out of plaster or something, like the kind of thing you’d put in a little Halloween village set-up in your living room. Not the kind of Halloween decorating I normally do! My eyes usually skip right over this kind of thing. However, she thought it was cute, and upon closer inspection I agreed; the sculpture itself was really neat, with lots of detail in the skulls and bones, but the whole thing was kind of ruined by a bad factory paint job; hey, whaddaya want for a buck? So I decided to buy it and repaint it and send it to her as a gift.
Painting new skeleton pants
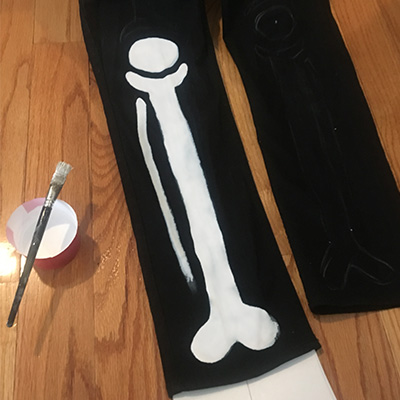
I’ve been wearing my hand-painted skeleton suit for five Mardi Gras in a row now, with a few Halloweens thrown in there as well, and for some reason the pants seem to be harder to squeeze into every year! Huh! I wonder how that could be; they must keep shrinking in the wash a little more every single year! Yeah, that’s gotta be it. So anyway, it’s reached a point where I absolutely needed to make new ones for this Mardi Gras; last year I seriously thought they might split open on me during a parade! I learned a lot from how I made these last time, and luckily this was a much more successful project my second time around…
Ouija board wall decoration

For all my Halloween parties, I try to have at least one big decorated area that makes for a good backdrop for photos. This time our main photo area was this big ouija board wall decoration. It was really easy to do and ended up in a ton of our guests’ photos.
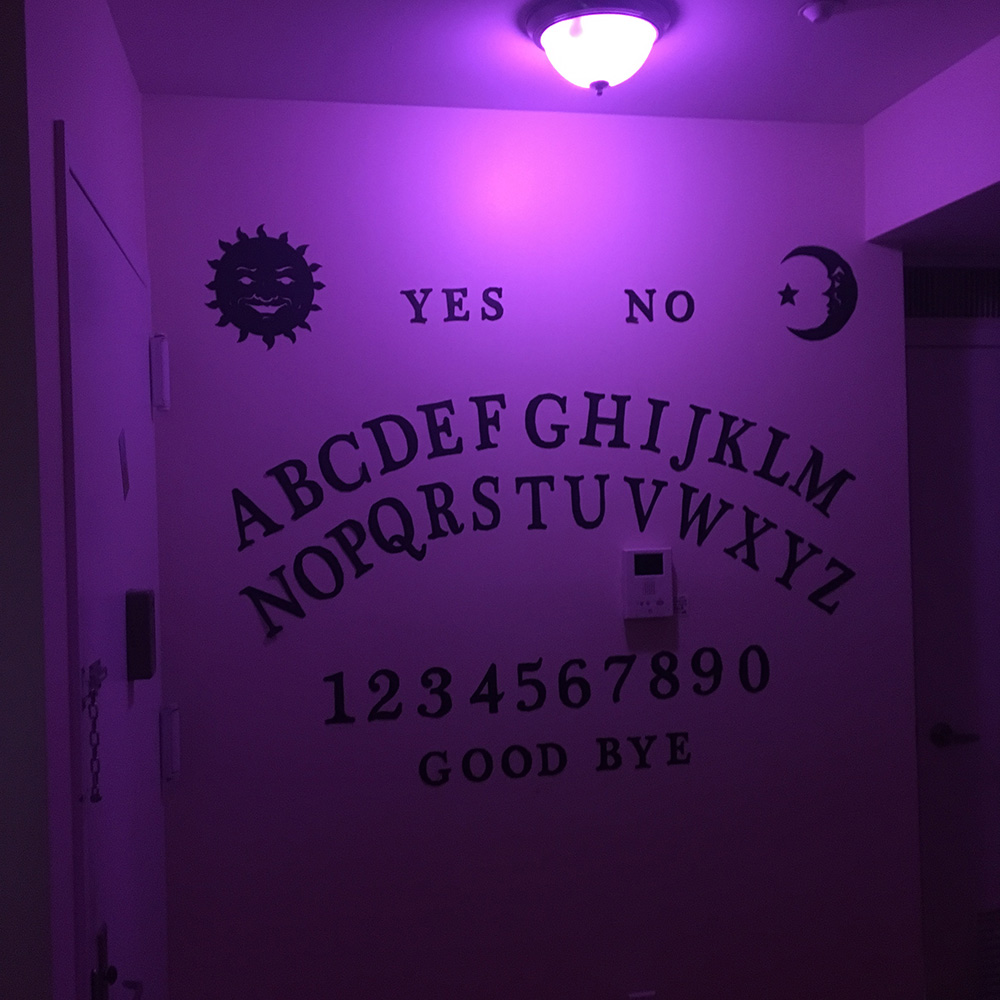
The letters and shapes are all cut out from black poster board. I photographed and measured the wall, and designed the arrangement of the letters in Photoshop to fill up the space nicely. Here’s what that looked like:
Haunted flying books decoration
I made these lightweight fake books to hang from the ceiling for my seance Halloween party, to look like they were floating around the room due to spectral activity! These were really cheap and easy and fun to make!
I made graphics in Photoshop for several of the surfaces of the books: the pages, the left and right edges of the pages (those are the long straight pieces pictured below), and the tops and bottom edges of the pages (i.e. the curved pieces). I did some Google image searches of old books to find references for all of this, and then did a lot of tweaking and measuring in Photoshop. Read more…
Stabby ghost costume!
This was the second of the two “person getting killed by a ghost” costumes that I designed. Read about mine here for most of the basic info. I made my fiancée’s ghost second, using most of the same steps and materials, with a few important differences. I’ll cover those below…
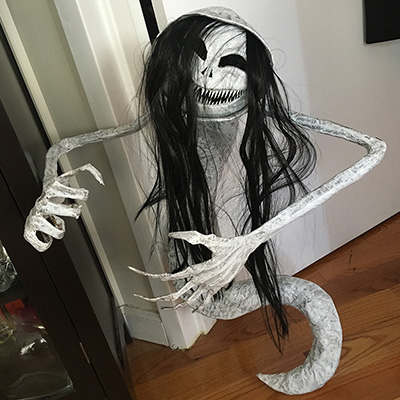
Strangler ghost costume!
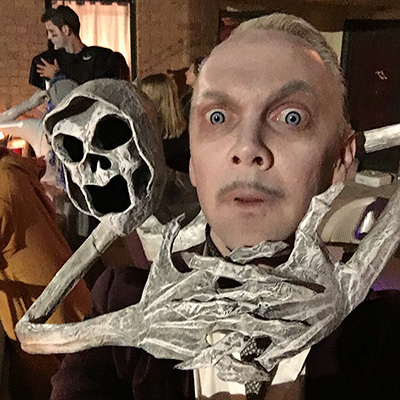
Hooboy, this costume was a big undertaking! The basic concept for this costume is a lightweight ghost sculpture, made with wires inside to make it somewhat adjustable, and it’s attached to a harness worn under one’s clothes. There were so many different parts to build and so many problems to solve, and I basically made up the whole thing as I went along, jumping around from part to part in a weird order. So, I’ve put together as much info as I can about how I made this thing here…
Crystal ball decoration for my séance Halloween party
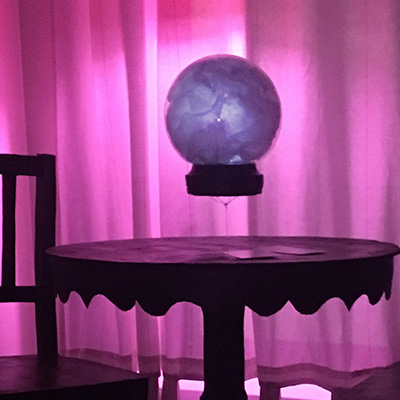
This homemade crystal ball decoration was for my séance Halloween party. The main decorations for the party were lots of pieces of lightweight paper maché furniture hung upside down on the ceiling. This crystal ball was the centerpiece for all of that, hanging upside down from the little paper maché table I made. It was fun and easy to make!
I considered a lot of options for the clear ball part itself; my main criteria were that it had to be lightweight, transparent, and preferably cheap. I ended up buying an 8″ acrylic globe off of Amazon; these are meant to go over a light, like on a light post in front of your house or whatever. They come in a lot of sizes, with options for clear or frosted, and mine ended up being about $11. You can find these at Home Depot too.
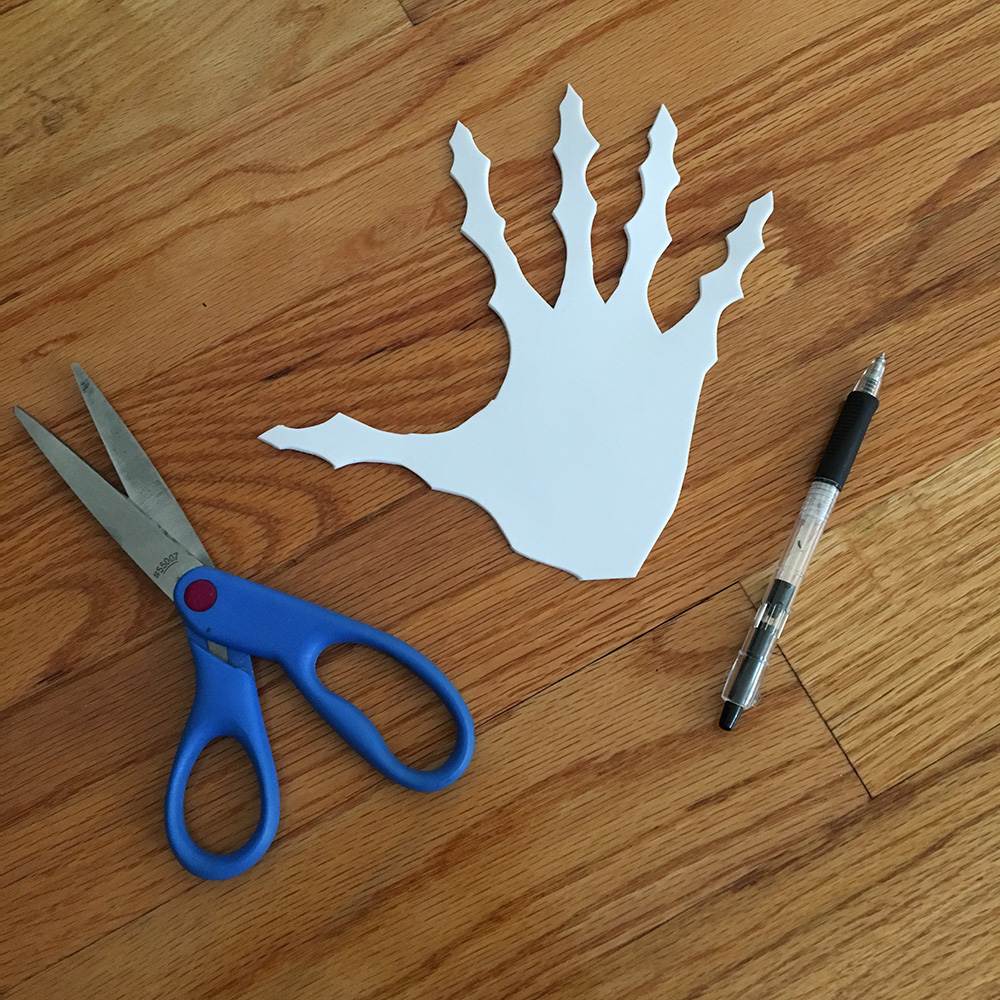
Creepy paper maché hands for my ghost costume

I made these creepy hands for my “guy being strangled by a ghost” costume! (Article about that whole thing coming soon.) You could use this same method for posable, realistic hands for any kind of monster decoration: a witch, a vampire, a zombie, etc!
First, I traced my own hand onto a sheet of craft foam (aka Wonderfoam). I kept my thumb stretched way out since ultimately I wanted these hands to be in a strangling position around my neck.
Paper maché spooky lamp prop
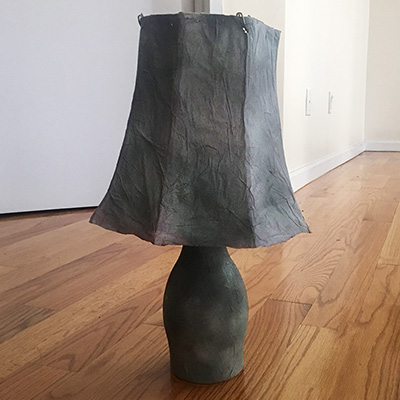
This is part five of my paper maché furniture projects for my séance Halloween party; see part one; chairs, part two; table, part three: mantel, and part four; nightstand.
I got the idea for this lamp when I saw this plastic bottle of almond milk in our fridge; it’s a neat bowling-pin shape that’s perfect for an old-timey lamp. I decided to add this lamp project to the list of lightweight paper maché furniture that we’re hanging from the ceiling for our spooky séance party.
Paper maché table for my séance party
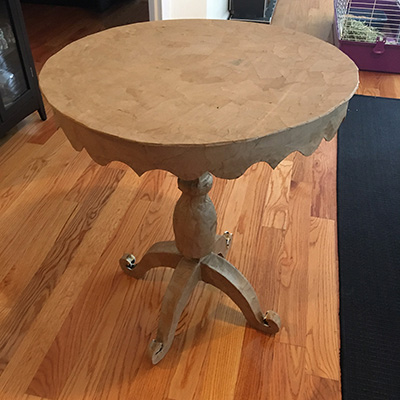
This is part two of my paper maché furniture projects for my séance Halloween party; see part one (chairs!) here.

With the chairs done, I moved on to the table! Unlike the chairs, I didn’t have a real table handy to use as a model for this, so I just made up a table based on some Google image searches for victorian round table.
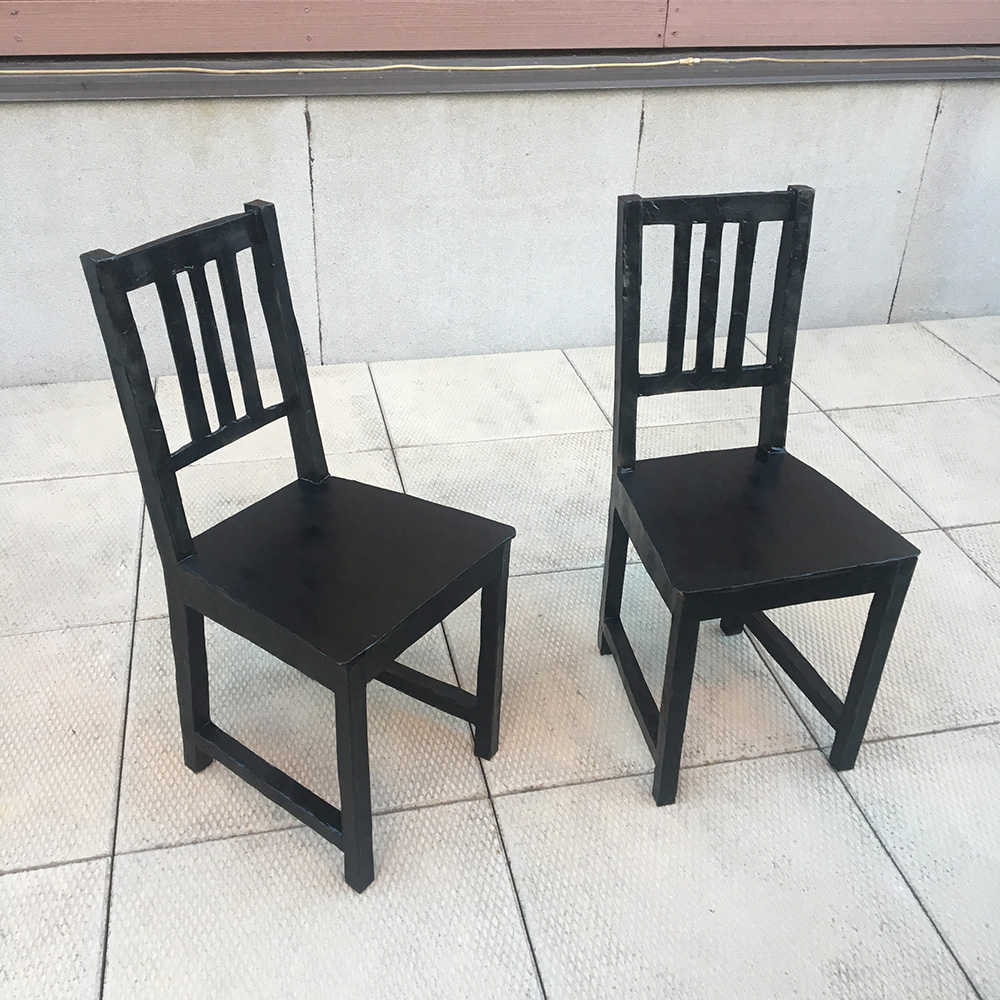
Paper maché chairs for my séance Halloween party!
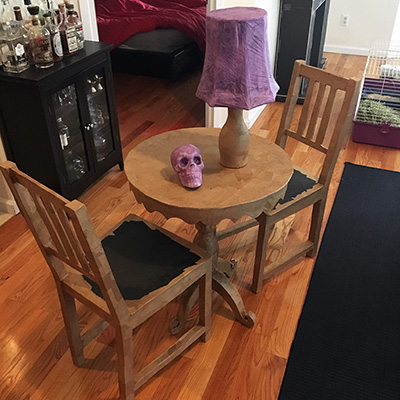
For my upcoming séance party I wanted to have a few pieces of paper maché furniture stuck upside down on the ceiling — a table with a crystal ball, two chairs, maybe a little dresser with a lamp, etc. The main guidelines I set for myself are: the furniture all has to be extremely lightweight, since it’ll all be attached with thumbtacks to the ceiling, and it doesn’t have to be super realistic, since the lighting in the party will be low. I started with the chairs; here’s how I made ’em!
I have some simple Ikea chairs that I used as a model. My plan was to trace and/or draw the various pieces of a chair onto foam board, and then cut out all the pieces and assemble ’em and hope they resemble a chair.
Halloween 2016 theme revealed: Séance!
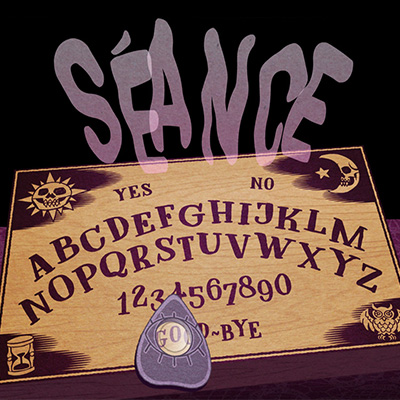
Check out our animated séance party invitation! You (probably) ain’t invited but feel free to check out the video.
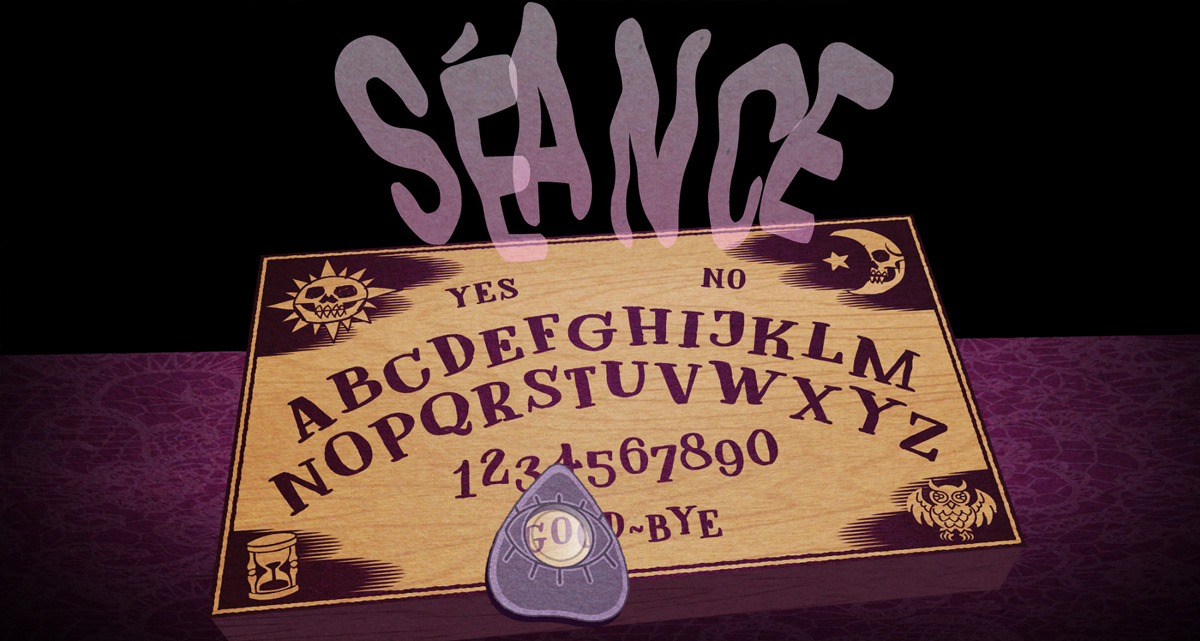
Coming soon: tons of paper maché and other ghostly decorating projects!
The Devil Man and the Swamp Goddess
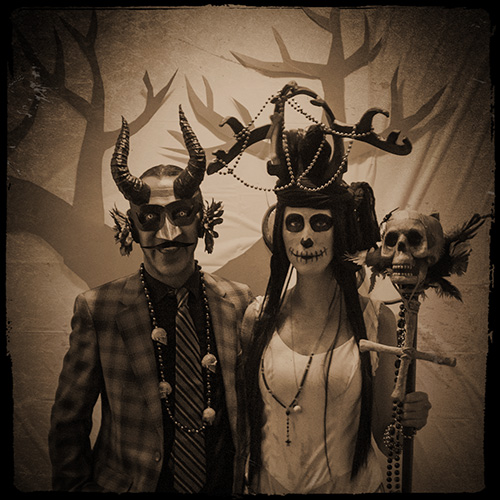
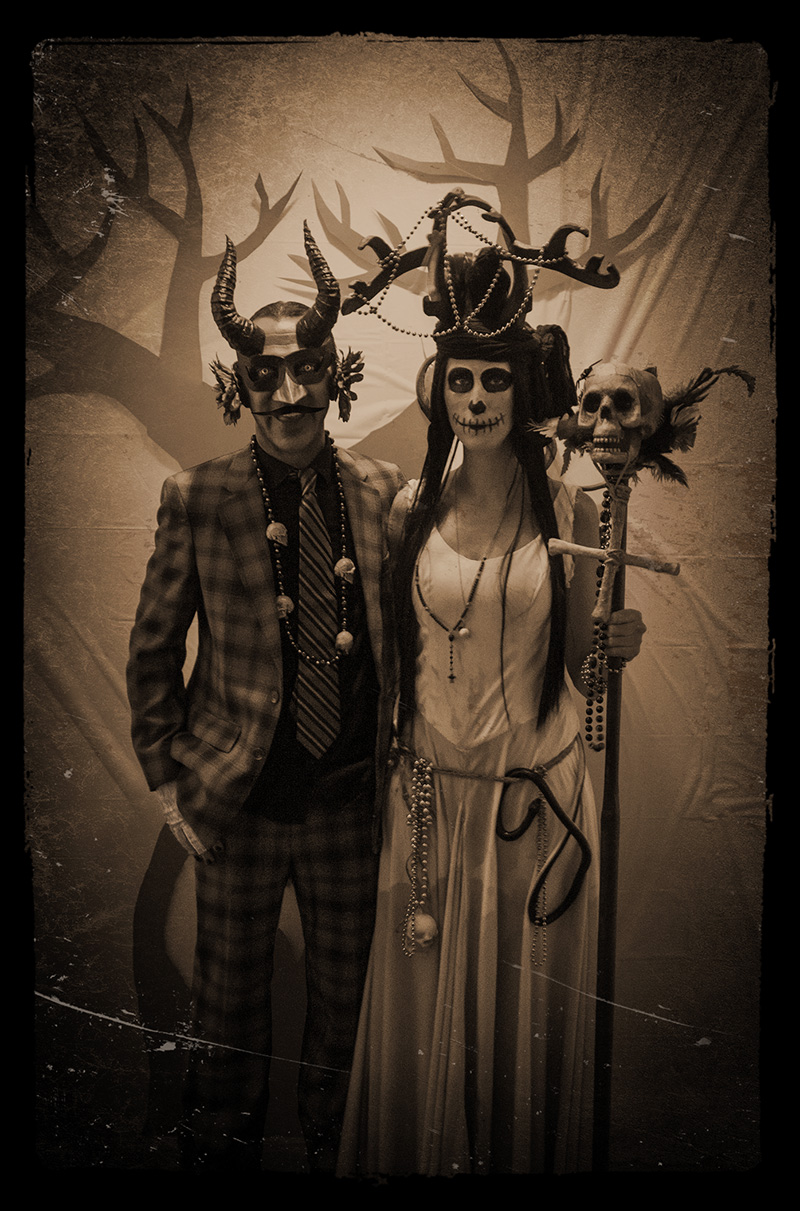
This old-timey photo of me and my fiancée — dressed as the Devil Man and a swamp goddess — is an edit of a photo by New Orleans photographer Kevin O’Mara, taken at our Voodoo Bayou Halloween party in 2015. In editing the pic in Photoshop I wanted to try to make it look like an authentic vintage Halloween card; I think it’s pretty close! Let’s see if this pic starts turning up in dumb listicles about terrifying old Halloween pics; I see those kinds of lists every year and half of the photos in them aren’t actually vintage, or aren’t actually Halloween-related.
You can see the original, unedited version of this pic (with crazy green lighting) in my post about making the foam board antlers for my fiancée’s headdress.
Devil Man mask with horns — part 2

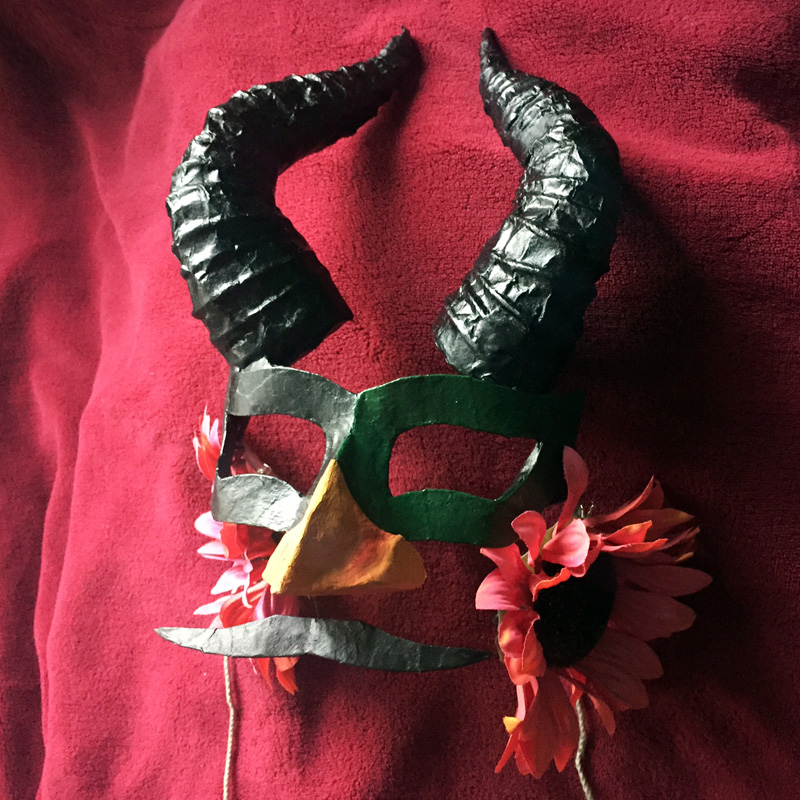
Okay, when we last left off, I’d finished the horns and the base for the mask. I neglected to take a lot of pictures of my process for putting the whole mask together, so I’ll explain all the remaining steps here.
Making a light-up VOODOO sign with Christmas lights
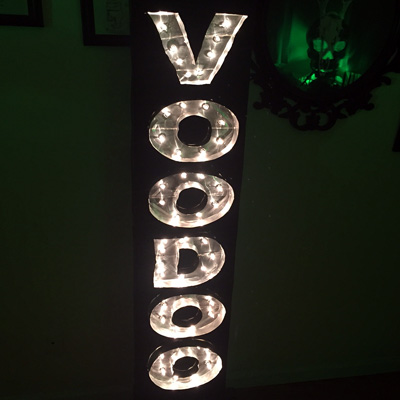

Check out my new VOODOO sign! This is for this year’s Voodoo Bayou Halloween party. This sign was easy to make and doesn’t involve any power tools or wood. The letters are made from disposable aluminum cookie trays with Christmas lights poking through, and the base is just foam board and paper. We hung the sign on our front balcony, sticking out so people could see it when they’re walking up our street. Here’s how I made the sign:
I decided to reuse the box shape that I’d made for last year’s sign. Last year I made a last-minute “ASYLUM” sign for our haunted asylum party. The letters were just plain white paper, and I set up a clip lamp with a red bulb in front of it to illuminate the sign a bit. Here’s what that looked like:
9-foot paper maché snake prop!
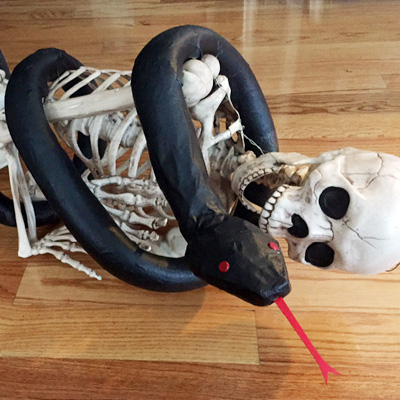
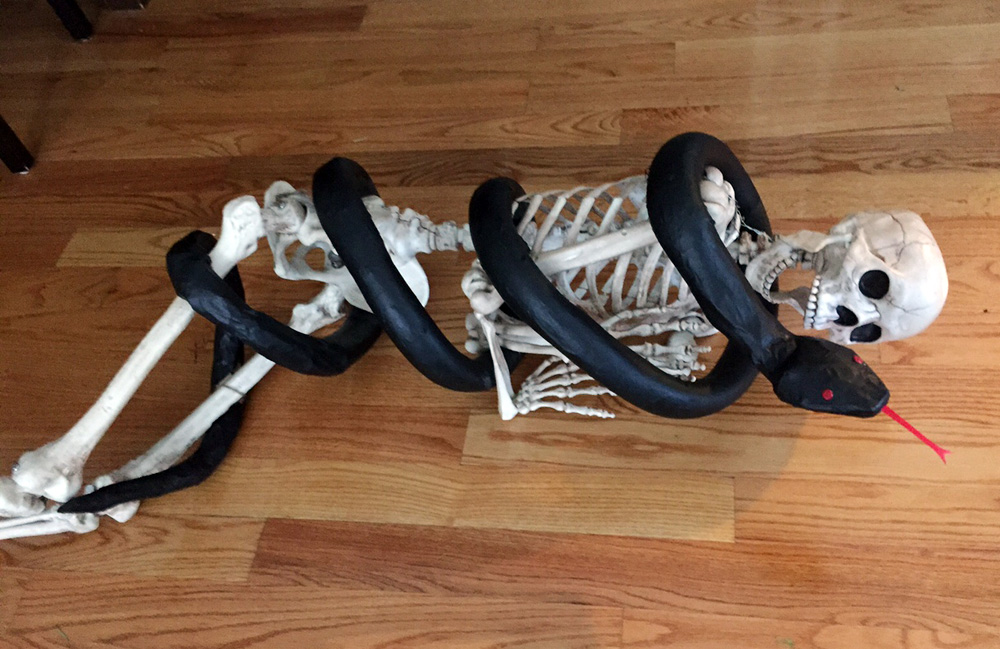
My latest project for my Voodoo Bayou Halloween party: I made this big ol’ snake! He’s made of foam tubing, wire hangers, tape, paper maché, paint, and a few other odds and ends.
I started with a package of black pipe insulation from Home Depot; four one-meter foam tubes for just $3! This stuff is fantastic to work with; extremely lightweight, sturdy, flexible, easy to cut, etc. It’s so great for creating organic-looking shapes that I ended up using a bunch of it on two projects before I tackled the snake: my six-foot bat decoration and a pair of horns for a devil mask I’m working on (pics coming soon). When it was time to start on the snake, I only had two and a half of the one-meter tubes left, so that’s about seven and a half feet for the snake. (I later added a tail made of bubble wrap for a total of about nine feet; more on that below.)
Making a foam board coffin
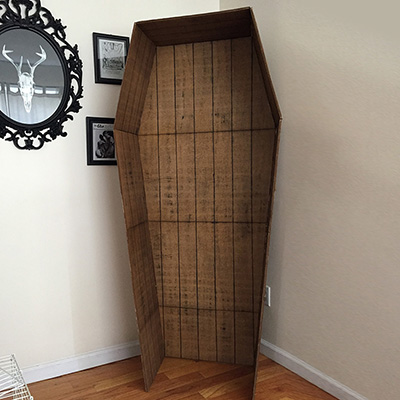
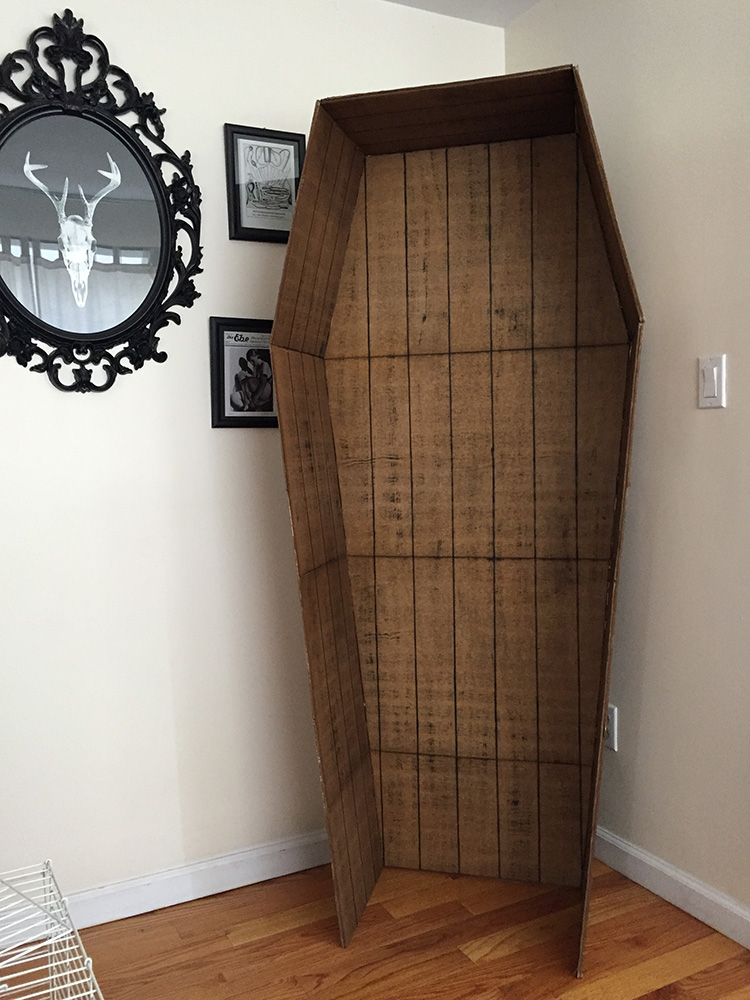
One of my main decorations for my Voodoo Bayou party was this fake wooden coffin; I wanted to have it standing in the corner of the living room so people could pose for pictures in it. The main material in the coffin is foam board — 17 sheets total. I designed the coffin in Photoshop based on how large each sheet of foam board is: 20″x30″. Here’s my basic design:
 About Manning Krull
 How to make a 4-foot paper maché alligator
 My violin skull mask, Mardi Gras 2015
 Three-headed paper maché dragon sculpture